


OK, time for the full story! This is what lies under the bonnet...
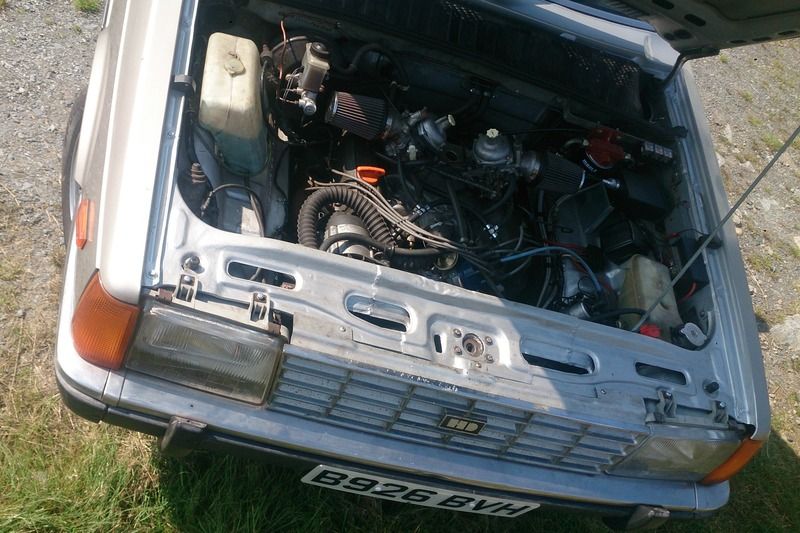
You may well ask why? And there's no real answer apart from the fact the original engine was tired after nearly 200k miles (half that in my ownership) and also looked a little lost in there. Someone suggested a V8 might fit, and the seed was sown...
I'd never even done a straightforward engine change at that point nor owned a welder, but looking at it logically all I needed to do was get the engine and gearbox in roughly the right place, weld up some engine mounts and get a propshaft made to suit. How hard could it be? So I bought the engine in 2002 I think, and started my research.
Looking around at what passed for the internet back then, at the turn of the century, I found people who'd done the same to Cortinas so it looked doable. Although with the new engine dangled above the engine bay it started to look a little more tricky. The front end of the crank just wouldn't clear the slam panel, even after I lost my rag and beat it with hammers. So I just cut it out (which I now regret) without thinking that simply by tilting the engine a lot, I'd have been able to get it in.
There followed a bit of engine in and out shenanigans as I got it reasonably central. Cut 'n shut the sump to clear the crossmember, and made up cardboard templates for engine mounts which were then welded up. Engine went in around 2004, along with a fair bit of welding to the shell but then we moved house in 2005 and the project ground to a halt. The only other bits I managed to sort back then were the clutch actuation, and fitting an Audi 200 Turbo radiator underneath the slam panel. Which meant that even the shortest available water pump was still too long, so I shortened that to suit.
The Stellar originally had a cable operated clutch, but there was no room in the engine bay for a clutch master cylinder. With a little bit of metalwork under the dash, I managed to put the master cylinder in facing the opposite way round, and welded an extension on the clutch pedal past the pivot to operate it.
The original brake servo and master cylinder also fouled (but I can't remember on what), but one from a Mazda 323 was a good fit and also had a fluid take off for the clutch, although I only sorted out the lower end of the clutch hydraulics late 2013. The piston diameter was a guesstimated match for the new AP 4 pot calipers too so a good find!
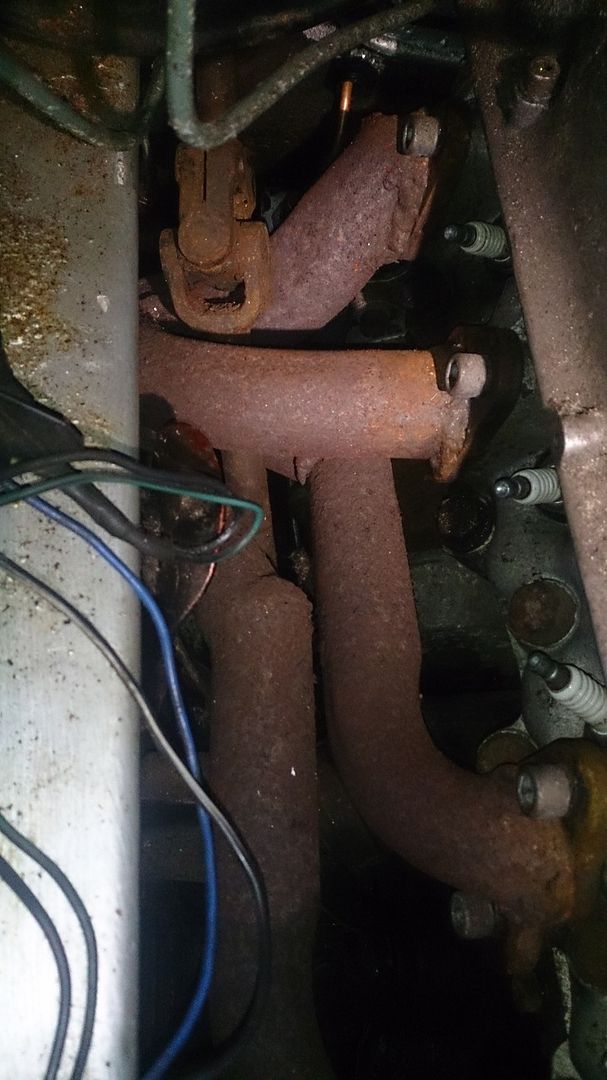
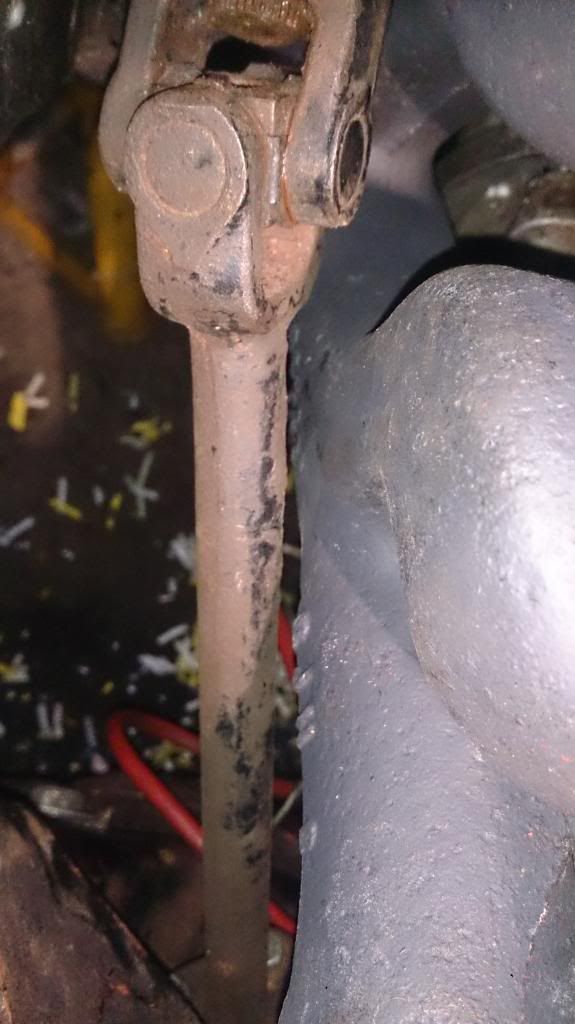
I did have a crack at building a manifold for the right bank, but I was never too happy with it. As I don't have a tube bender I cobbled it together with bits of bent tubing I had, and it sat very close to the steering UJ and upper wishbone bushes.
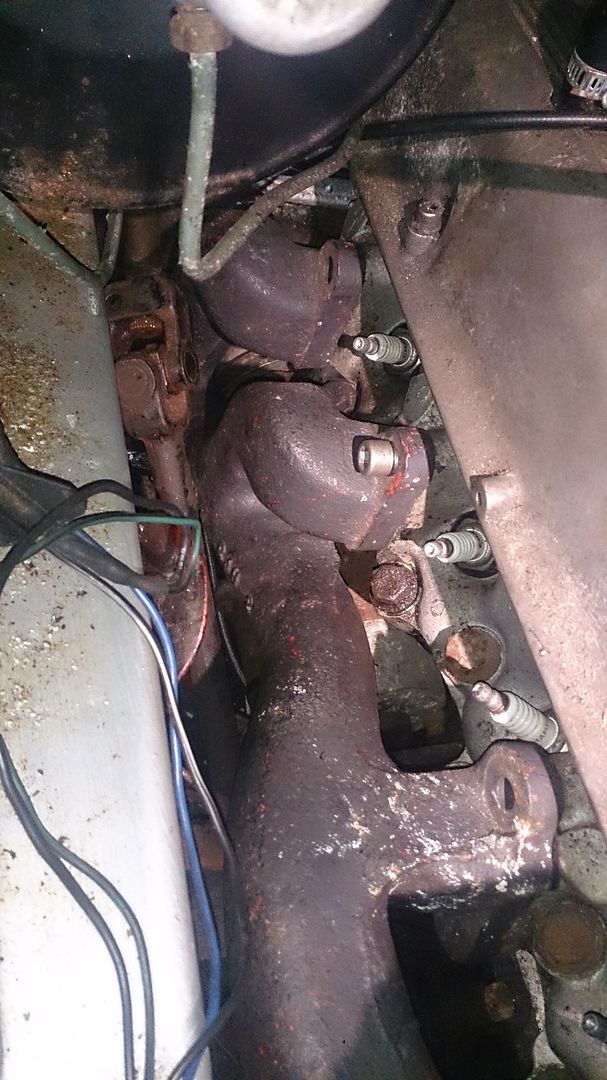
But a lucky find (on here!) of some Rover P5B manifolds fitted better, although it was an epic job getting the old one off!
The Audi radiator I had previously fitted had gone a little crumbly, but managed to find a decently priced brand new one in Denmark which I bought and fitted.
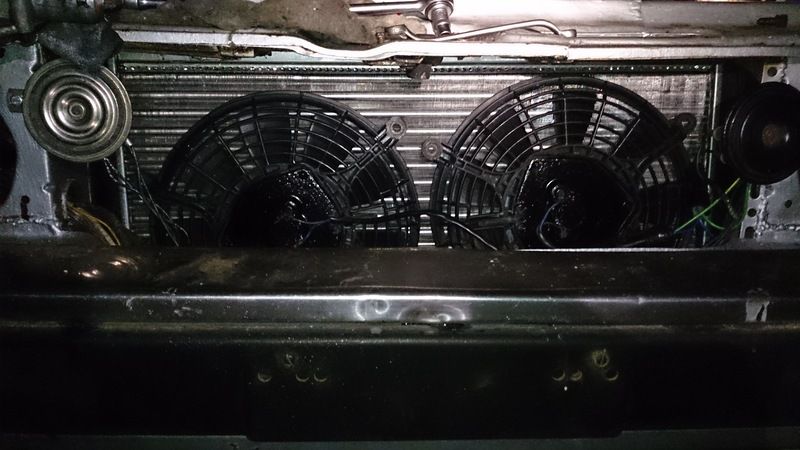
As I had no room for an engine driven fan, I had to squeeze two electric ones between the front crossmember and radiator. I didn't know then whether they'd be up to the job, but figured they should be OK as they flow a huge amount for their size. They've been fine in keeping the temperature down in UK hot weather at least - the only issue being heat soak through the bulkhead!
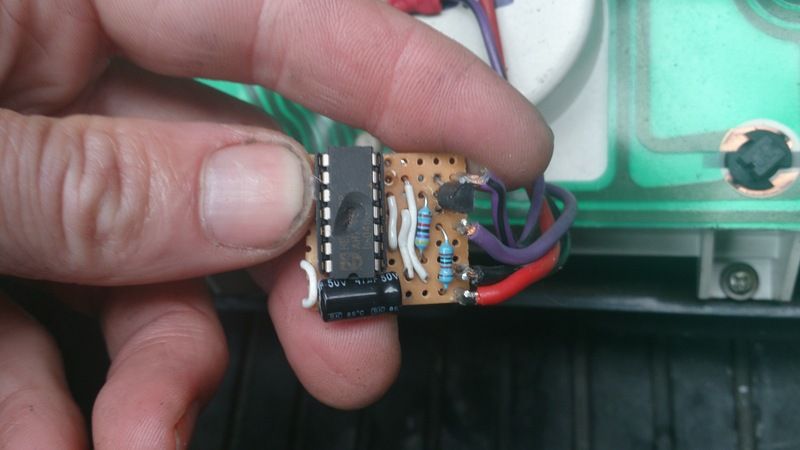
Another issue was the rev counter - it was reading twice as high as it should with obviously twice as many pulses per revolution. So I built a simple divide by two circuit, was was less than successful...anyone spot the problem?
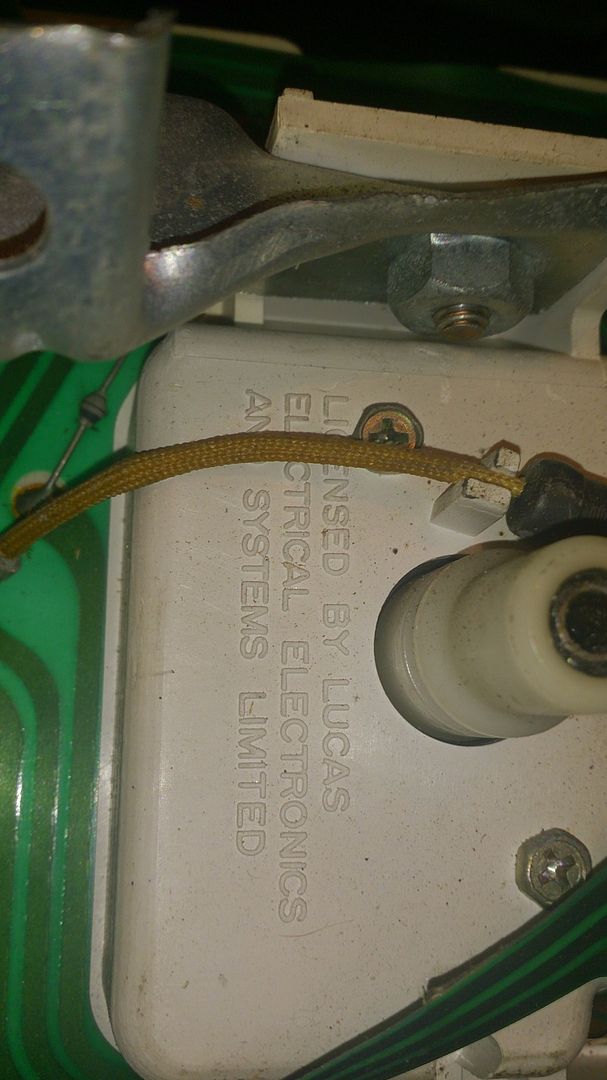
Even with a couple of protection diodes to limit the pulse spike to no more than + or - battery voltage it still didn't work, but then I did a little bit of research on the rev counter circuit. This turned out to be Lucas made, perhaps a legacy from when they assembled Cortinas under licence
(Have a bonus photo of a Hyundai Cortina!)

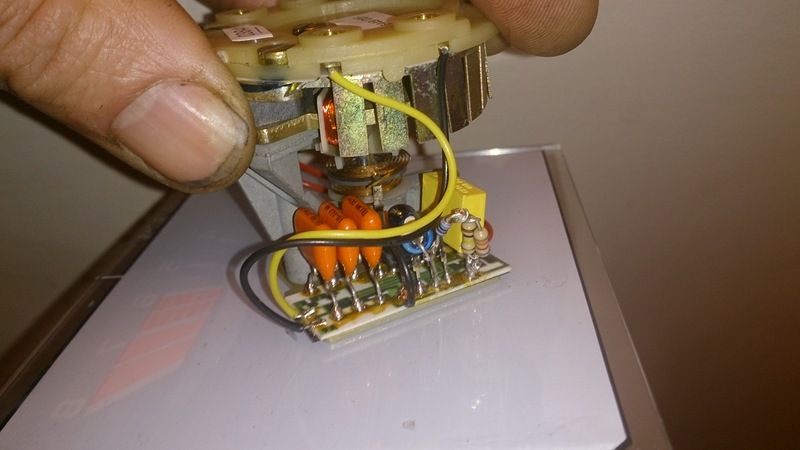
It seemed that if I connected a resistance of 48k ohms across a couple of terminals, it would work with the V8. Had to crudely make up the right resistance with what resistors I had, but nobody will see inside it!
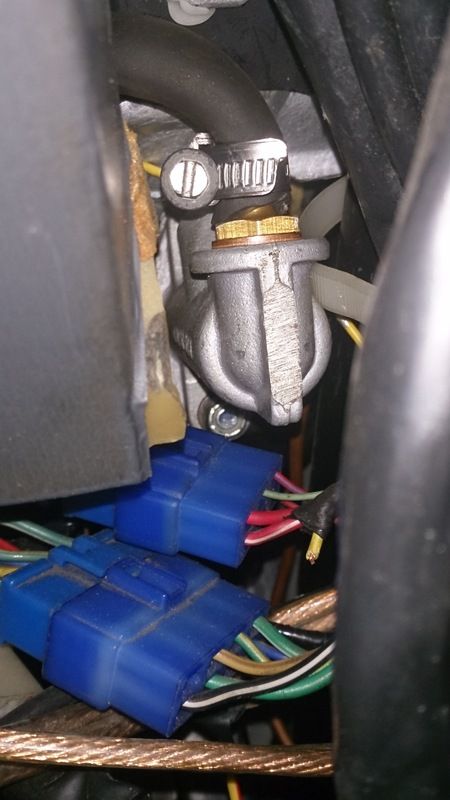
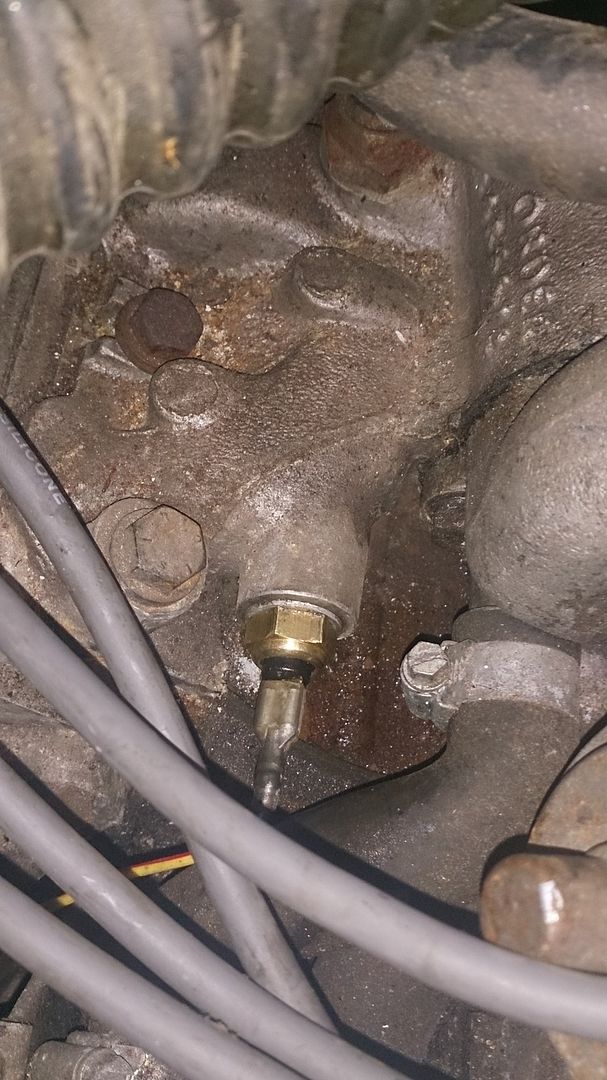
Happily, this works perfectly :-) I also managed to find a new Hyundai water temperature sender, which I fitted to the Rover manifold so the gauge reads correctly. By some stroke of luck, the M16 x 1.5 mm sender was a close enough match to the 5/8" UNF hole (only 0.1 mm different in both diameter and pitch) therefore screwed straight in!
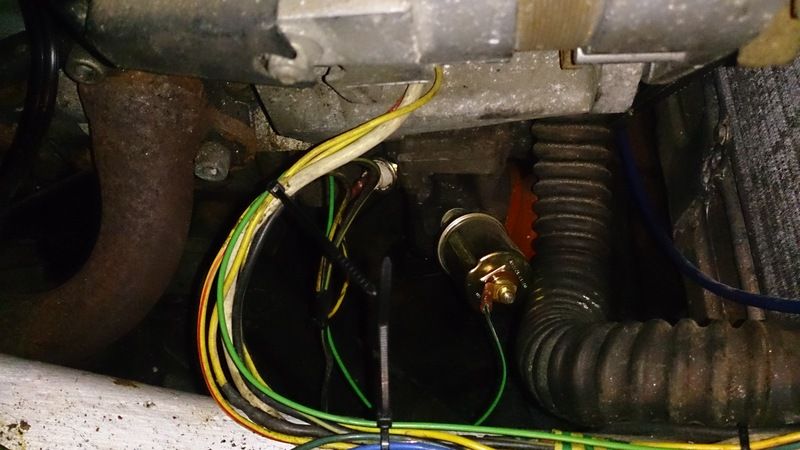
Similar story with the oil pressure sender, although I had to get a 240-33 ohm American spec. aftermarket part as Hyundai wanted £180 + VAT for a sender and I'd binned the one on the old engine. All wiring was extended where necessary using the original wiring loom colours for neatness, and mainly because I'm sad like that.
I got it on the road in August last year, and did around 1000 miles before gritting started in November. It's shamelessly going to be a fairweather car rather than a year round daily drive!

You may well ask why? And there's no real answer apart from the fact the original engine was tired after nearly 200k miles (half that in my ownership) and also looked a little lost in there. Someone suggested a V8 might fit, and the seed was sown...
I'd never even done a straightforward engine change at that point nor owned a welder, but looking at it logically all I needed to do was get the engine and gearbox in roughly the right place, weld up some engine mounts and get a propshaft made to suit. How hard could it be? So I bought the engine in 2002 I think, and started my research.
Looking around at what passed for the internet back then, at the turn of the century, I found people who'd done the same to Cortinas so it looked doable. Although with the new engine dangled above the engine bay it started to look a little more tricky. The front end of the crank just wouldn't clear the slam panel, even after I lost my rag and beat it with hammers. So I just cut it out (which I now regret) without thinking that simply by tilting the engine a lot, I'd have been able to get it in.
There followed a bit of engine in and out shenanigans as I got it reasonably central. Cut 'n shut the sump to clear the crossmember, and made up cardboard templates for engine mounts which were then welded up. Engine went in around 2004, along with a fair bit of welding to the shell but then we moved house in 2005 and the project ground to a halt. The only other bits I managed to sort back then were the clutch actuation, and fitting an Audi 200 Turbo radiator underneath the slam panel. Which meant that even the shortest available water pump was still too long, so I shortened that to suit.
The Stellar originally had a cable operated clutch, but there was no room in the engine bay for a clutch master cylinder. With a little bit of metalwork under the dash, I managed to put the master cylinder in facing the opposite way round, and welded an extension on the clutch pedal past the pivot to operate it.

The original brake servo and master cylinder also fouled (but I can't remember on what), but one from a Mazda 323 was a good fit and also had a fluid take off for the clutch, although I only sorted out the lower end of the clutch hydraulics late 2013. The piston diameter was a guesstimated match for the new AP 4 pot calipers too so a good find!
I did have a crack at building a manifold for the right bank, but I was never too happy with it. As I don't have a tube bender I cobbled it together with bits of bent tubing I had, and it sat very close to the steering UJ and upper wishbone bushes.

But a lucky find (on here!) of some Rover P5B manifolds fitted better, although it was an epic job getting the old one off!


The Audi radiator I had previously fitted had gone a little crumbly, but managed to find a decently priced brand new one in Denmark which I bought and fitted.

As I had no room for an engine driven fan, I had to squeeze two electric ones between the front crossmember and radiator. I didn't know then whether they'd be up to the job, but figured they should be OK as they flow a huge amount for their size. They've been fine in keeping the temperature down in UK hot weather at least - the only issue being heat soak through the bulkhead!
Another issue was the rev counter - it was reading twice as high as it should with obviously twice as many pulses per revolution. So I built a simple divide by two circuit, was was less than successful...anyone spot the problem?

Even with a couple of protection diodes to limit the pulse spike to no more than + or - battery voltage it still didn't work, but then I did a little bit of research on the rev counter circuit. This turned out to be Lucas made, perhaps a legacy from when they assembled Cortinas under licence

(Have a bonus photo of a Hyundai Cortina!)
It seemed that if I connected a resistance of 48k ohms across a couple of terminals, it would work with the V8. Had to crudely make up the right resistance with what resistors I had, but nobody will see inside it!

Happily, this works perfectly :-) I also managed to find a new Hyundai water temperature sender, which I fitted to the Rover manifold so the gauge reads correctly. By some stroke of luck, the M16 x 1.5 mm sender was a close enough match to the 5/8" UNF hole (only 0.1 mm different in both diameter and pitch) therefore screwed straight in!

Similar story with the oil pressure sender, although I had to get a 240-33 ohm American spec. aftermarket part as Hyundai wanted £180 + VAT for a sender and I'd binned the one on the old engine. All wiring was extended where necessary using the original wiring loom colours for neatness, and mainly because I'm sad like that.

I got it on the road in August last year, and did around 1000 miles before gritting started in November. It's shamelessly going to be a fairweather car rather than a year round daily drive!


