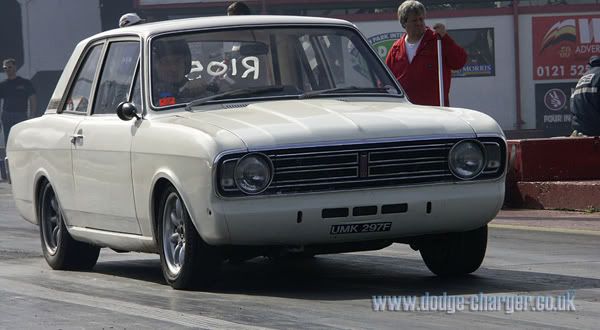
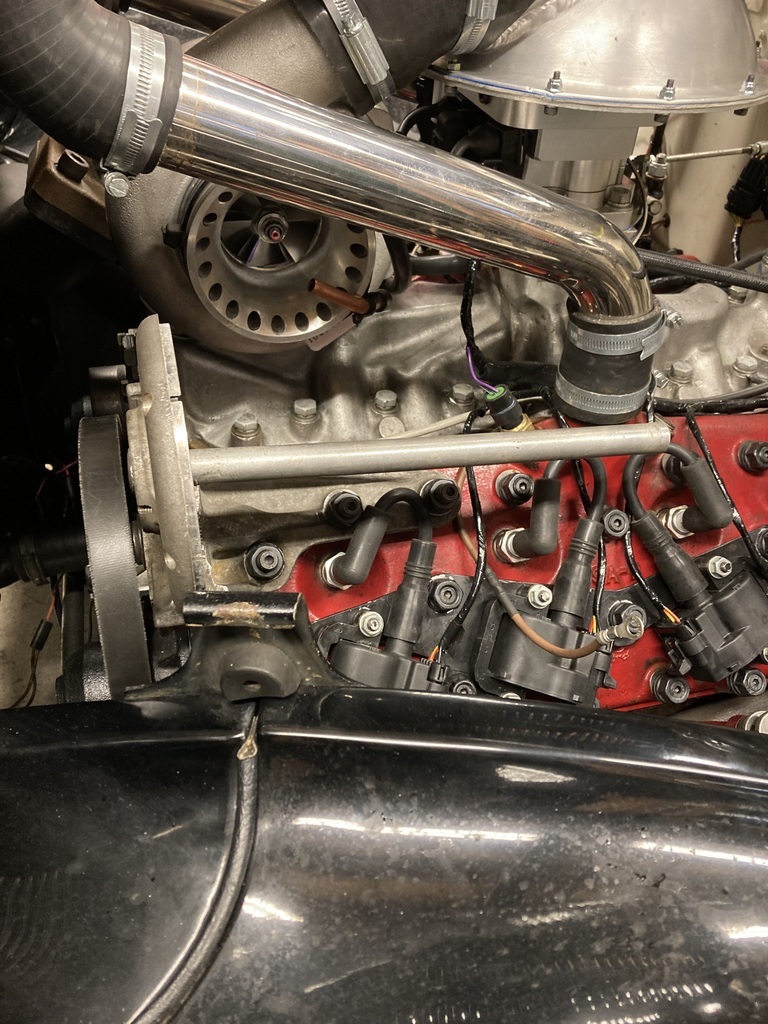
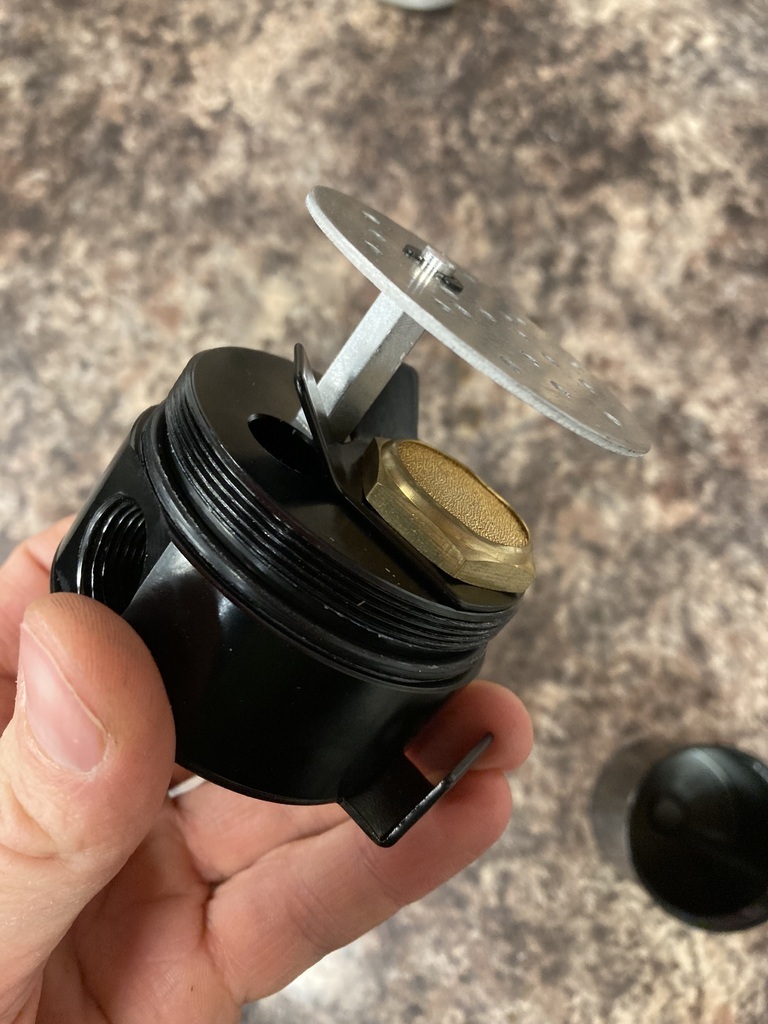
The next, much larger, elephant in the the room was the lack of intercooler for the inlet charge.
As I’ve mentioned before, I knew not having a means of cooling the inlet charge would be a major limiting factor to how far things could be taken.
I just couldn’t see a feasible way of squeezing in another radiator and associated pipe work. I did briefly look at charge cooling but went no further with it.
Being a little burnt out on the whole project and dealing with the major hiccup of replacing half the rotating assembly (!) kind of knocks your enthusiasm.
My rolling road man told me in no uncertain terms that not having an intercooler would make the whole thing a waste of time as I’d have to reign the boost in so much to be able keep any sort of control over the air inlet temps.
Well, he was right…
But….
I knew better and swapped out the 10lbs spring in the wastegate for a 7lbs one and took it the rolling road for mapping.
Even at boost levels of 3psi the inlet temps were already running away even to the extent that it was slowing down the mapping as it could only be run up for short bursts before letting off and waiting for the inlet temps to come back down before another short burst.
The fact the gasket let go at around 4psi was a blessing in disguise as it put a stop to mapping it any further.
There was no getting around it. I would have to fit something to bring the inlet temps down.
Much discussion on the rollers took place on potential intercooler positions and pipe runs but the charge cooler idea really gained traction. I was even donated one!
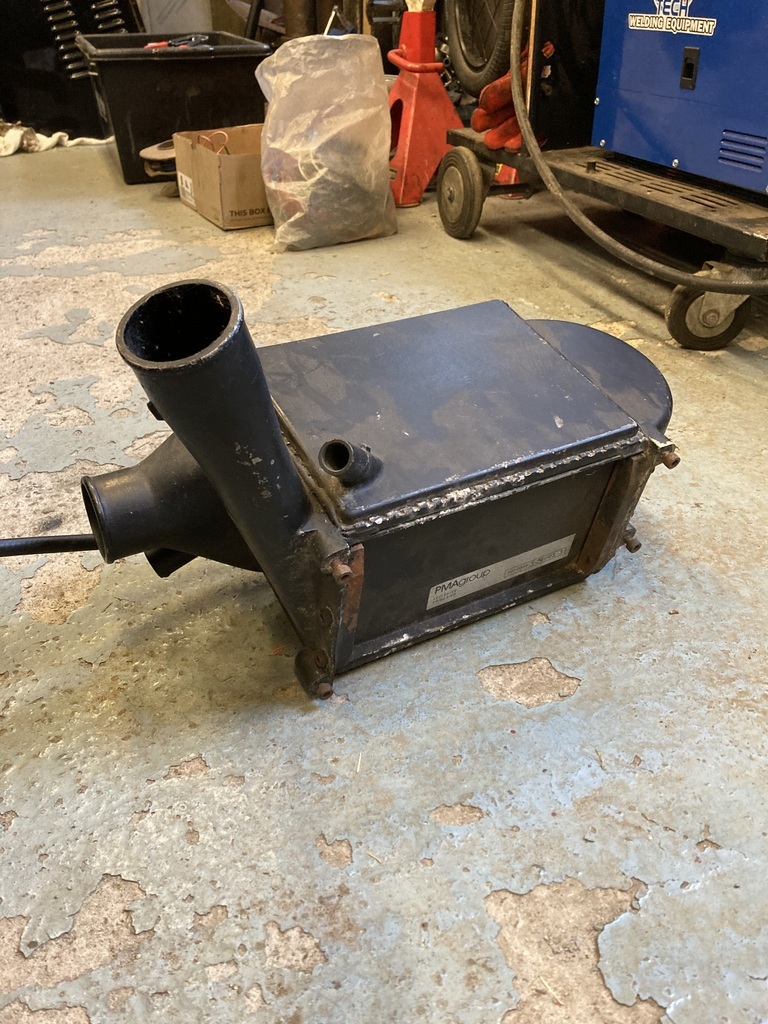
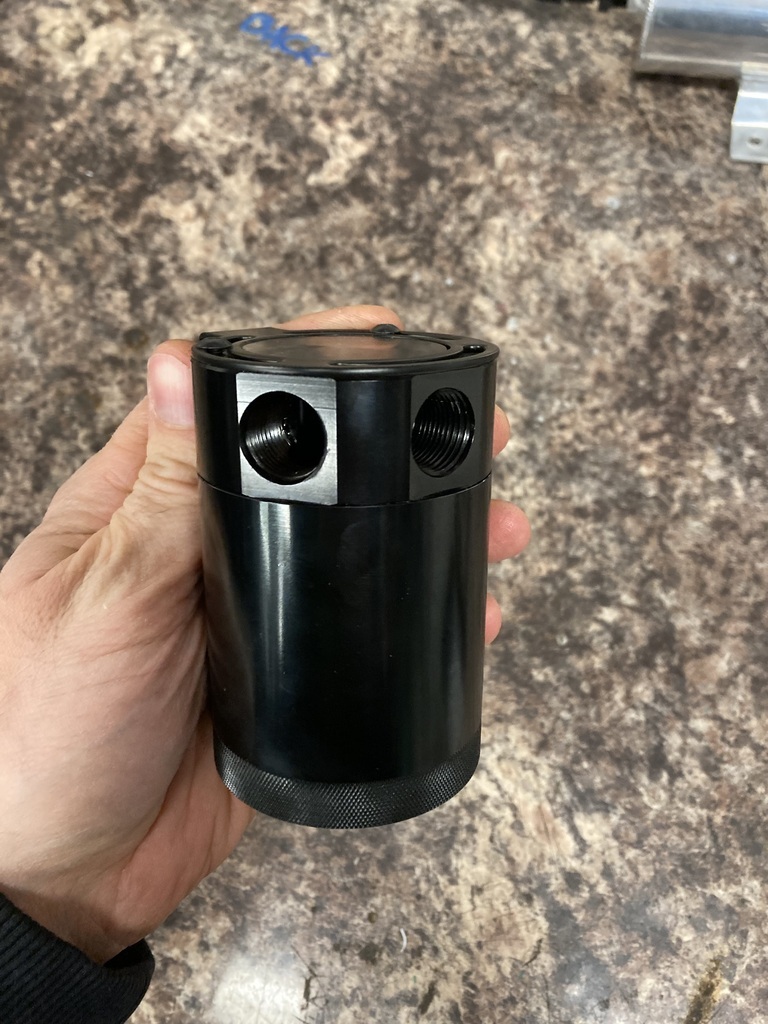
I was given a charge cooler from a Focus ST (RS?). Being a factory piece was very well built and would easily fit in the engine bay.
I was off and running.
Getting into the nitty gritty of fitting a complete charge cooler system had the novelty quickly wear off.
Fitting and plumbing the charge cooler itself, a small radiator in a box of water, is the easy part. It’s all the other stuff that goes with it that’s the problem.
It would need its own cooling system. That would mean an auxiliary radiator, water pump, cooling fan(s) and hoses.
The auxiliary rad would need to be in the airflow putting me back to square one with the issues of mounting a secondary radiator and yet more wiring and complication to deal with.
The charge-cooler cooling system would also need a header tank and capacities of 2.5 gallons were being banded about to have enough water capacity in the system to keep things cool.
Where the hell do I mount the a 2.5 gallon water tank!?
So back to air/air intercooling.
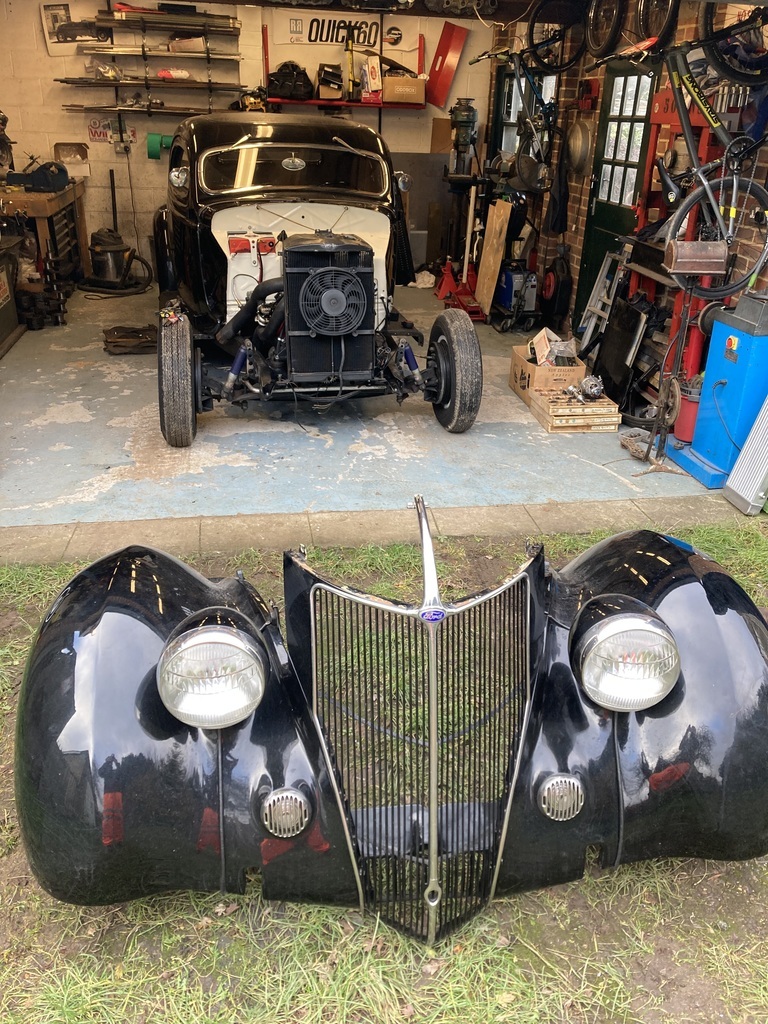
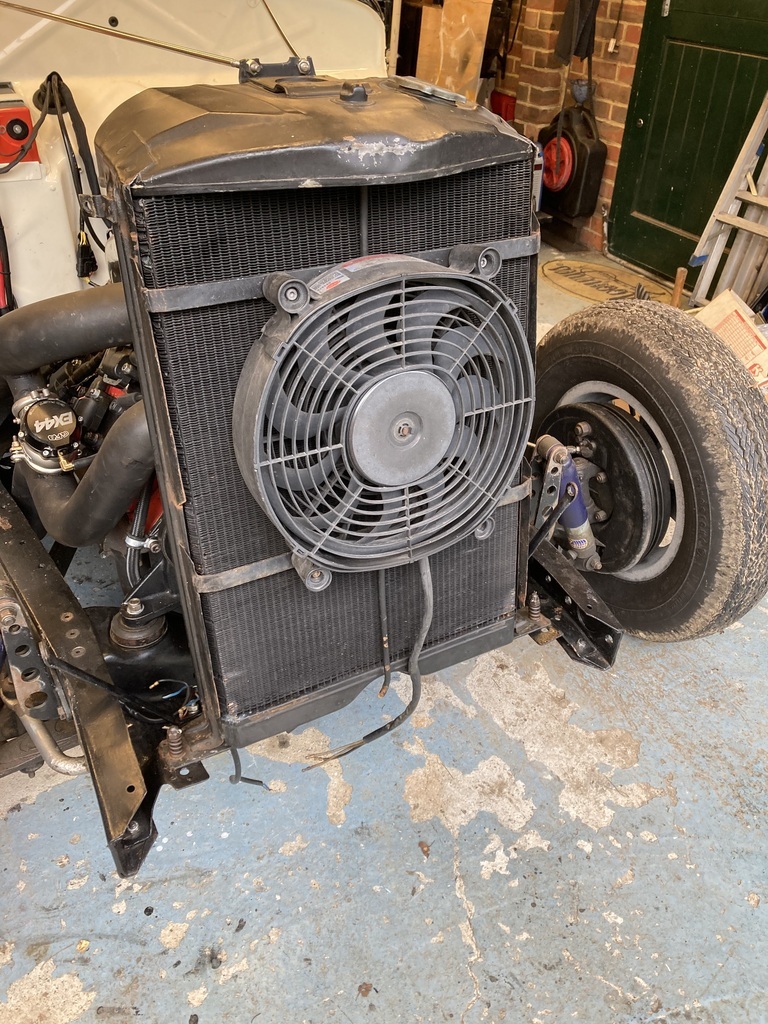
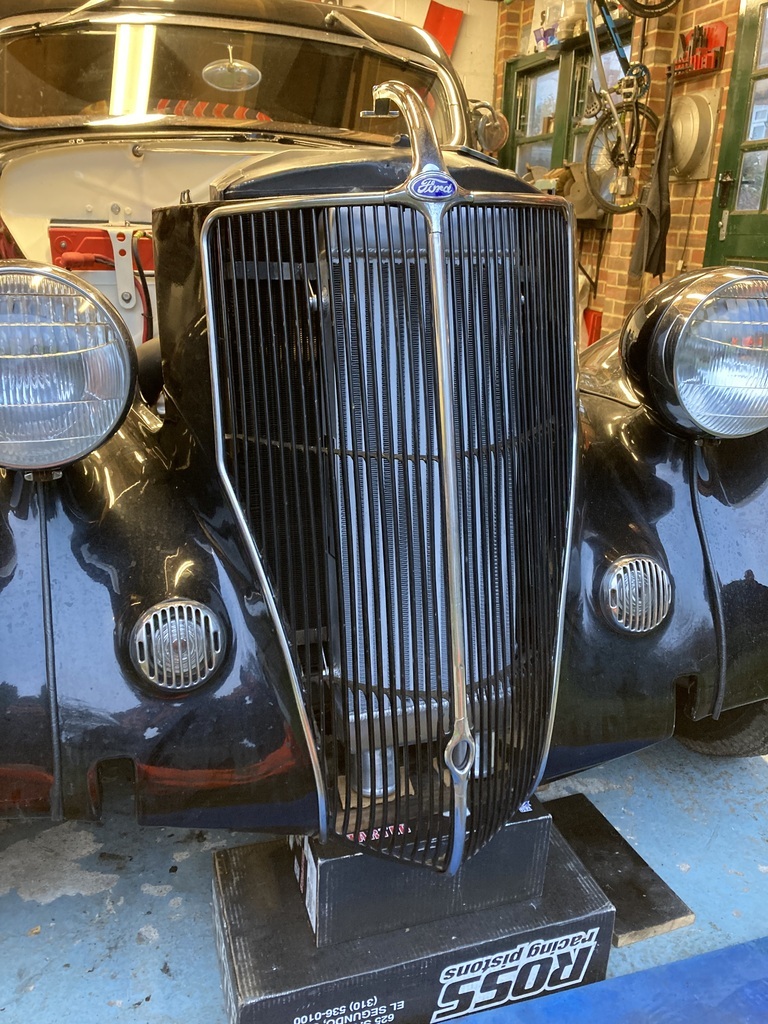
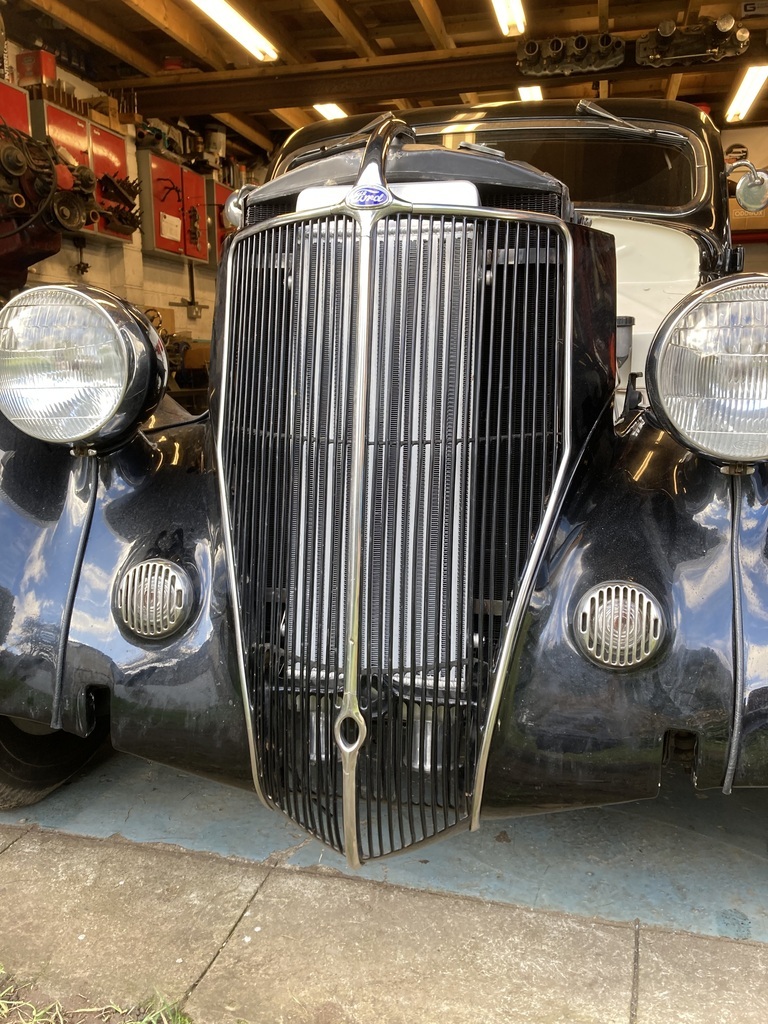
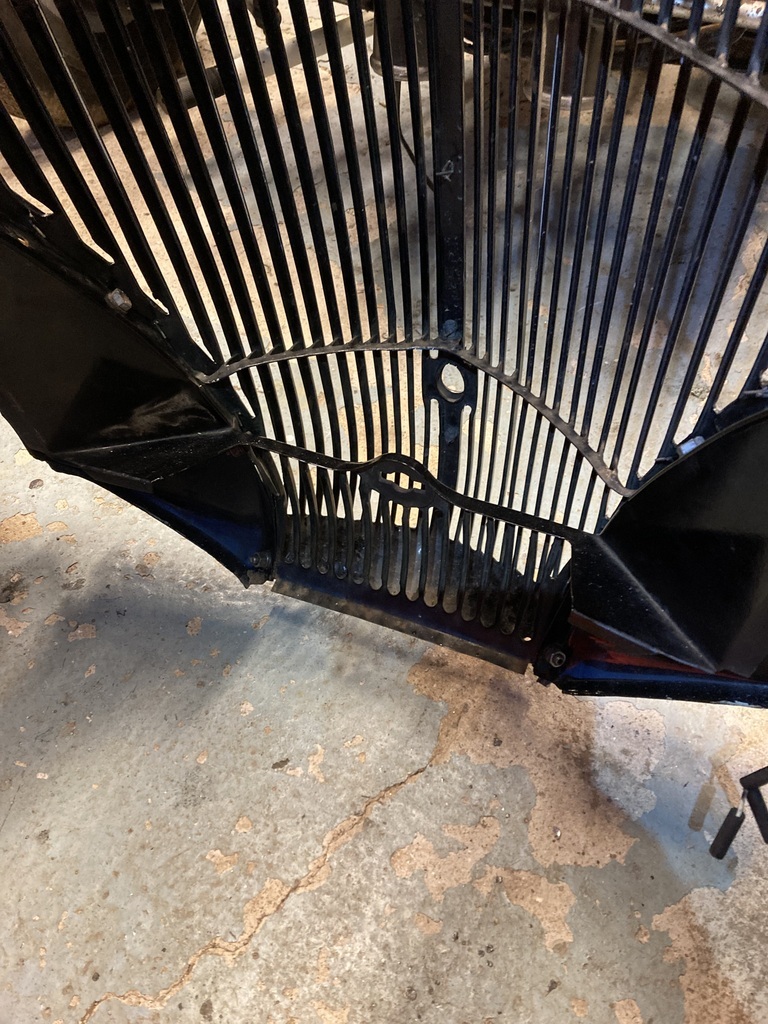
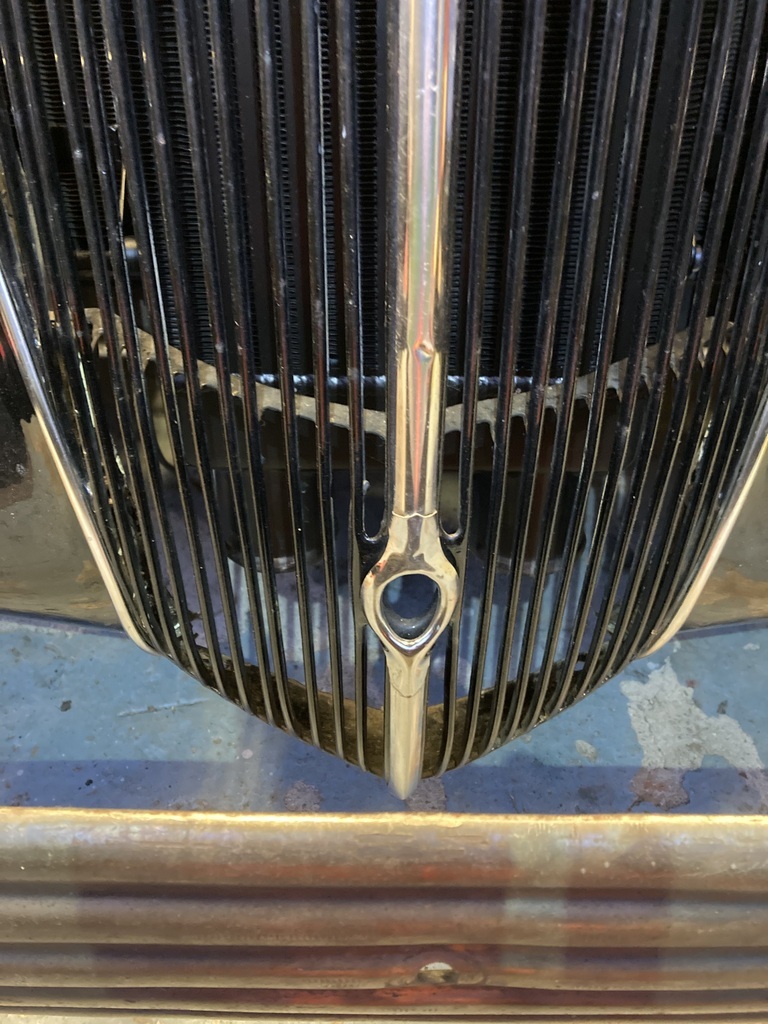
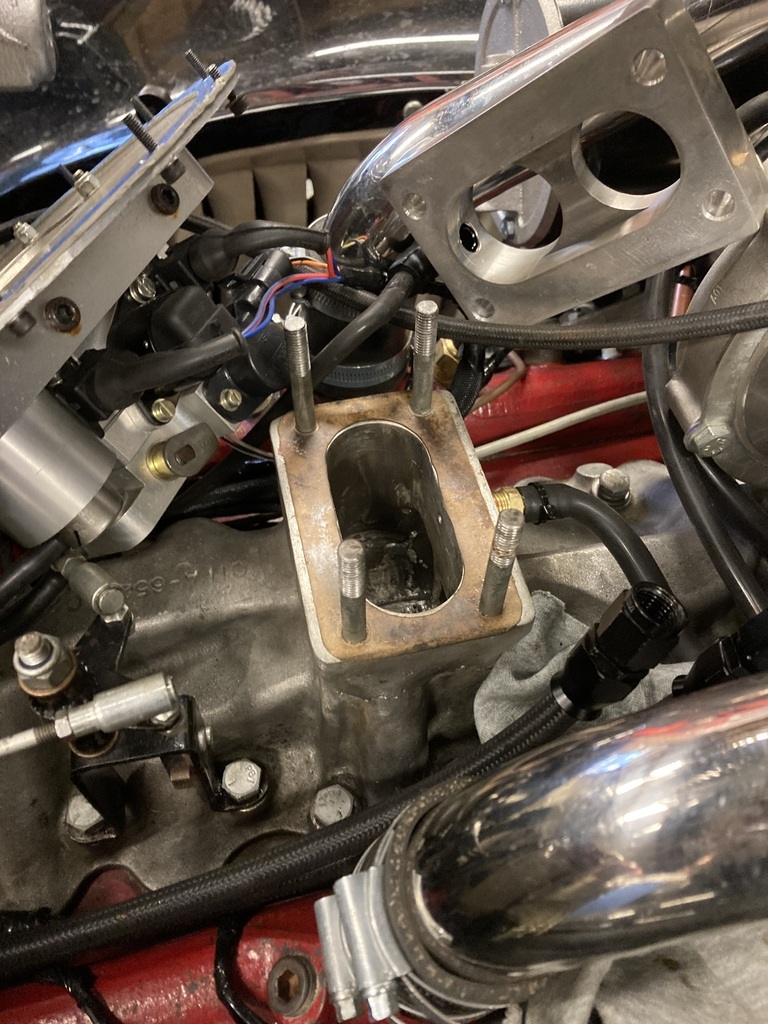
The only realistic and efficient space to but an intercooler was directly behind the grill and in front of the radiator but I already had the electric cooling fan there.
Fitting an intercooler on the lower portion of the rad underneath the fan would mean it would be tiny and completely inefficient for the potential power figures.
An intercooler like any radiator needs to be of a certain size for it to be efficient and I was looking at a intercooler with a footprint the size of the whole radiator.
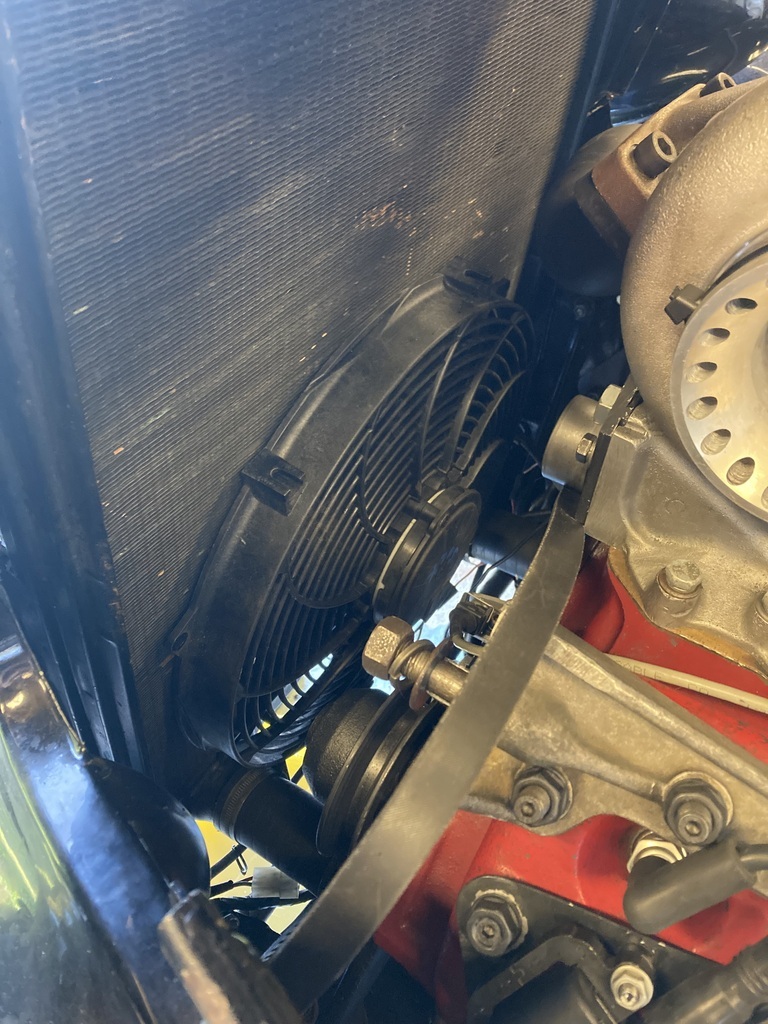
So the cooling fan on the front would have to go but could I fit it on the backside instead?
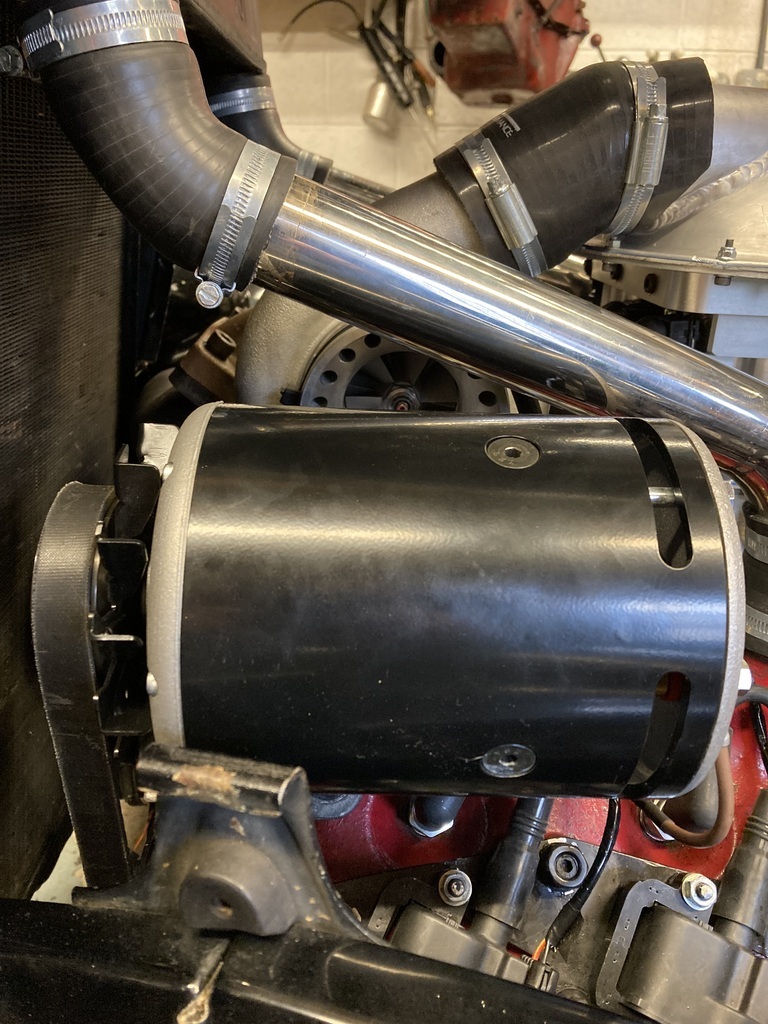
The big ol’ 12” kenlowe fan on the front is a chunky thing and a ‘pusher’ so wouldn’t transfer to the other side but I had a much more modern 14” slimline Revotec in stock and if I could squeeze that in on the backside of the rad then things were looking up plus it was a ‘sucker’ as well!
The 14” fan, surprisingly, fitted with ease but thinking two steps ahead I knew I’d also have to run the intercooler pipes through the same area and the 14” fan swallowed up a little to much space.
Stepping down to 12” slimline fan would give me some breathing space and in theory give me at least the same fan cooling capacity as before.
Onto finding an intercooler that would fit the area behind the grille.
Measuring as best I could with a tape measure through the bars of the grille to give me an idea of dimensions I of course had the continuous issue of the ever decreasing wedge shape of the front of the car to contend with and the area behind the grille was no different being a triangle shape. This would also limit sizing as the depth of any intercooler would also play a part in how wide I would be able to go.
The choice of universal intercoolers available is quite impressive really with all sorts of shapes, sizes and inlet/outlet positioning options but what I found was they are generally geared towards being square and for horizontal, cross feed applications.
I, of course, needed a narrow, upright one with the inlet/outlet on the same end. 🤦♂️
I eventually found one on EBay that ticked all the boxes from a company in Poland.
Front end off… Again.
I can’t remove the front end on my own so always have to get someone to help me.
This isn’t usually too much of an issue as the front end comes off in seconds after unbolting it all, gets stored for however long and then when ready gets dropped back on.
It was going to be a little different this time as the front end would need to lifted on and off at various times while fitting the intercooler and would also be rested back on for storage.
This meant I couldn’t work on it alone and had to rope in help, namely my dad, every time I wanted to work on it.
Calling in favours was a theme that would continue.
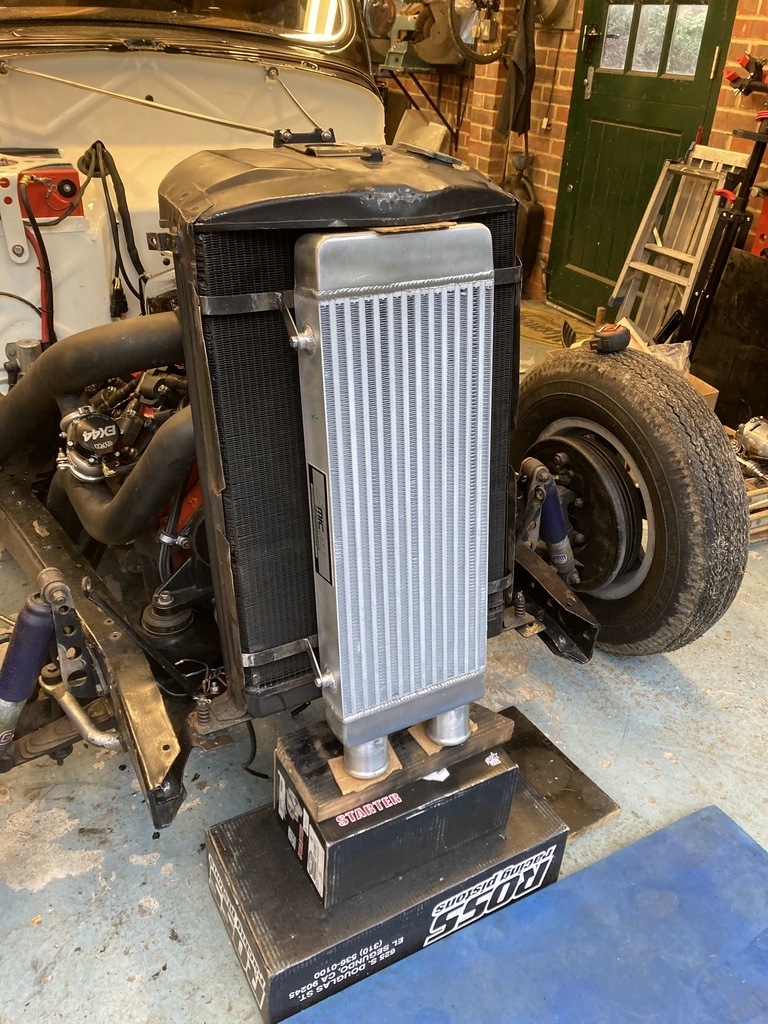
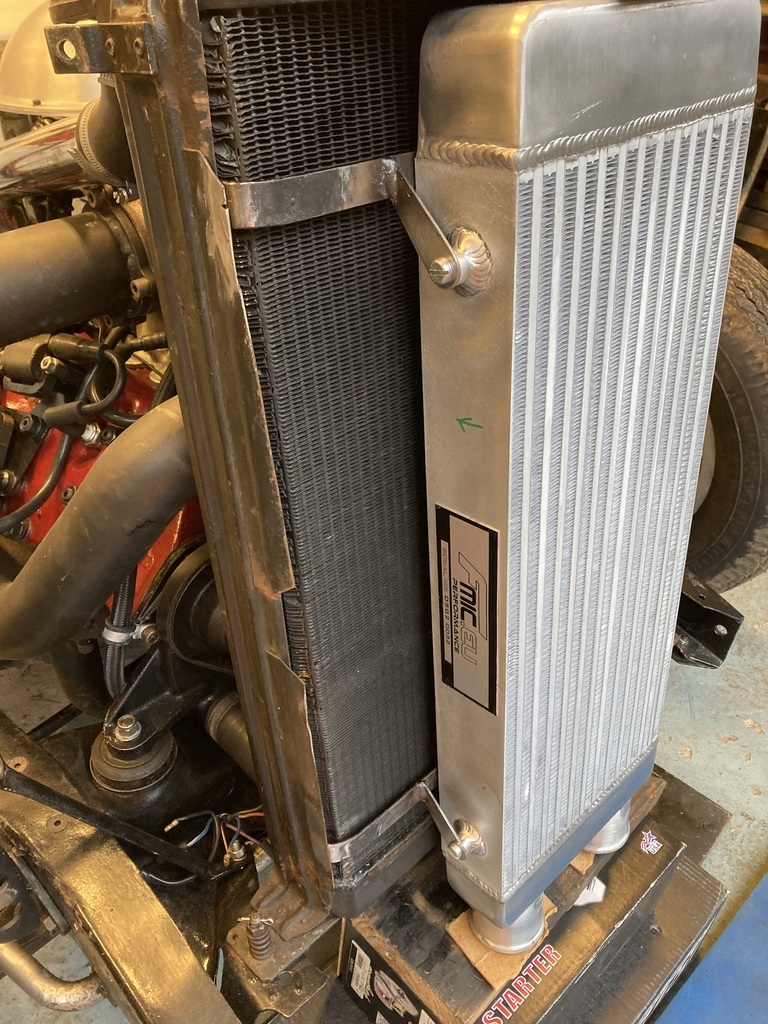
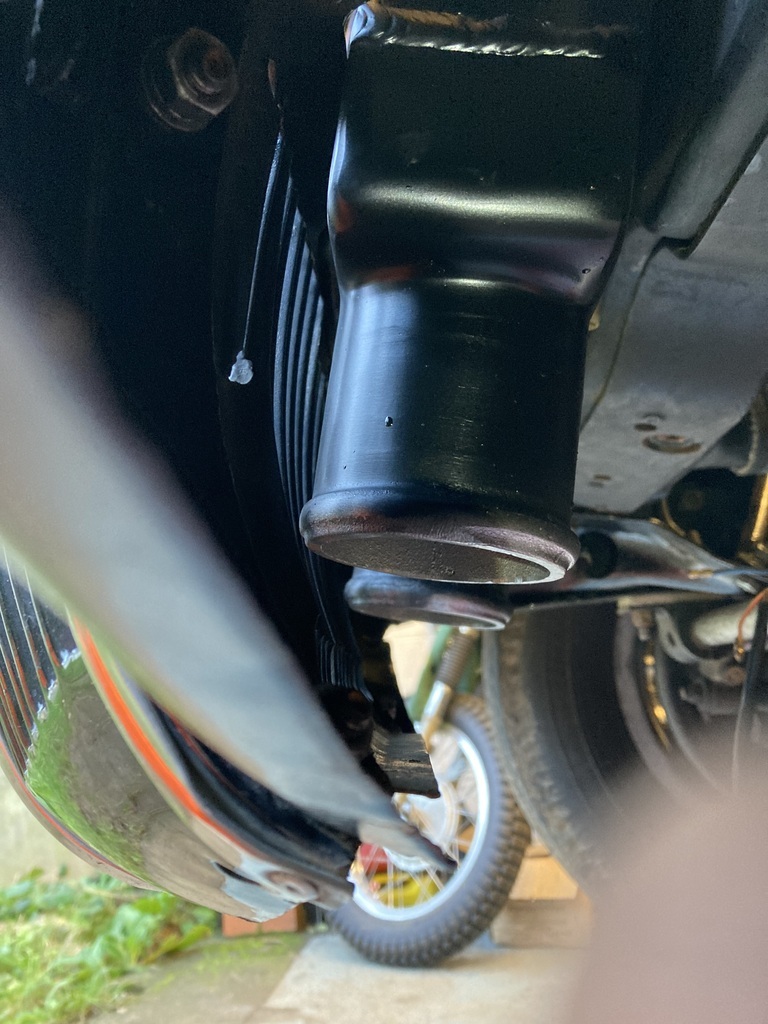
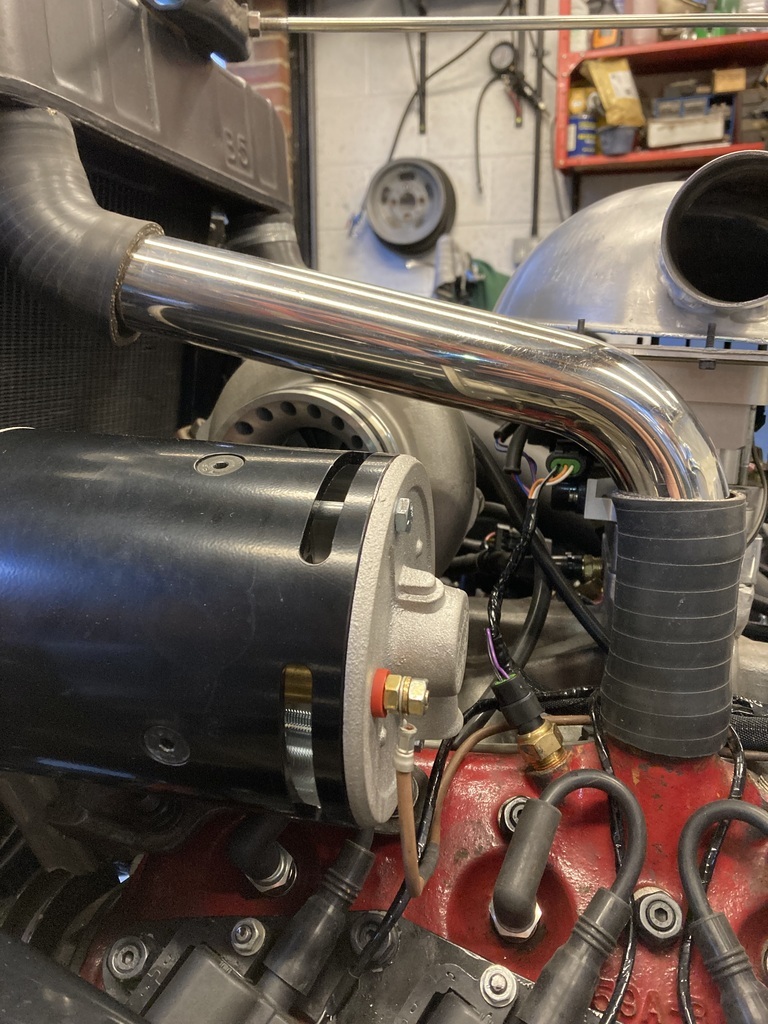
Front end off gave access to the front of the rad and fan.
The plan was to remove the fan and reuse and reposition the cross brackets for the intercooler.
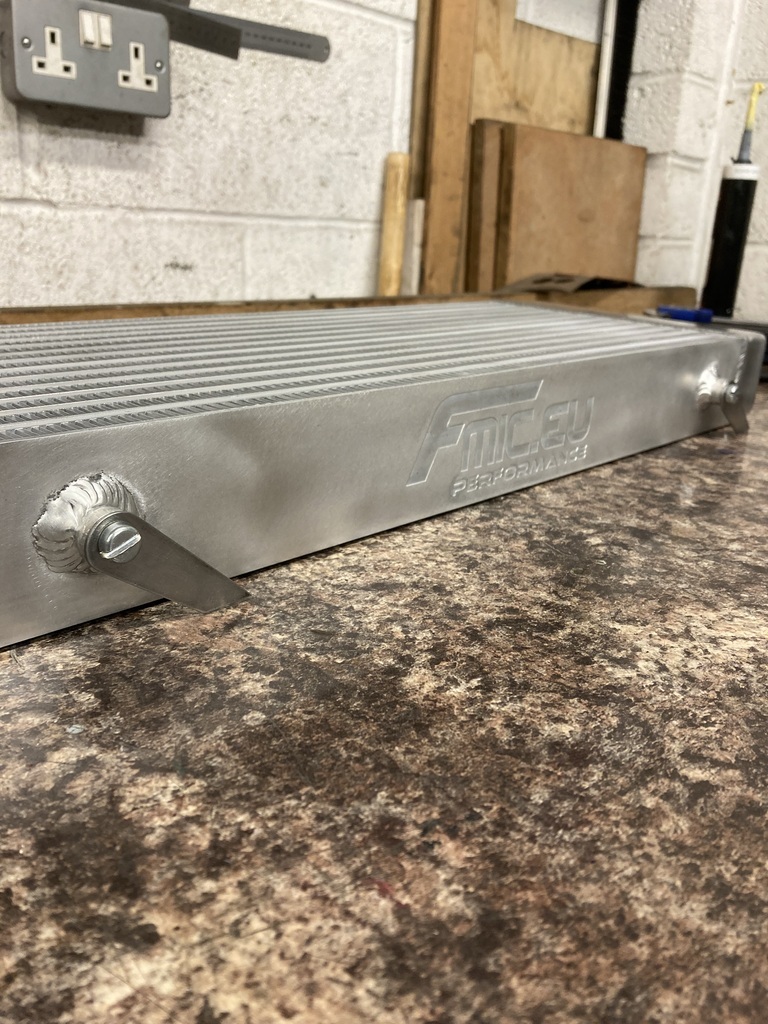
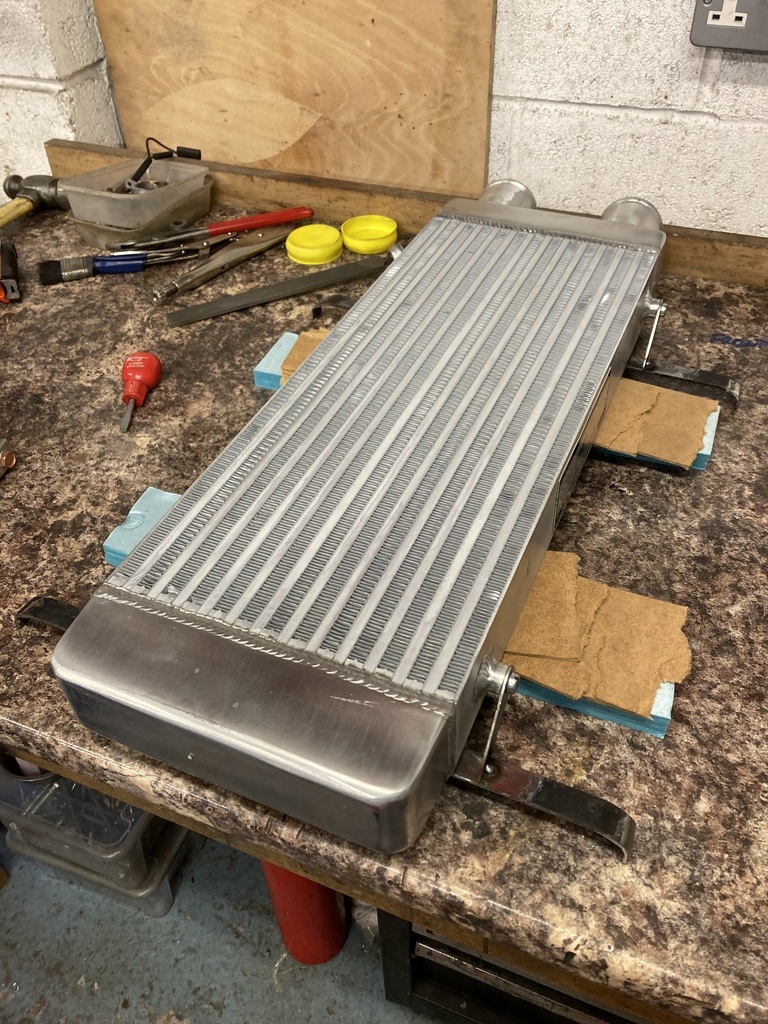
The intercooler arrived in a timely manner and was a really nice piece for the money.
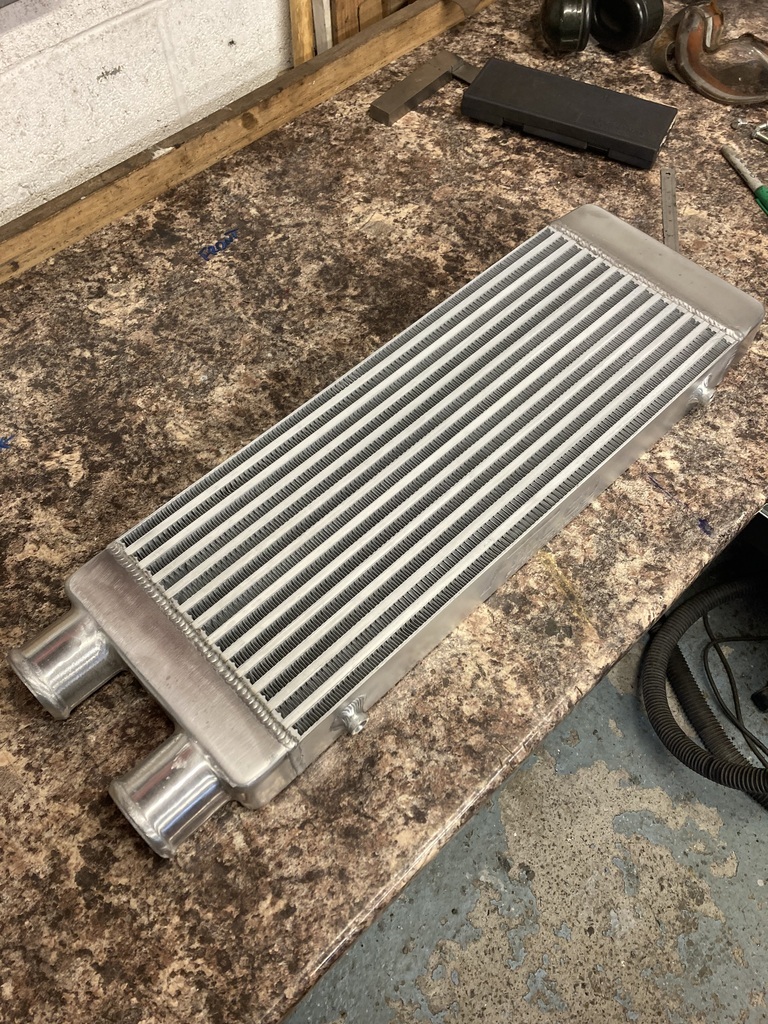
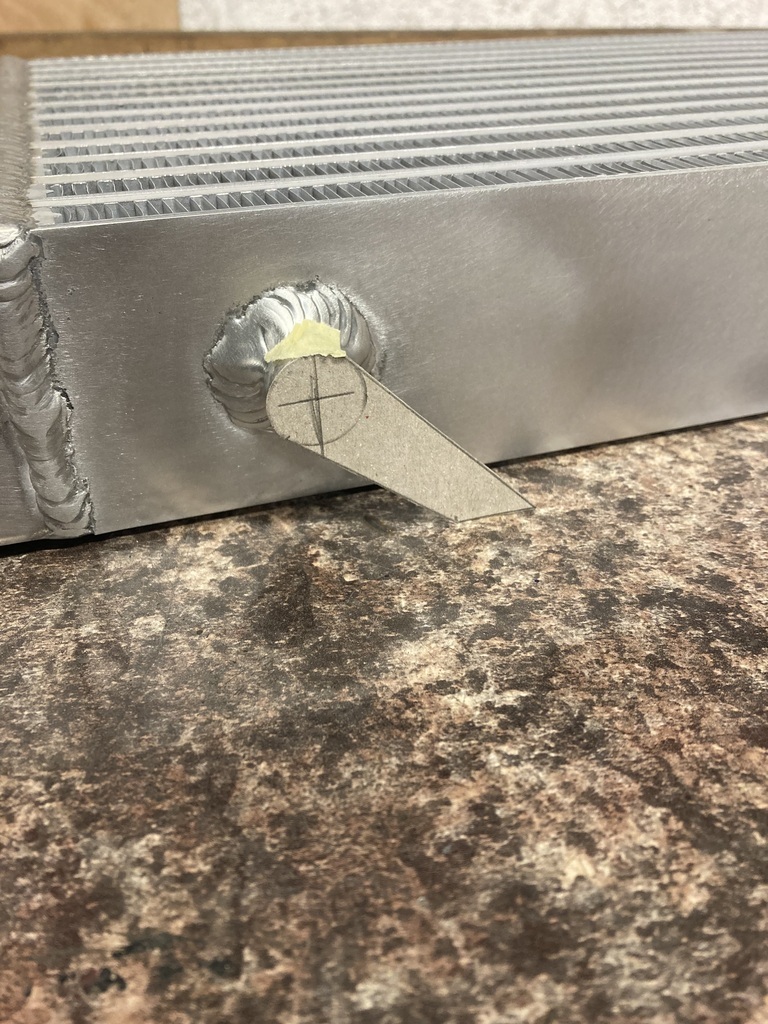
The intercooler came with four mounting lugs already fitted. Each lug had a steel threaded insert fitted rather than just relying on threaded aluminium which was a nice touch.
The intercooler would be mounted flush to the brackets and the brackets tight to the rad as possible to keep it all as compact as possible.
A CAD template was worked out that would connect the dots, allow correct positioning of the brackets on the rad frame and be repeatable x4.
The template was transferred to some 2mm plate offcuts from the cooling fan brackets that I’ll cover later.
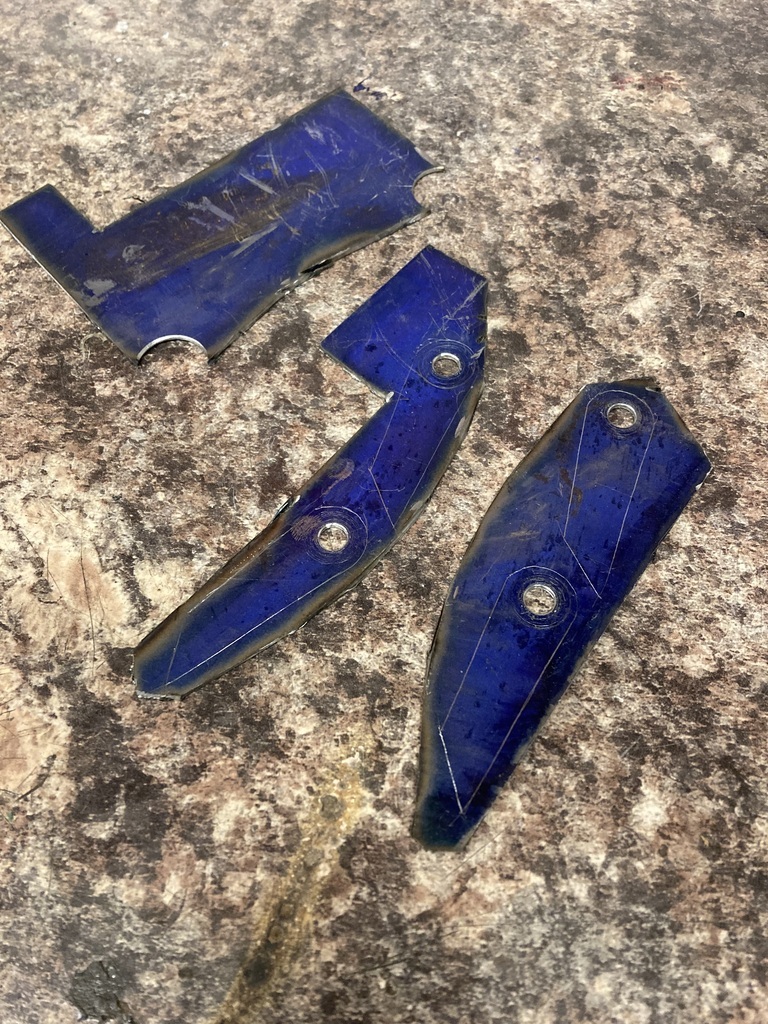
Bolted together and finished to their final shape.
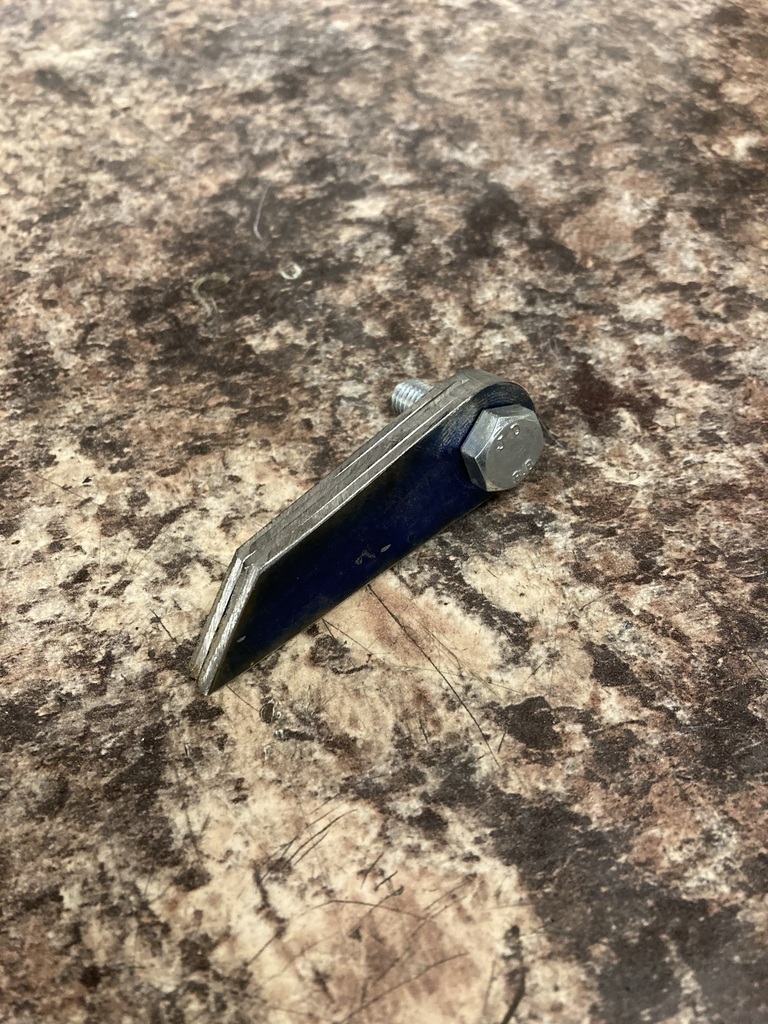
Mocked up in their correct orientation with some temporary hardware that actually ended up in the final fitment as it worked so well.
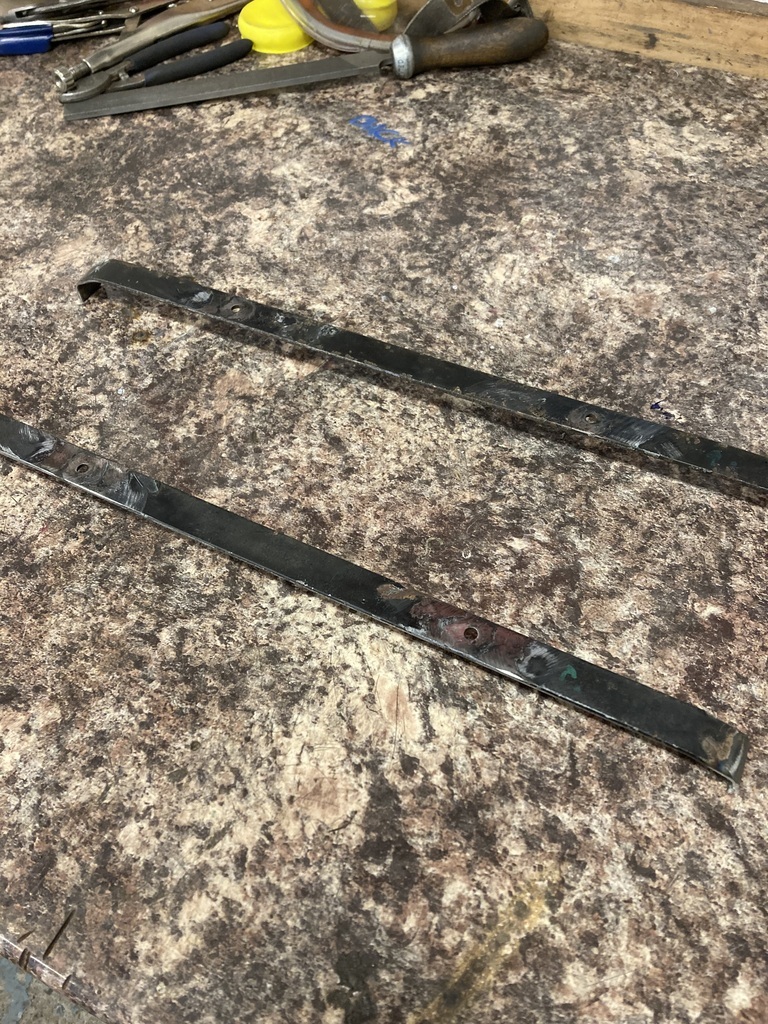
The old fan brackets were cleaned up ready for the new tabs.
Everything was set for tacking.
Then the whole unit could be tried on the car.
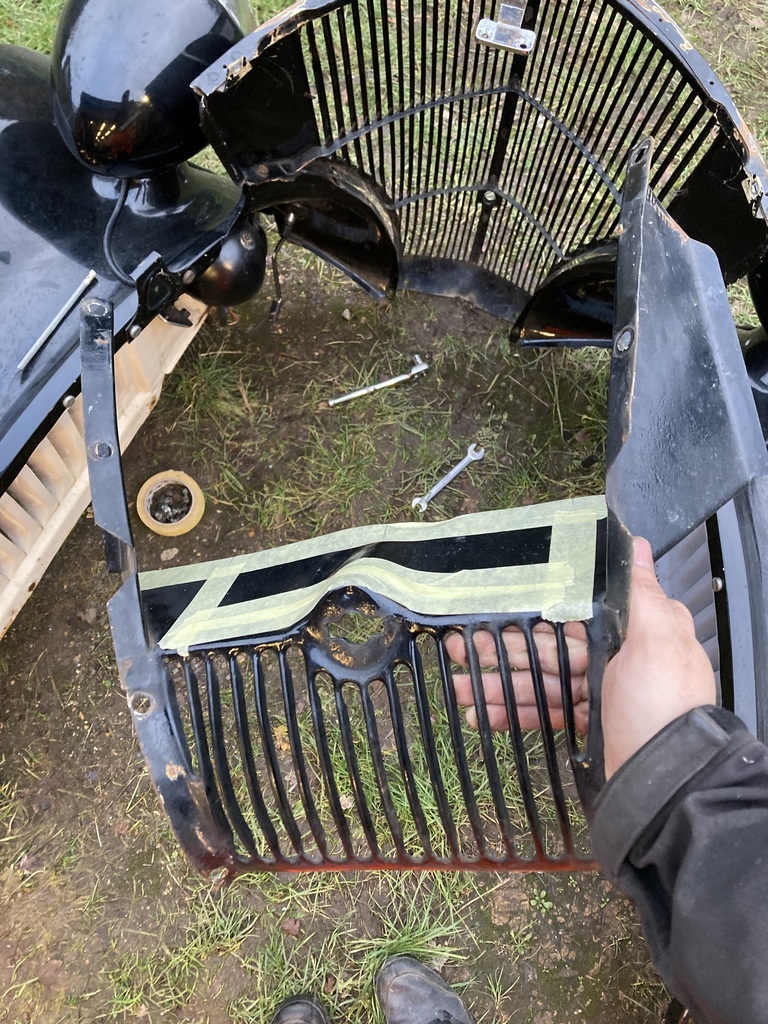
Before the front end could be tried back on I had to remove this internal panel which forms part of the front panel assembly.
Now I’m not sure how important this panel is to the front end structure but it would either have to be removed or clearanced considerably as the masking tape shows.
It was removed anyway as either option would require its removal.
Yeh, that works!
The front end came off again so the brackets could be welded to the rad frame.
We decided to cut the internal panel but removing that much material from its centre made it as floppy as a wet flannel but it went back in anyway.
And done.
I was very tempted to leave it in its raw aluminium but decided against it and gave it a light coat of satin black on the visible faces.
Now it’s almost invisible.
There was no reason that the front end couldn’t be bolted back on now which I started to do but something wasn’t quite right with the alignment.
I realised half way through bolting it together that now the front end was more in its correct location rather than loosely assembled that I’d lost all the clearance around the cut out and it was tight up against the intercooler face.
It was pointless chopping more material away, not that there was much left anyway, so made the decision to just remove it altogether.
That wasn’t the only issue as the inlet/outlet were now completely encased by that same grille panel making it impossible to fit any sort of hose joiner.
Removing the panel altogether didn’t seem to make any difference compared to having the clearanced panel in place once the front panels were bolted back together without it.
I think the main job for the panel is as a guide and support for hand cranking the engine and as a general cosmetic filler panel for around the bottom of the rad.
Like a glove…


 for 3 weeks in which time I went nowhere near the car or garage.😔