adam73bgt
Club Retro Rides Member
Posts: 4,862
Club RR Member Number: 58
|
2000 Jaguar XJ8adam73bgt
@adam73bgt
Club Retro Rides Member 58
|
Apr 19, 2024 10:47:58 GMT
|
Super duper(!) premium sound system. 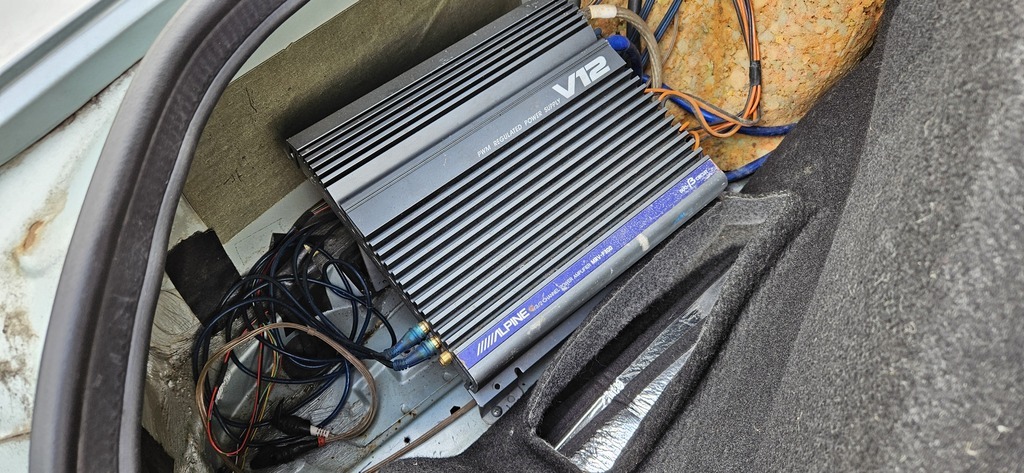 Repaired a couple broken wires. It powers the door speakers, and there's wiring for a second amp and a sub. Phil Heh don't usually see a V12 in an X308 😉 I do fancy another luxobarge, and particularly a jag, doesn't help that there are so many x300s and x308s for sale at any one time.. Yours looks quite tidy! |
| |
|
|
|
|
adam73bgt
Club Retro Rides Member
Posts: 4,862
Club RR Member Number: 58
|
|
Apr 16, 2024 12:11:59 GMT
|
Nice bstardchild ! A gpz1000rx? I must confess I'm not all that clued up on 80s kawasakis or 80s bikes in general but an 80s bike is on the mental wishlist for the future I was hoping to make my next post here the big fire up flyingphil but alas I'm waiting on parts again 🙃 An update since last time though, horn arrived, got fitted so that's all good. Unplugged the US spec indicator DRL's as I think it will make the indicators less obvious, and I've pretty much routed all the wiring now. My carb guy sent over some recommended jet sizes for vm28s on a kz400, so I had the carbs off to swap those over, but due to a bit of miscommunication he didn't send the bits I need to connect the throttle cables up so I'm waiting on those now. The big exciting news is that I got my painted parts back and they look incredible. My phone camera doesn't do them justice but they're a deep candy blue with silver pinstripes, I'm very happy with them 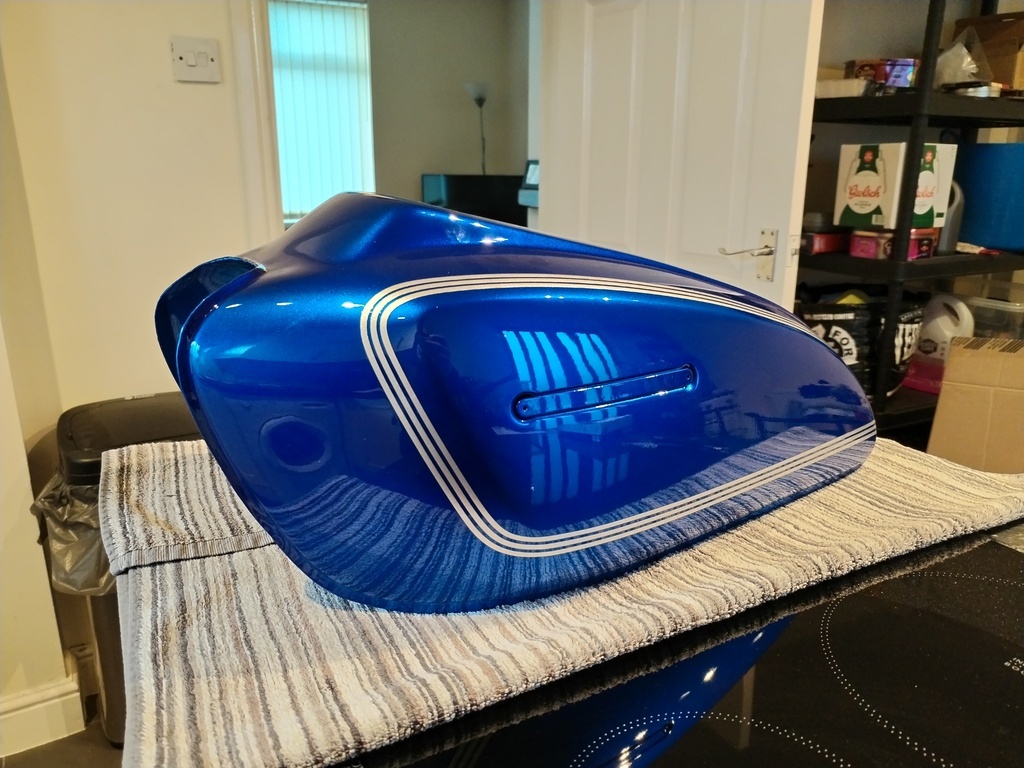 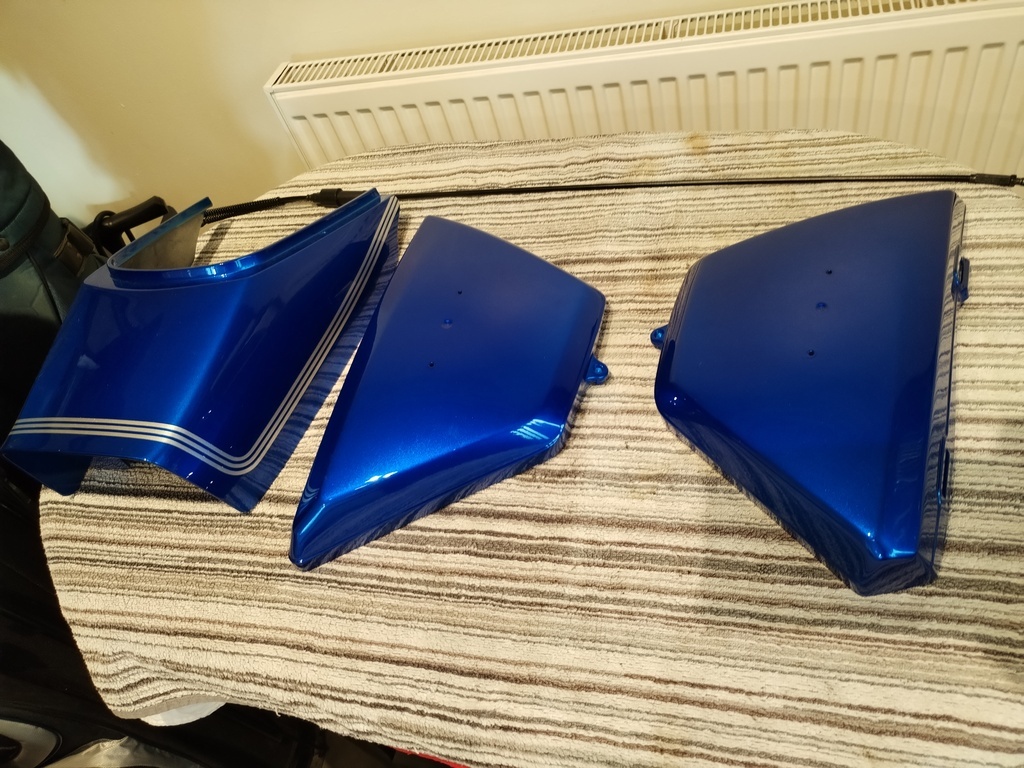 I very carefully then reattached the tank and side panel badges, tank badges easily screw on. The side panel badges needed a little restoration with white and silver paint pens, the plastic prongs on the badges were intact so I used the original style clips which were a bit of a pain, but got there in the end using a flat head screwdriver to push the clip on while I rested the side panel on a towel. 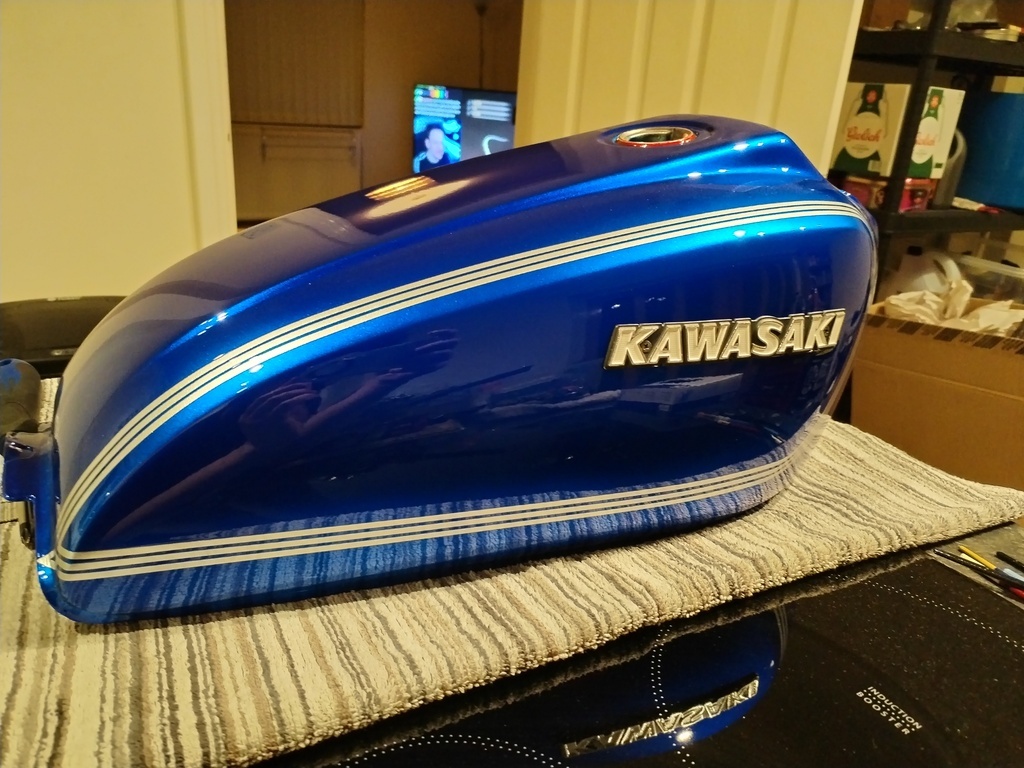  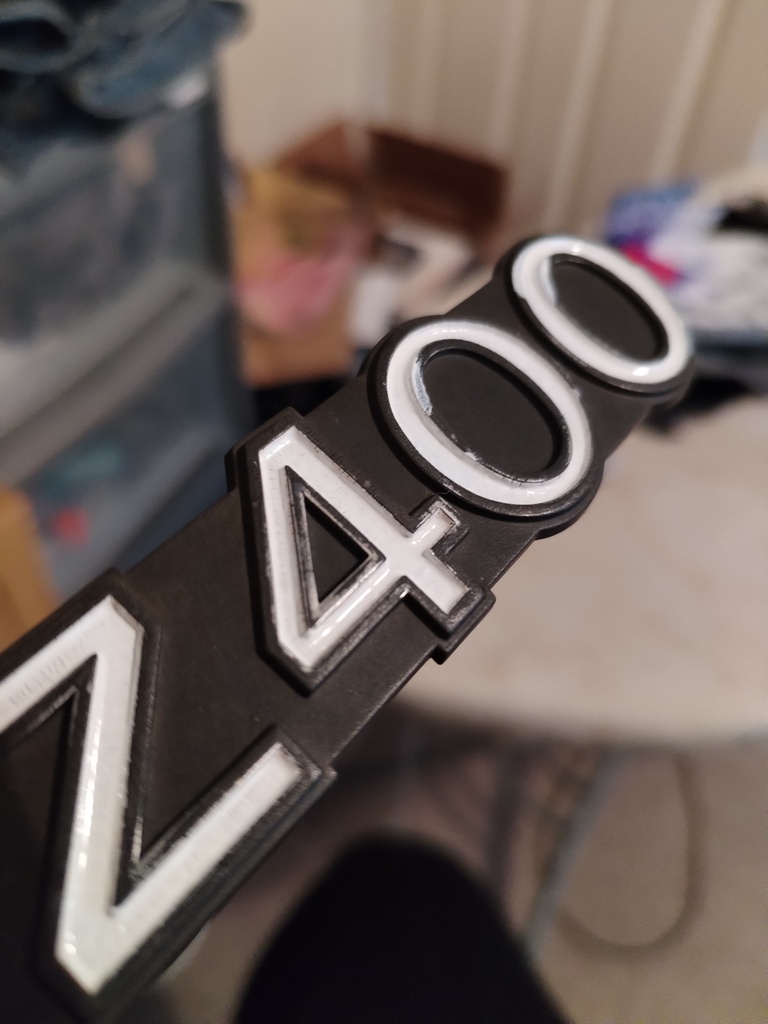 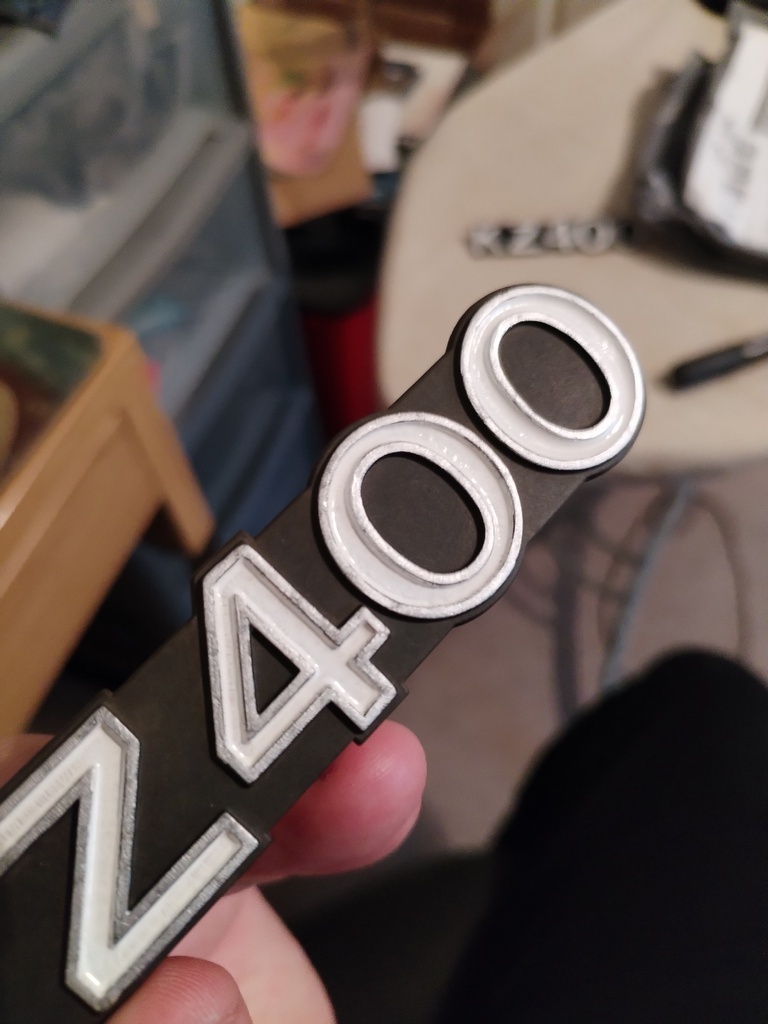 And I couldn't not fit up all the panels to see how it would look 😏 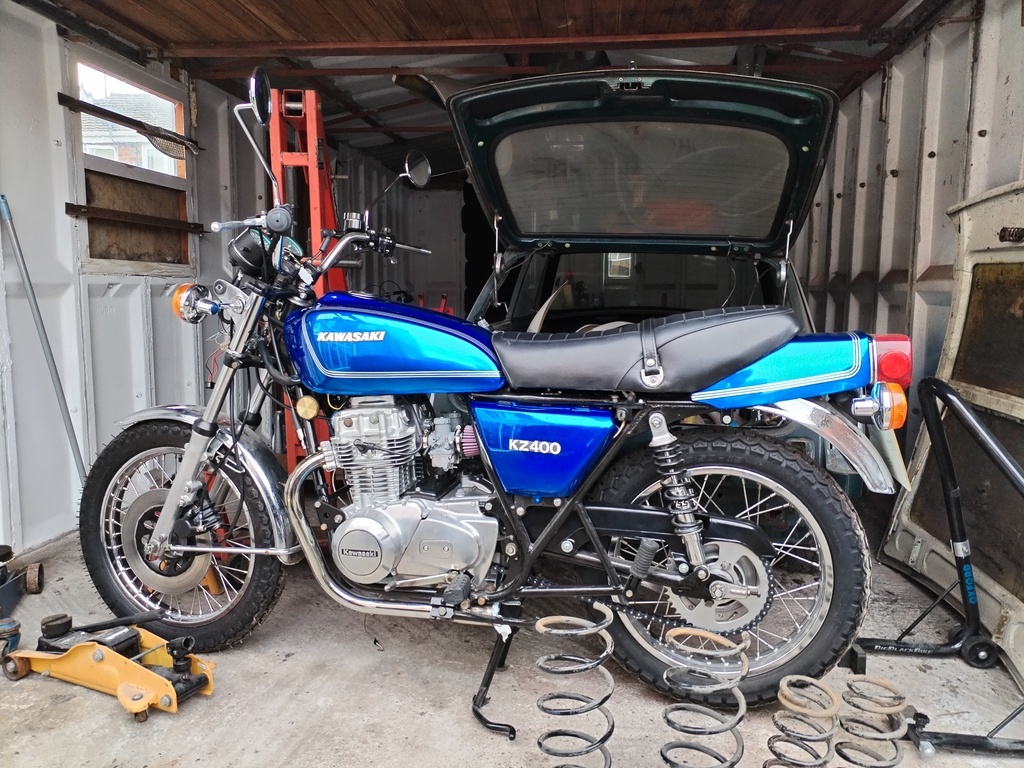 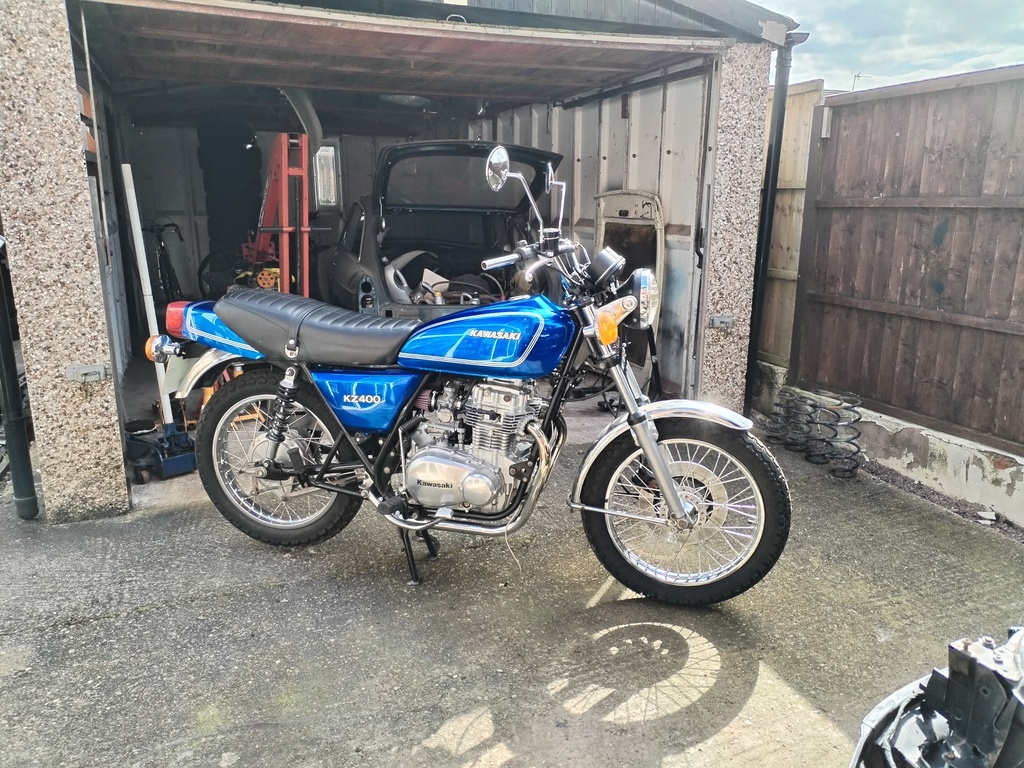 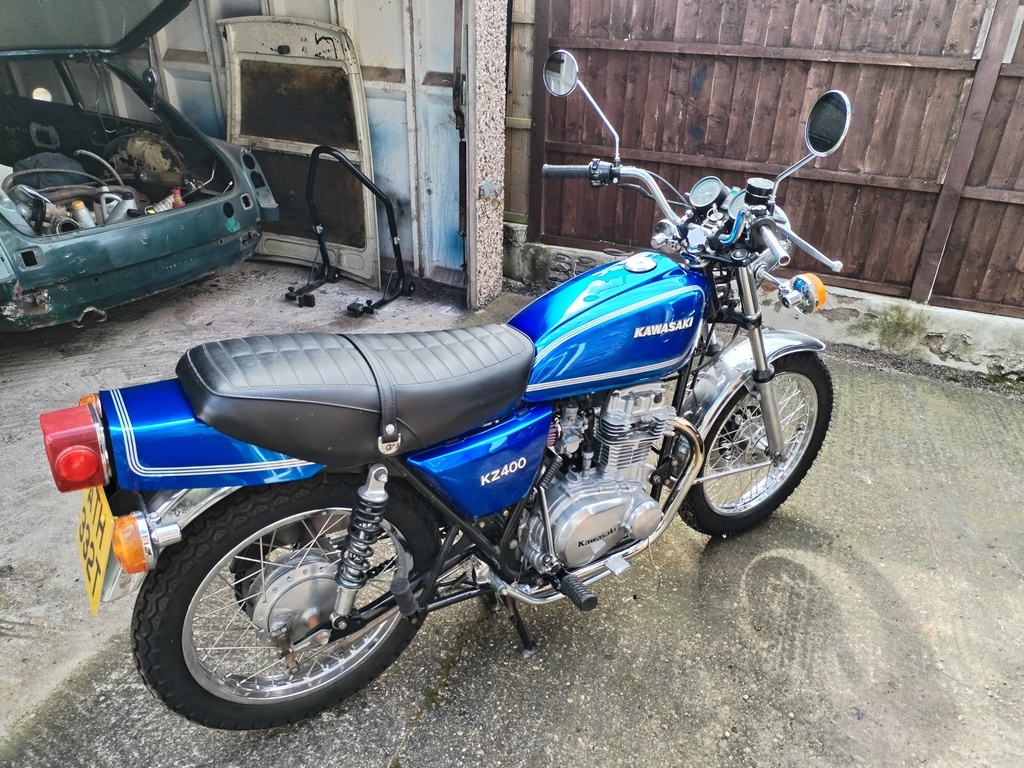 Next update will be trying to start the damn thing! |
| |
|
|
adam73bgt
Club Retro Rides Member
Posts: 4,862
Club RR Member Number: 58
|
AC pressureadam73bgt
@adam73bgt
Club Retro Rides Member 58
|
Apr 11, 2024 20:54:34 GMT
|
|
Receiver dryer on the 207 is built into the condenser if I recall correctly.
I spent a fair bit of time and money getting the AC functional on my gf's 207 last year. One of the hoses breaking off where it goes into the condenser made it much more of a task than it should have been.
After getting the final re-gas at my local place, they did comment that the pressure was on the low side still indicating that the compressor probably wasn't at full health but it's apparently still working and cold so it's holding on for now..
|
| |
|
|
adam73bgt
Club Retro Rides Member
Posts: 4,862
Club RR Member Number: 58
|
|
|
|
|
This is such a cool little thing and I'm liking the incremental performance mods without going over the top with it 😁
|
| |
|
|
adam73bgt
Club Retro Rides Member
Posts: 4,862
Club RR Member Number: 58
|
|
|
|
|
Nice! Noted that regarding cam chain wear, at the moment it just feels like it will happily plod on forever
I do need to tend to the power steering belt though as it does like to screech when cold and at at full lock
|
| |
|
|
adam73bgt
Club Retro Rides Member
Posts: 4,862
Club RR Member Number: 58
|
|
|
|
Managed to get a dry-ish day and a half inbetween rain and hail showers to get the suspension on the Almera. Probably not the most riveting content for anyone who's worked on a typical modern hatch with Mcpherson strut suspension but I find it's a good bit of maintenance to get down in the wheel arches as there are often other things you discover while you're there.. I started off with the rear suspension, rear right specifically which would turn out to be the trickiest corner as it wasn't the corner the garage worked on last year for the MOT and the fronts were just easier in general. First step is getting to the top mounts which involves removing the boot carpet and side trims. 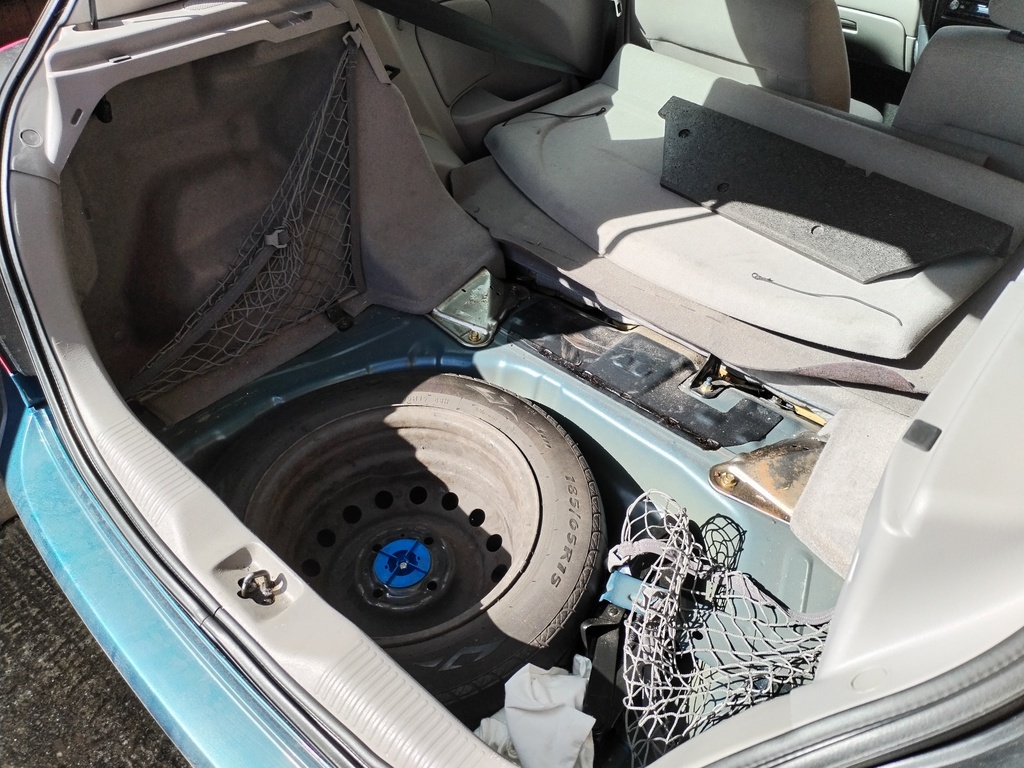 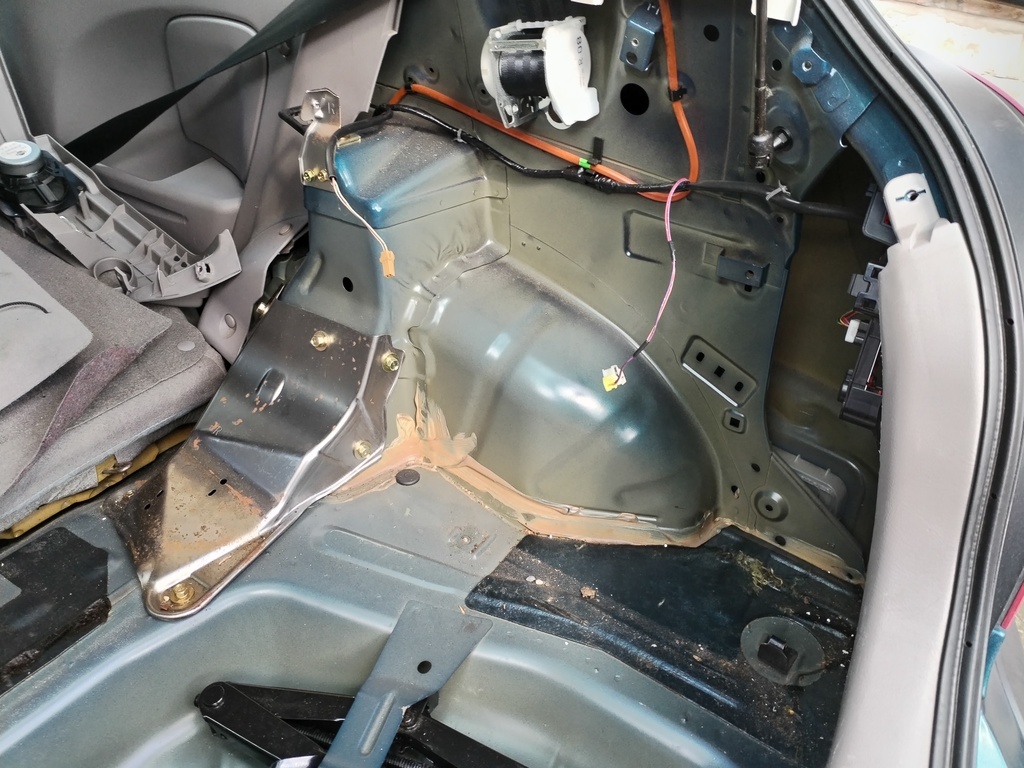 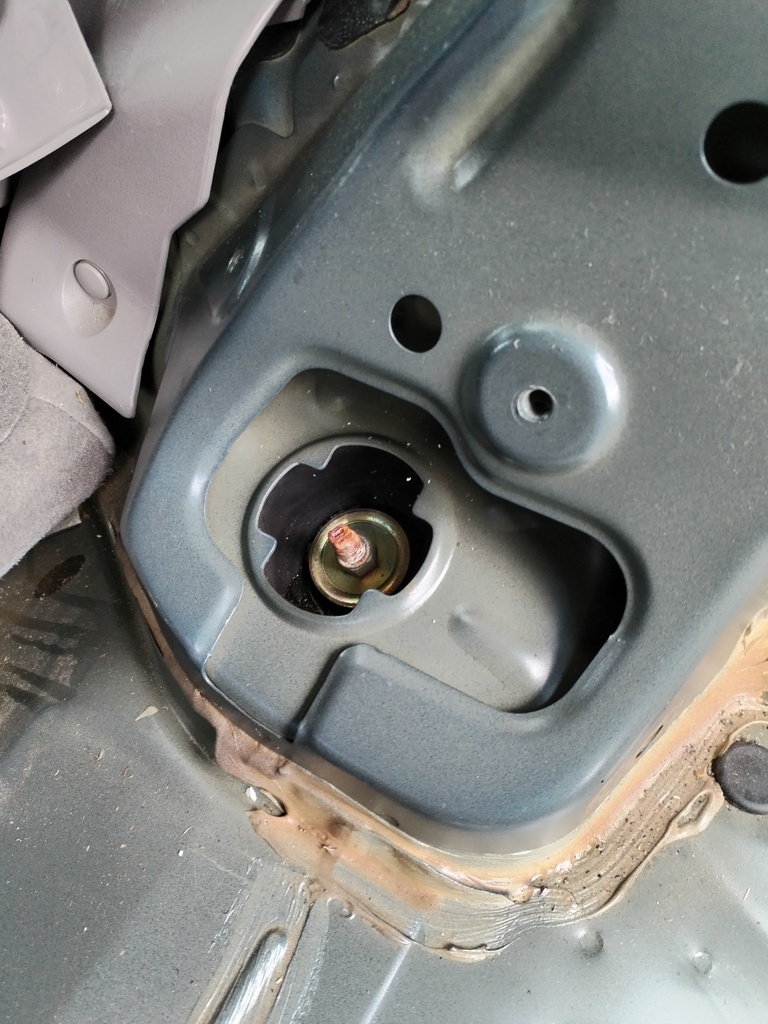 Pretty straightforward, few 10mm screws to get the speaker cover off, some clips for the carpet side trims and then the "strengthening plates" are held down with 12mm bolts. Interestingly the design of the plates and the suspension top mounts in the Haynes manual look different to what's on my car. Whether they had a facelift model to photograph or one of these elusive Saloons or a Tino, I'm not sure. Underneath the car I was immediately vindicated in my decision to order new bump stops and shrouds ahead of time as these were very shot. 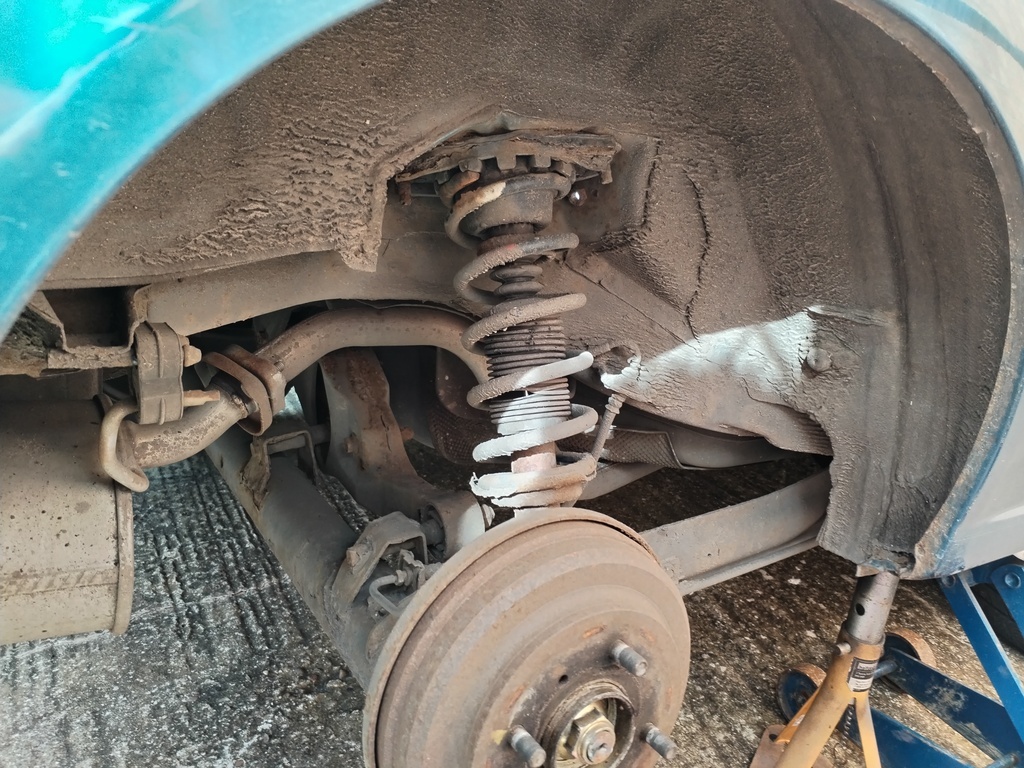 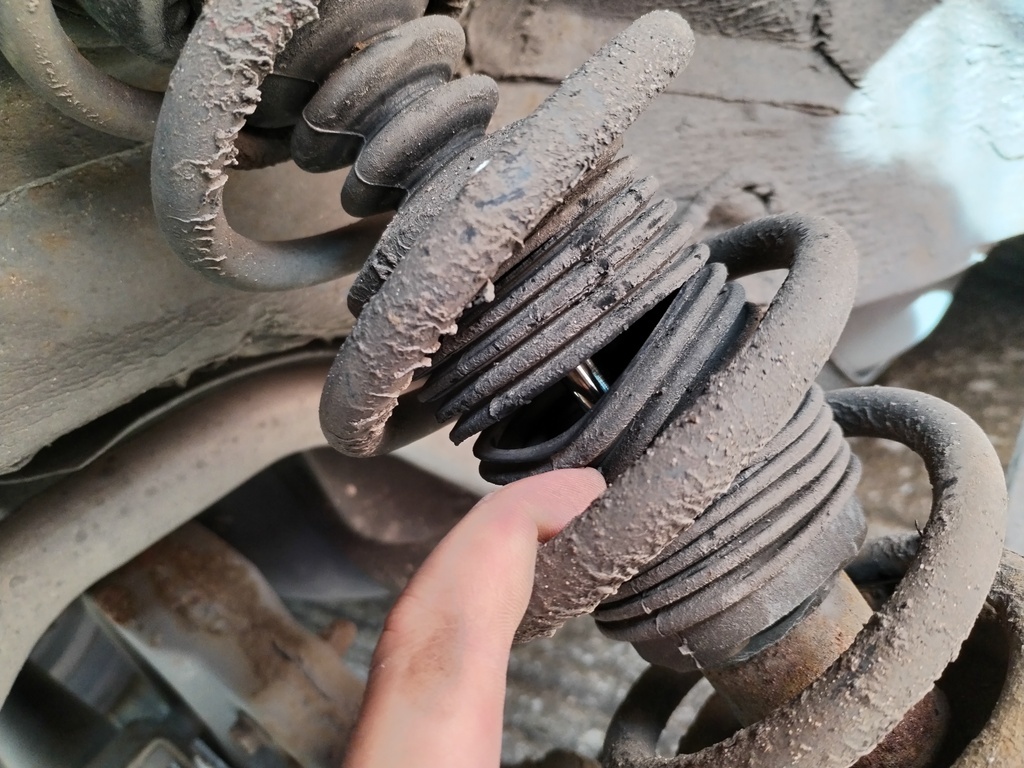 From here it should be a fairly straightforward job to undo the big 17mm bolt at the bottom of the strut and the two 14mm (I think) nuts from the studs holding the top mount and the strut will come out. However one of the nuts started to round and the other wouldn't budge.. Got out the hefty old impact gun that I rarely use and thankfully it managed to get them off. For last years MOT, the car failed in part on the top mount being corroded on the Passenger side, well I can now say for sure that the Drivers side was not far behind  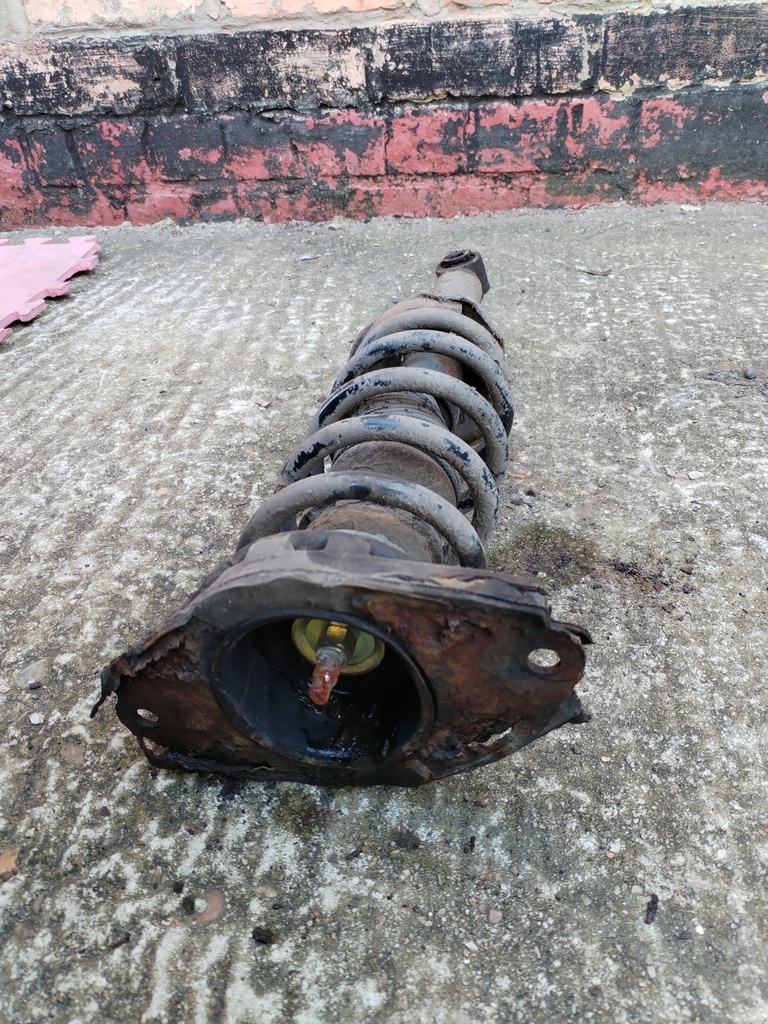 Thankfully most of the crud left on the shock tower was remnants from the top mount so I was able to scrape it off, I then gave the area a wire brush and some Hydrate 80. While I was doing this, I also set about trying to remove a lot of the built up mud that accumulates in the wheel arch, found some areas where surface rust was starting to creep under the underseal like it has on the Crossfire, and treated it as best I could. The most satisfying bit was running a blunt scraper around the inner lip of the wheel arch to get all the built up dirt out of there. I'll come back in the summer when it's warmer and do a more thorough job but it'll do for now. There is a little bit of paint bubbling near the end of the sill and some superficial stuff starting on the lip of the arch which I'll keep an eye on. 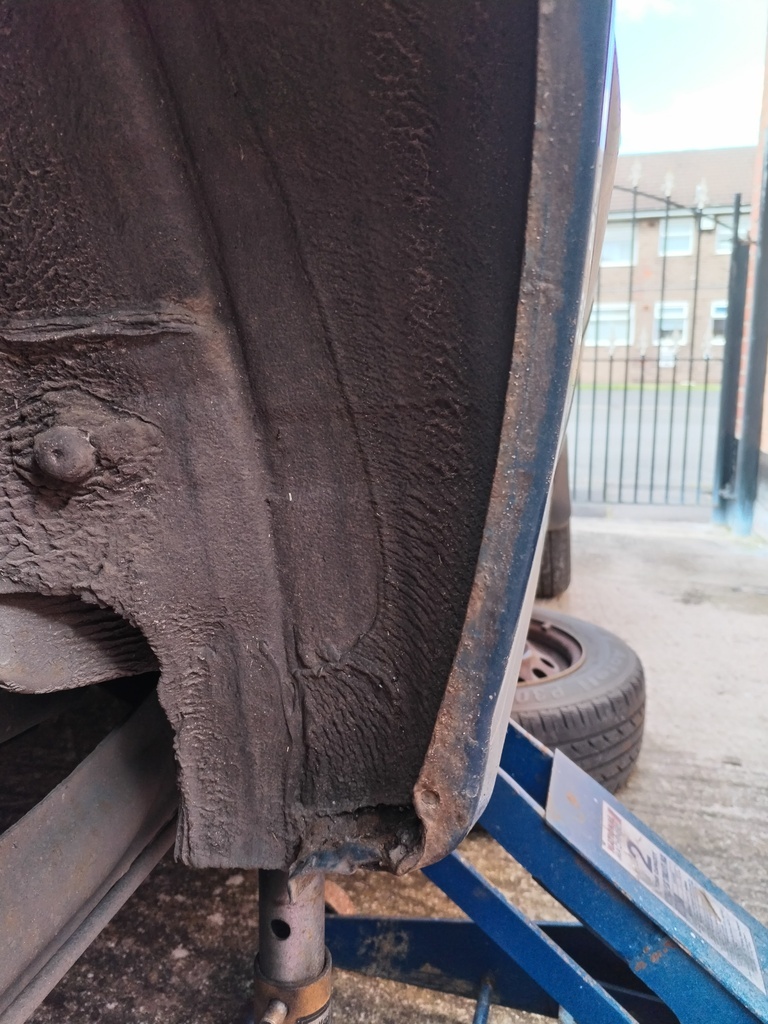 Ended up with a nice big pile of dirt by the time I was done  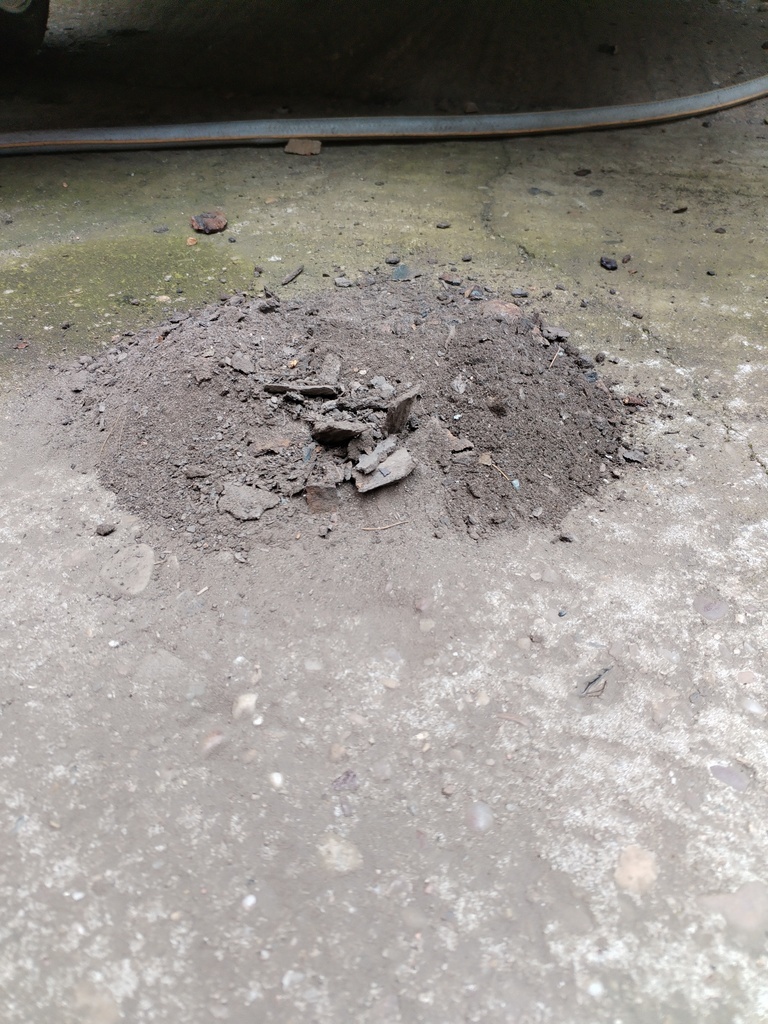 Put some paint over the Hydrate 80 once it had dried and then put the new shock, spring and top mount in 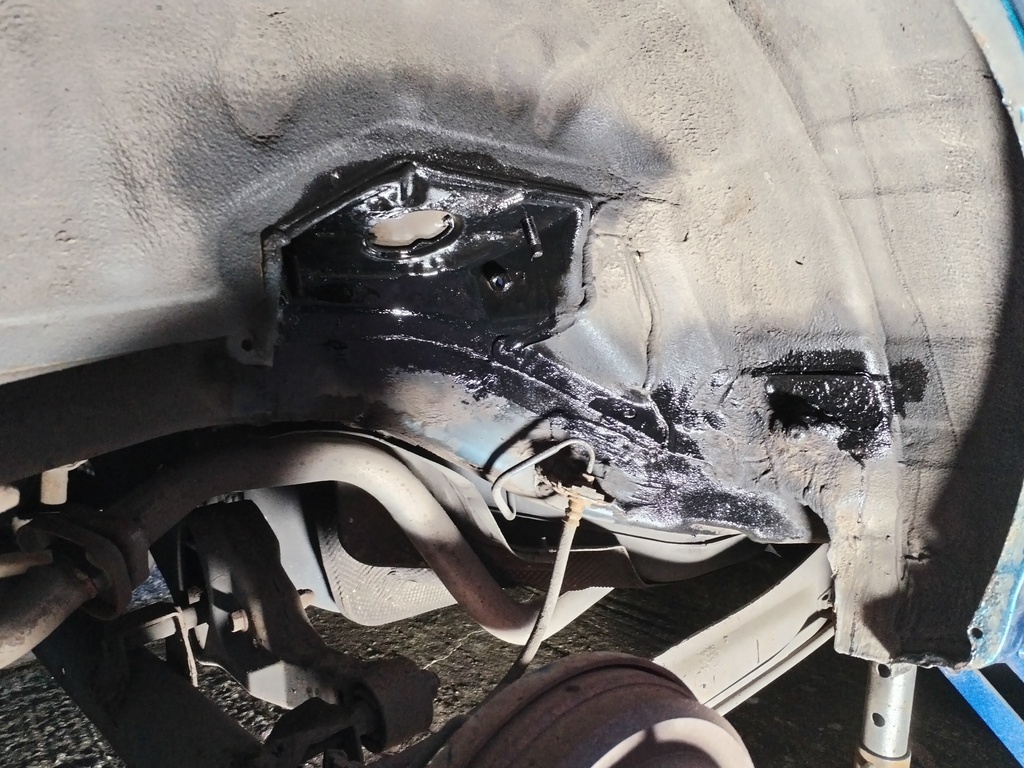 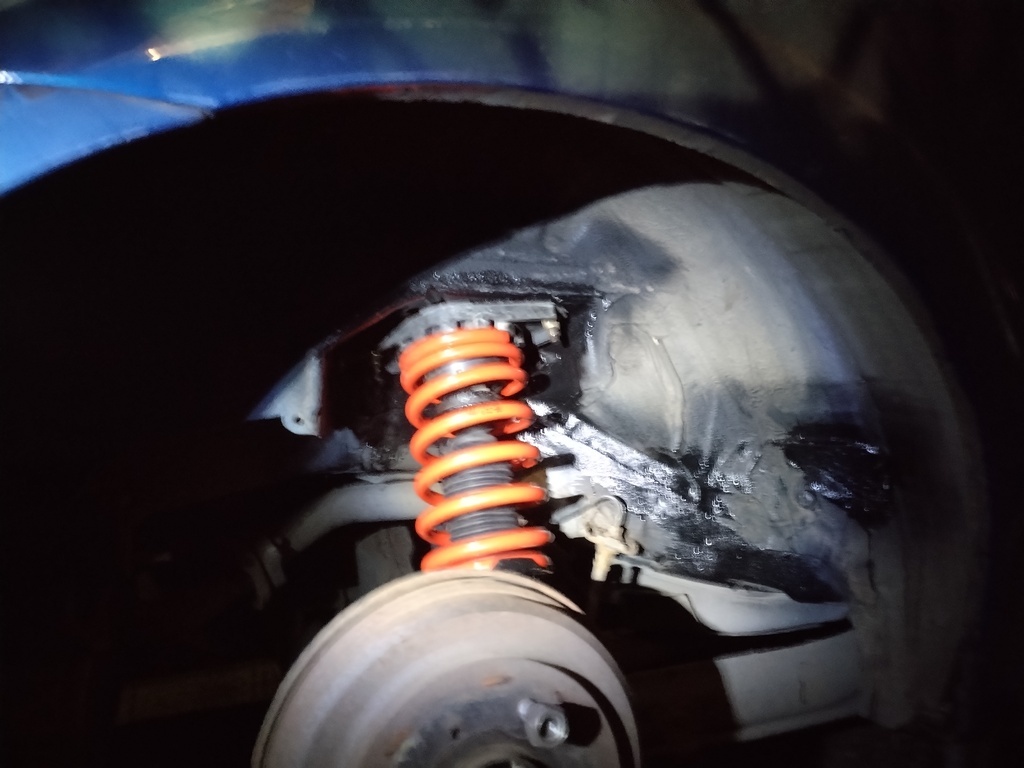 New phone camera isn't great at night... The only bit I had to re-use from the old struts was a metal cup that sits above the bumpstop. There's next to no preload on the springs in the struts so didn't even need to use spring compressors to get them off. I loosely put the top mount on the new strut so I could clock it into position, then tightened up the top nut onto the damper rod once it was already installed in the car. Next day was rinse and repeat for the other rear corner. This had had a new top mount fitted about a year ago so everything came apart more easily. Would have been nice if they could have done a wire brush and quick paint at the time but I made sure to do it now in any case. The only real difference on this side is that the fuel filler pipe runs through the arch area, I didn't take a before photo but there was a lot of mud coming off the filler just from getting my hand up there, so again a good bit of preventative maintenance, will come back to this in the summer. 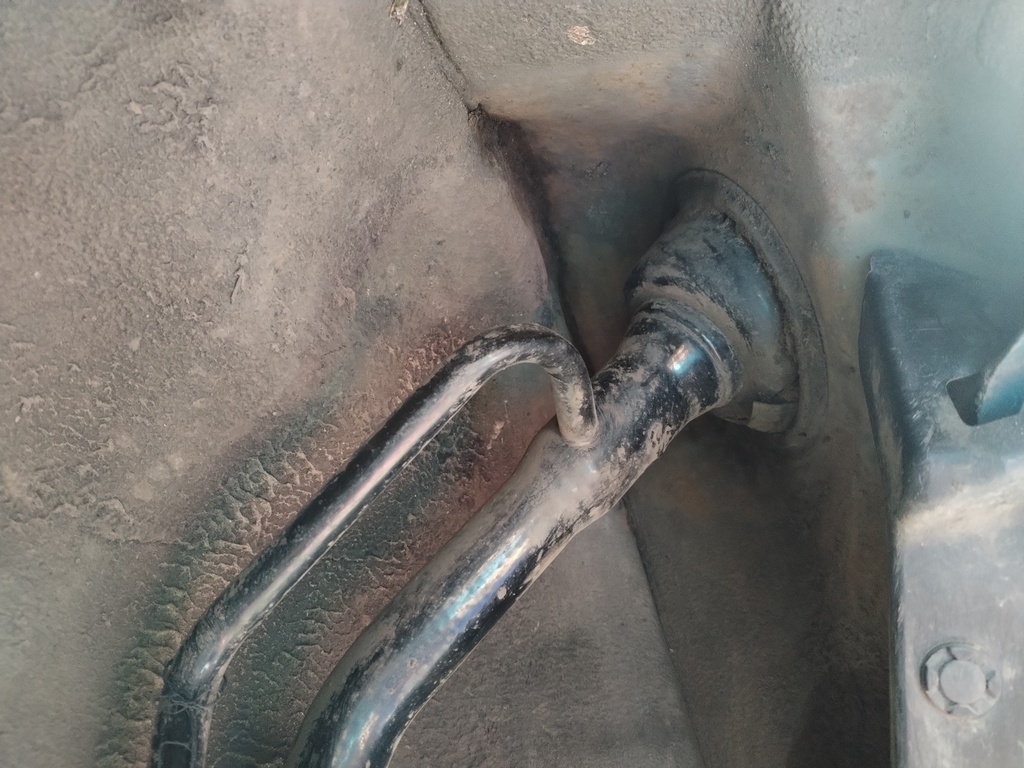 I made a start on the Front left while the paint was drying on the Rear left, again it's pretty standard Mcpherson strut stuff, two bolts holding to the knuckle, 3 bolts up top holding to the strut tower, one clip and the brake hose comes away, no ABS to worry about on my lowly model. 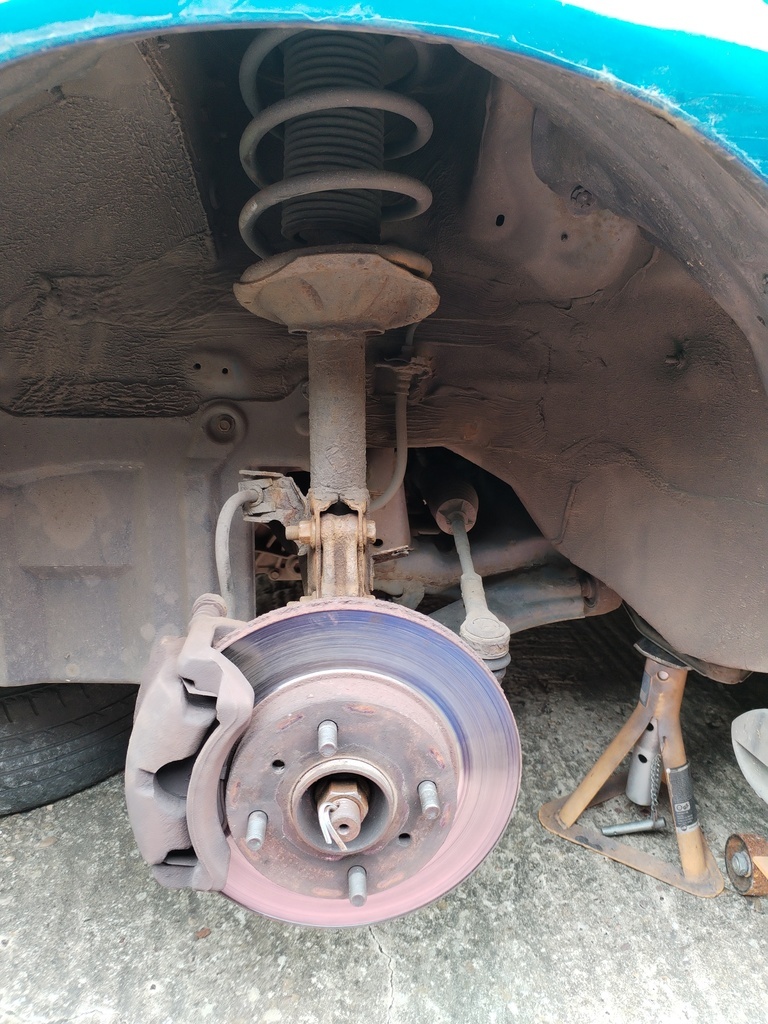 I did notice that both front discs have a decent lip on them, so I'll factor in a set of discs and pads when it's service time in a month or so. Also noted that the front arch has some rust, someone's done a bit of a dodgy paint repair around the arch in the past also. At least it's a bolt on part for when it needs replacing 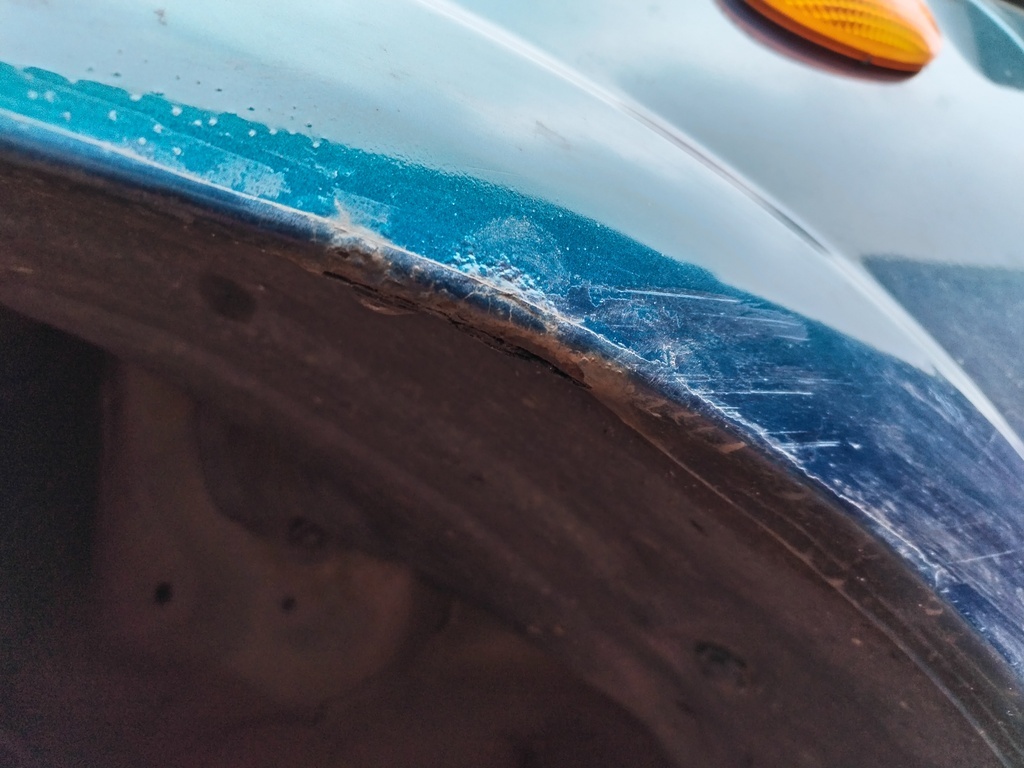 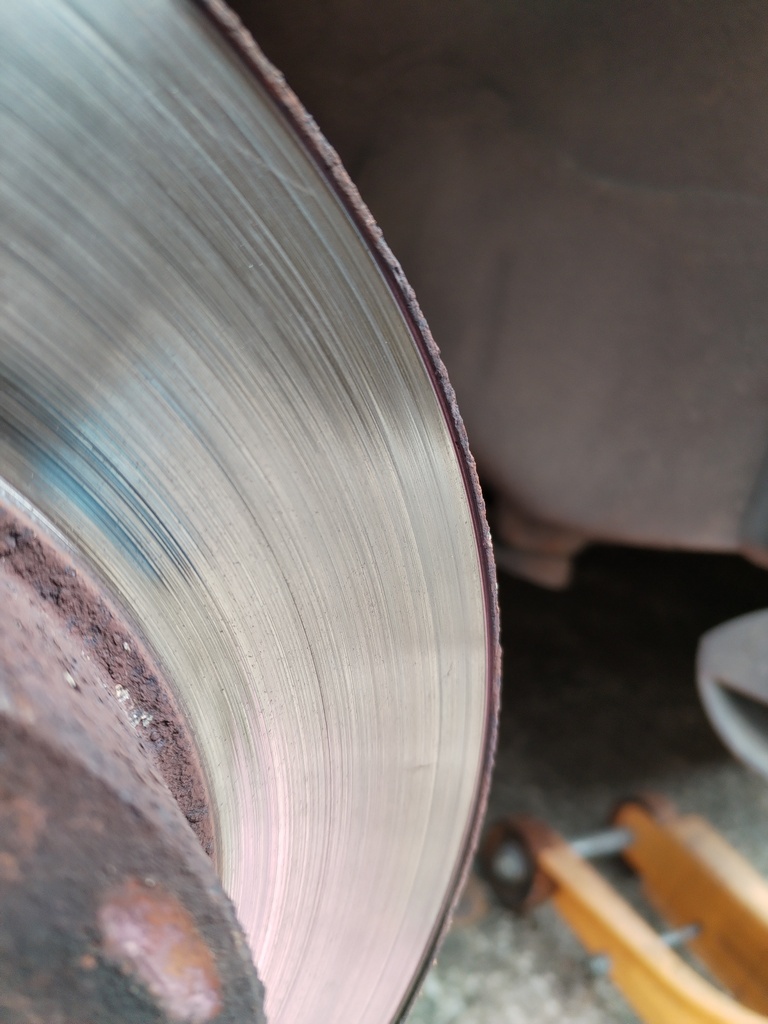 Comparing old strut to new, spring compressors certainly needed to get the front springs off and on! I've not actually mentioned the condition of the old dampers yet. So they all appeared to be original Nissan items, and I'm 99% certain they were the original ones fitted in 2001. None of them seemed particularly keen to return after being compressed So the new dampers are certainly a big improvement! Did a bit of comparing of bumpstops, left is the old original item, middle is the one that came with the new TRW struts, right is the new one I ordered with the shroud kit. 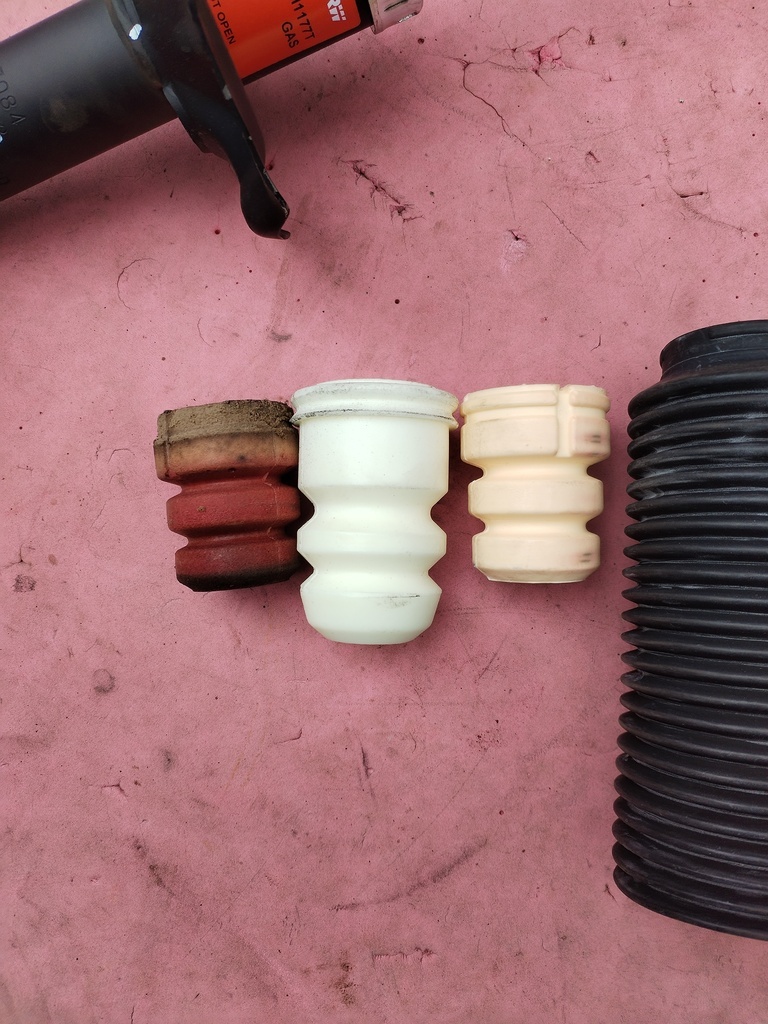 Although the old shrouds were usable, I fitted the new ones with their bumpstops since I was there. Didn't fancy using the longer TRW bumpstops, especially now the car is "lowered" 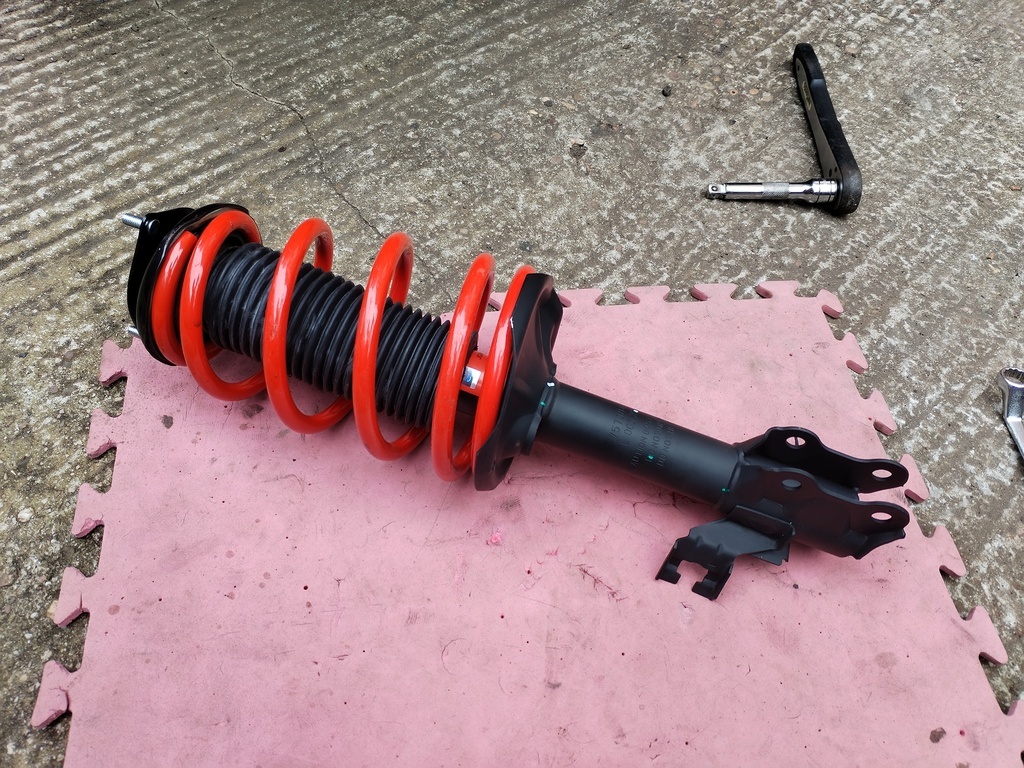 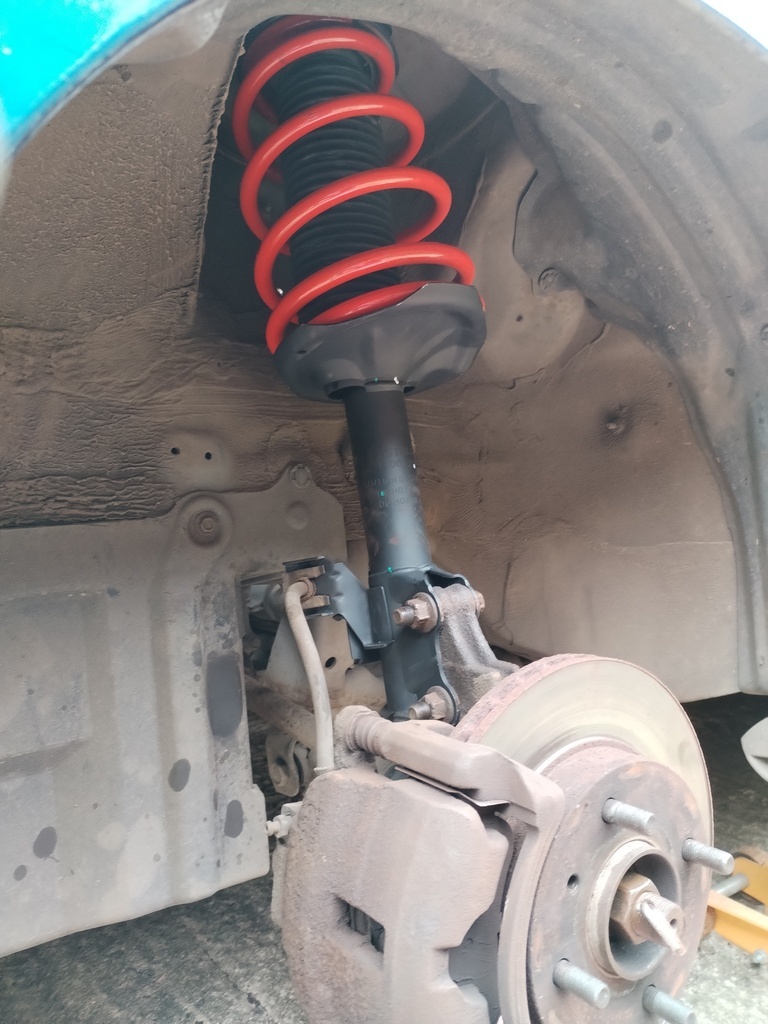 Built up and back on the car, I had to re-use a metal and rubber upper spring mount from the old struts. Pretty straightforward to get it back in, torqued it all up, wheel on, then I realised I left out the OEM gasket that goes between the strut and the tower... 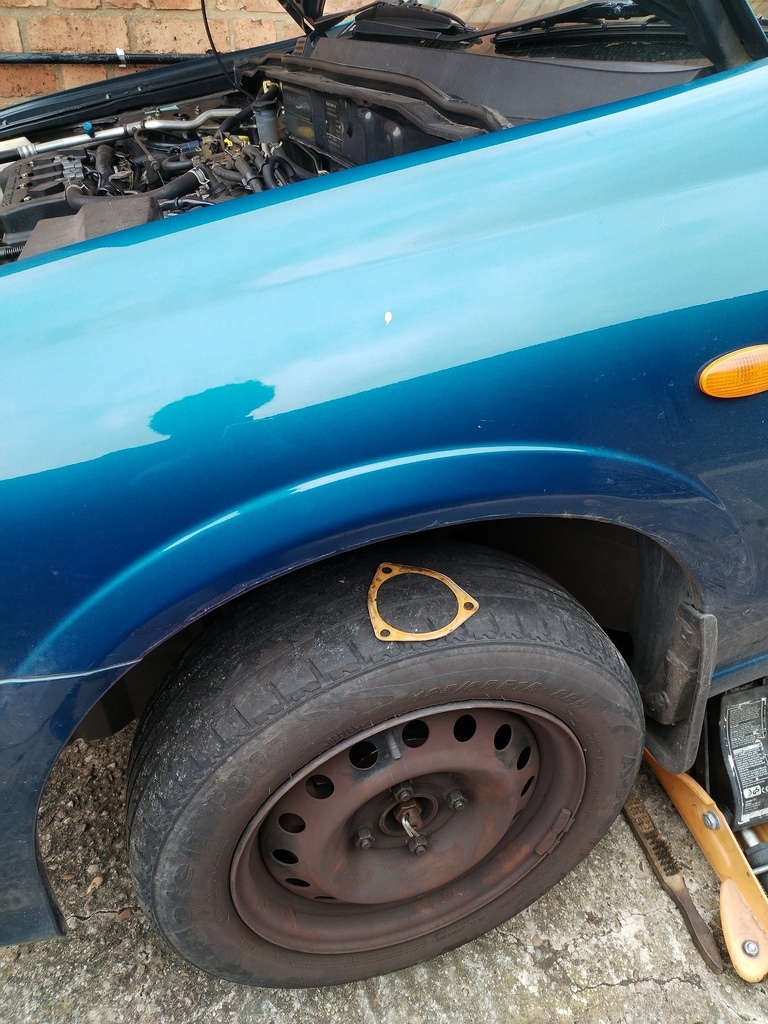 I can't imagine it does all that much but I didn't want to leave it out, thankfully I could just remove the top three nuts, drop the assembled suspension corner through, put the gasket on then push it back up into place, took 2 minutes  Front right was exactly the same except there was a cable tie rather than a clip holding the brake hose to the strut, and some clips missing from the engine bay dirt shield, I'll revisit those in the future. So after all that work, what's the result? Well here's the before 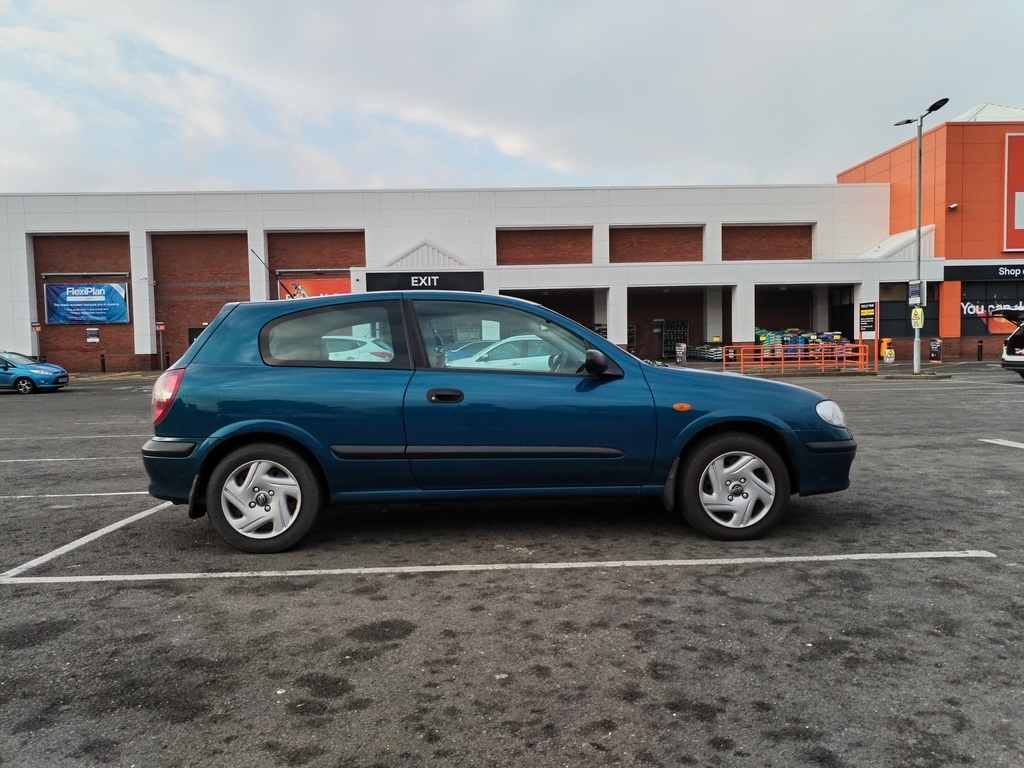 And here's the after 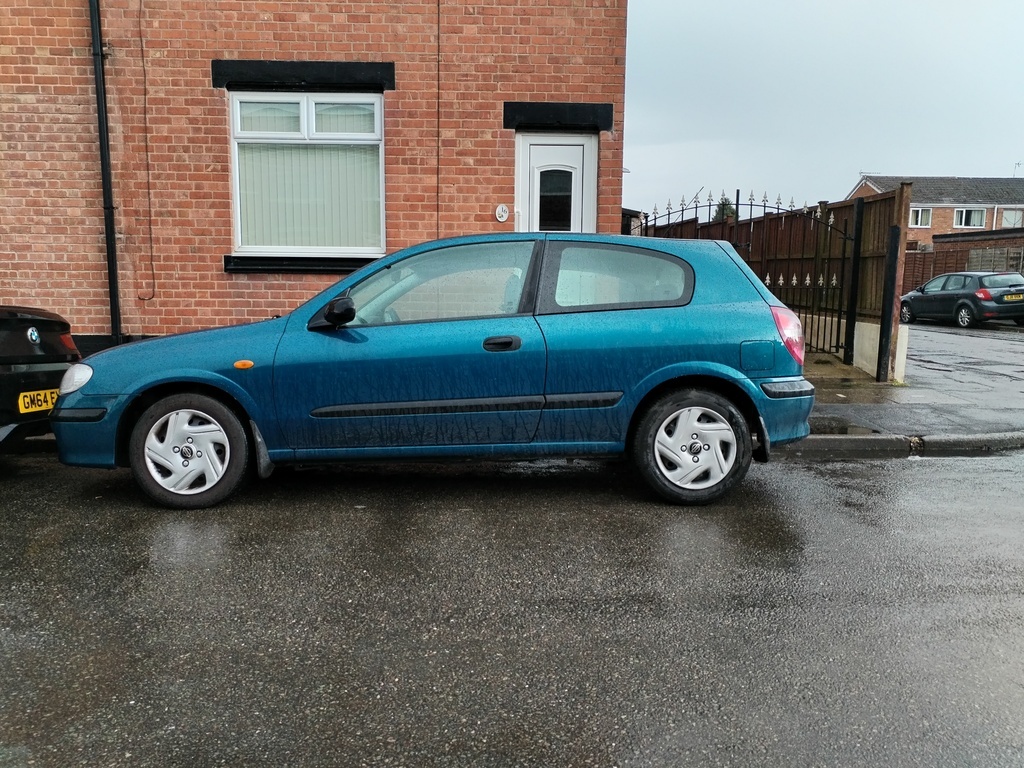 Now you'd be forgiven for thinking nothing has changed The curvature of the road compared to a flat car park might be throwing things off slightly, the front is definitely a little lower, the rear I can barely tell the difference haha. It may settle over time, but equally the old setup was quite tired so may have sagged a bit. Buttt, there is a massive difference in how the car drives. Yes it's a bit firmer than before but it also doesn't wallow like a blancmange in an earthquake, feels more agile and corners much flatter. So from that point of view it's a win in my book and well worth the effort. You may notice the lack of new wheels, well my 4th tyre hasn't showed up yet, I'll be tracking that down this week as I'm itching to get them on next  |
| |
|
|
adam73bgt
Club Retro Rides Member
Posts: 4,862
Club RR Member Number: 58
|
|
Mar 26, 2024 18:03:29 GMT
|
|
Thanks guys 😁 haha I'm not trying to drag it out intentionally 😂 I will make sure I video the first start though
|
| |
|
|
adam73bgt
Club Retro Rides Member
Posts: 4,862
Club RR Member Number: 58
|
|
Mar 26, 2024 15:05:10 GMT
|
|
Finally managed to get the correct springs for the Almera so hopefully should be fitting those and new wheels this weekend.
If it's dry, I'd like to try and progress the Crossfire welding a bit
If it's wet, I've got the front wings of the Crossfire that I'm doing some smoothing work on, or I'll be painting the engine for the MG
|
| |
|
|
adam73bgt
Club Retro Rides Member
Posts: 4,862
Club RR Member Number: 58
|
|
|
|
|
Yeah when I looked into it a bit more, there were 3 pairs of spring options, hatch, saloon and kombi which I assume is for the Almera tino, the pair of options for each being springs for petrol models or the 2.2 diesel
Then I came across some old forum posts that suggested the saloon had similar suspension to one of the B chassis Sentra's in the US but the hatch was somehow different, but it wasn't clear.
The springs will end up on eBay anyway, can't imagine there's much demand for them in the UK but might get a European buyer🤞
As you say, the car has got good bones I think. Part of getting to work on the suspension will be giving the wheel arches a good clean out to preempt any rust forming, I've been round them with a stiff brush and a hose but will get better access with the wheels off.
|
| |
|
|
adam73bgt
Club Retro Rides Member
Posts: 4,862
Club RR Member Number: 58
|
|
Mar 25, 2024 19:05:29 GMT
|
Was hoping to make the next update of this be "look at ma sik new rimz on ma Almera" but it's turned into a bit of an effort for just simple wheels and lowering springs Started off well enough by getting the old Nokians off the BBS using my chinese manual tyre remover tool thing 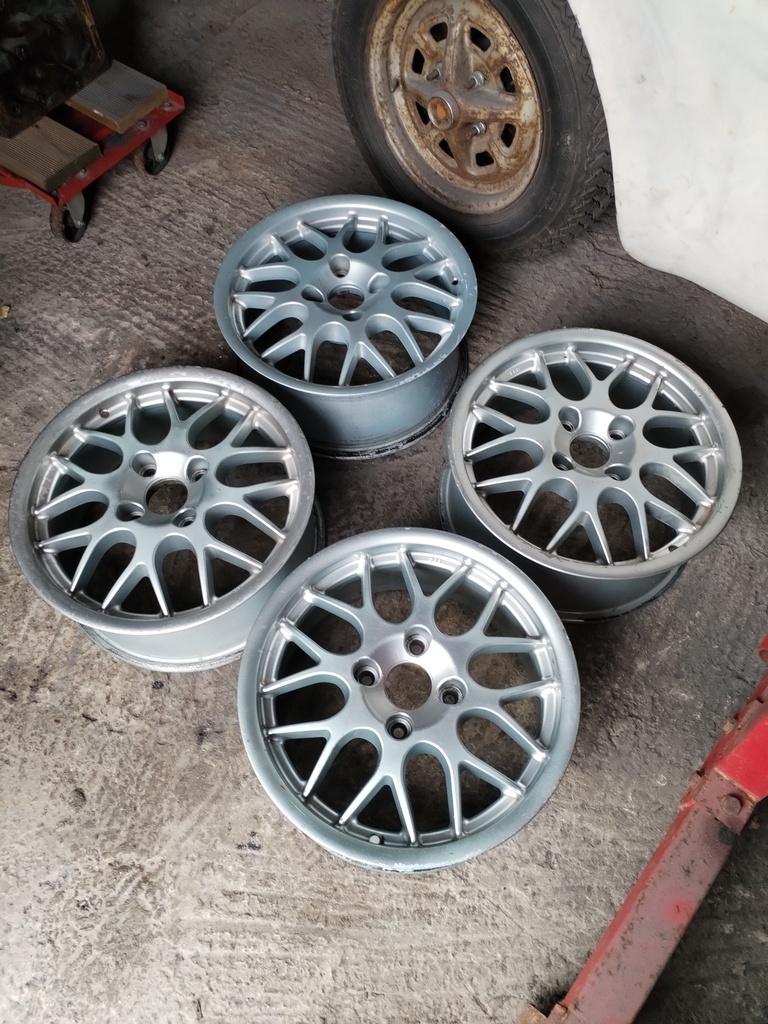 They got dropped off at City Wheel Refurbishment (formerly City Powdercoaters) in Birmingham. My go-to place for wheels like this where a quick, one colour job will do. Not so ideal for split rims or wheels with bolt on centre caps as the powder ends up quite thick.. Anyway, they came back within a week, in a nice OEM style silver but with a little extra sparkle.  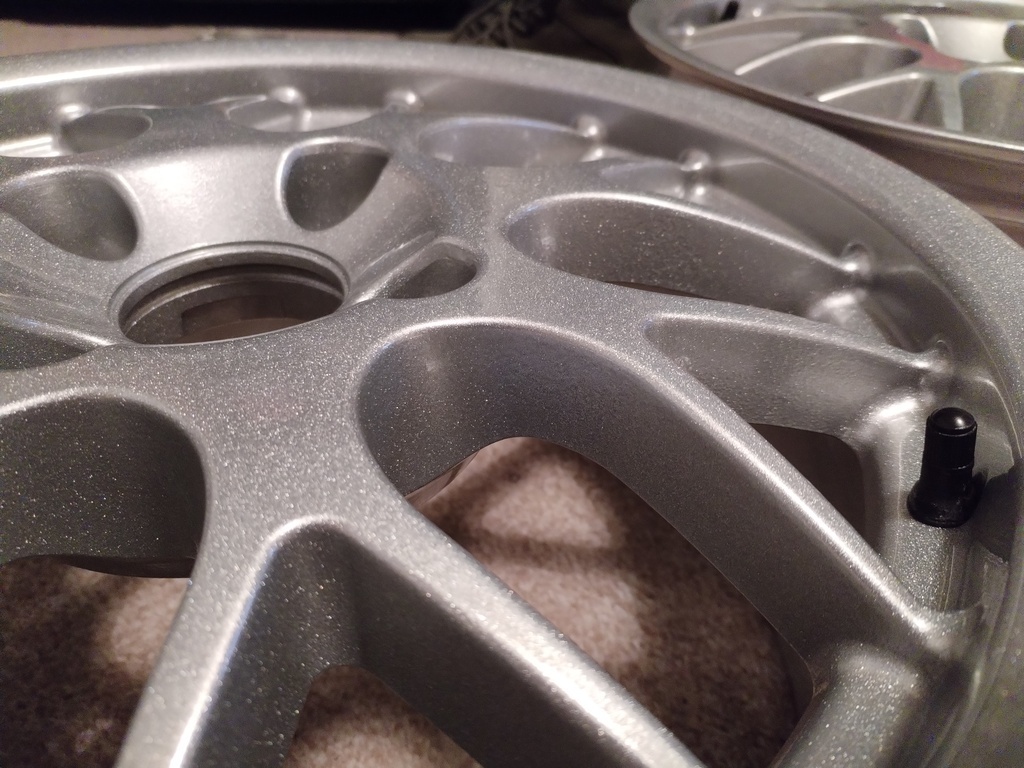 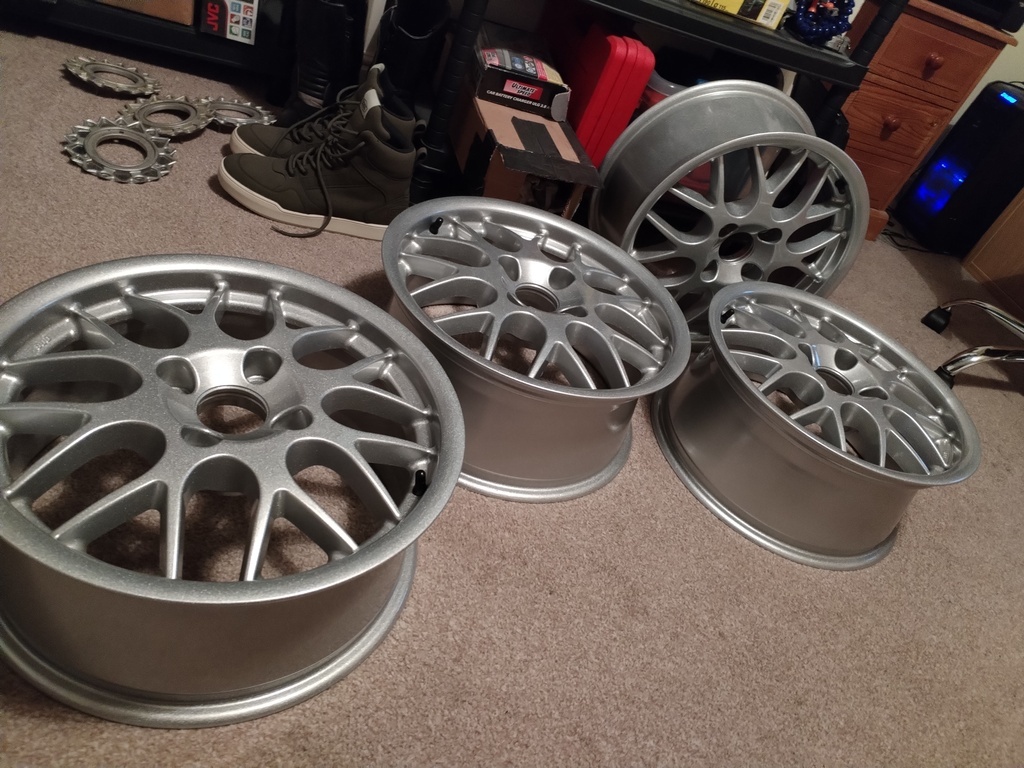 Put some stubby rubber valves in that I had lying around from a previous project, then went to order some BBS centre caps. I then found that the size of the caps in these seems to be a Volvo standard size rather than a BBS standard size.. So went with plan B 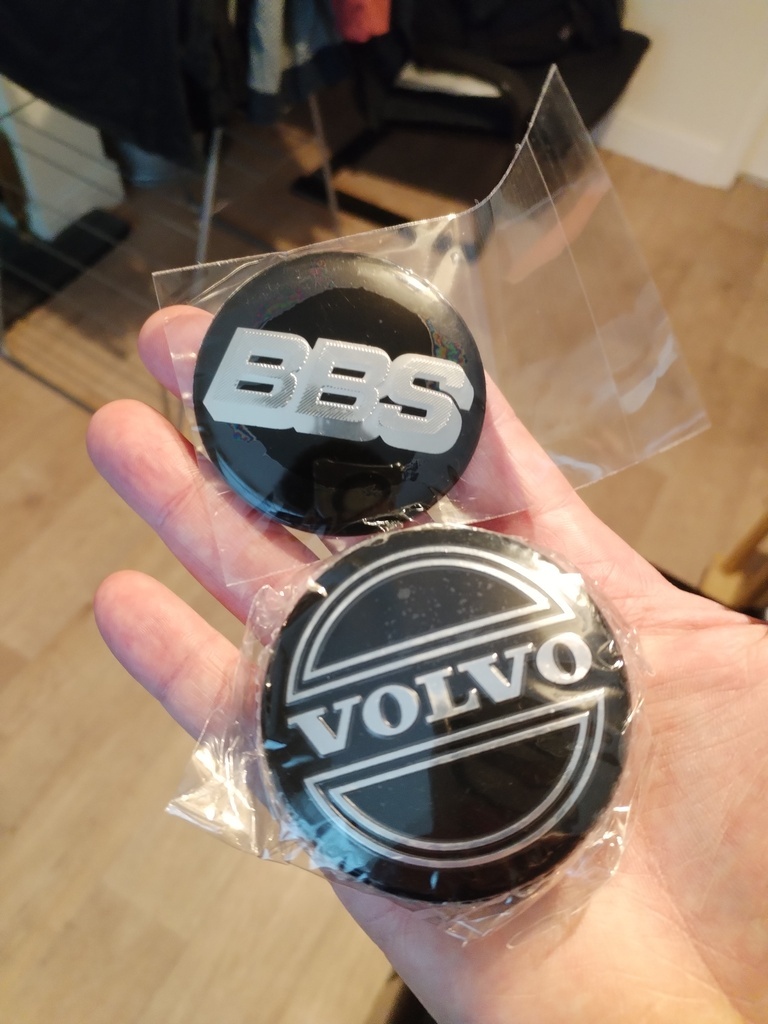 The BBS gel stickers didn't want to sit quite flat, so I prised off the Volvo badges, cleaned up the caps and stuck the BBS stickers on, end result looks decent enough. 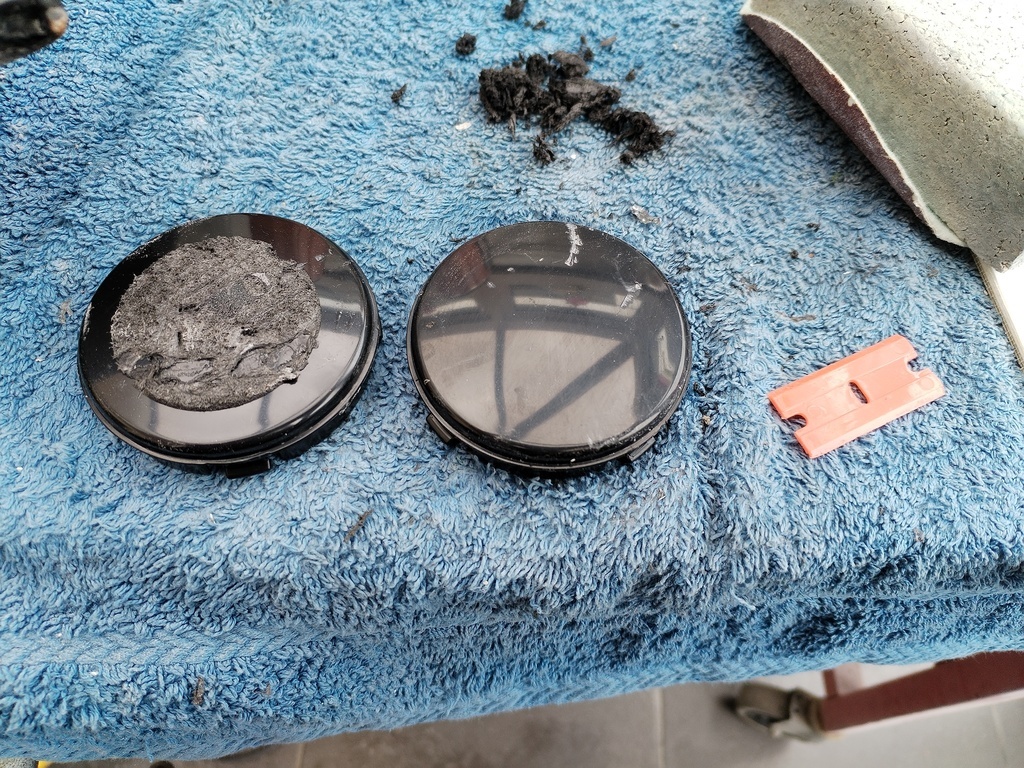 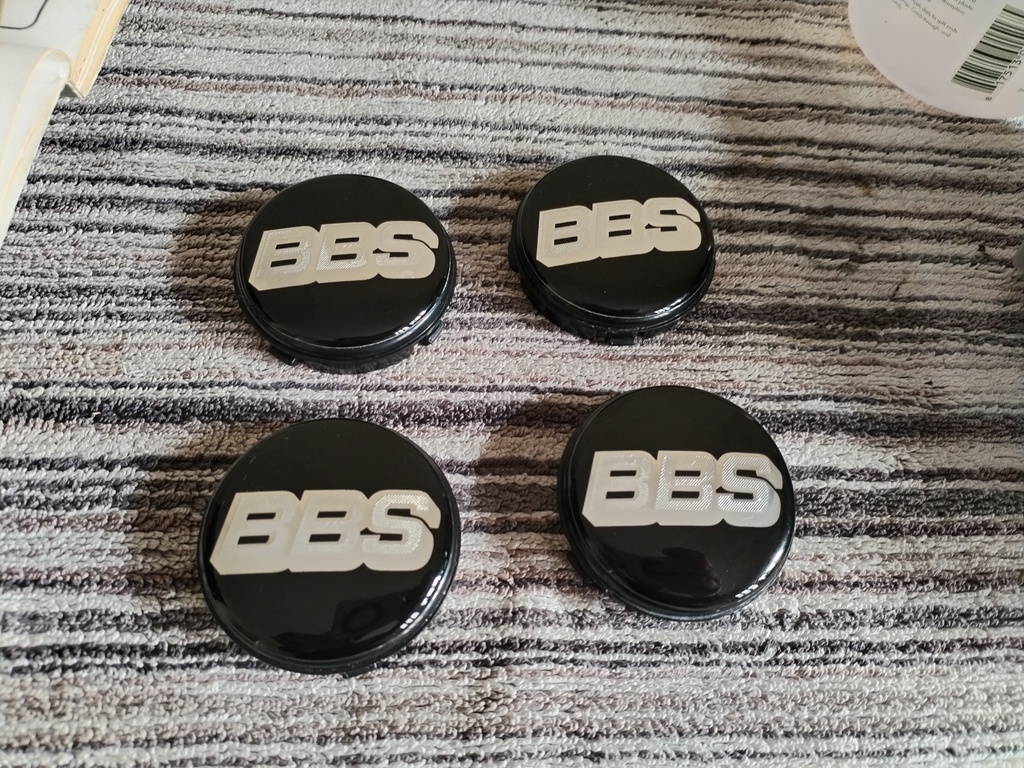 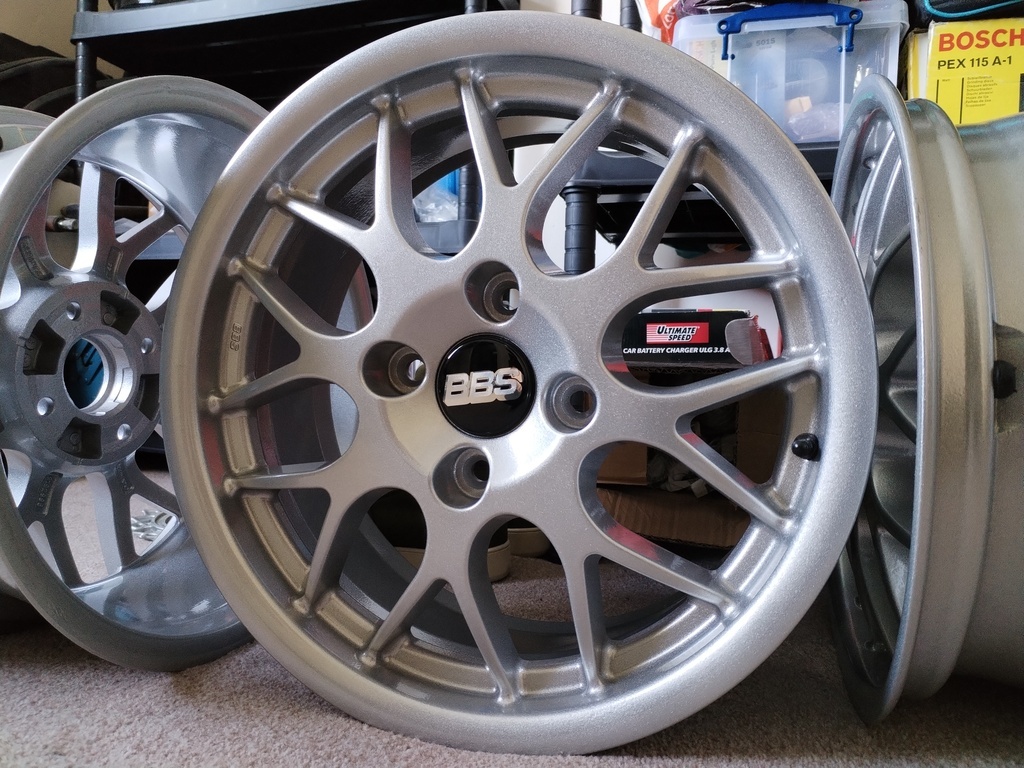 In the background, I've managed to put together a set of part worn Bridgestone Turanza T005's. No particular special reason for choosing them other than a pair in very good condition were available locally for cheap, and I managed to pick up another couple for not much either, last one is due to turn up this week. So I can hopefully get the tyres all fitted up on Friday (asks self if tyre places are open on Good Friday...). Suspension wise, I thought I'd treat the little Almera as the shocks are probably original and chucking lowering springs on them will bring about their sudden demise.. So I tried ordering off Autodoc for the first time 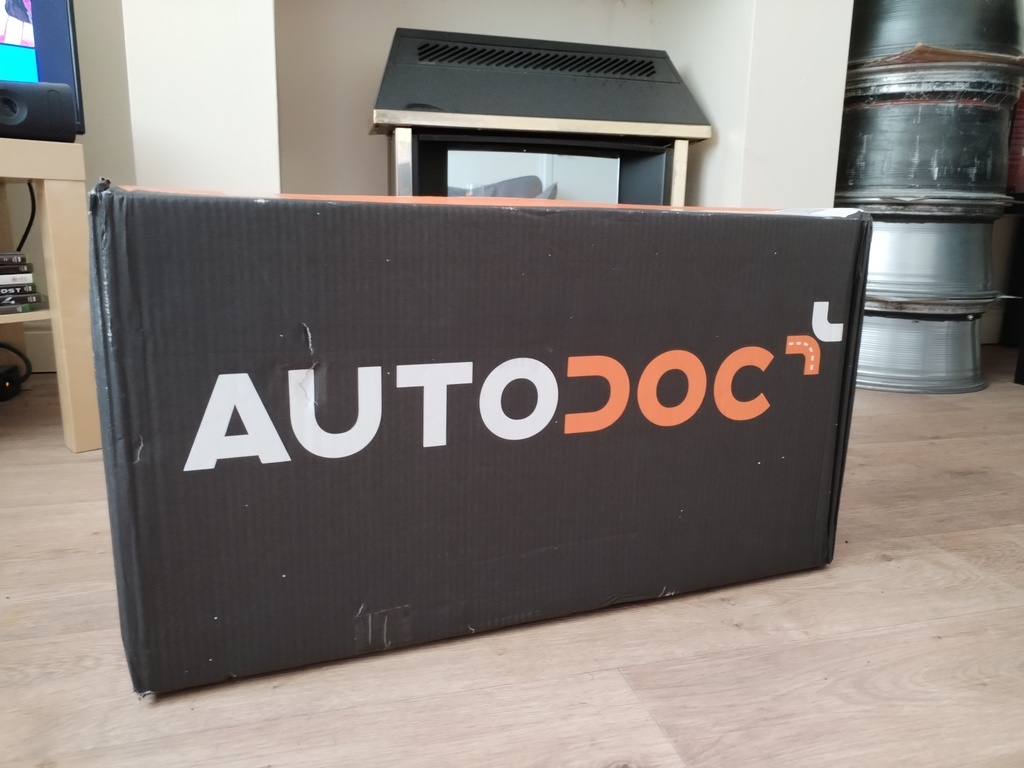 Decent prices, good range of brands, not quite as quick on the shipment as RockAuto though. I had priced up doing all the suspension but wound it back to just shocks, top mounts and bump stops for now. There is a bit of a shake in the steering at speed which I'll investigate before spending more money on it. The arrival of these parts threw up a bit of an issue though. 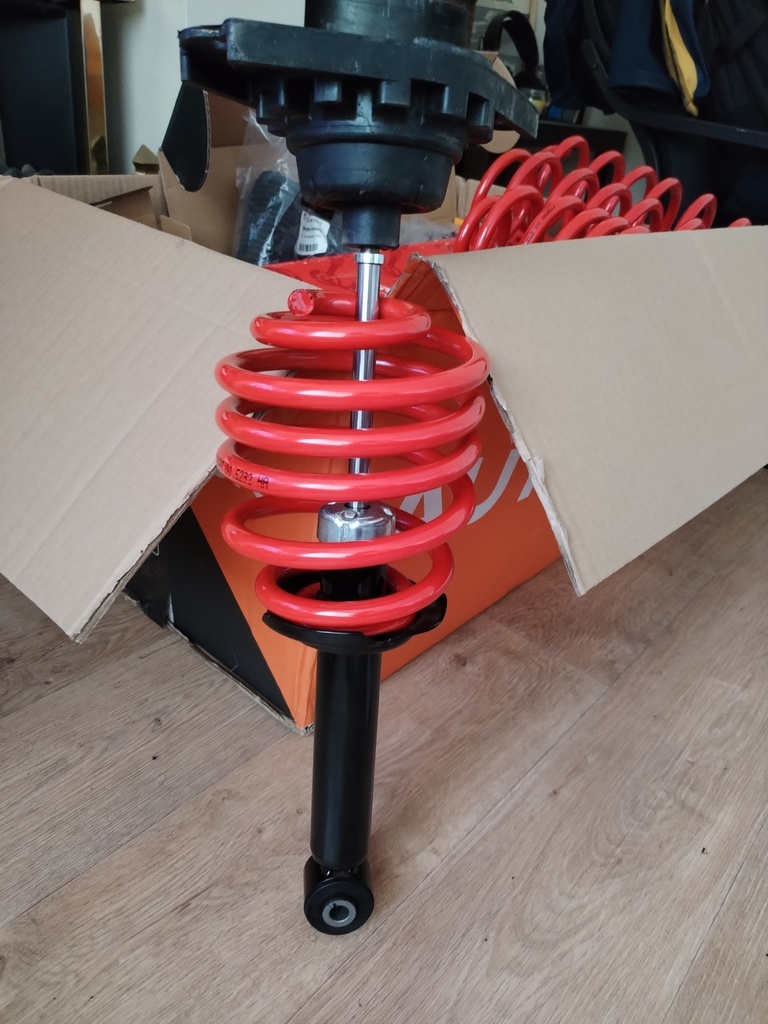 That's the rear spring, shock and top mount, and they're completely mismatched to each other. The spring is not right at all. So I looked up the part number again, as I had done before I bought them off marketplace but this time I noticed that the application is the N16 Almera Saloon not the hatch. Could the Hatch and Saloon really have totally different shape springs? The Nissan EPC suggested a similar part number and suspension setup, maybe the springs had had the wrong part numbers printed on them? In any case, I hopped on Amazon of all places and found another set of springs, specifically for the hatch 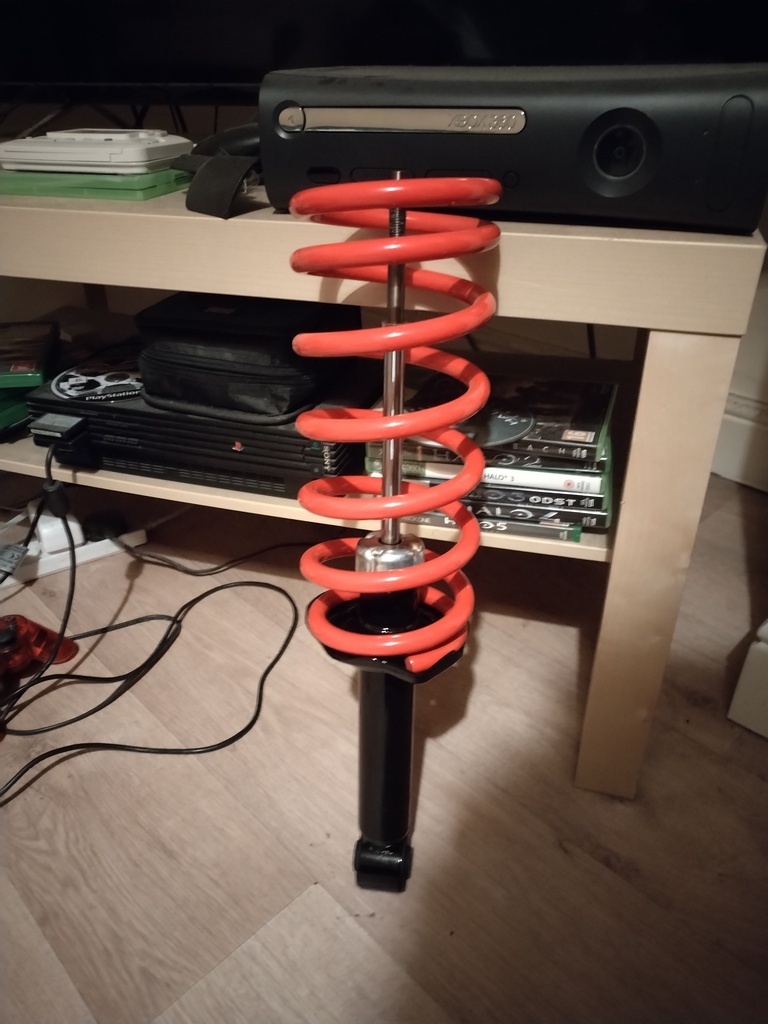 Much more like it, actually fits the spring cup and will fit the top mount properly Hopefully a somewhat dry weekend and I can chuck this all on. |
| |
|
|
adam73bgt
Club Retro Rides Member
Posts: 4,862
Club RR Member Number: 58
|
|
Mar 25, 2024 18:39:41 GMT
|
We're still not running yet, I'm being very patient but I have some throttle cable fittings coming, as well as some recommended jet sizes as well which should hopefully reduce the amount of tuning needed once it is running. I have made progress on the electrical gremlins though. As the horn and indicators both weren't working, and are controlled by the same switchgear, I initially thought that was the culprit. So I took it off, cleaned up the connectors, did a bit of continuity testing to make sure everything was doing what it should. 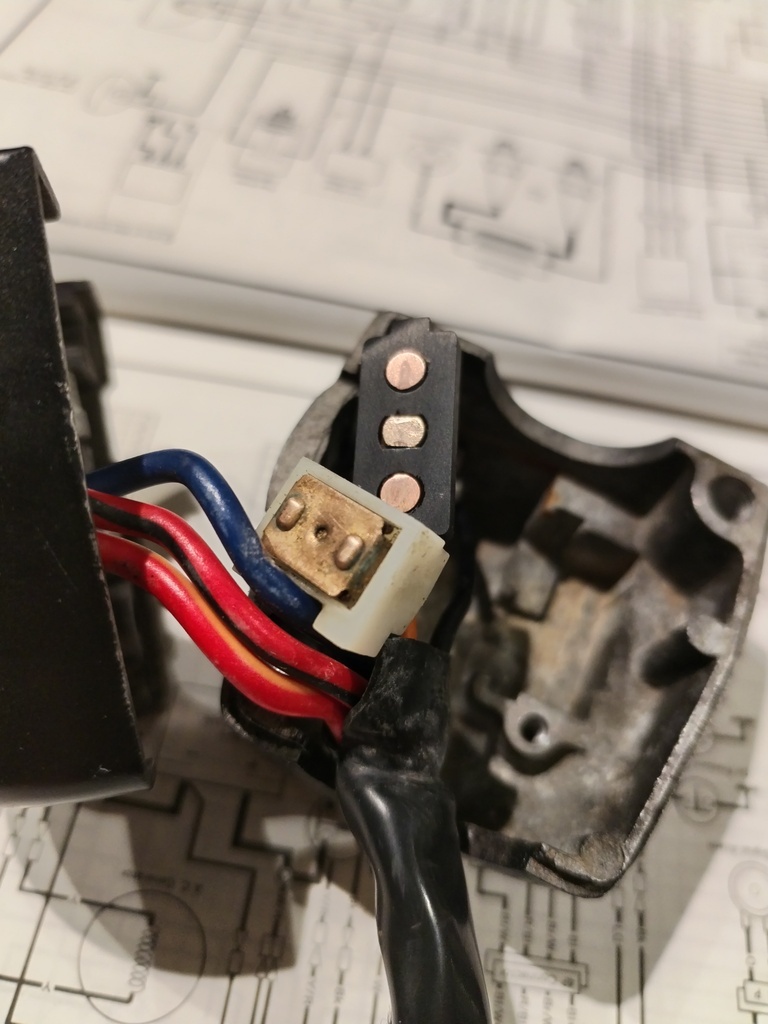 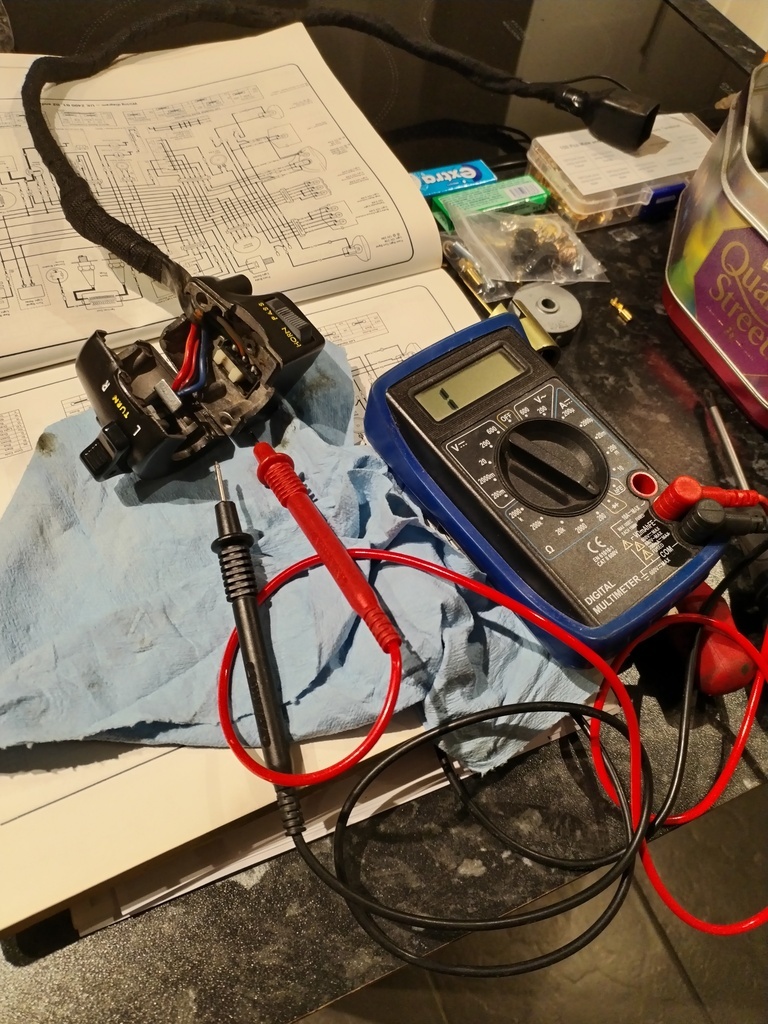 No change. I was mainly focused on the indicators, so I was checking and re-checking the connections were all good. Tried a couple of different flasher relays. The KZ400 originally had an indicator buzzer, bit of a novelty on a bike and many removed them as they were annoying, mine was missing so I tried bridging the terminals in the connector, still no dice. The odd thing was that the wiring diagram for the bike, showed the front indicators as having three connections, two powers and an earth, but there are only two wires going to each indicator. The indicators are bolted to metal brackets which are on the forks, but they're also rubber insulated. Touched a wire from the body of the indicator to part of the frame and got a flash of light the indicators had no earths. Moved a couple of wires around up front and got this 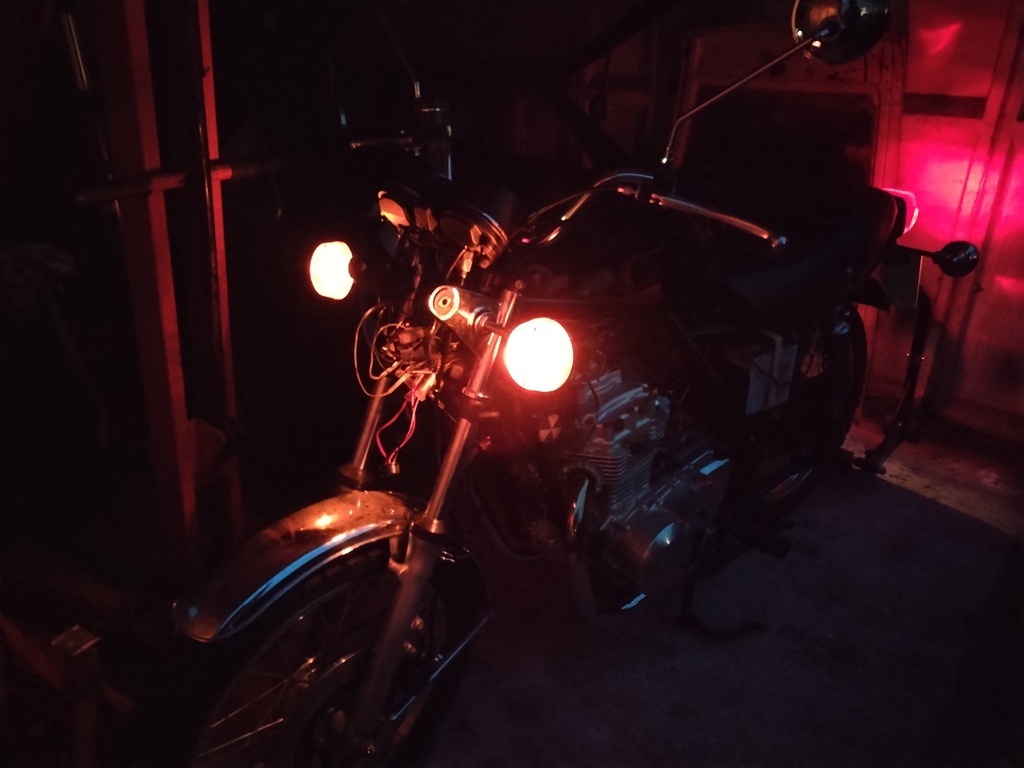 It has ocurred to me since that having US style amber marker lights, might not be the best idea so I'll see if I can set them up in a more European fashion.. No flashing though and no rear indicators in that photo either. So the next day I had a look at the rears, the short version is that I faffed around a bit with them but ultimately it was an earthing issue again. Partly due to the elaborate internal connection between the bulb holder and the indicator housing having some corrosion in it which can't have been helping the connection 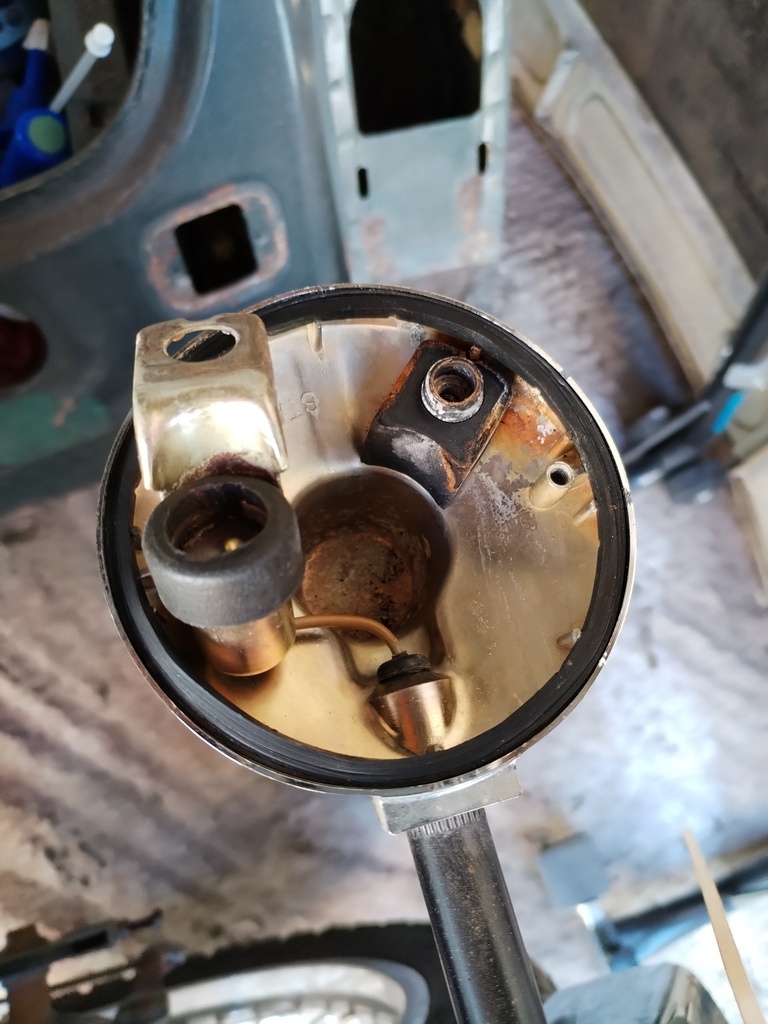 And partly because when I refurbed the rear bracket that holds the indicators and the tailight, I painted over the interface where the indicators fit on, took a bit of that paint off and there was light 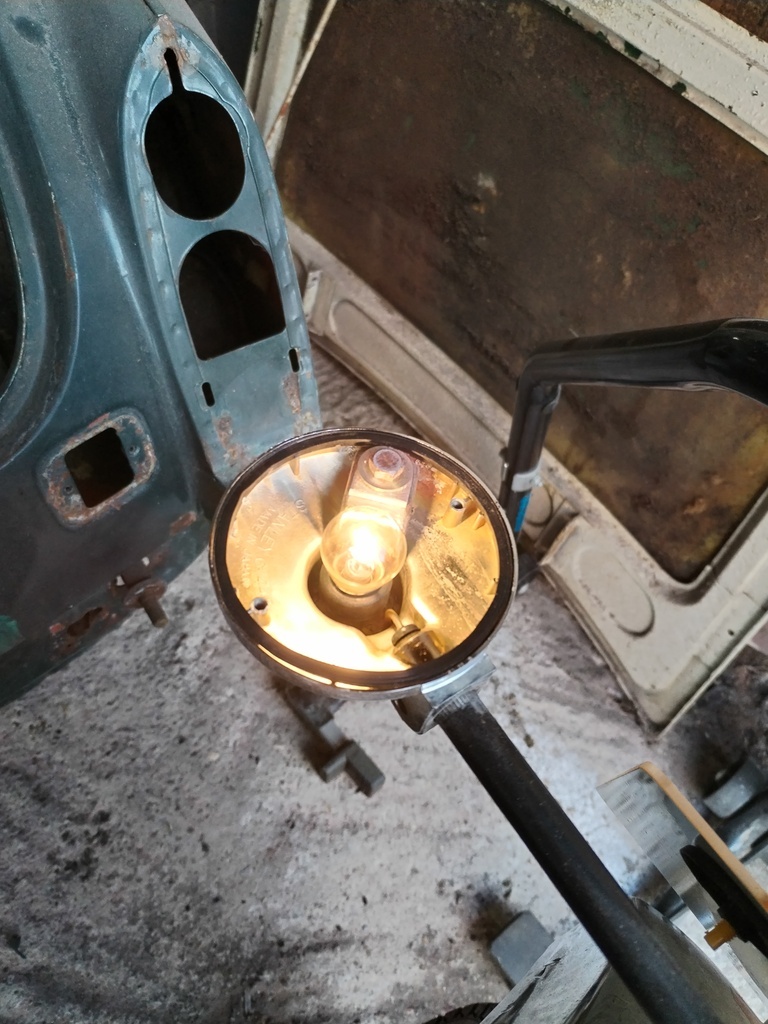 They even slowly flash now with both front and rear indicators lit up. With the engine running there would be a bit more juice and they should flash more quickly I think. The horn turned out to be duff. Connected it direct to the battery and not a peep. Pulled one of the horns off the Crossfire, plugged it into the loom and horn was working on the button so that is an easy fix, ordered a suitable horn off ebay. With those two bits fixed, I can finalise the loom routing with cable ties, and get the headlight fitted. Other than that I'm twiddling my thumbs until my tank and carb bits turn up. I suppose I'd better order some fuel hose actually... |
| |
|
|
adam73bgt
Club Retro Rides Member
Posts: 4,862
Club RR Member Number: 58
|
1992 RC36adam73bgt
@adam73bgt
Club Retro Rides Member 58
|
Mar 24, 2024 17:05:06 GMT
|
I quite like the VFR's, some interesting engineering went in to them, good luck bringing yours back up to spec If they stay so cheap, I might have to pick one up... |
| |
|
|
adam73bgt
Club Retro Rides Member
Posts: 4,862
Club RR Member Number: 58
|
|
Mar 12, 2024 22:12:35 GMT
|
Not quite the big "it's running" update, but there's been things happening. Firstly, been tidying up some bits of loom using loom tape, not taken any pics but it looks much nicer. I made a repair on that bit of wire that was partially cut in my last update, managed to de-pin it from the plug, bought some connectors but they weren't quite the same size so ended up soldering on a new bit of wire to the old pin, it's all back together and seems to be OK 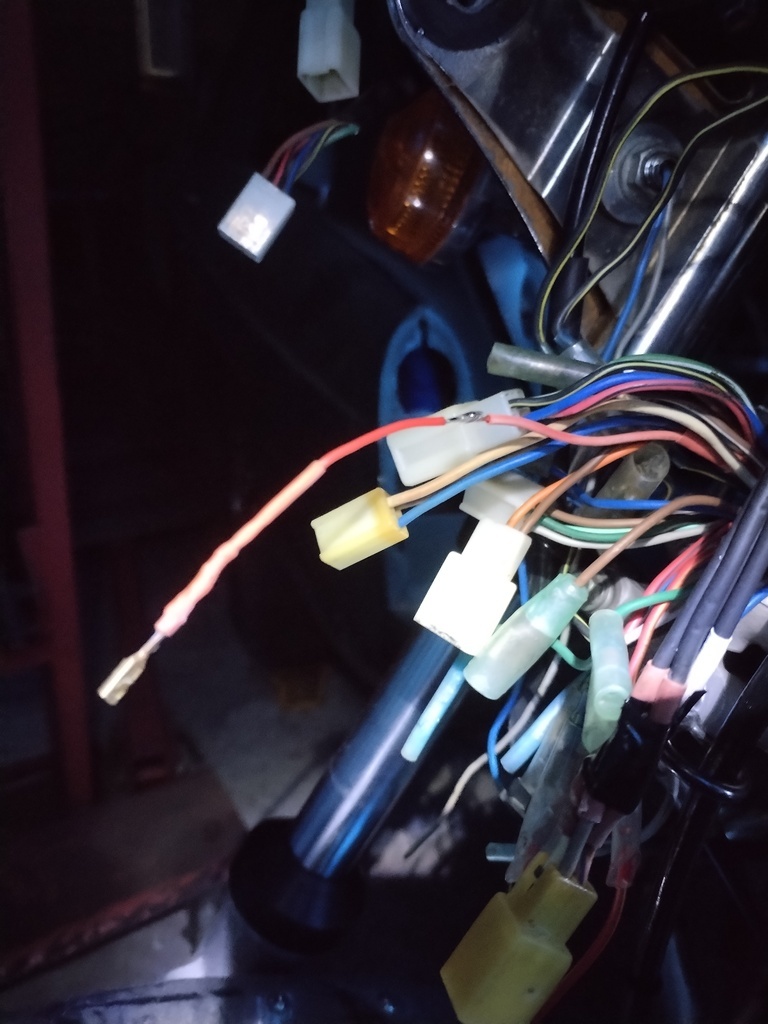 Got some nice air filters from DNA which fit perfectly 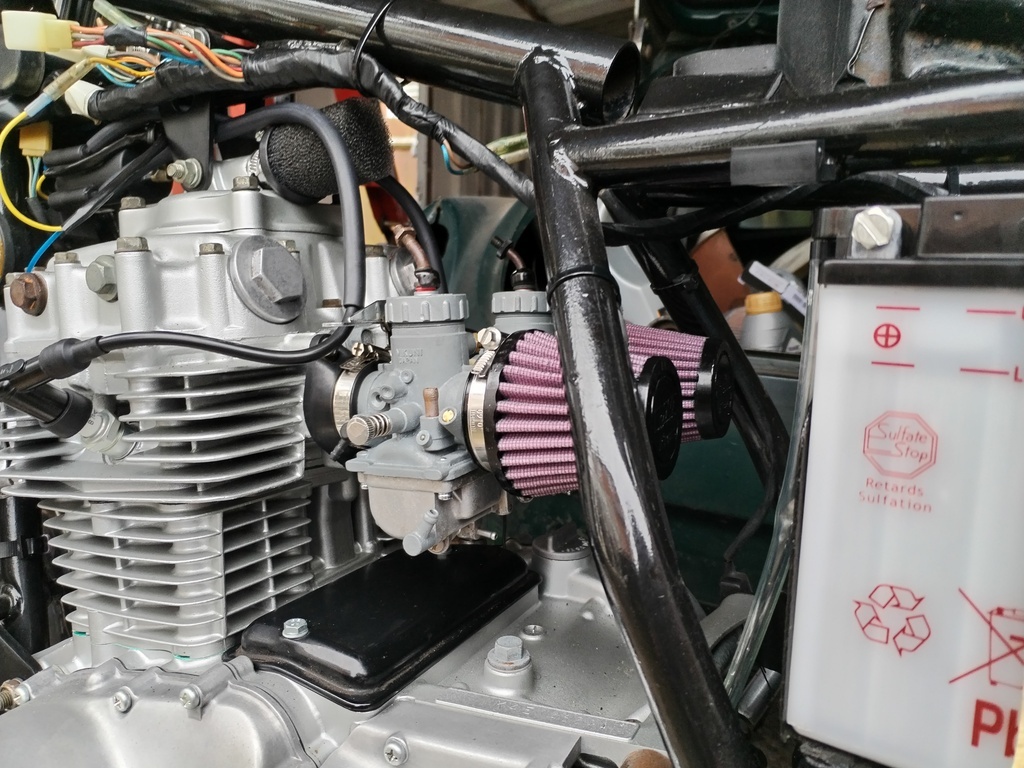 There have been some frustrations though, I've still not been able to get the throttle cable connected up to the Mikunis. Bought some bits that I thought would sort it but they don't quite work where the cable goes through the cap of the carb, but I'll find a solution. I was trying the clutch lever a few times the other day when there was a "twang" and the lever went slack. So I need to get the cover off again and re-adjust the cable which is annoying. Also today I thought I saw the front caliper bleed nipple was leaking again. I've cleaned it off and double checked it's tight so will monitor it. However in more positive news, having connected up a load of the loom at the front of the bike now, I thought why not hook up the battery and see what happens.. 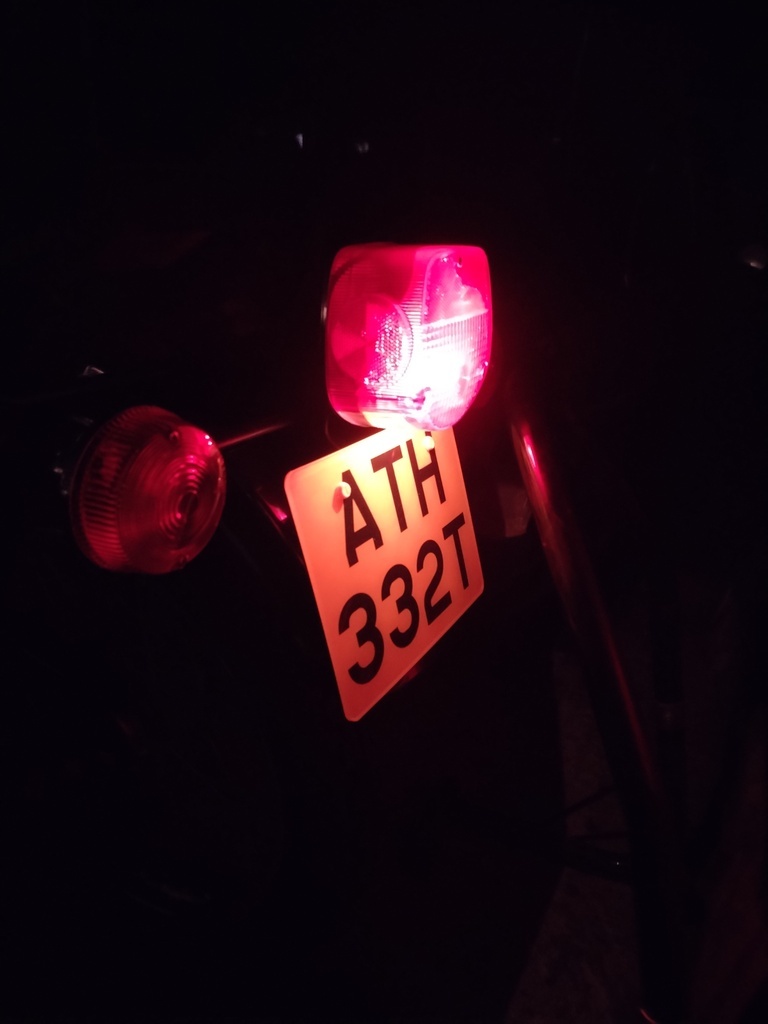  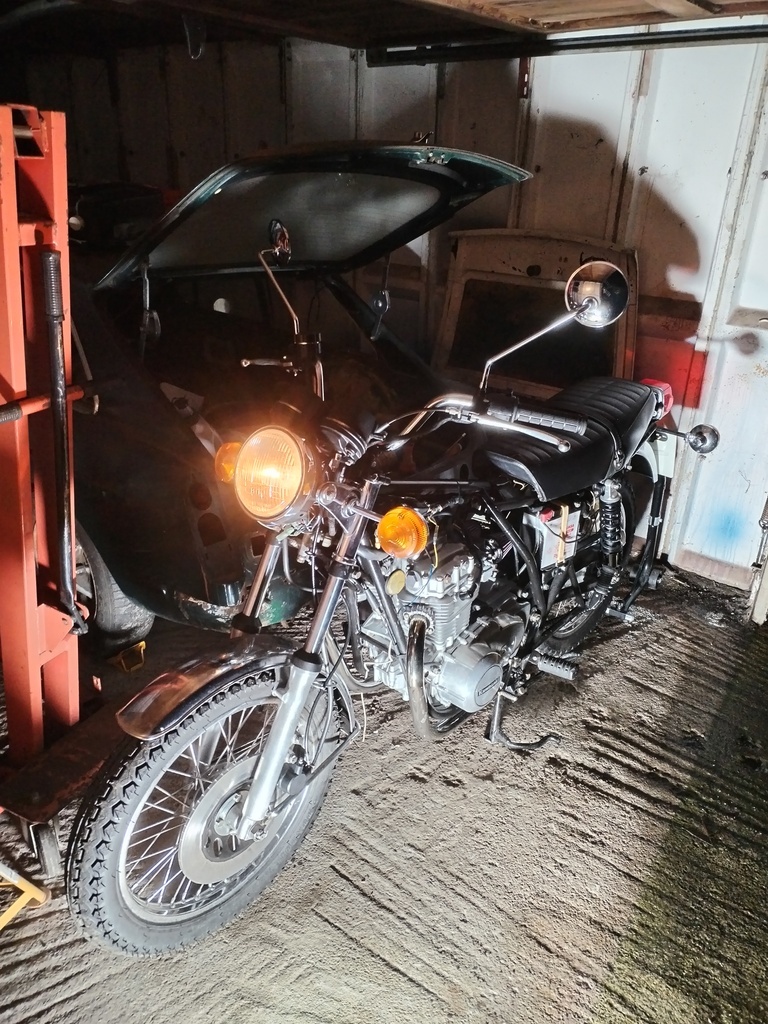 We have life, and more importantly, no smoke or fire Headlight works on lo and hi, tail light works, brake light works off both lever and pedal, tell tale lights seem to work, and the big one is that it cranks on the starter motor nicely too There are a couple of bits that need some attention though, the horn doesn't work, and I don't seem to have any indicators but it shouldn't be hard to trace the source of the issues there. Lastly I checked in with the paint guy, the tank and panels are in primer and due for paint this week I believe so hopefully should have those back soon! |
| |
|
|
adam73bgt
Club Retro Rides Member
Posts: 4,862
Club RR Member Number: 58
|
|
|
|
|
Love that, is it odd that I'm imagining replicating it with a Ford Corsair?... The rear arches look a bit like escort bubble arches
|
| |
|
|
adam73bgt
Club Retro Rides Member
Posts: 4,862
Club RR Member Number: 58
|
Why do we do it to ourselves?adam73bgt
@adam73bgt
Club Retro Rides Member 58
|
|
|
|
Of the 3 cars and 1 bike I own, only 1 of the cars is running and driving. Yet I would say every day I'll be idly browsing eBay or marketplace looking for what I'd replace it with.
Of course the money would be much better spent sorting out the other cars and bike but where's the fun in that! I have managed to limit myself to dreaming about buying things rather than actually doing it, like that Mercury that I'm glad you bought 😅
|
| |
|
|
adam73bgt
Club Retro Rides Member
Posts: 4,862
Club RR Member Number: 58
|
|
|
|
I got a can of that Autotek paint stripper a couple months ago as I was trying to strip paint off some split rim centres. It worked OK for me, but needed a few goes to get most of the paint off. Performance depends on the paint that's been applied as much as the stripper I suppose On this wheel centre, the black bits are all that's left of the paint, after I think 2 or 3 applications (one wrapped in clingfilm as well) I used a brass brush to help agitate before washing off, white bits are alloy corrosion so they'll need some blasting or something anyway 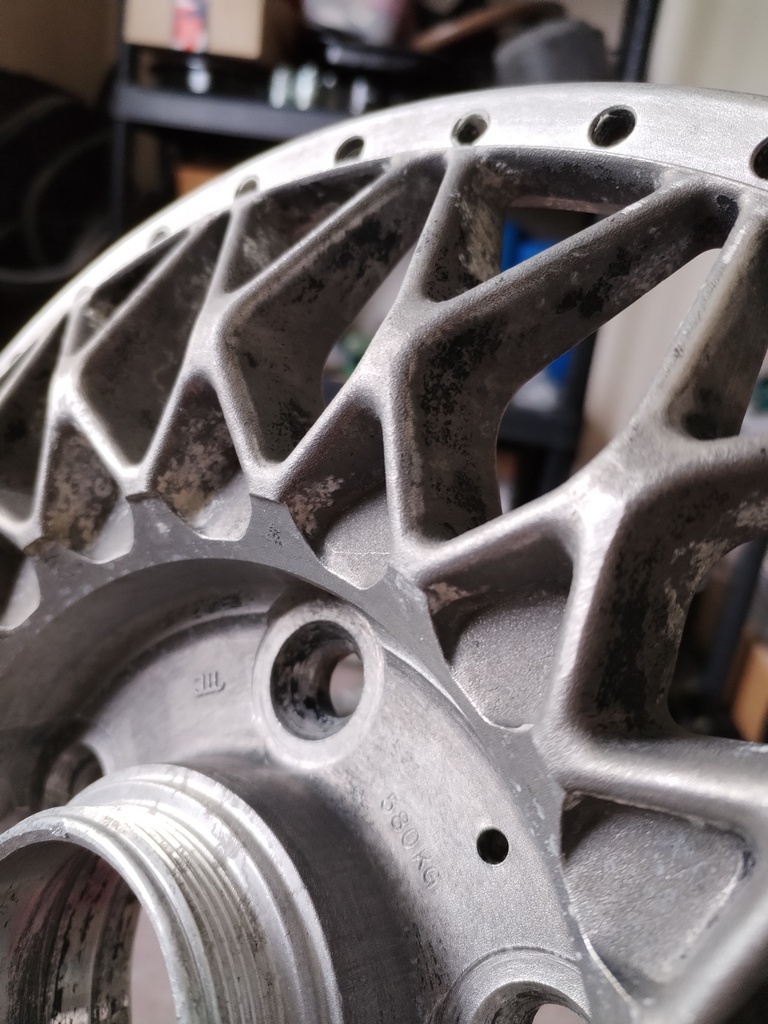 I tried stripping the Silver paint from one of the centre caps though and it didn't make much of an impression on it, I did get through to alloy with help of the brass brush but it didn't peel off like the black paint. I suspect this was either original paint or the black paint was just some cheap rattle can stuff 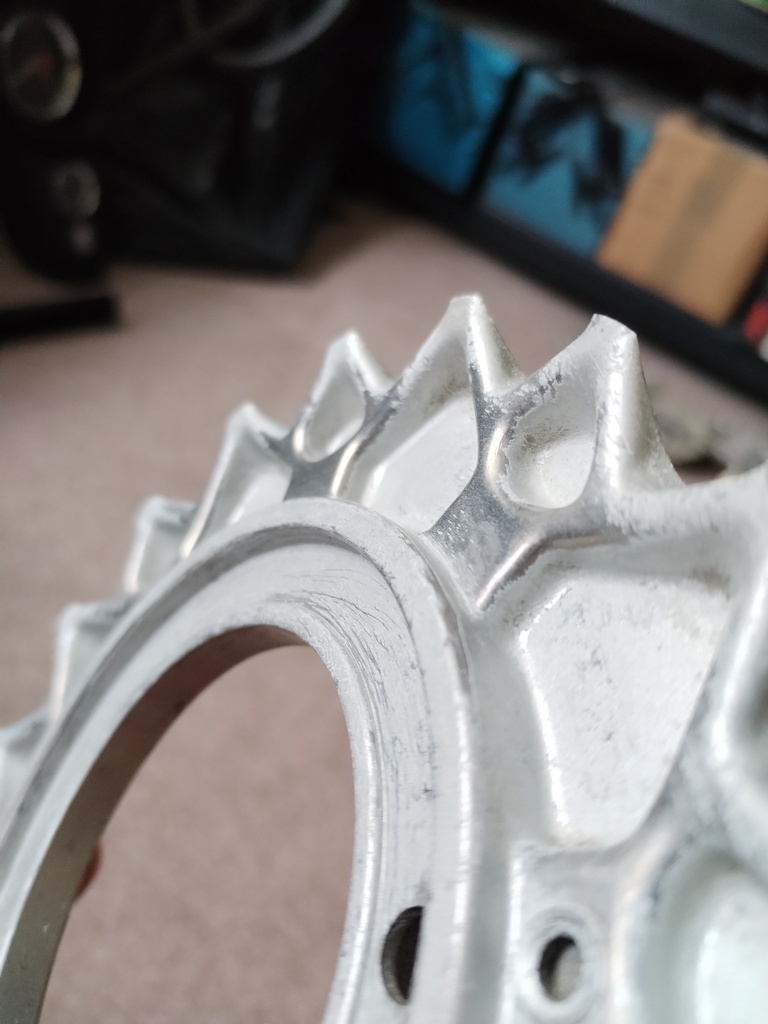 |
| |
|
|
adam73bgt
Club Retro Rides Member
Posts: 4,862
Club RR Member Number: 58
|
|
Feb 28, 2024 22:47:42 GMT
|
Hahaha yeah they're too old for me to run, as soon as I can get them off they can go on marketplace as free drift tyres or planters, usually gets them gone Thank you for that, I've actually managed to bag a couple of reasonably new Bridgestone part worns locally, I'll get another two and I'll have a matching set by the time I've messed around with getting the wheels powdercoated |
| |
|
|
adam73bgt
Club Retro Rides Member
Posts: 4,862
Club RR Member Number: 58
|
|
Feb 27, 2024 17:19:49 GMT
|
Haha what are the chances Mine look OK-ish from a distance but are certainly in need of a refurb still, previous owner had them powdercoated but it's failed in quite a few areas 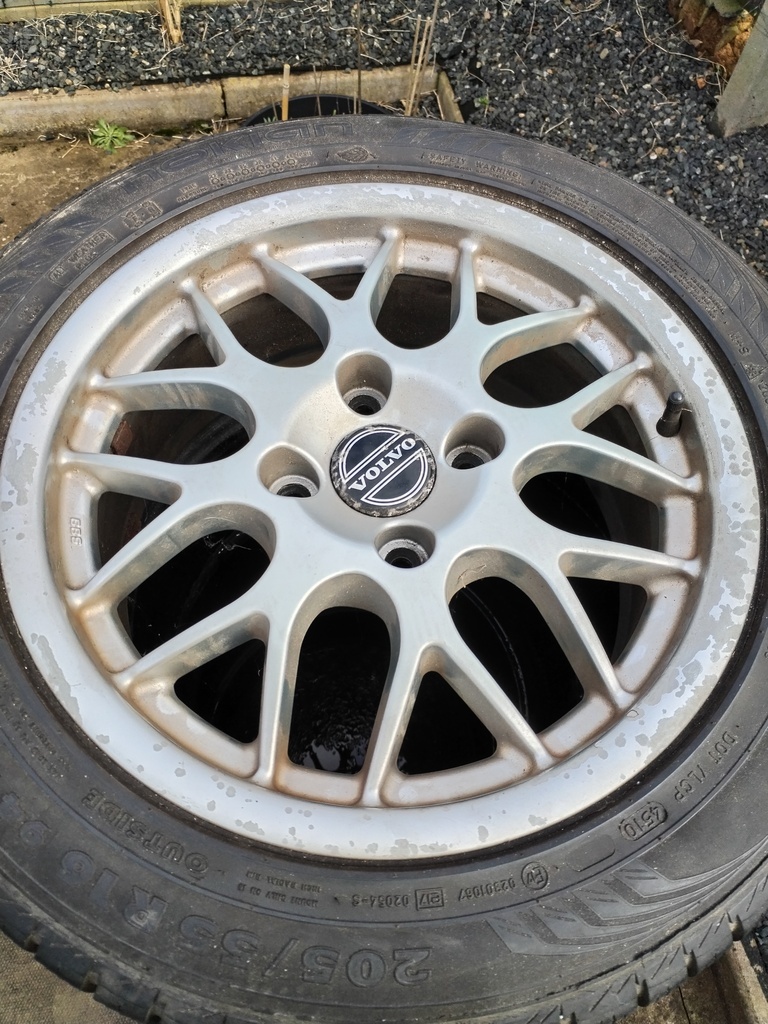 Gave them a wash and a proper going over in the daylight today, think a CV boot had let go on the Volvo they were fitted to as one was coated in grease.. 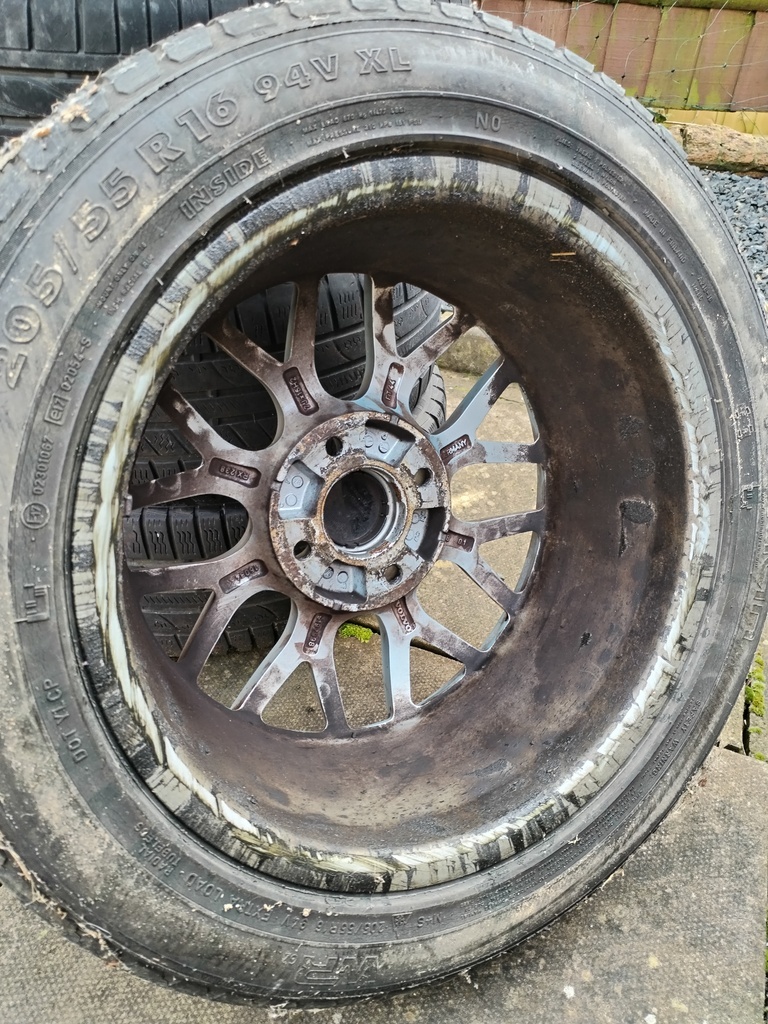 But overall not terrible really 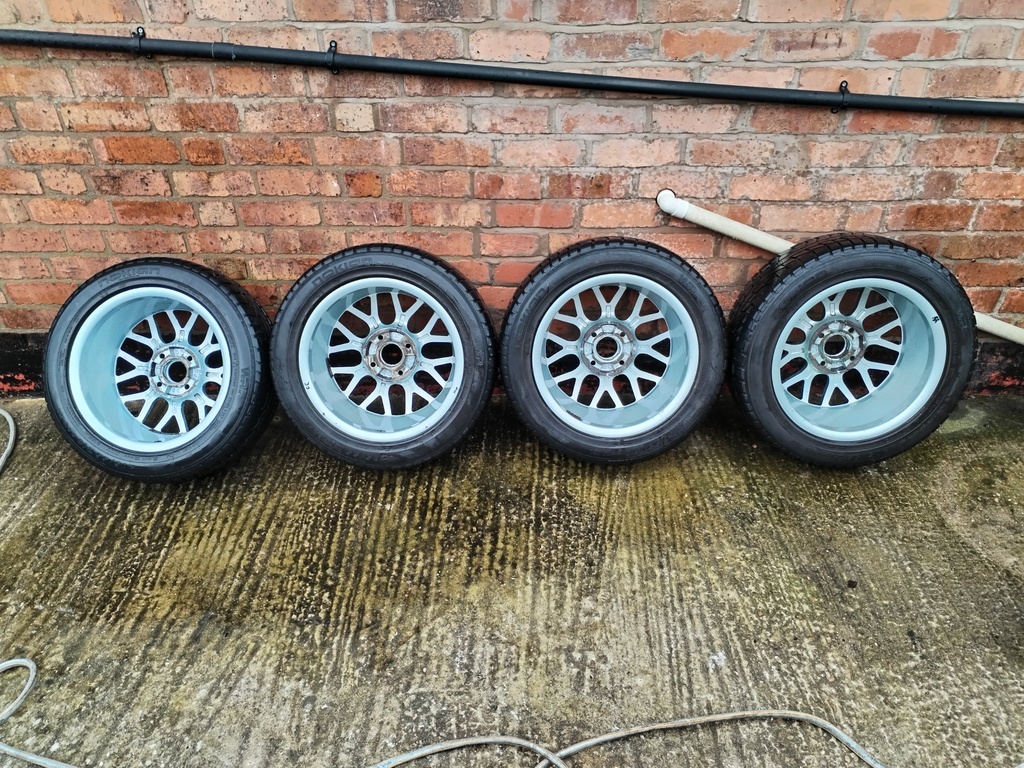 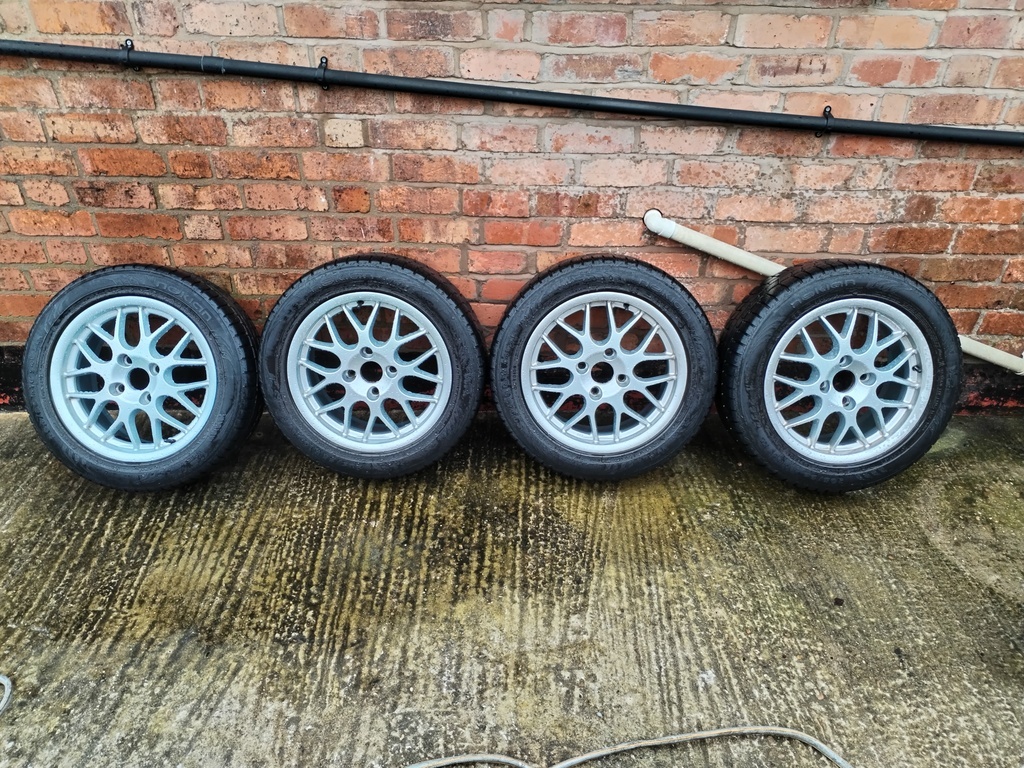 One is almost more of an ice blue than silver which is odd. Sadly the tyres aren't quite as usable as I was hoping for, all matching and they've got good tread but they're old (2010 date codes) and showing signs of cracking, typical low miles, but old winter tyres I suppose. Will see what I can replace them with, get the old tyres off and probably have them powdercoated again |
| |
|
|
adam73bgt
Club Retro Rides Member
Posts: 4,862
Club RR Member Number: 58
|
|
Feb 26, 2024 23:02:43 GMT
|
Next piece of the puzzle, wheels have been acquired  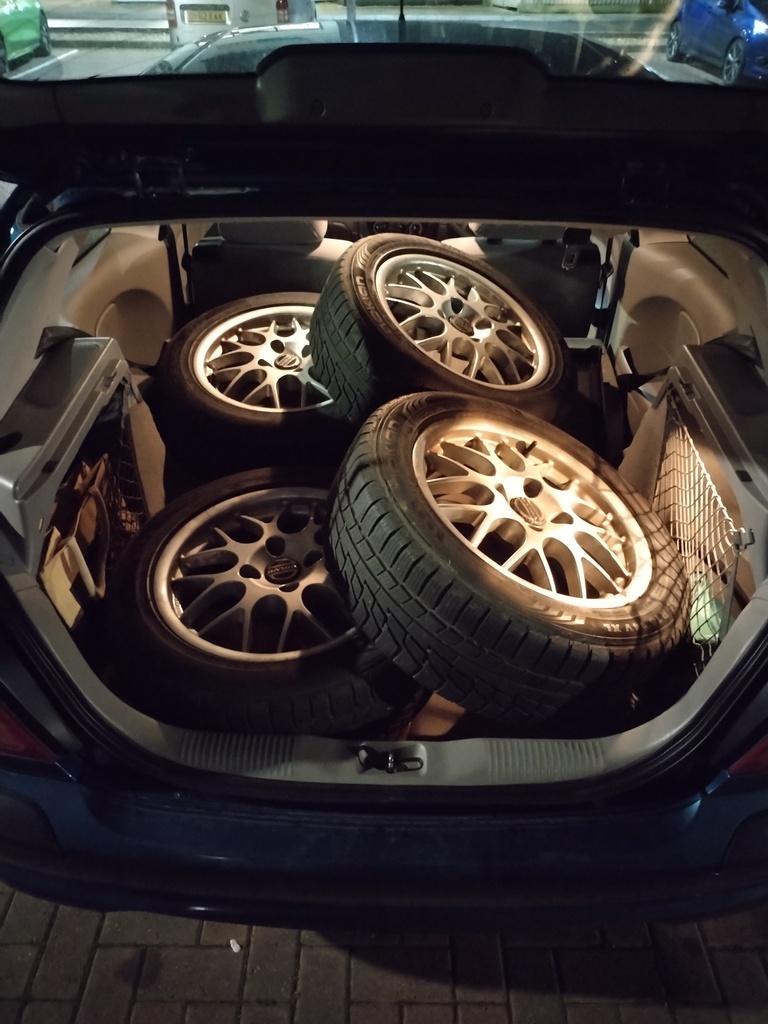 Volvo Crater's, otherwise known as BBS RX. I've been on the lookout for a set of these for a little while as they're a good quality wheel usually available for not a lot of money. They're 16s so are a subtle upsize on the standard 15" steels which should suit the subtle lowering of the 30mm springs. They do need a bit of attention, but shouldn't take much to smarten them up with some silver wheel paint |
| |
|
|
adam73bgt
Club Retro Rides Member
Posts: 4,862
Club RR Member Number: 58
|
|
Feb 26, 2024 22:18:35 GMT
|
This week.... I'm astounded how much trolling a mate is getting for trying to sell a car. He's a driveway dealer but hes a decent sort. His is that Mercury "Bluesmobile" I'm sure many of you have seen up for sale, and I don't recall any car he's had causing him to be on the recieving end of so much BS and outright bullying, including people taking his pics from his Facebook and ridiculing them on a selling page. Crazy world. I spent a bit of time musing over that Mercury ad, blues brothers isn't really my thing but it seemed reasonably priced for a big American barge as far as I could tell... I've started my week by collecting some wheels for the Almera, had a nice chat with the seller as he had a Saab OG9-3 Aero convertible on the drive. Been a good few years since I sold my 9-3 but getting chatting with like minded individuals is part of what I really like about parts collection adventures Foolishly opened facebook marketplace when I got home and saw another temptingly cheap set of wheels sold a couple sets last year, so have got a bit of room in theory... |
| |
|
|


