|
|
|
|
|
Been here 8 years. My deck even longer. Never maintained before I got here. Needed help. Maybe too late for the product below. So ordered a load of decking, 2x4’s and screws etc. Tool Station, only one tub available per branch, not able to transfer between branches. Bought these. 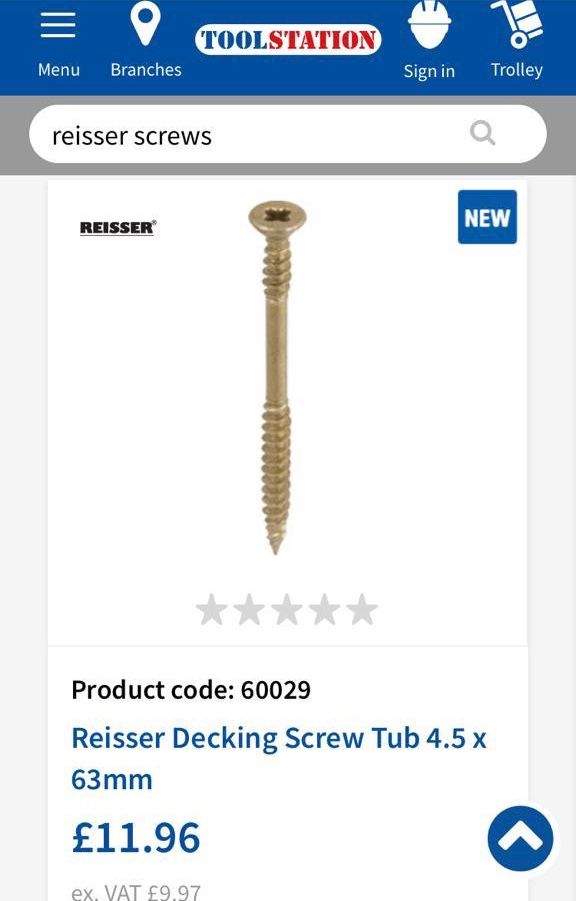 Weirdly, even called the company, to find out where I can get more bits...l Ermmmmmm.... nope, they do not know WT actiual F ?? Seriously Weird head and weird bits..l.l. 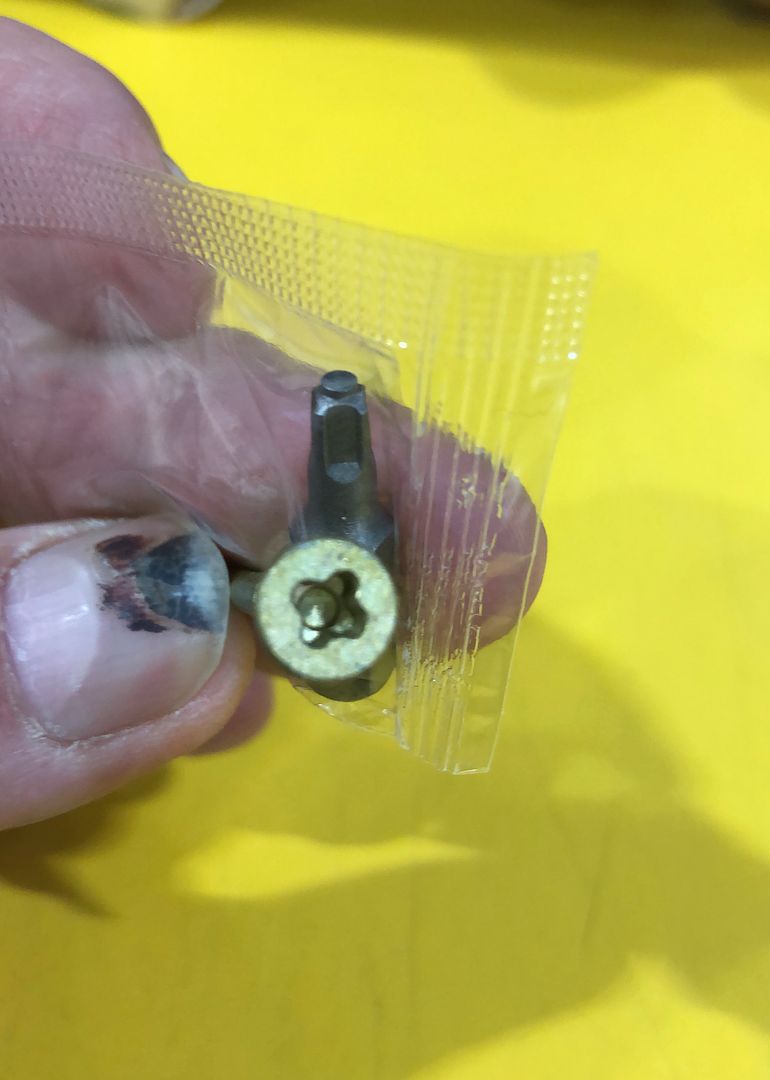 Wood Delivery Saturday morning In the mean time, Sally and I stripped the boards tonight after work Frame left as a reference for Saturday when @cagrk and Woodsie arecoming over to give a hand, and advice. Deceptive angle. Already had front panel off. 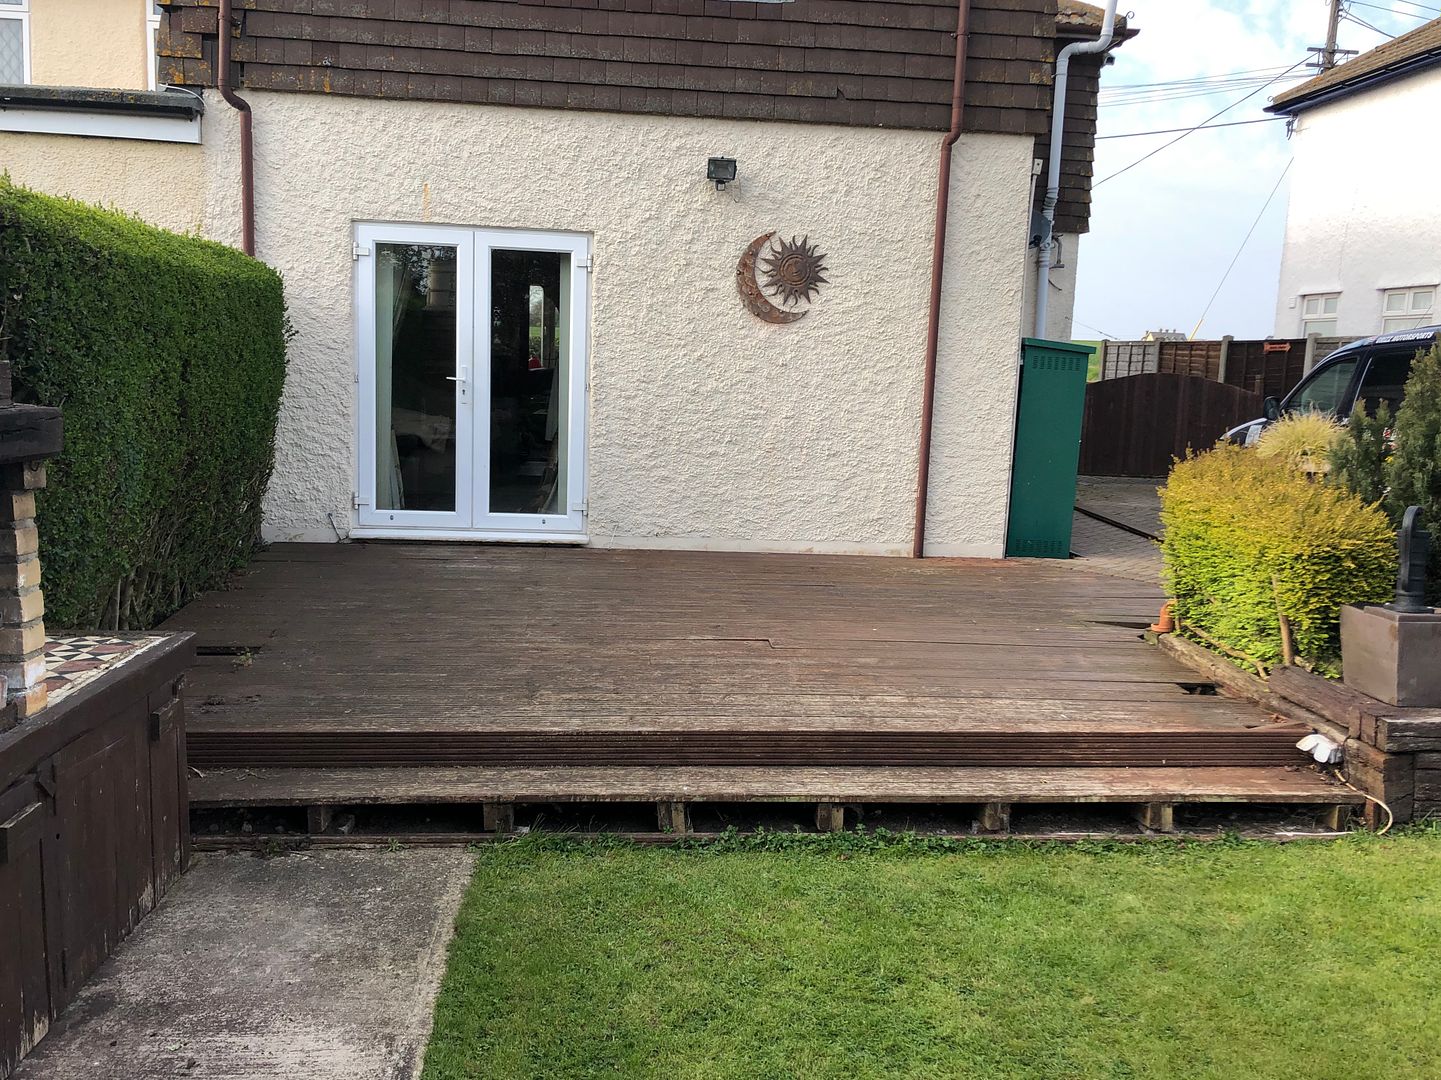 Sally, straight in. 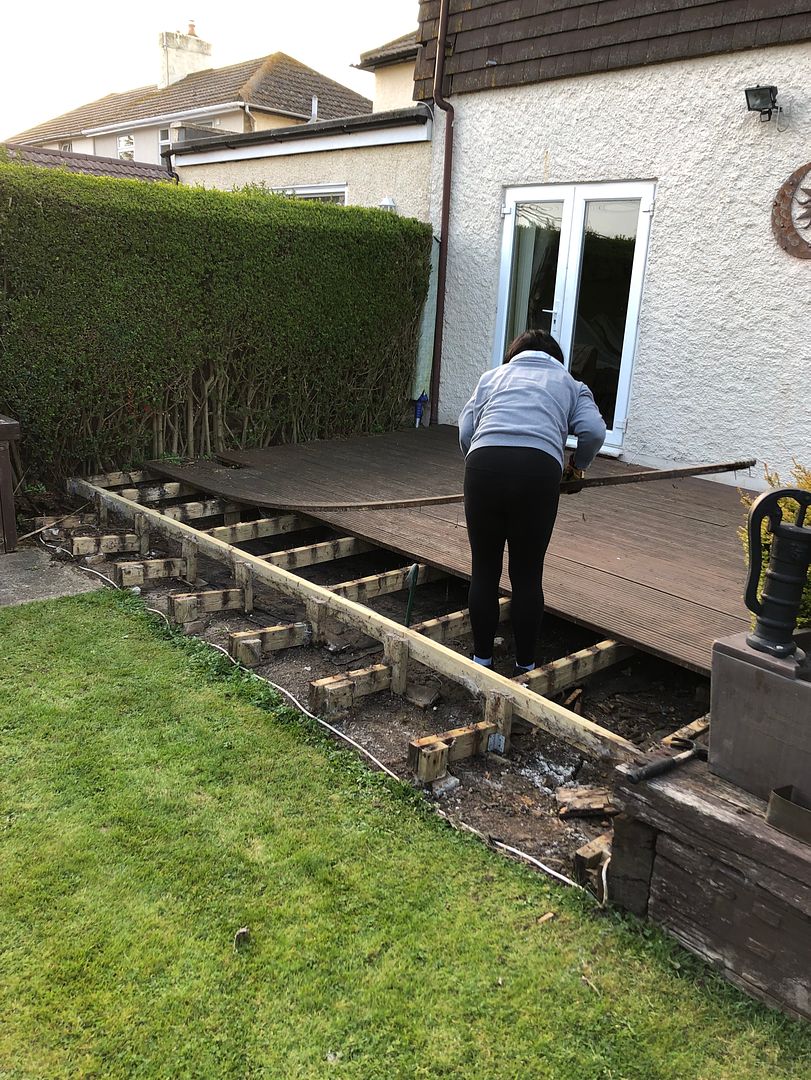  Security. 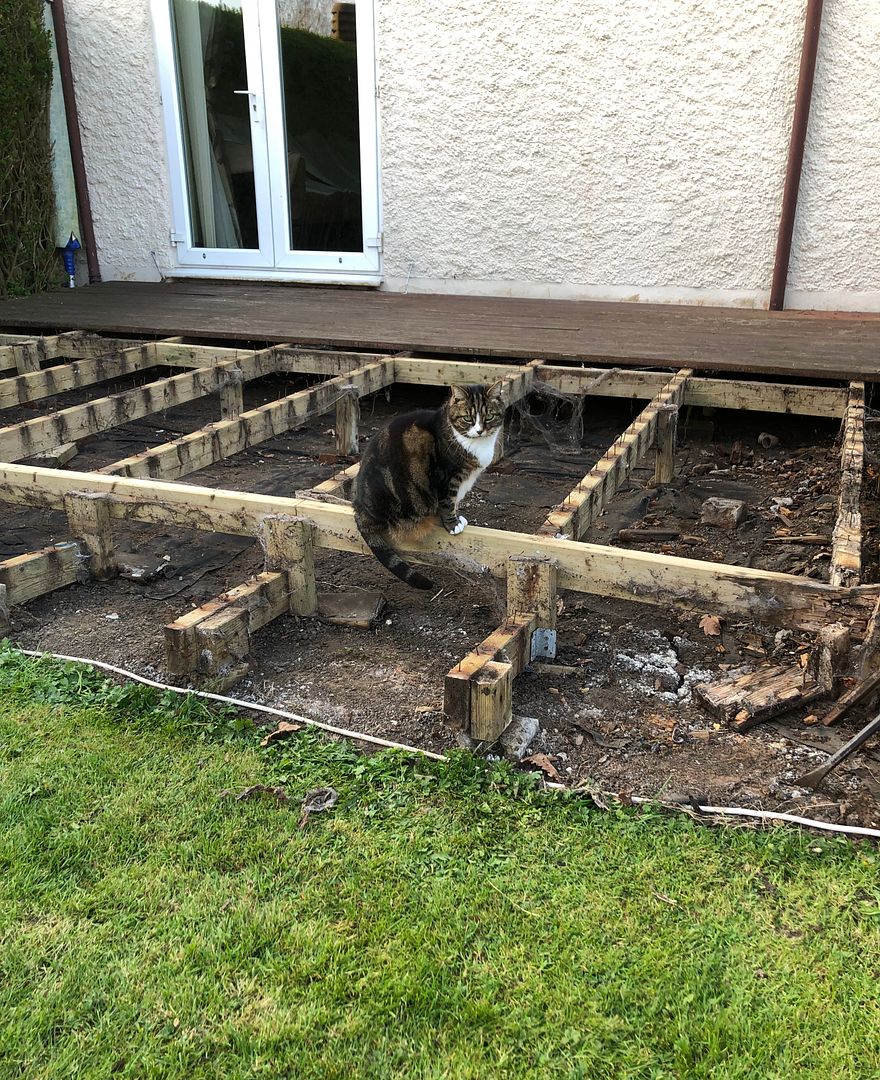 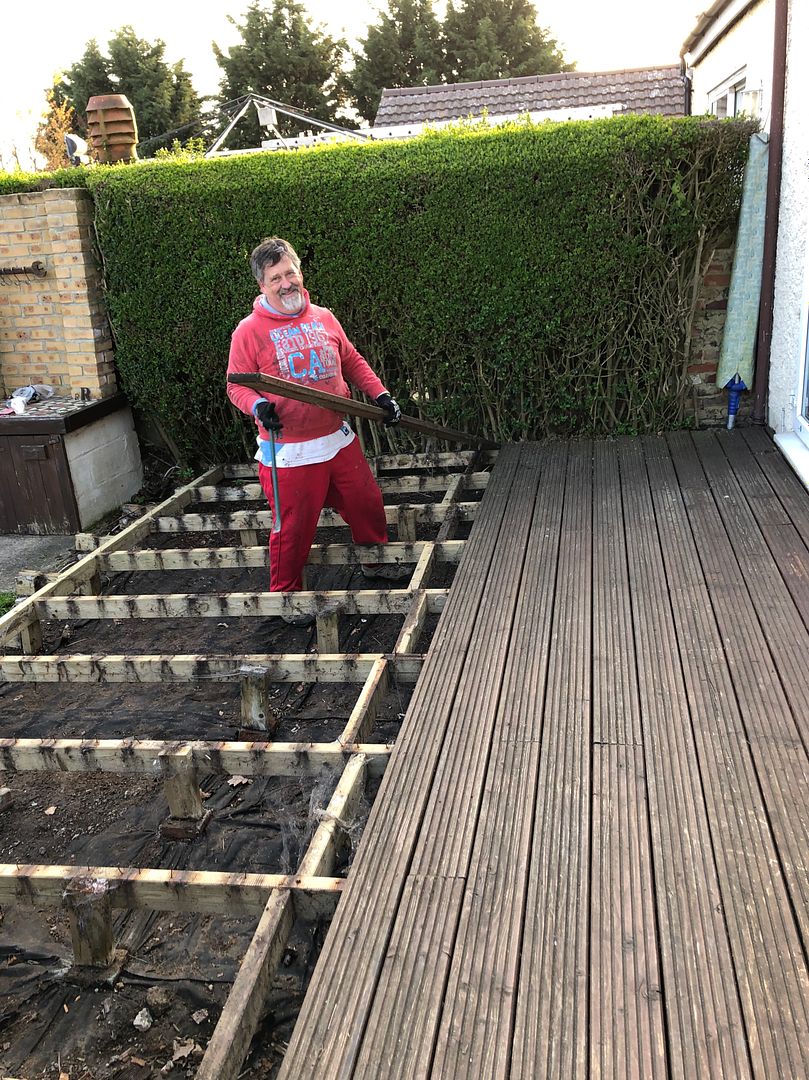 Rotten boards and bearers 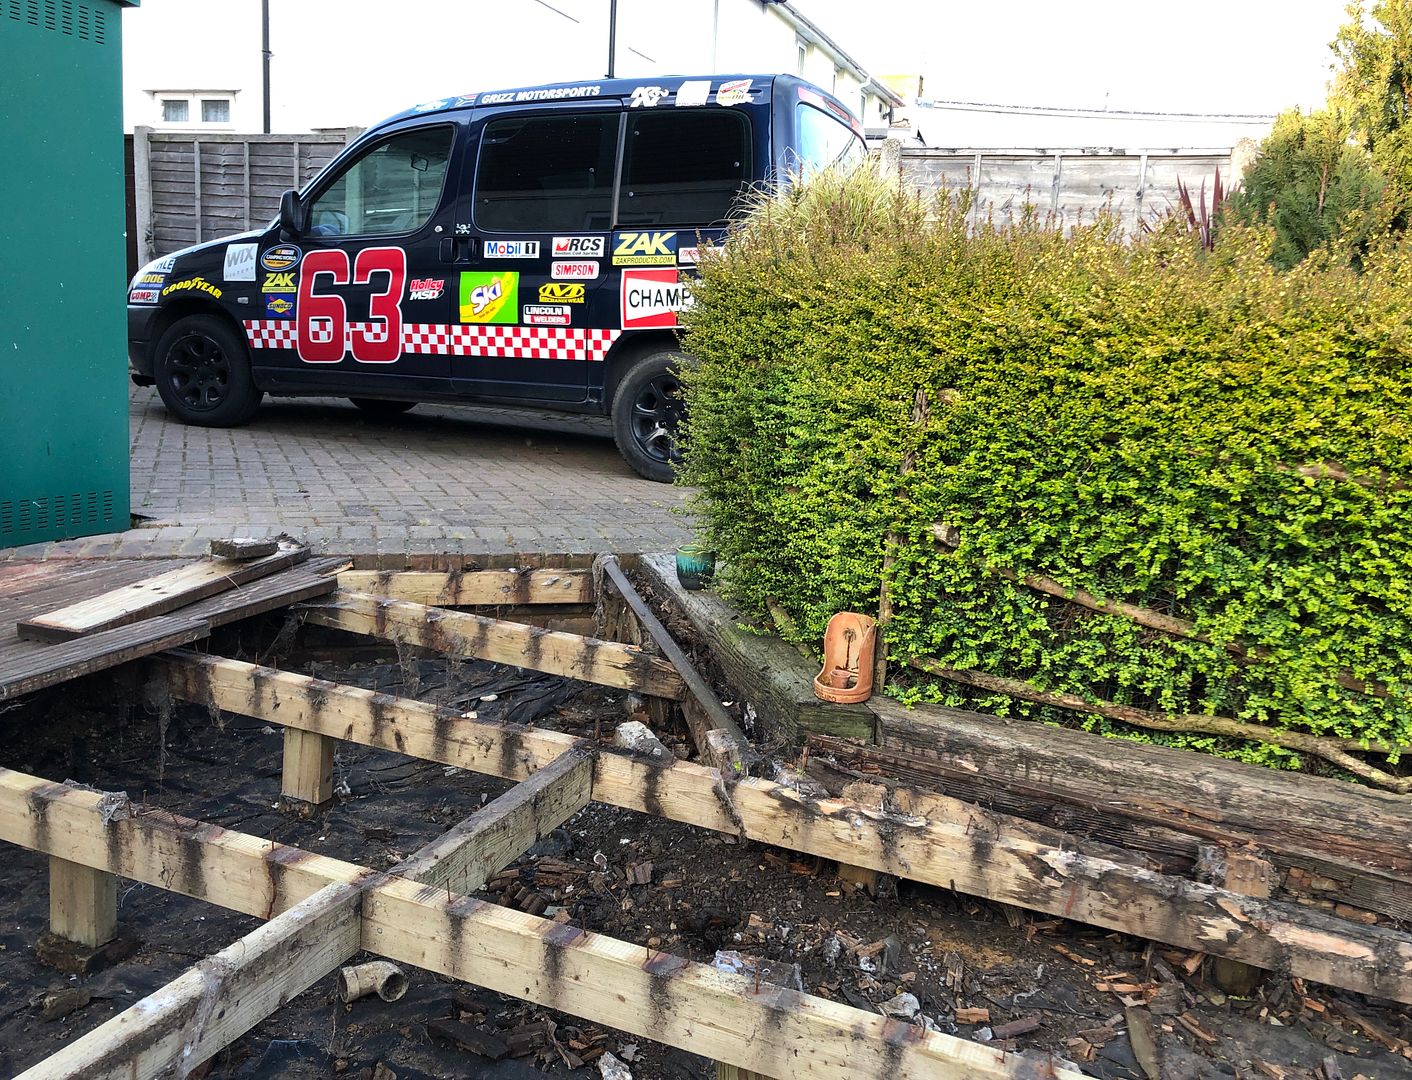  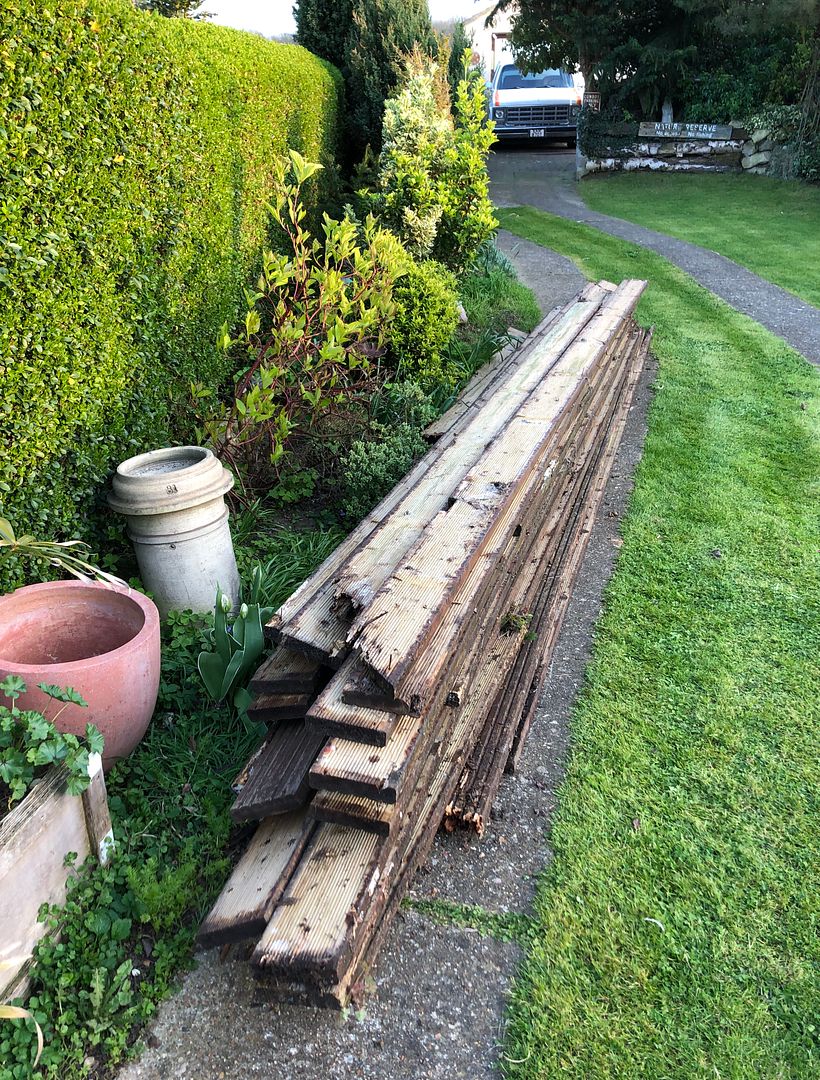 |
| |
Last Edit: May 15, 2019 7:05:40 GMT by grizz
|
|
|
|
|
|
|
|
|
|
Hey mate, I was reading this only this morning...
Down and Dirty
However, every decking timber manufacturer will tell you: the proper way to install a board is ridge side down. The ridges, they say, were designed to let air circulate underneath the boards. This, according to them, prevents the buildup of moisture and, consequently, of mould. The ridges are not there to keep you from slipping and sliding around your deck. Nor are they intended to make your deck look nice. They are there as a structural feature to improve its longevity.
Besides, they point out, with the ridges facing up, the boards tend to collect moisture between the grooves; a situation that can spiral dangerously downward when mould start to multiply or when the timber starts to rot.
Good luck, it's a big job but with good help around and the security cat around things will be a breeze
|
| |
|
|
|
|
|
|
|
|
Always amazes me that people build the decking framework out of untreated timber 🙄
Tanalised timber isn’t exactly difficult to get in this country...
|
| |
|
|
samta22
Club Retro Rides Member
Stuck in once more...
Posts: 1,272  Club RR Member Number: 32
|
|
|
|
I've got this job to do at our place at some point so watching with interest... the jury is out as to when exactly. Can't say I'm looking forward to it as there is rather a lot to do  |
| |
'37 Austin 7 '56 Austin A35 '58 Austin A35 '65 Triumph Herald 12/50 '69 MGB GT '74 MGB GT V8'73 TA22 Toyota Celica restoration'95 Mercedes SL320 '04 MGTF 135 'Cool Blue' (Mrs' Baby) '05 Land Rover Discovery 3 V8 '67 Abarth 595 (Mrs' runabout) '18 Disco V |
|
|
|
|
|
|
Always amazes me that people build the decking framework out of untreated timber 🙄 Tanalised timber isn’t exactly difficult to get in this country... ...and using a naturally durable timber species is even better if you can get it. |
| |
|
|
|
|
|
|
|
So these hold the wall plates. 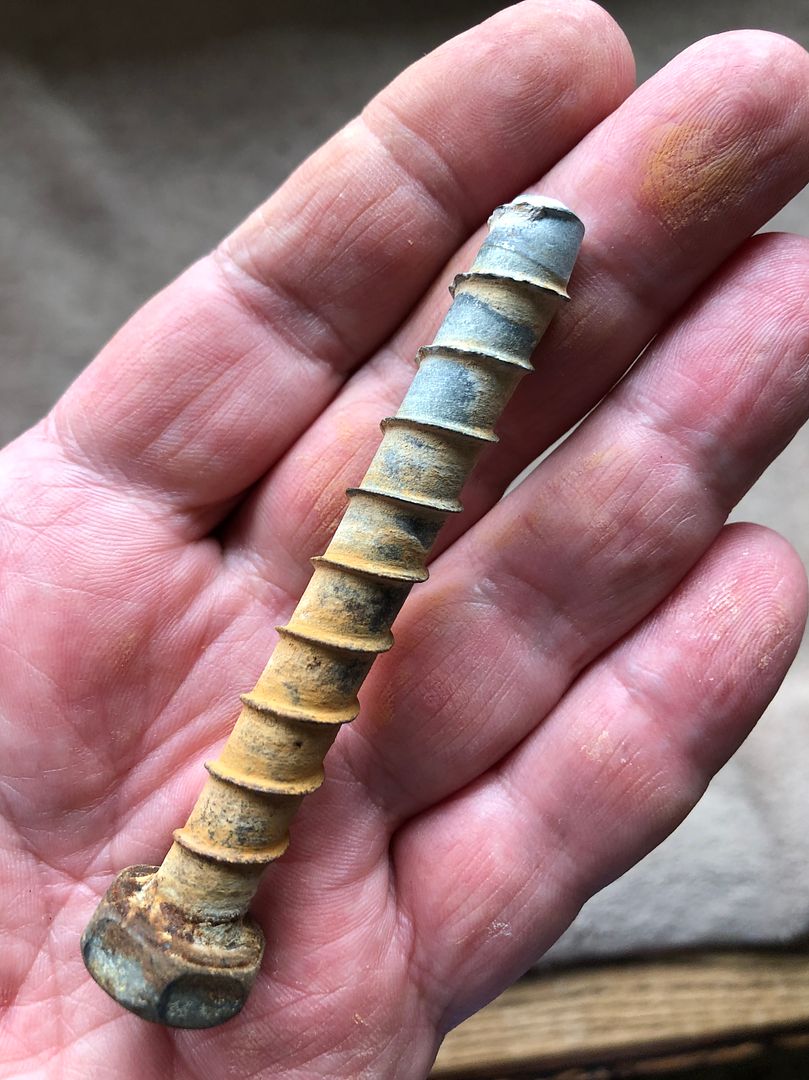 18mm head. 90mm long. 10mm shaft plus that “thread” Screwed straight into concrete or brickwork. What are they called please? |
| |
|
|
|
|
|
|
|
|
Concrete bolts or masonry bolts. Screwfix or Toolstation carry them.
Always good to read another Grizz post; does this 1 count as a project? 😀
|
| |
|
|
Ritchie
Club Retro Rides Member
Posts: 765
Club RR Member Number: 12
|
|
|
|
So these hold the wall plates. 18mm head. 90mm long. 10mm shaft plus that “thread” Screwed straight into concrete or brickwork. What are they called please? Have a look for Thunderbolts. |
| |
|
|
|
|
|
|
|
|
Hmmm. I've got this job to do too. Maybe this year or next if I can put it off.
My tame wood supplier at Canterbury has some 'plastic wood' boards and we are wondering about using those instead of tree wood boards. I might build a new back step out of it as a test. Just to see how slippery it gets when it's wet and mucky.
I'm not sure if you can get plastic wood joists to go with it though and that's half the problem with mine.
Keep up the good work!
James
|
| |
|
|
|
|
|
|
|
Hey mate, I was reading this only this morning... Down and Dirty However, every decking timber manufacturer will tell you: the proper way to install a board is ridge side down. The ridges, they say, were designed to let air circulate underneath the boards. This, according to them, prevents the buildup of moisture and, consequently, of mould. The ridges are not there to keep you from slipping and sliding around your deck. Nor are they intended to make your deck look nice. They are there as a structural feature to improve its longevity. Besides, they point out, with the ridges facing up, the boards tend to collect moisture between the grooves; a situation that can spiral dangerously downward when mould start to multiply or when the timber starts to rot. Good luck, it's a big job but with good help around and the security cat around things will be a breeze I know which way I am mounting the boards. Same as before. Between the cat and three OCD guys.... it will be fun. Always amazes me that people build the decking framework out of untreated timber 🙄 Tanalised timber isn’t exactly difficult to get in this country... That framework is actually all tantalised timber. I guess the colour has faded over the years and the stain, and much that dribbled through the gaps create the illusion of it being softwood. I've got this job to do at our place at some point so watching with interest... the jury is out as to when exactly. Can't say I'm looking forward to it as there is rather a lot to do Exactly why Imdo these threads, we all learn, some know a load more than some. Simple sharing. Always amazes me that people build the decking framework out of untreated timber 🙄 Tanalised timber isn’t exactly difficult to get in this country... ...and using a naturally durable timber species is even better if you can get it. True. Concrete bolts or masonry bolts. Screwfix or Toolstation carry them. Always good to read another Grizz post; does this 1 count as a project? 😀 😉✅ Glad you enjoy them. So these hold the wall plates. 18mm head. 90mm long. 10mm shaft plus that “thread” Screwed straight into concrete or brickwork. What are they called please? Have a look for Thunderbolts. Thank you |
| |
|
|
|
|
|
|
|
|
|
|
Text from mate Henry
Checked the nail situation when I got home last night- they are around 90mm long and galvanised ring shank so will last and hold the timber👍
Stripped the nail gun too and ordered the service kit for it and charged the batteries as well.
Looking forward to using these tools again and getting the deck done😄
So along with screwing and nailing it could be good fun.
|
| |
|
|
|
|
|
|
|
Screwing and nailing is always fun...  |
| |
|
|
|
|
|
|
|
|
Your local Jewson will have decking screws on offer this month - they come with a bit included. Also you mounting the grooves upwards is 100% correct. MY company manufacture decking and we machine 3 square grooves in the underside to reduce cupping and aid drainage etc. Those screws are also known simply as 'Concrete Screws' - made by Rawlplug. Also available at most Jewson merchants. (Others do exist lol)
Whilst decking is tanalised, it is treated with water based treatement and so needs re-doing every year. Hardwood racking such as Balau costs 5 x as much but just needs oiling every other year.
|
| |
96 E320 W210 Wafter - on 18" split Mono's - Sold :-(
10 Kia Ceed Sportwagon - Our new daily
03 Import Forester STi - Sold
98 W140 CL500 AMG - Brutal weekend bruiser! Sold :-(
99 E240 S210 Barge - Now sold
02 Accord 2.0SE - wife's old daily - gone in PX
88 P100 2.9efi Custom - Sold
|
|
|
|
|
|
|
Your local Jewson will have decking screws on offer this month - they come with a bit included. Also you mounting the grooves upwards is 100% correct. MY company manufacture decking and we machine 3 square grooves in the underside to reduce cupping and aid drainage etc. Those screws are also known simply as 'Concrete Screws' - made by Rawlplug. Also available at most Jewson merchants. (Others do exist lol) Whilst decking is tanalised, it is treated with water based treatement and so needs re-doing every year. Hardwood racking such as Balau costs 5 x as much but just needs oiling every other year. Hopefully in 10 years I won’t be here. Or maybe I will. Would have a hardwood deck and associated supports. But not at the cost vs 10-15 years of life from this lot of pressure treated tanalised wood. |
| |
|
|
|
|
|
|
|
Bought the M10 x 75mm lightening bolts and some screw plates today. No instructions as to drill bit size. Shaft is 10mm between threads. Tip is 7mm but not sure thats relevant. What is the concensus on SDS drill bit size?? 8mm ? 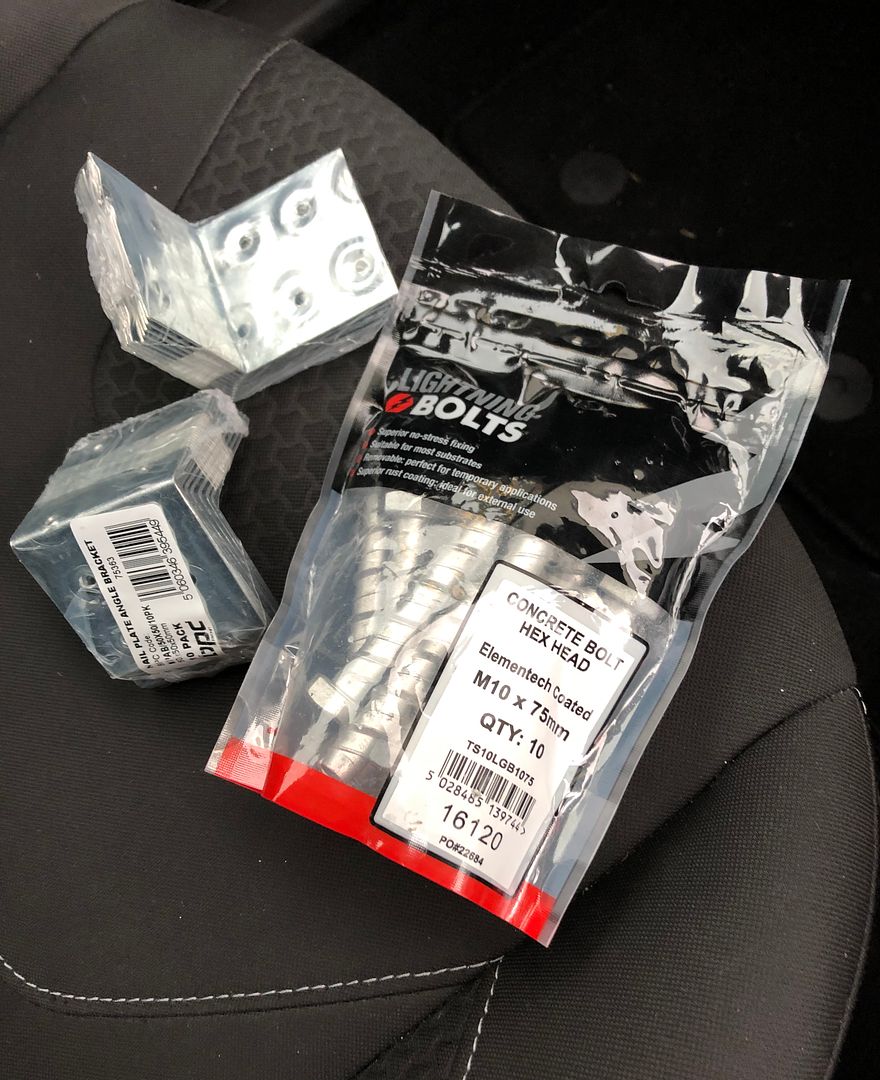 |
| |
Last Edit: Apr 3, 2019 16:38:59 GMT by grizz
|
|
Kron
Part of things

Posts: 260
|
|
|
|
|
Use the same size as the bolt, so 10mm in your case.
|
| |
|
|
|
|
|
|
|
|
I would be buying 20 litres of wood treatment / creasote etc and salathering it on everything underneath and the reverse of the boards as well even if they are treated .
|
| |
|
|
|
|
|
|
|
Use the same size as the bolt, so 10mm in your case. I think starting with an 8mm bolt may be the way to go. And then driving them in with an impact wrench. If it fails, then 9mm or 10 mm as it’s easier to make the holes bigger than try shrink them. I would be buying 20 litres of wood treatment / creasote etc and salathering it on everything underneath and the reverse of the boards as well even if they are treated . Makes loads of sense. I could paint up the frame too. But all these paints are water based so not particularly effective. More decorative And to paint 35 grooved lengths on both sides, planks of 5.1m will take more time than is worth it. I only have the work force for a day. 😉 The deck I took off was well over 10 years old. At about £700.00 or excluding labour, sandwiches and coffee, before I stain it brown with some rubbish pretend wood preservative (which I do yearly anyway) its not worth the effort. The plan is to do a complete build in a day. If timber delivery is before 09.00. |
| |
Last Edit: Apr 4, 2019 6:45:13 GMT by grizz
|
|
Kron
Part of things
Posts: 260
|
|
|
|
|
[/quote]I think starting with an 8mm bolt may be the way to go. And then driving them in with an impact wrench.
If it fails, then 9mm or 10 mm as it’s easier to make the holes bigger than try shrink them.
[/quote]
No problem, we use all the time for fixing brackets to concrete and masonry. Although we use Fisher versions for their provenance but they are all the same. You might find you end up overdriving with the smaller hole as the technical guidance is to drill the same diameter as the bolt. Remember to allow +10 drill depth on the bolt length to allow for the build up of debris when it threads in.
|
| |
|
|
|
|
|
|
|
|
Got a phone call late this afternoon from the guy I ordered the wood from..
“Is there any chance of delivering your order on Friday morning?”
Of course, thankfully I am stuck on a Skype call, so need to leave later.
This means we can start earlier, or at least on time.
Due to a family upheaval Henry had to withdraw from the fun, but it should still be a fun day.
|
| |
|
|
|
|