|
|
|
|
|
So I went to clean the panel back and found filler - loads of very deep filler - ho why do they do it ? I think that it's more of a case that they just are not bothered or in the case of my Corsair they just don't know any better. When blocking option do you prefer forward to back over the panel or X to find all the highs & lows?
Pete - All directions to be honest although when doing compound curvatures over a large area - like above the wheelarch and then back down to the rear of the wing that I am currently working I tend to favour a swept diagonal motion but with the block held tight against the profile whilst doing so |
| |
|
|
|
|
|
|
|
|
|
Chris, I've been assembling more and more of the Mirka dustless hand sanding blocks over the past three years, including those you show, plus the Mirka Deros random orbital, all of which connect to my Makita VC4710 Xtract Vac with auto cleaning filters, and as a result, the shop is a far healthier place to work. I'm fairly certain the Makita and Mirka dust extractors are both made by Nilfsk/Alto/Wap, who also make vacs rebranded by other several other companies. Great products.. Lance Lance - It makes a huge difference with the Mirka kit - it's not the cheap way of doing it but I have never come across a better system - the vacuums are not cheap either but it's fairly simple to convert a old Henry type vac to do the job - all the hose adaptors are readily available etc - personally I could just not produce the level of quality in my work without the Mirka system and it beats working bathed in filler dust any day. |
| |
Last Edit: Jul 8, 2018 13:38:06 GMT by Deleted
|
|
|
|
|
|
|
I’ve got a repair to do on some Land-Rover panels that I’ve been avoiding for ages because I’d convinced myself the only way to do it to my satisfaction would be to cut repair sections from the donor panels I have, and get them TIG welded into place. I think now though it’d be better to rethink how and where I section the donor panels, with a view to bonding and rivetting them instead. Looks like I can stop putting it off. 😃 Glen - I think that much like the alloy sheet that Jowett utilised for panel production you are going to have the same problem with quality of the alloy that Land Rover used - the metal it's self carries a lot of impurity and is very, very difficult to TIG weld - even gas welding with a high quality flux to combat the impurities is very problematic. With a good 2 pack panel bonding adhesive, countersunk rivets and a little patience you will be surprised at the results - top tip though is once you have the panel fitted & dressed back - is to fill the head holes of the rivets with the panel bond and allow to cure before dressing back - this will prevent any moisture creep / water ingress into your repair seam |
| |
|
|
|
|
|
|
|
I much prefer to bond non structure panels/repairs than to weld them, even steel ones. Hope you're drinking bucket loads of water Chris! Even bonded structural repairs are now a accepted method providing they are done correctly - some modern production vehicle bodyshells have been built with cold process technology for several years now - so zero welded process - it's all done with rivets & bonding - structural & non structural panels - this tends to be on all alloy prestige vehicles but this process will be adopted by all mainstream vehicle manufactures over the coming years - alloy is easier to form / press, lighter and production speeds are quicker & more accurate than a hot welded process on a steel bodyshell - alloy is also better at absorbing energy in the event of an impact - critical in this day & age when we are looking for ultra safe 5 star Ncap ratings for modern / new vehicles. The beauty of working from home is that our kitchen is the nearest point to the workshop - reached in seconds - so a large range of cold beverage is on tap - although I leave the falling over assisted type of beverage until the end of the day  |
| |
Last Edit: Jul 8, 2018 7:26:11 GMT by Deleted
|
|
glenanderson
Club Retro Rides Member
Posts: 4,100
Club RR Member Number: 64
|
|
|
|
Glen - I think that much like the alloy sheet that Jowett utilised for panel production you are going to have the same problem with quality of the alloy that Land Rover used - the metal it's self carries a lot of impurity and is very, very difficult to TIG weld - even gas welding with a high quality flux to combat the impurities is very problematic. With a good 2 pack panel bonding adhesive, countersunk rivets and a little patience you will be surprised at the results - top tip though is once you have the panel fitted & dressed back - is to fill the head holes of the rivets with the panel bond and allow to cure before dressing back - this will prevent any moisture creep / water ingress into your repair seam Thanks Chris. I think you’re right. One really good thing in my favour is that Land-Rovers were largely fabricated from simple sections, and that pop rivets were used extensively in their manufacture; so a few more won’t look out of place. I favour the ones with the sealed ends, so water ingress isn’t normally a problem. I’ll have to get some countersunk ones the right length, but they’re not exactly expensive. 👍👍 |
| |
My worst worry about dying is my wife selling my stuff for what I told her it cost...
|
|
|
|
|
|
|
|
LR were quite exotic with their magnesium alloy panels !
|
| |
|
|
|
|
|
|
|
Nice belt sander. What kind of cost do the belts run at? Rian - I have just purchased 50 number x P40 belts for it and they cost 17.50 + vat so 35p each + vat - invaluable tool for getting into the small places & areas Finally my air powered power file gave the ghost this afternoon and seized - it was not a lot of money when I purchased it 2 years ago -ordered a new one this afternoon £30 + vat delivered in the morning from LKQ one of my paint material suppliers 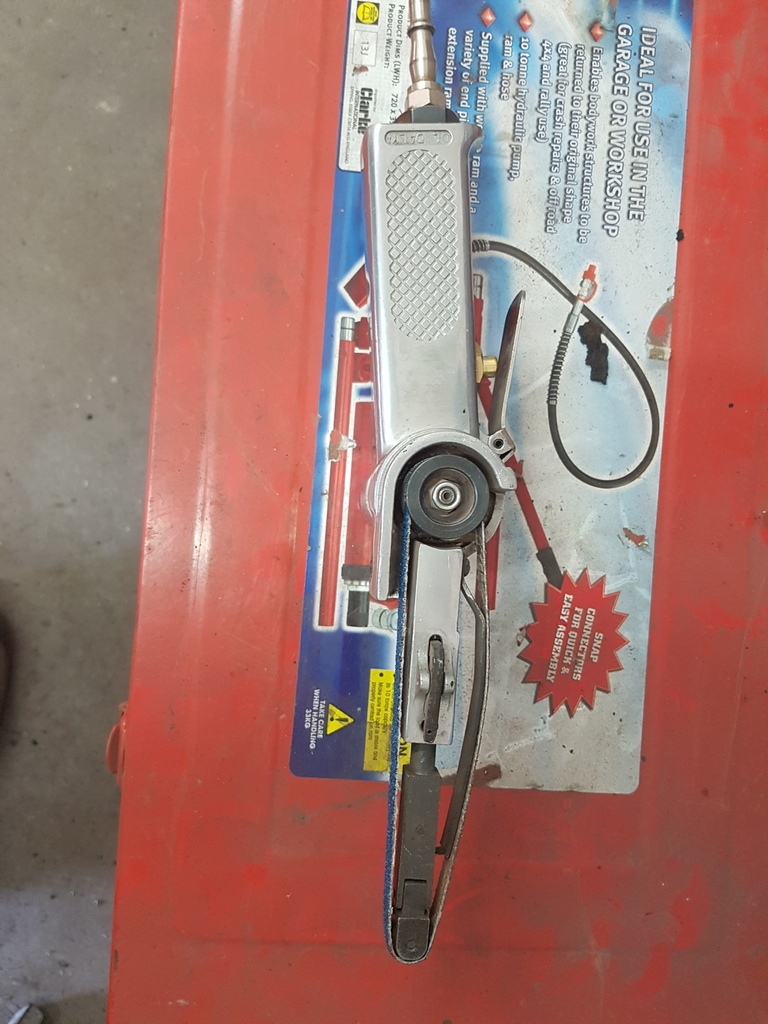 I prefer the air powered ones has they are half the size of the electric versions and can access most tight spaces 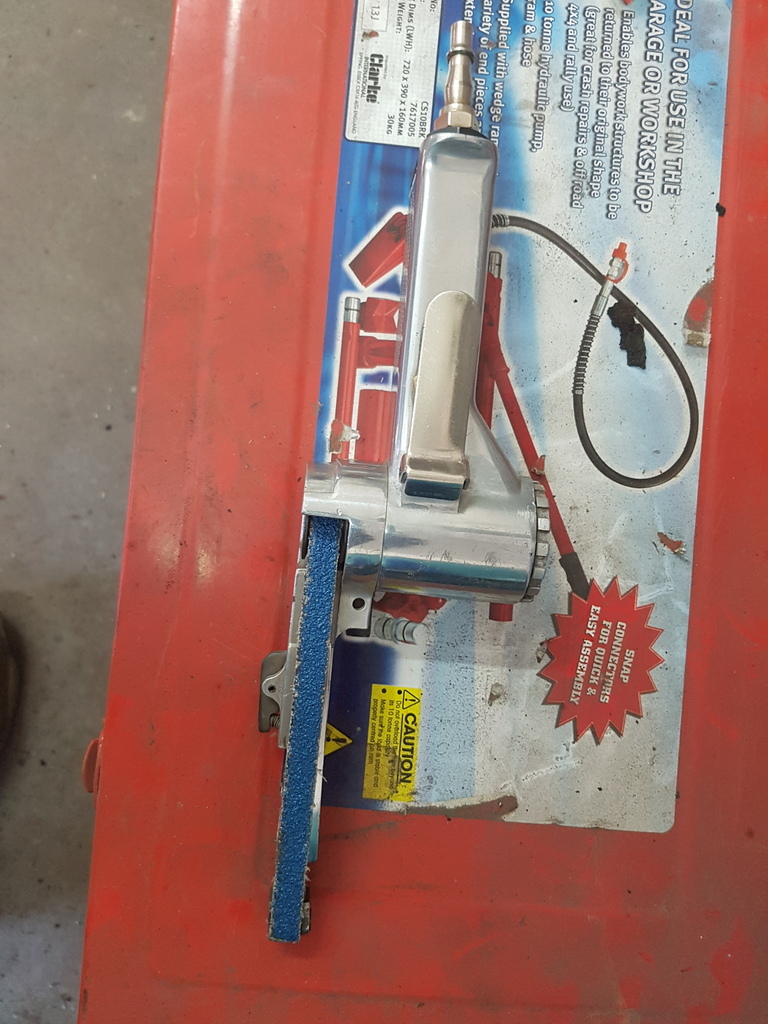 Chris, Are these the standard/universal size . And how much air does the machine need? I assume not a lot. |
| |
Last Edit: Jul 8, 2018 17:26:02 GMT by grizz
|
|
|
|
|
|
|
Rian - I have just purchased 50 number x P40 belts for it and they cost 17.50 + vat so 35p each + vat - invaluable tool for getting into the small places & areas Finally my air powered power file gave the ghost this afternoon and seized - it was not a lot of money when I purchased it 2 years ago -ordered a new one this afternoon £30 + vat delivered in the morning from LKQ one of my paint material suppliers I prefer the air powered ones has they are half the size of the electric versions and can access most tight spaces Chris, Are these the standard/universal size . And how much air does the machine need? I assume not a lot. Rian - 330 x 10 mm belts - readily available - the machine it's self should run fine on a 100 litre tank 6 + cubic feet per min pump compressor |
| |
|
|
|
|
|
|
|
Sills turned up first thing this morning 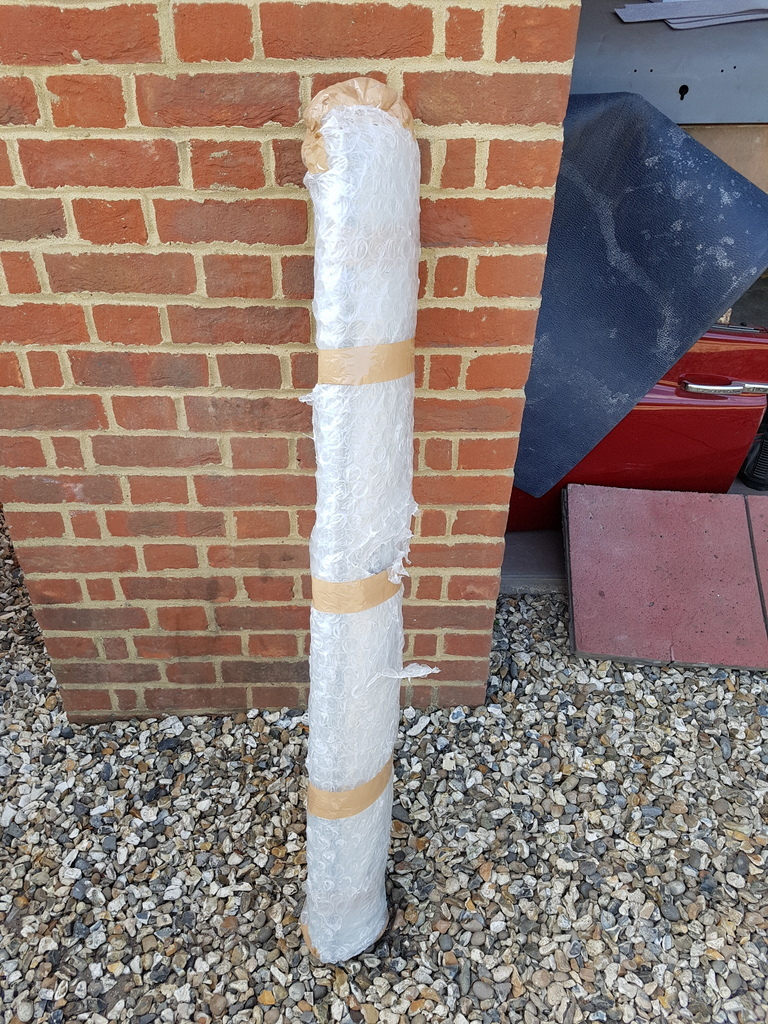 Still need to keep progressing the profiles on the rear wing before I remove it to fit the sill 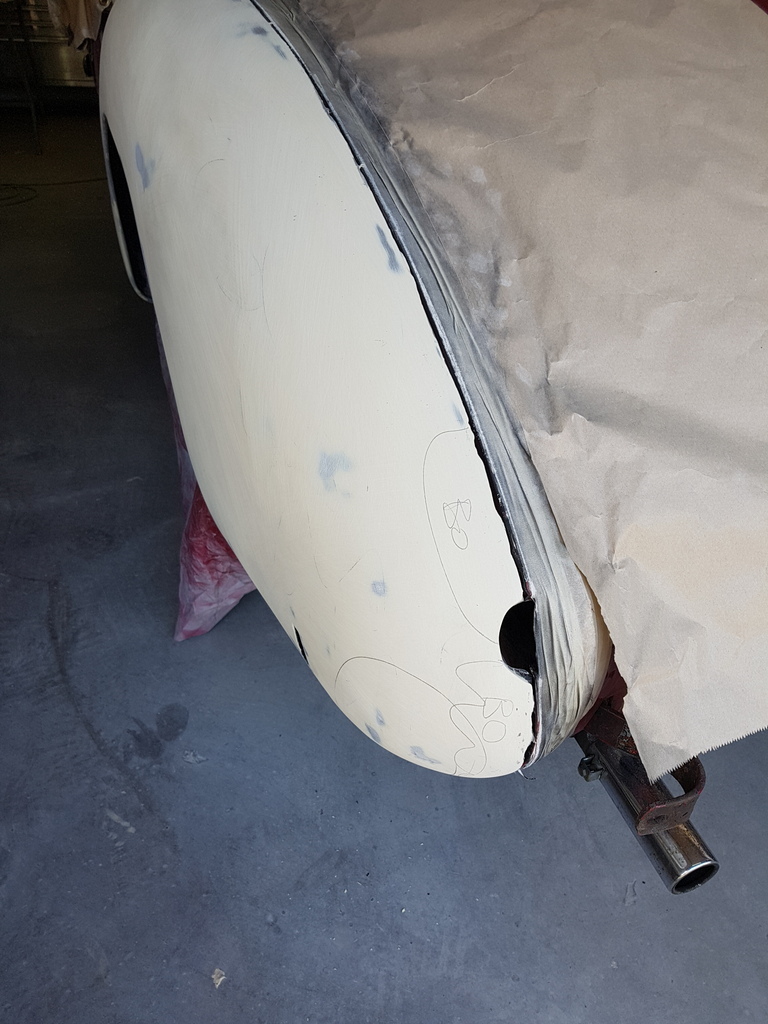 Just minor areas to attend to 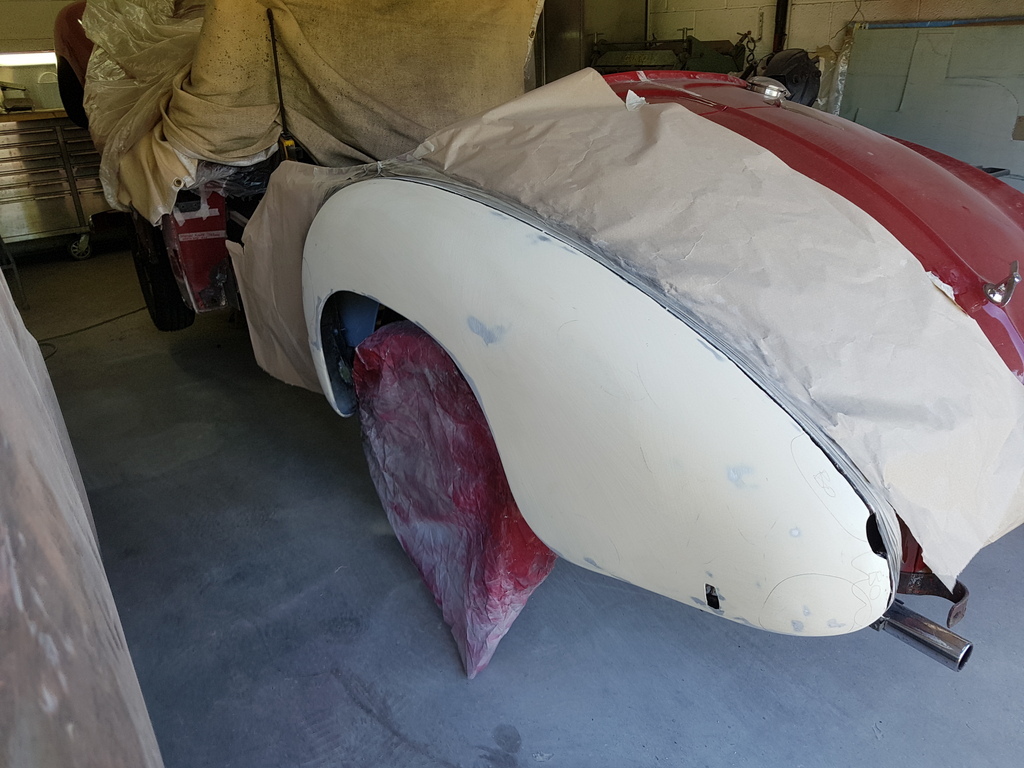 Once I have these done - I will glaze the entire panel prior sanding back in preparation for a couple of coats of a polyester primer 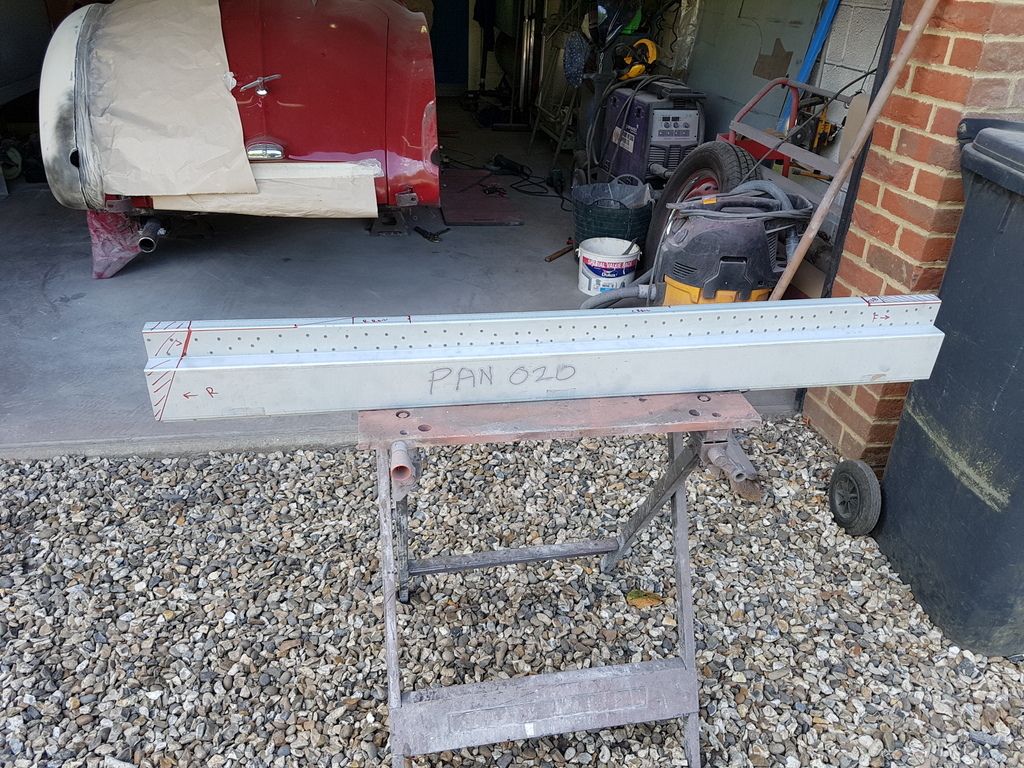 Lots of trial fitting / trimming to be undertaken on the sill panel before it can be welded in 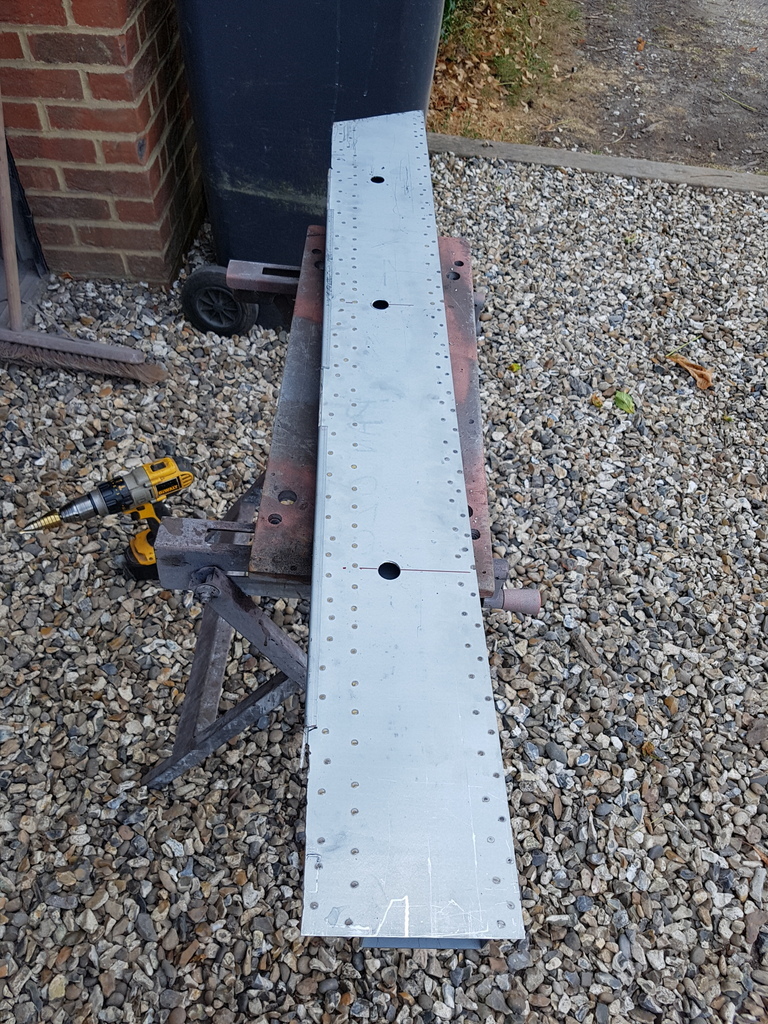 Access holes drilled for the rustproofing / cavity wax injection once the repairs are completed 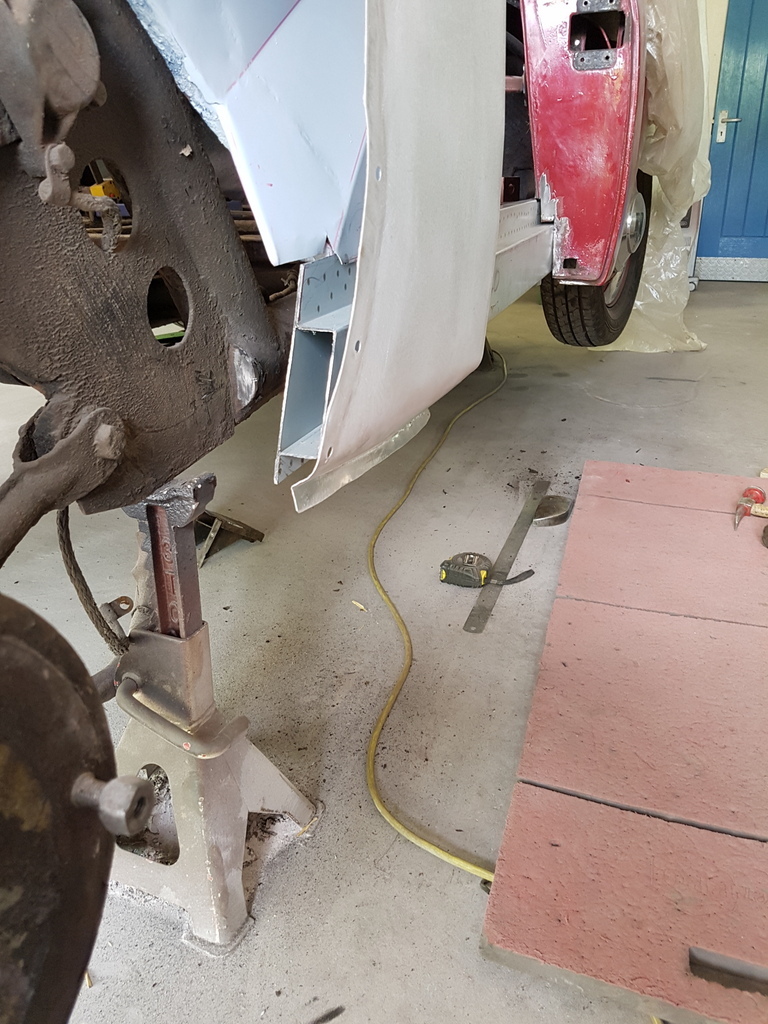 Rear section of the sill requires tapering to allow for the rear quarter panel to fit correctly 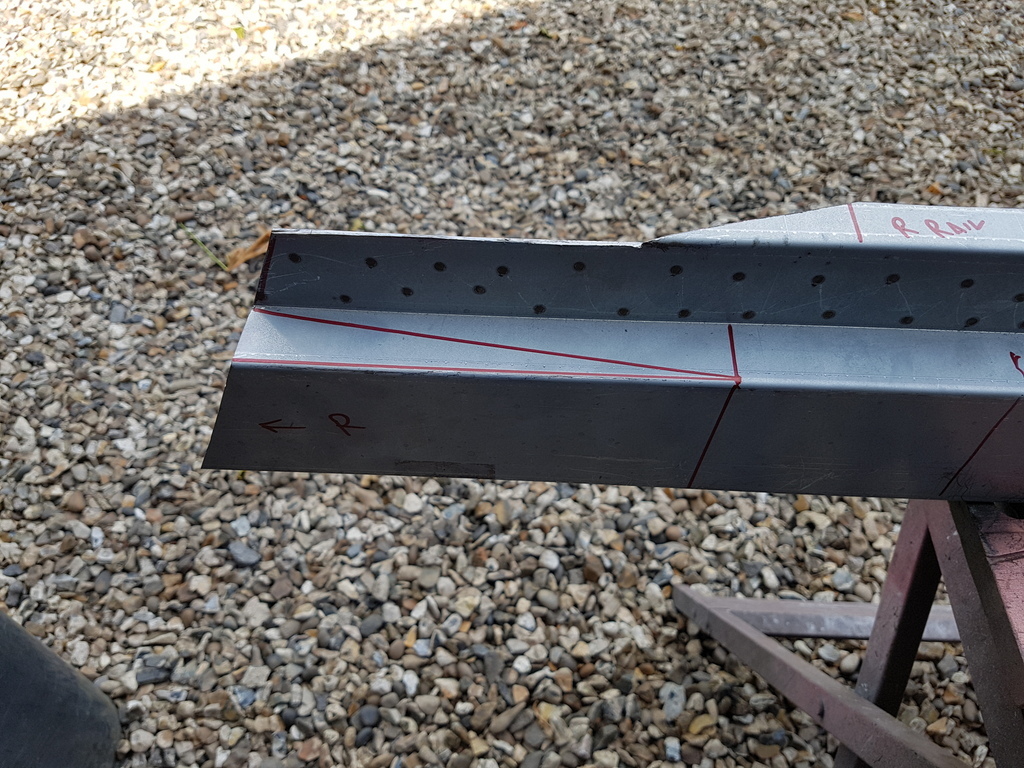 Trim line 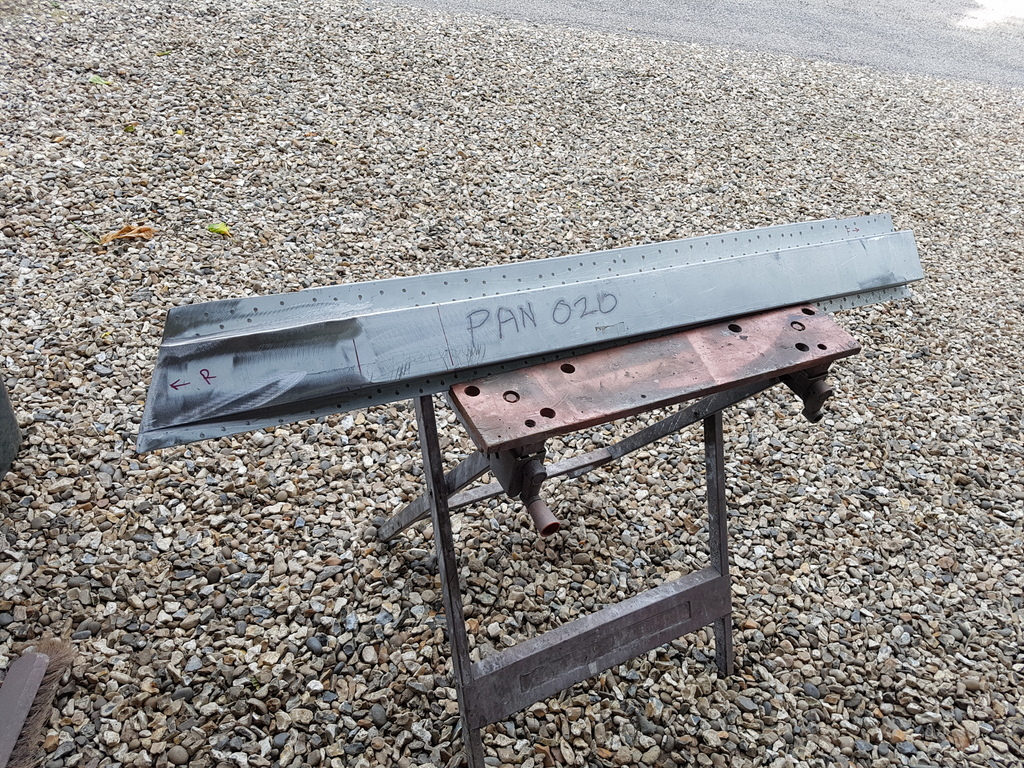 Cut / welded & cleaned up 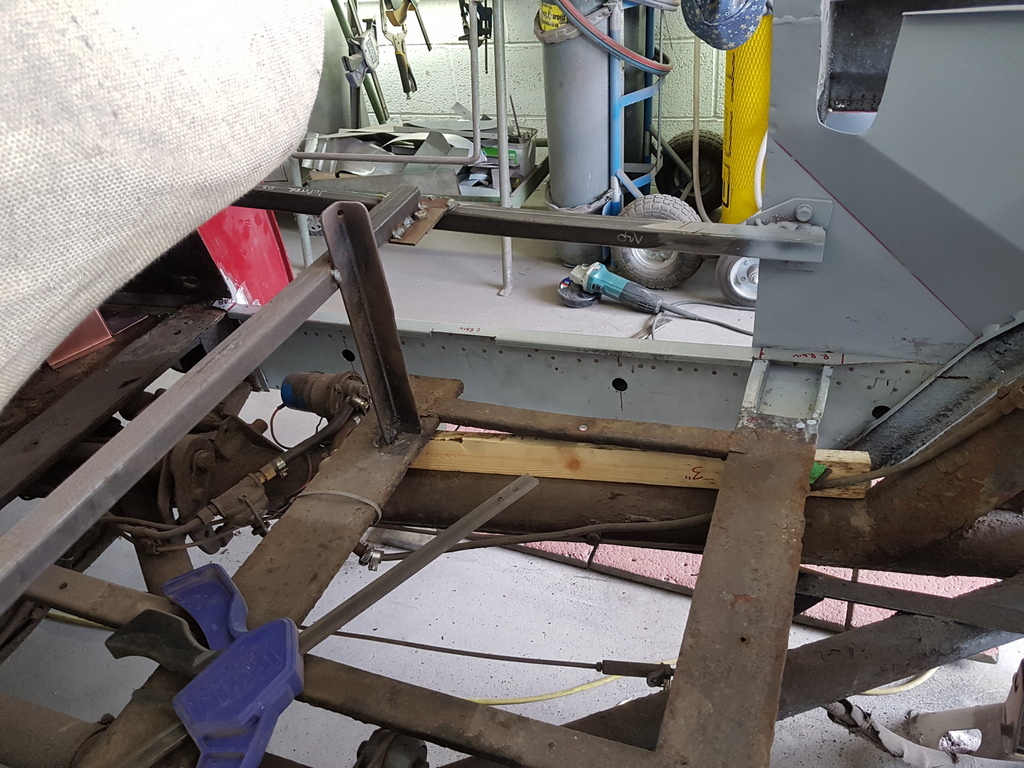 More trail fitting 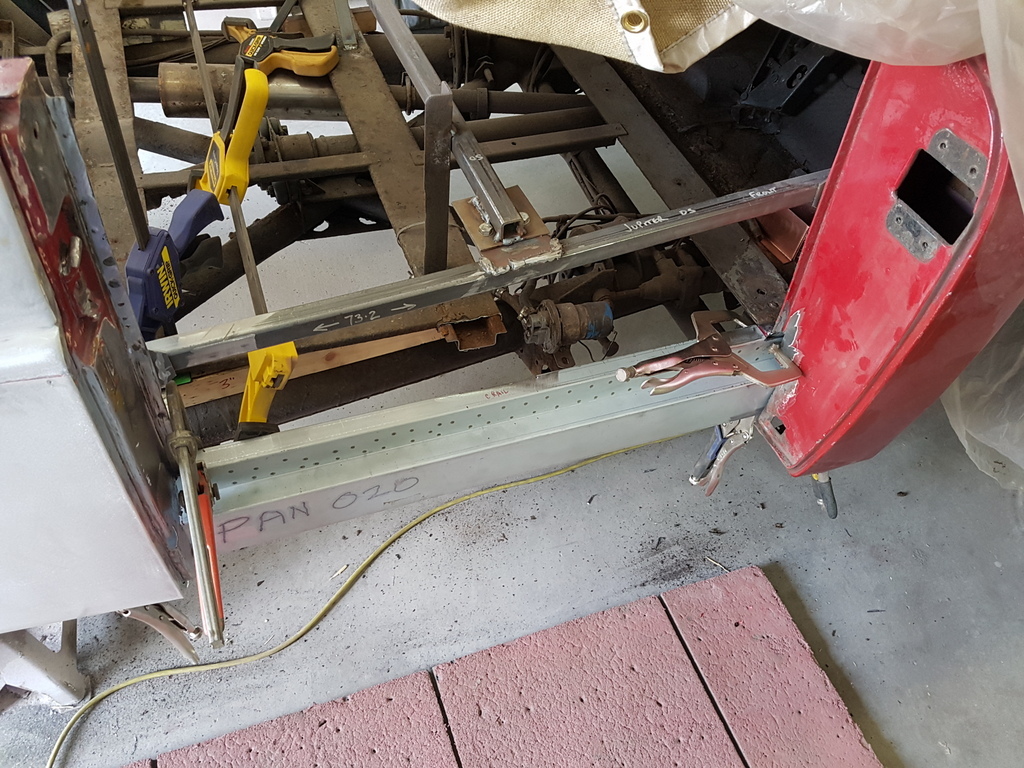 Clamp measure, measure & measure again - none of this fancy programming computers and getting the machine to do the work for you 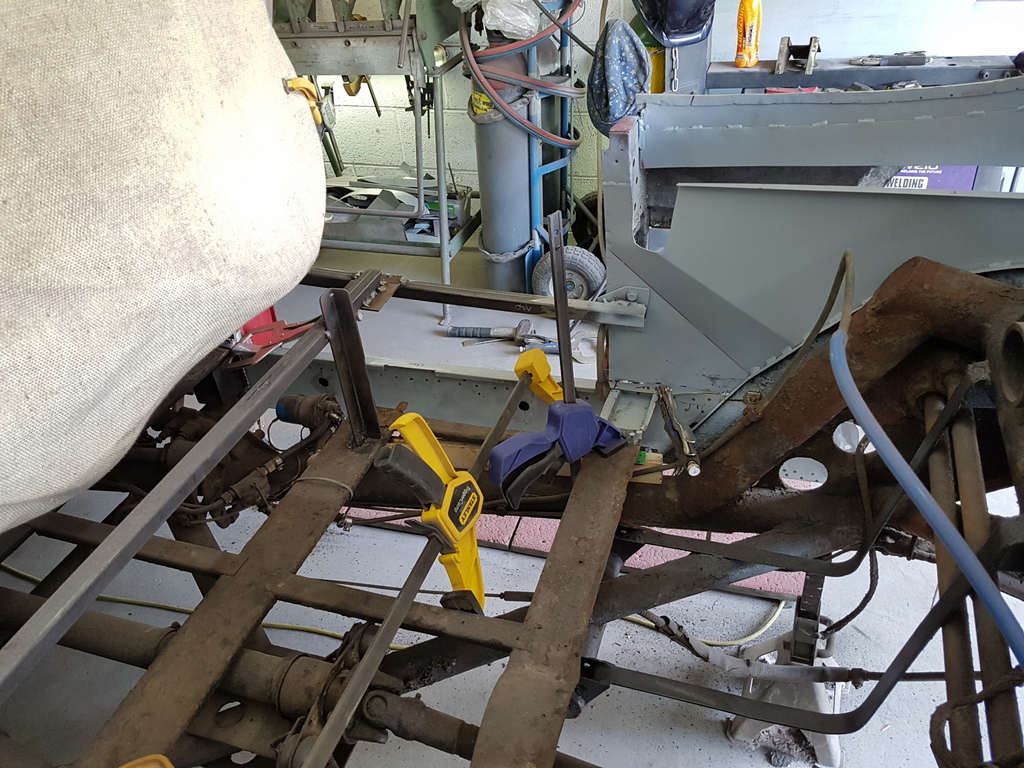 Welded in 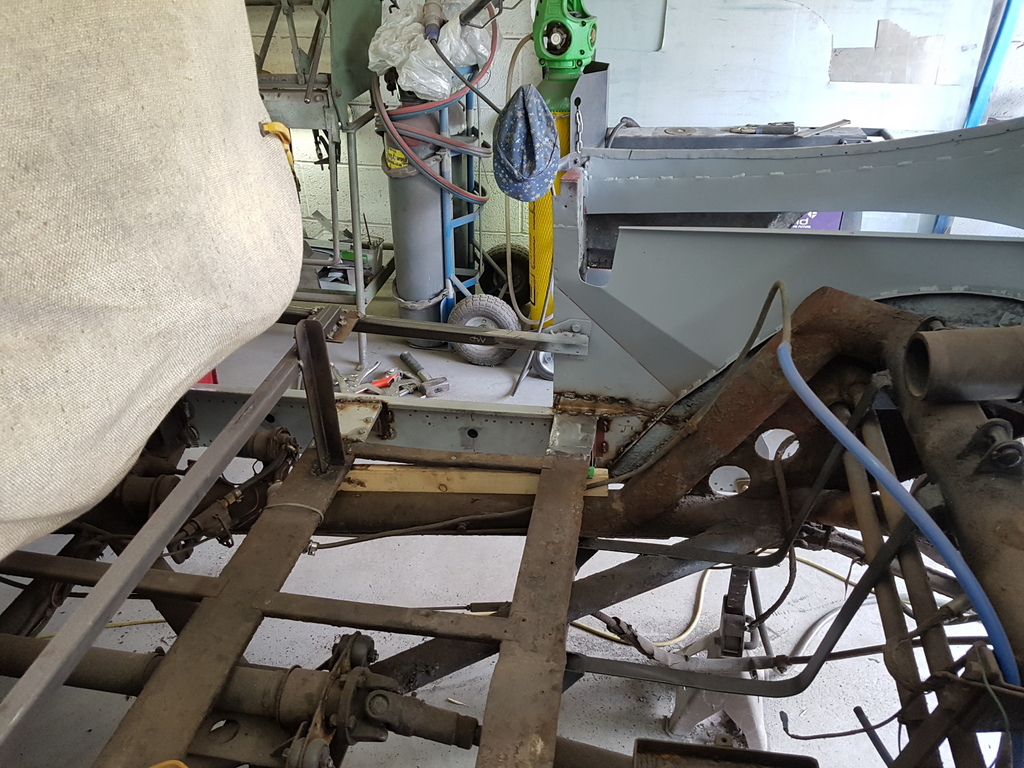 Dressed back / cleaned up 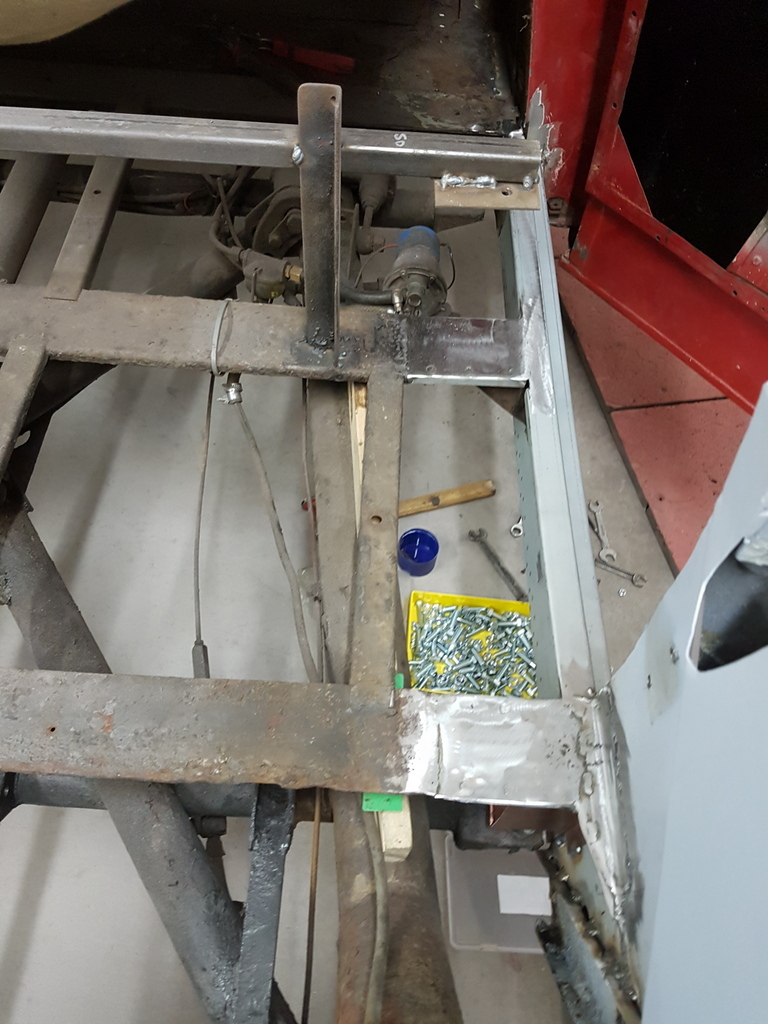 A & B posts are left unwelded to the sill at the door aperture faces for now 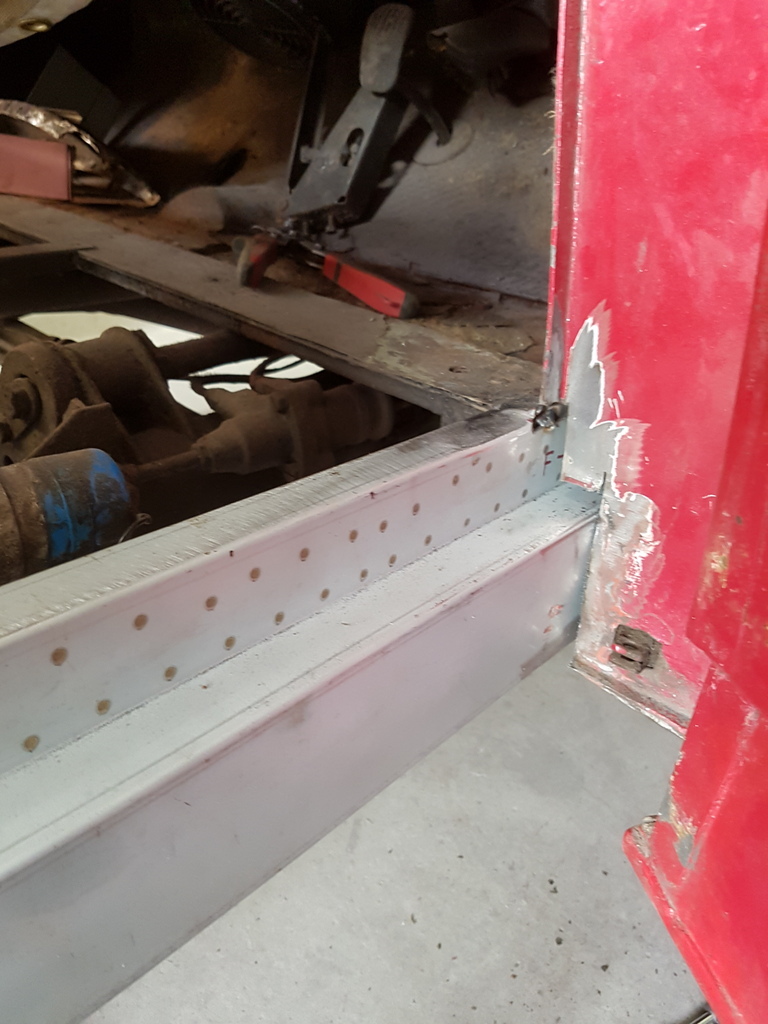 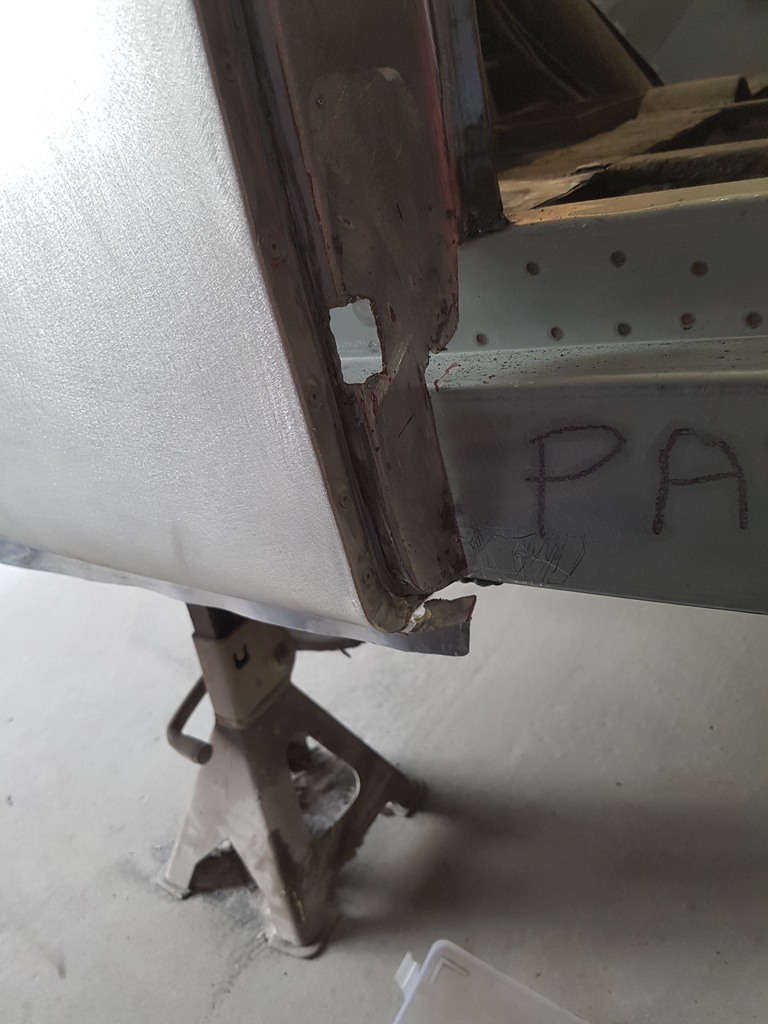 Door hinges refitted  Then hung the door - ok fit on the side & bottom aperture with the A post 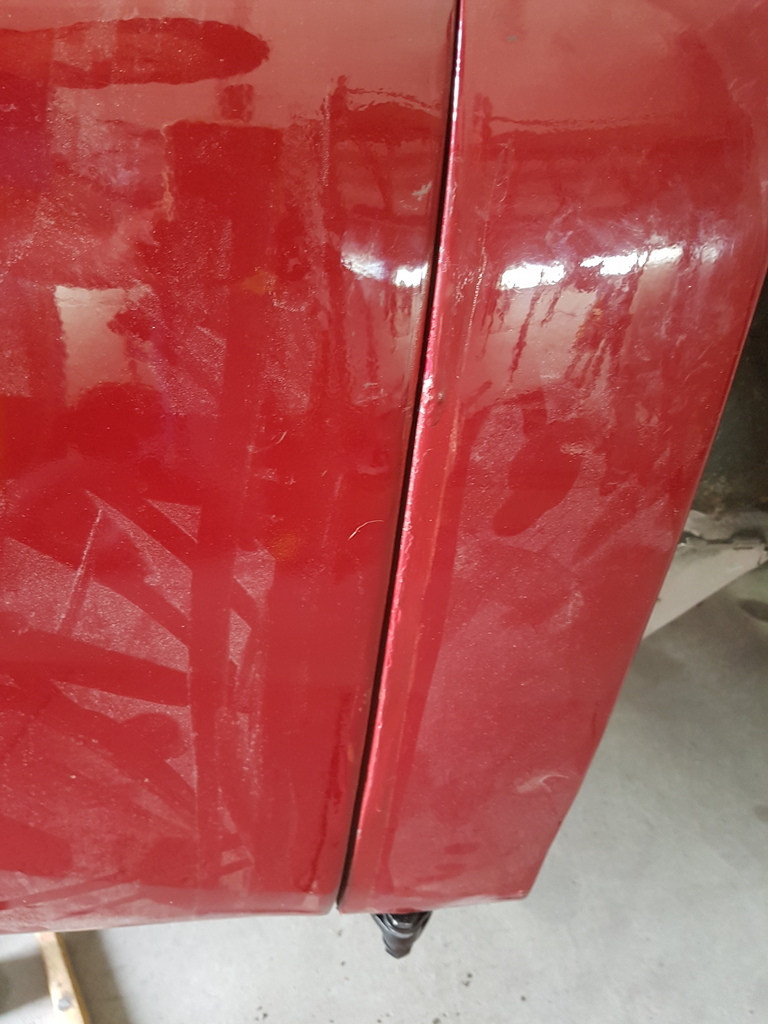 Evidence of the previous poor fit due to the bottom door hinge 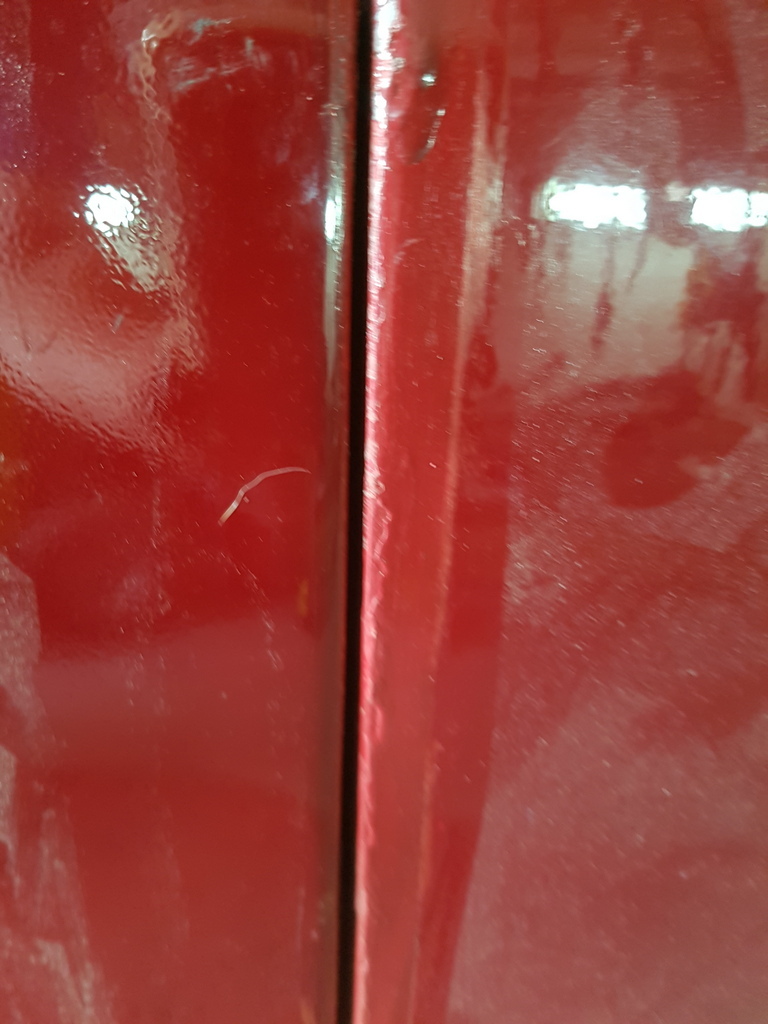 Tight on the top of the A post 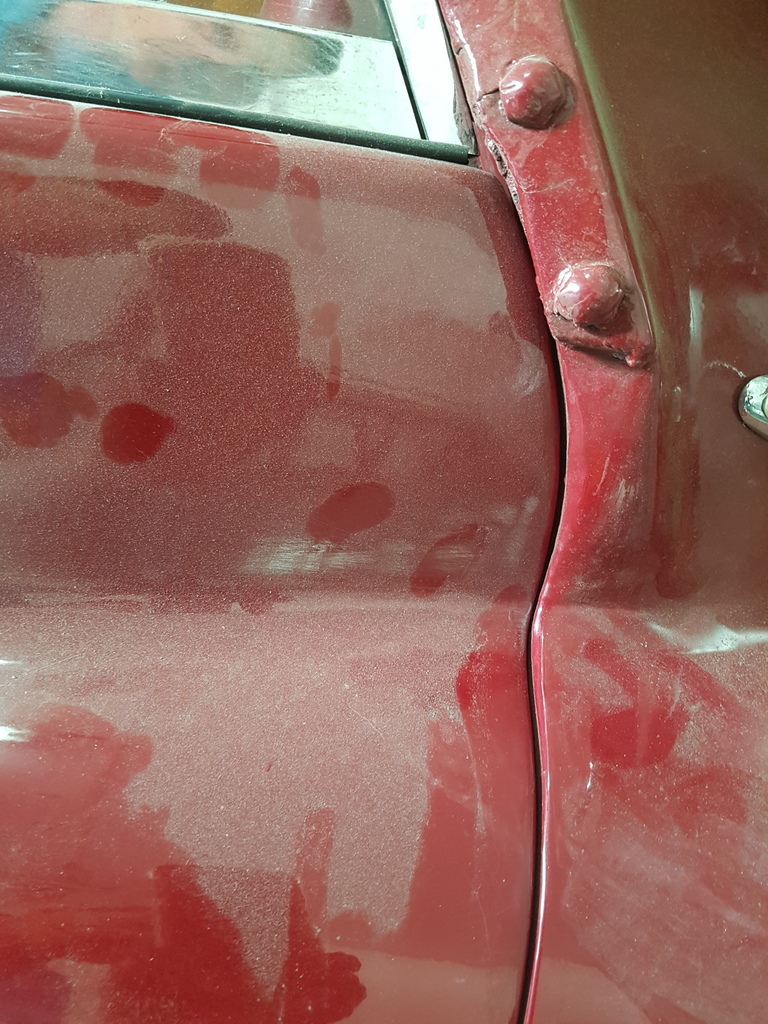 Along with the quarter frame aperture to the windscreen frame  Previous evidence of the poor fit - I will sort this in the morning by fitting packing to the top door hinge 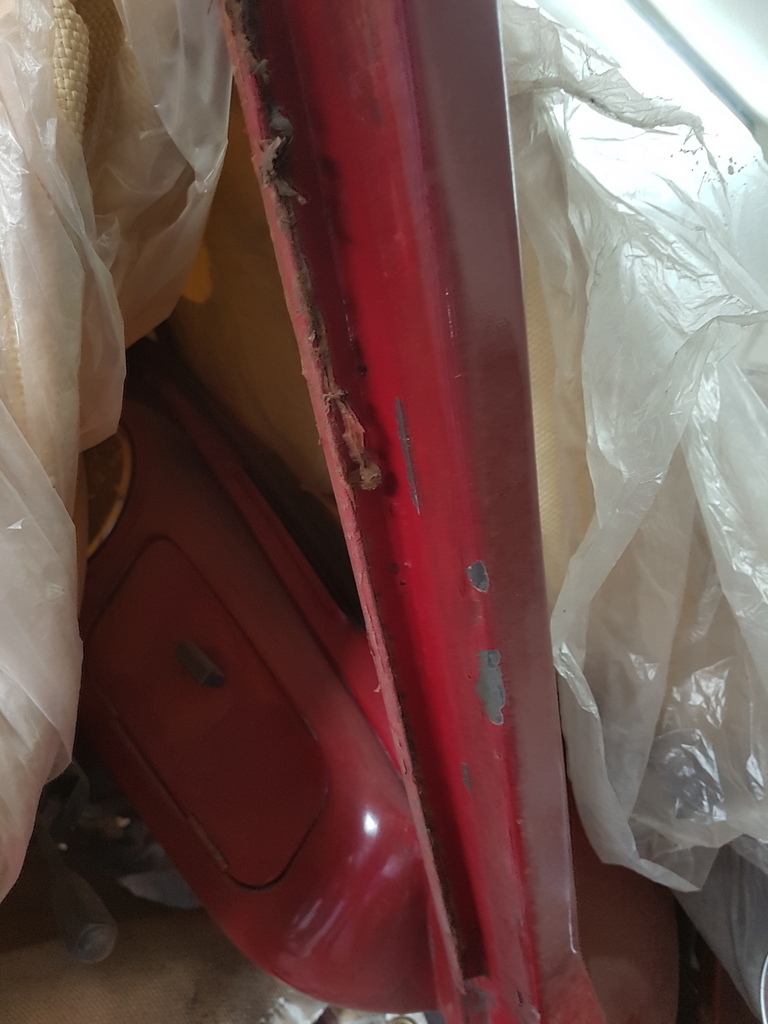 Meanwhile the horizontal swages / radius on the door is not too bad in alignment with the A post & rear quarter 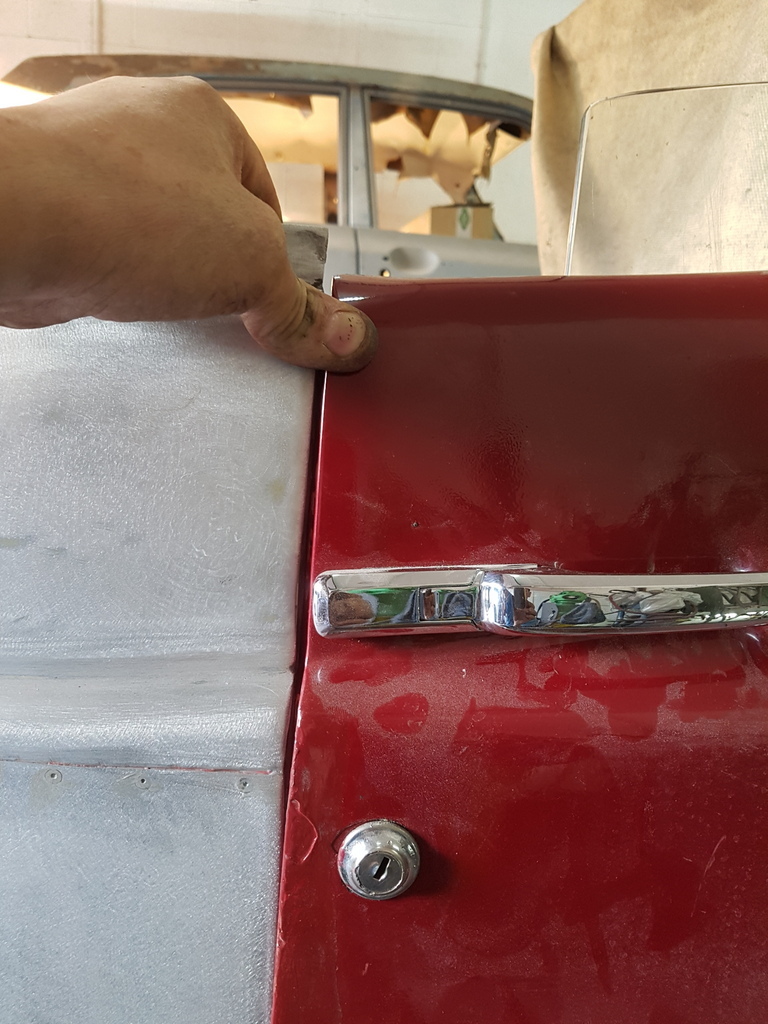 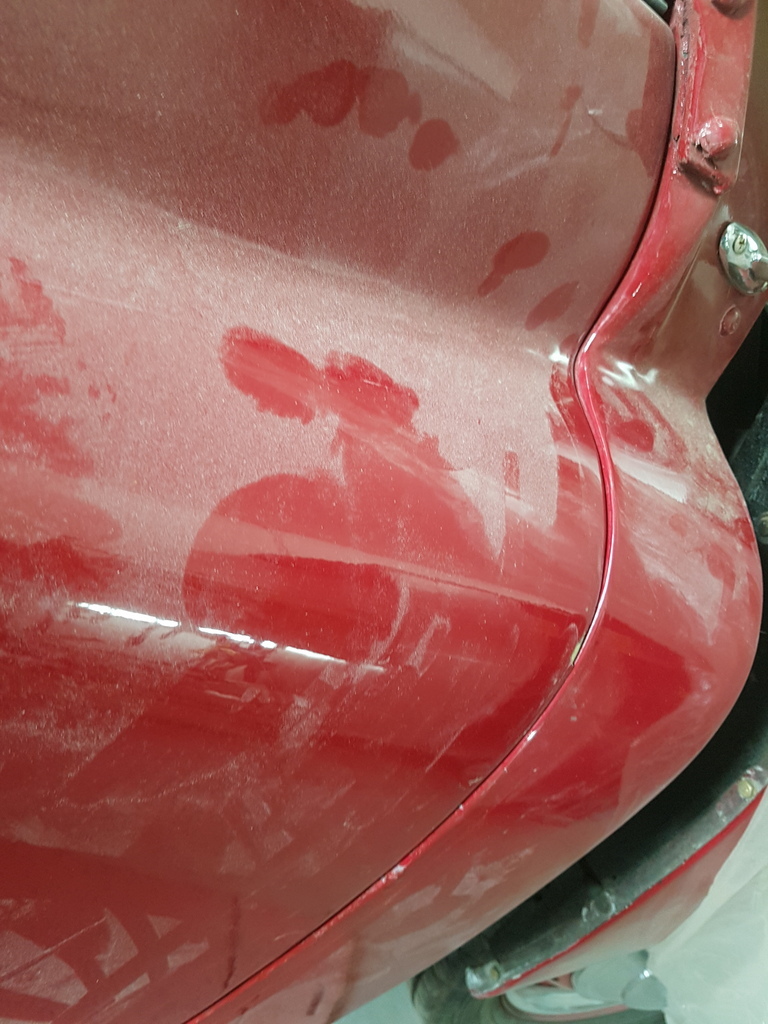 Poor gapping on the rear of the door though with the rear quarter 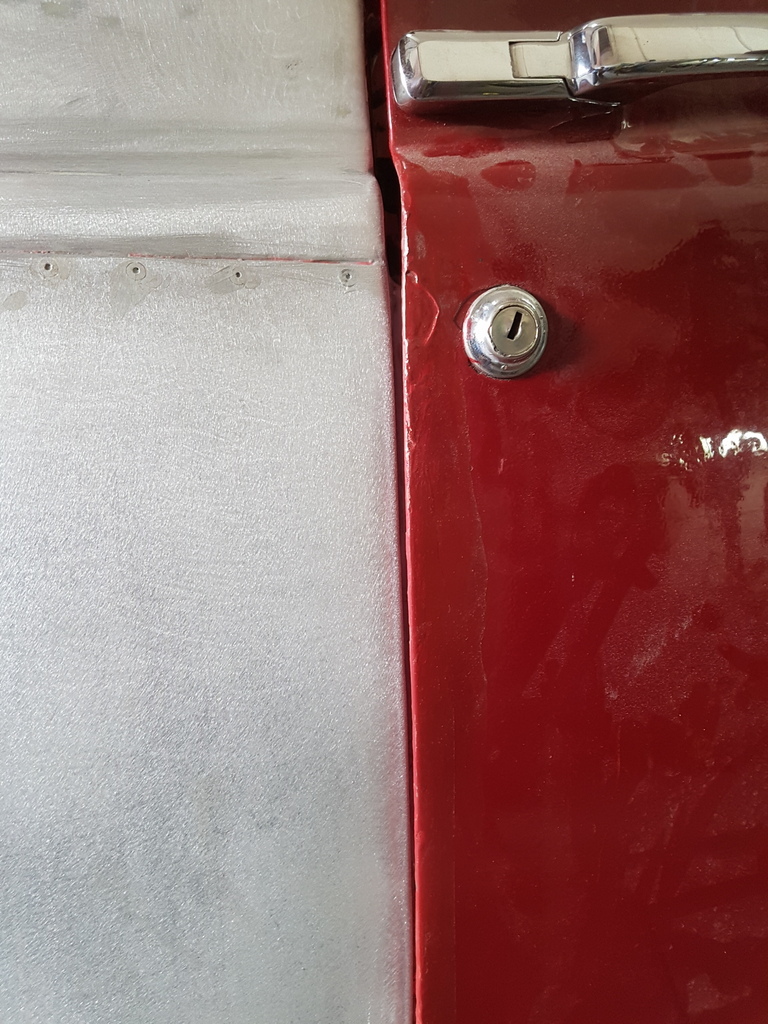 I will get some adjustment on the B post against the sill 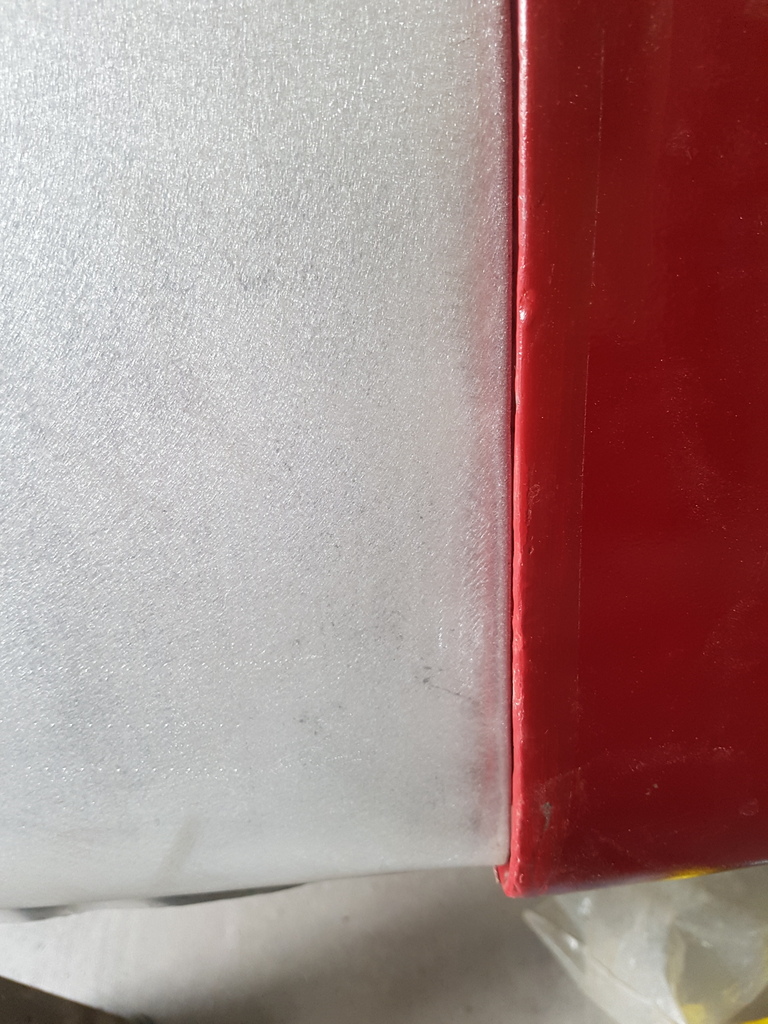 Should be able to gain some more by locally dressing the rear quarter on the aperture edge 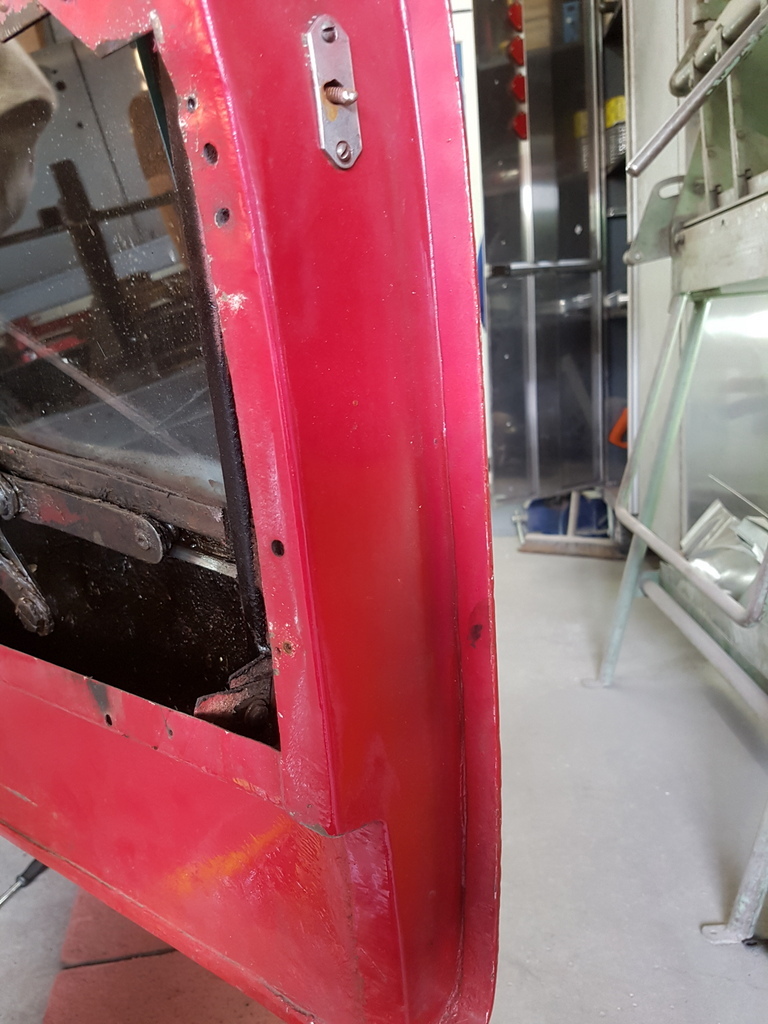 But may also have to take some out of the edge of the door - but there is plenty to go at here - remember these were hand built cars and not to any great tolerance - I have yet to fit a pair of sills to one of these and not have to work the panels to achieve a decent fit on the door apertures More tomorrow |
| |
Last Edit: Jul 9, 2018 21:33:54 GMT by Deleted
|
|
|
|
|
|
|
Chris, How many coats of Polyester filler or high build primer will you have to apply, to then knock chips out before color goes on, in order to match the deep, but touched up chips in the existing paint?  As always, nice work, Lance |
| |
|
|
|
|
|
|
|
|
|
|
I just had a whole Tourette’s party in my mouth. Again.
I guess this is not really an accident repair anymore.
Continue to be amazed at what you find and also what are doing.
I wonder if the previous restorer is aware of this rebuild........
|
| |
|
|
|
|
|
|
|
|
those new sills look pretty hefty, kind of like they need to exist in real life.
|
| |
|
|
|
|
|
Jul 10, 2018 12:17:33 GMT
|
|
They look a lot safer than a length of 2x4"
|
| |
|
|
|
|
|
Jul 10, 2018 20:04:02 GMT
|
those new sills look pretty hefty, kind of like they need to exist in real life. Far superior to the timber clad version! |
| |
|
|
|
|
|
Jul 10, 2018 20:04:39 GMT
|
They look a lot safer than a length of 2x4" I can but only agree |
| |
|
|
|
|
|
Jul 10, 2018 20:43:33 GMT
|
|
Chris, how will it work with the repaint?
The paint that is on it looks .....er......fair.... Your paint will look superb in comparison. Will you have to try to dumb it down a bit to blend in?
|
| |
|
|
|
|
|
Jul 10, 2018 20:56:49 GMT
|
Packed the top hinge out to open the gap between the top of the door and the A post / windscreen pillar  Has usual with doors - resolve one problem and it will force another one somewhere - so now the door is tight against the sill by the A post 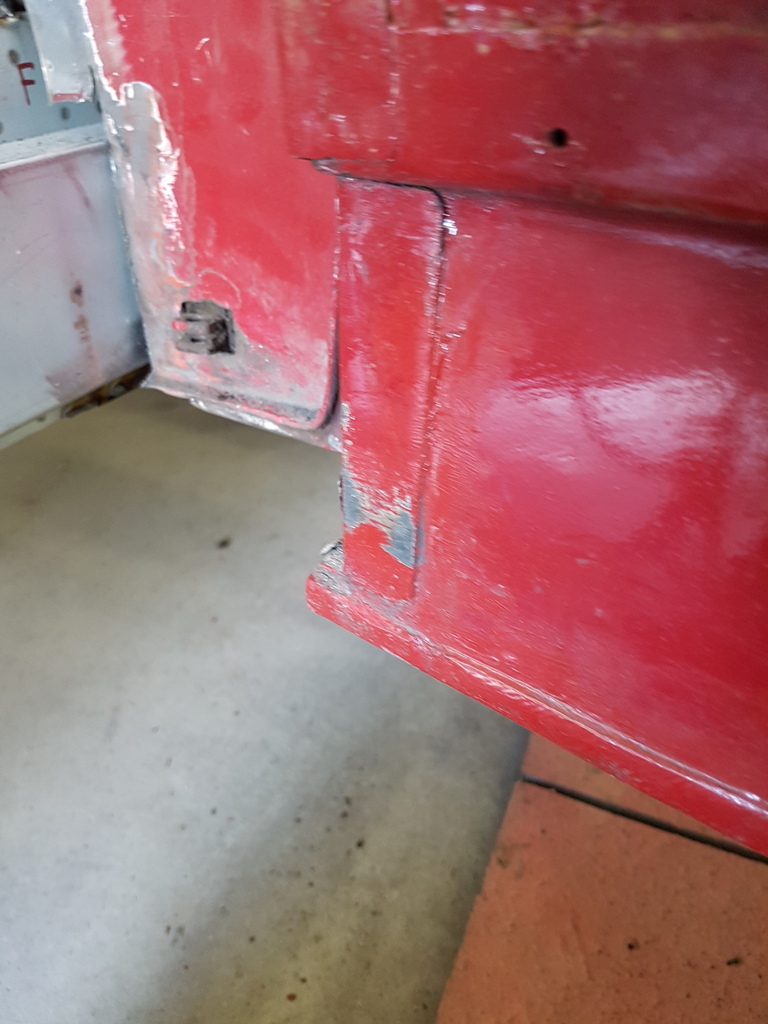 It would appear that it was like this previously with the old sills with the paint rubbed on the flange edge 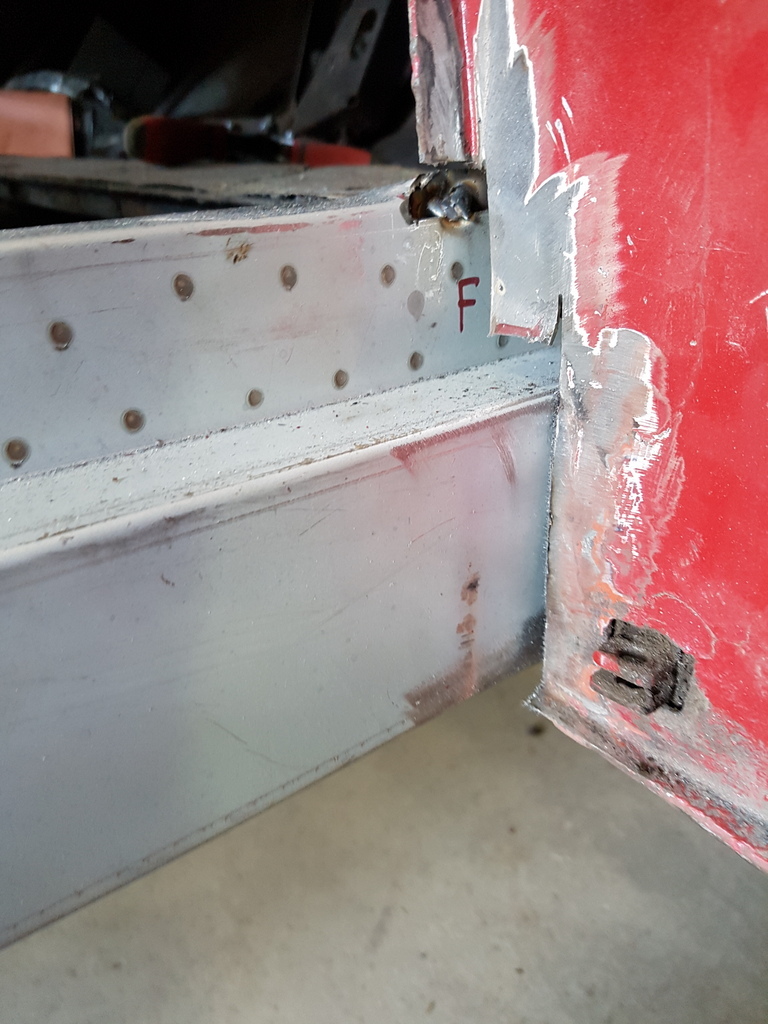 Could not obtain the adjustment I needed has the A post / bottom hinge had too much movement in them due to structure not being welded back to the sill at this stage 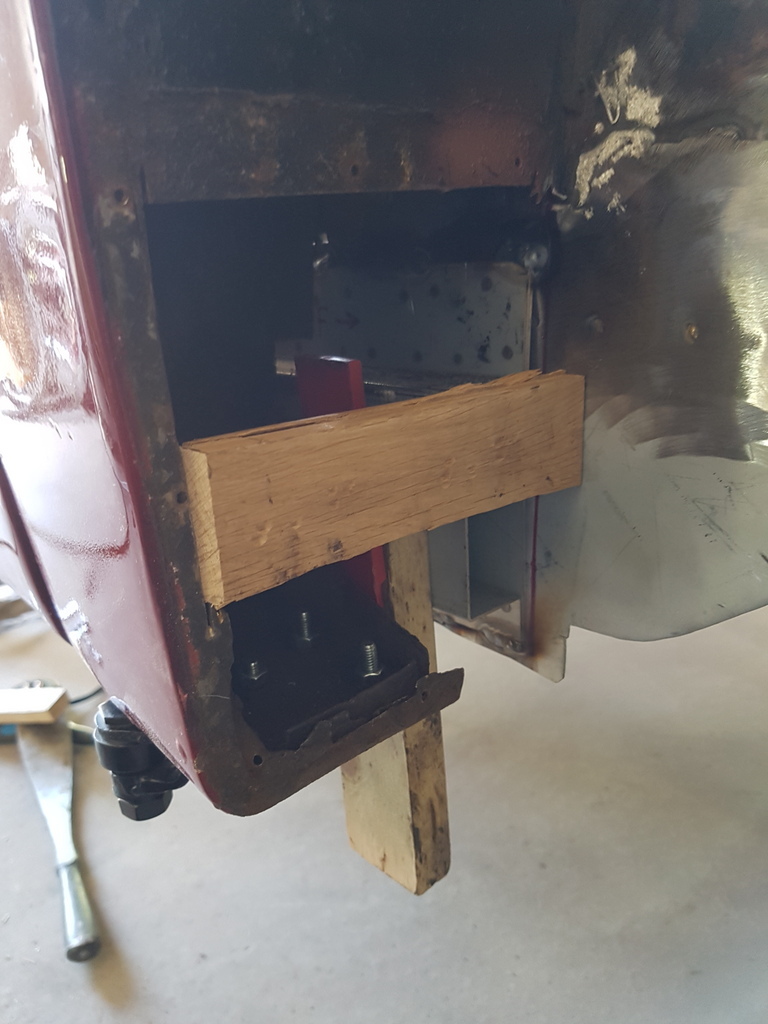 Braced the A post with a piece of timber Supported the door and removed the bottom hinge  Underside of the A post / hinge is pretty weak 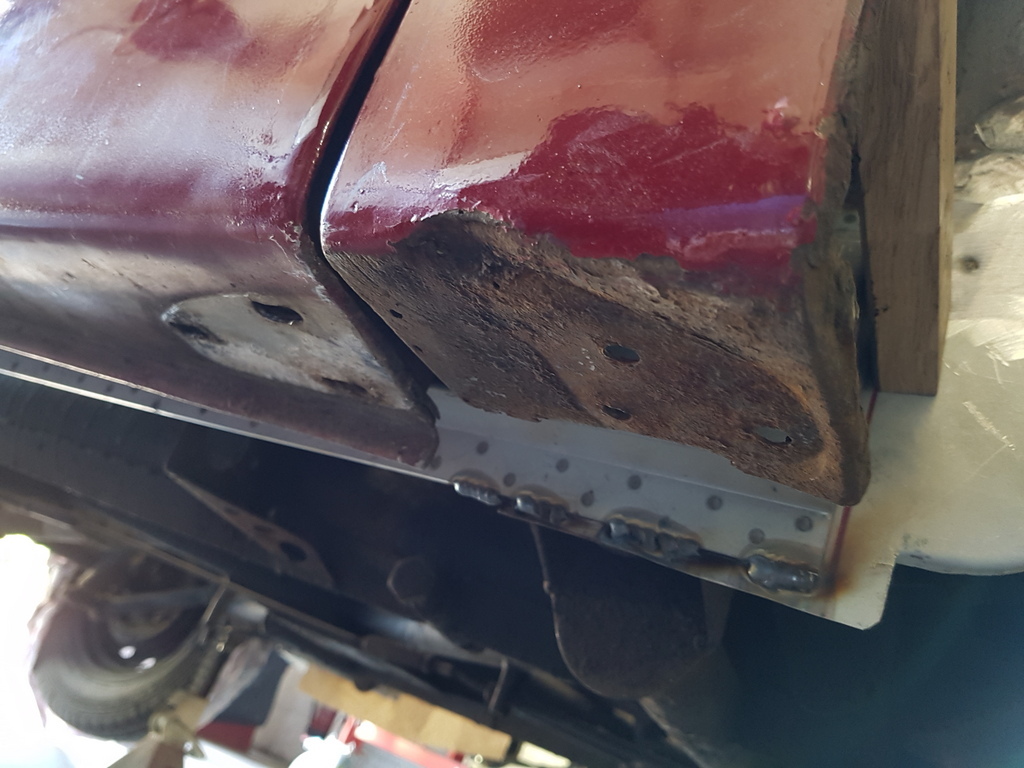 Cleaned the A post back to find good metal  Fabricated a new section up 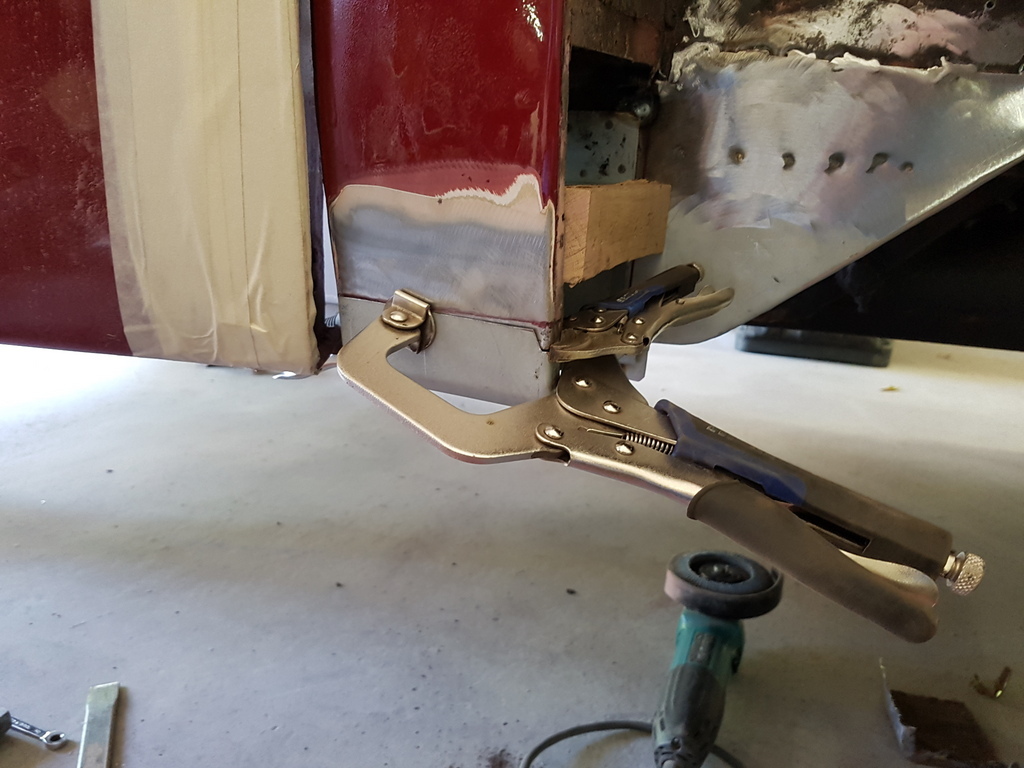 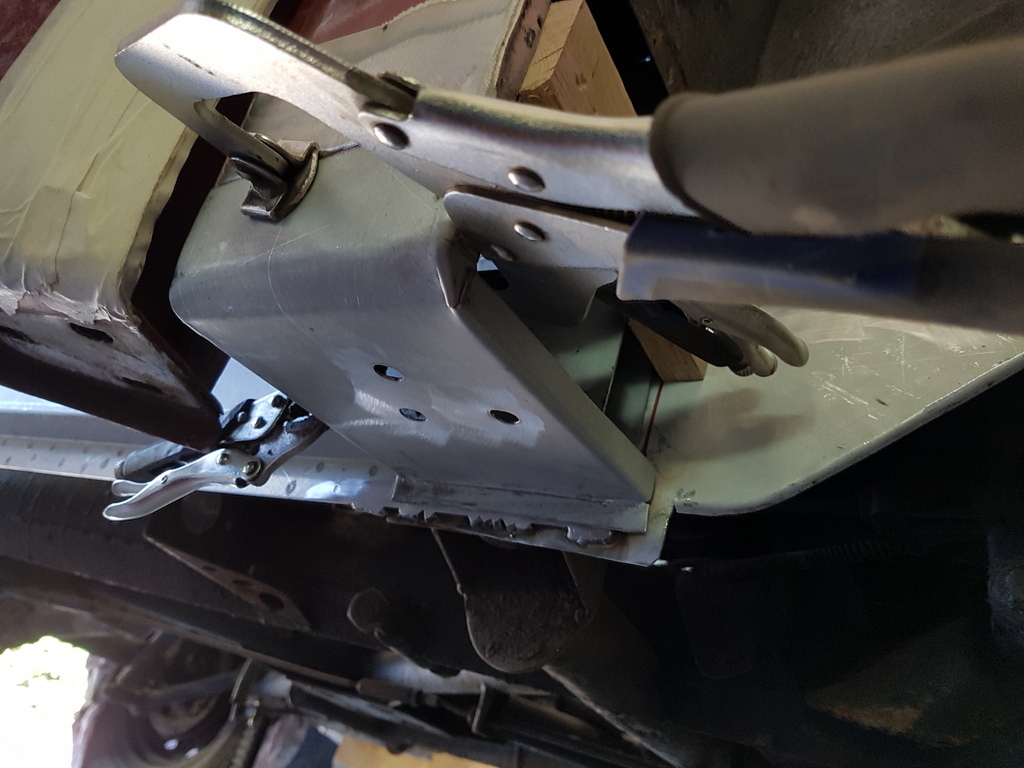 Tacked in  Door hinge back on - fully adjusted and the bottom inside edge of the door is still catching on the sill - everything is in the right place - recheck on the measurements and then take some remedial action - flange removed result door no longer catches - this will get rewelded / made good once I have the rest of the door fitting the aperture 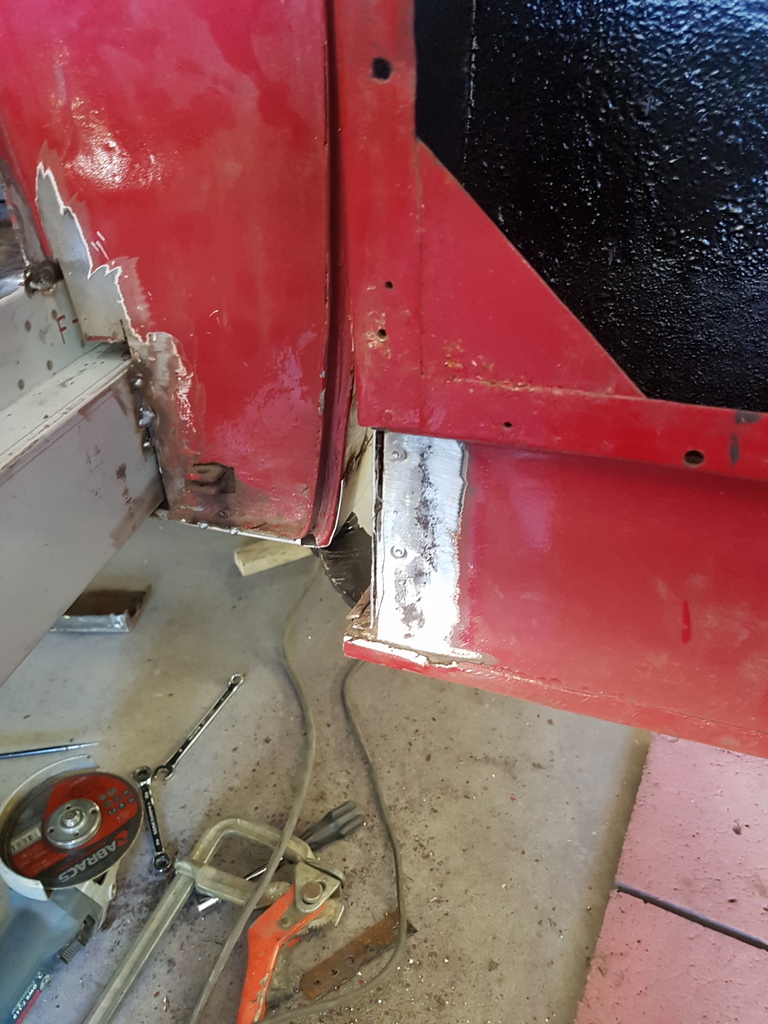 Still ok on the front aperture 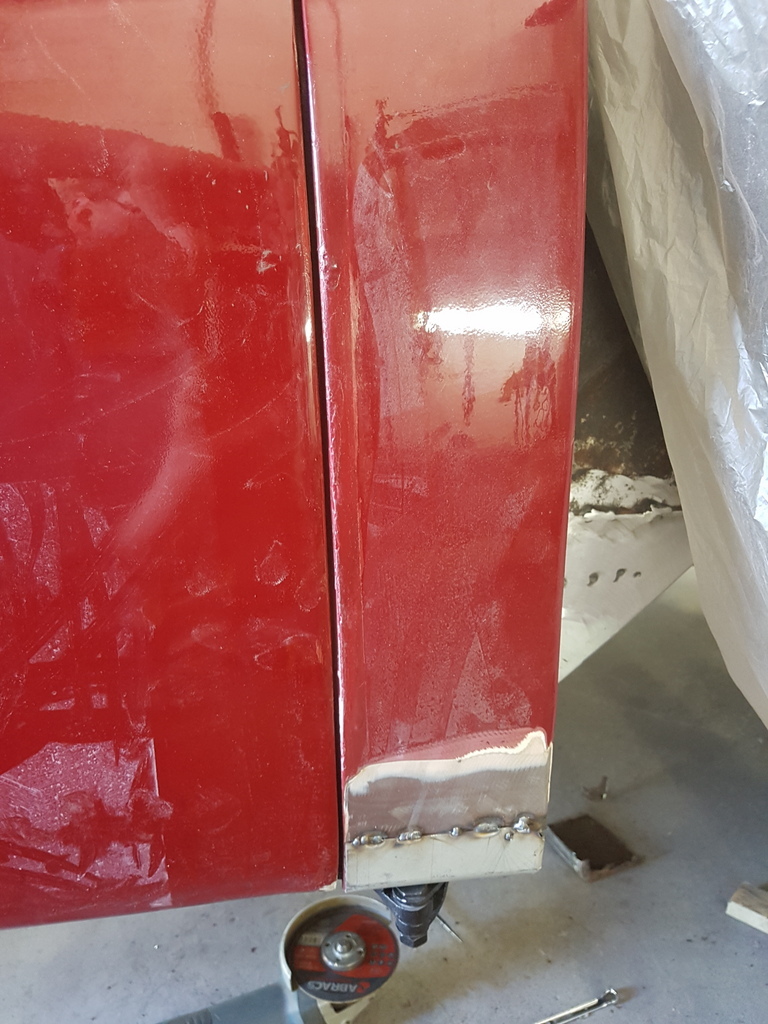 Not ok on the rear aperture - way too tight - A post is fixed datum point 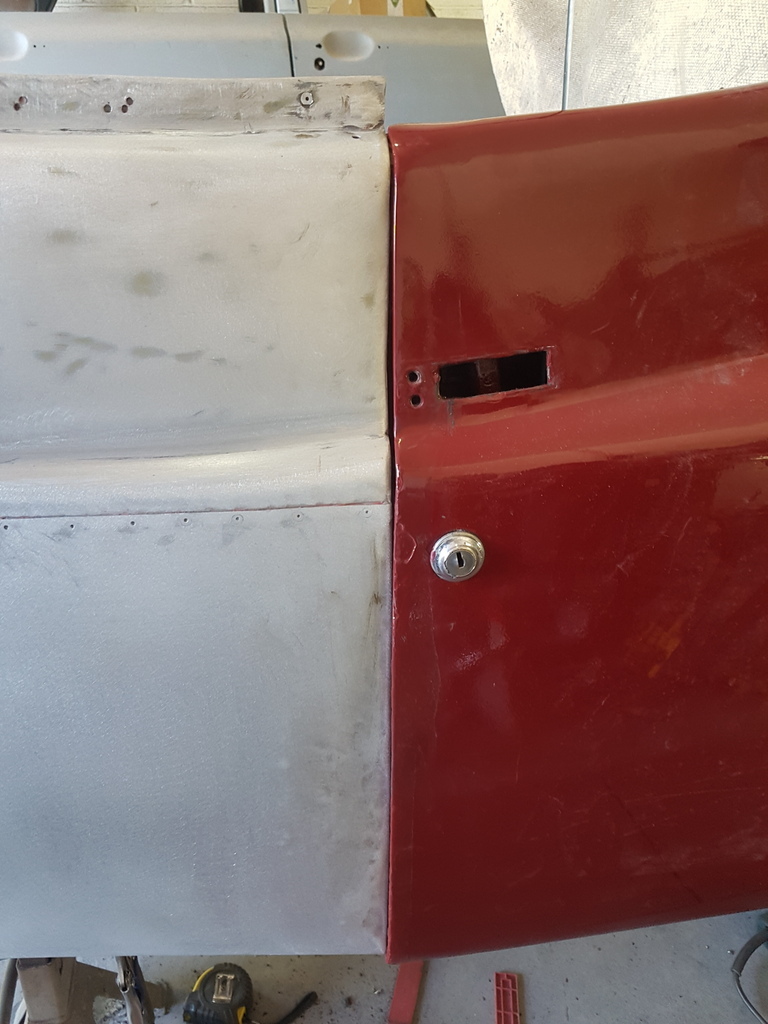 B post is correct too - so without moving the entire shroud & shroud supports back (can only be achieved on a full body restoration) - the movement / aperture gap has to come out of the door 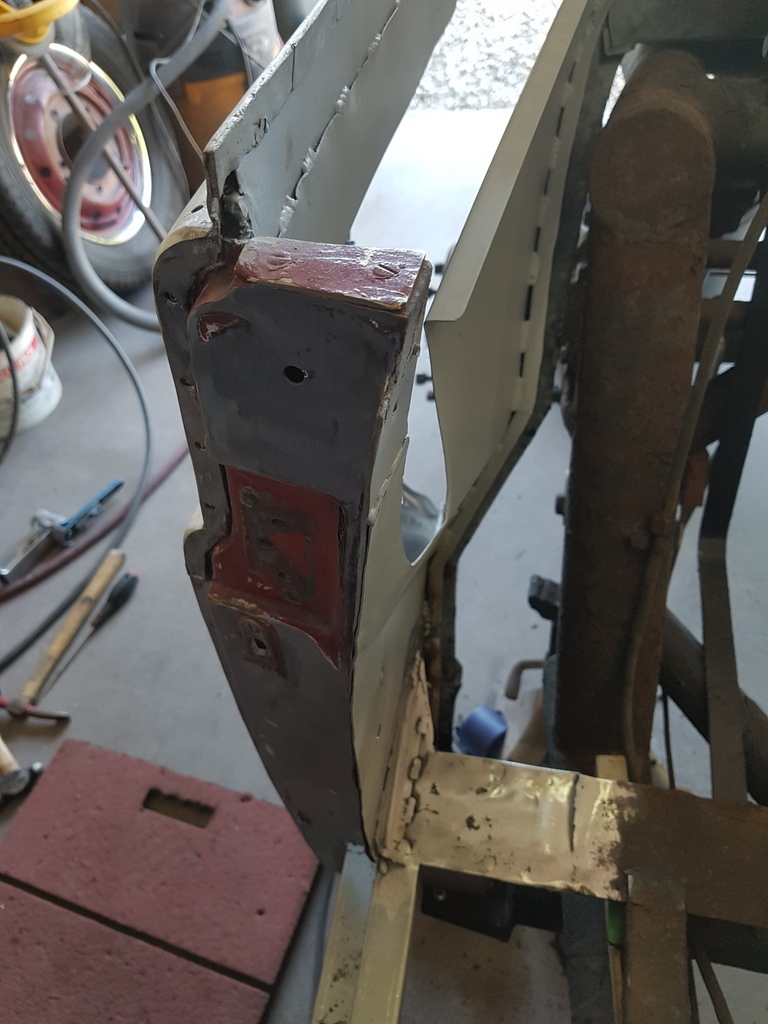 All the hallmarks of a previous fitting problem / issues 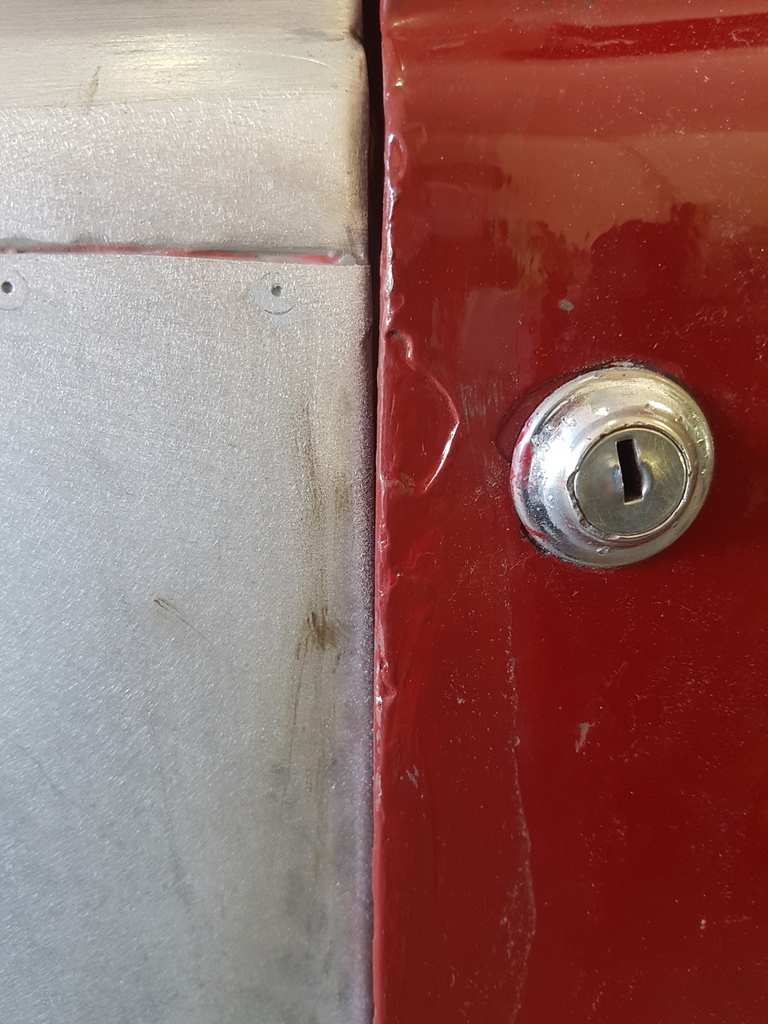  Bodyfile time  Very useful bit of kit when profiling - especially lead work 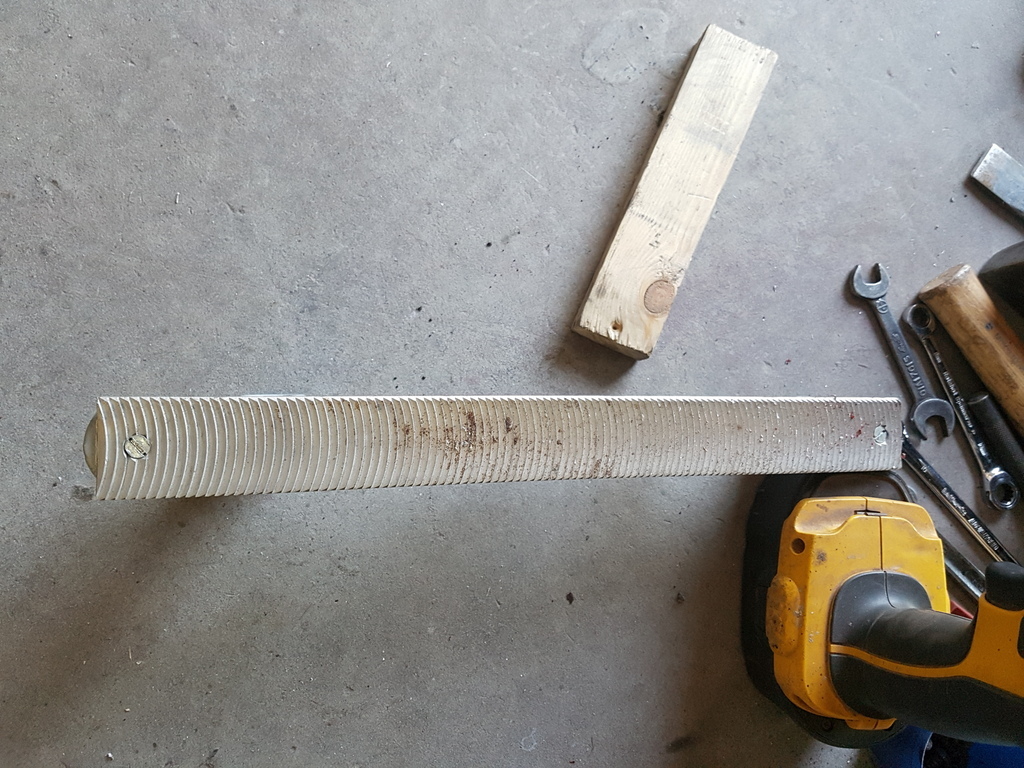 Top first 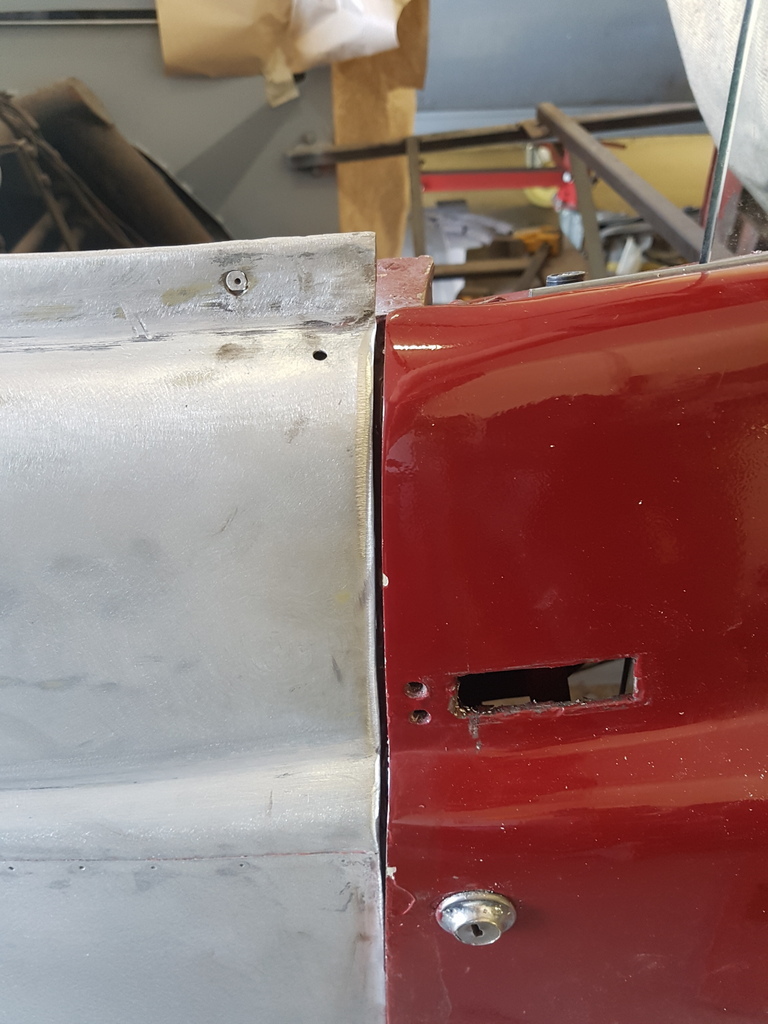 Then the side 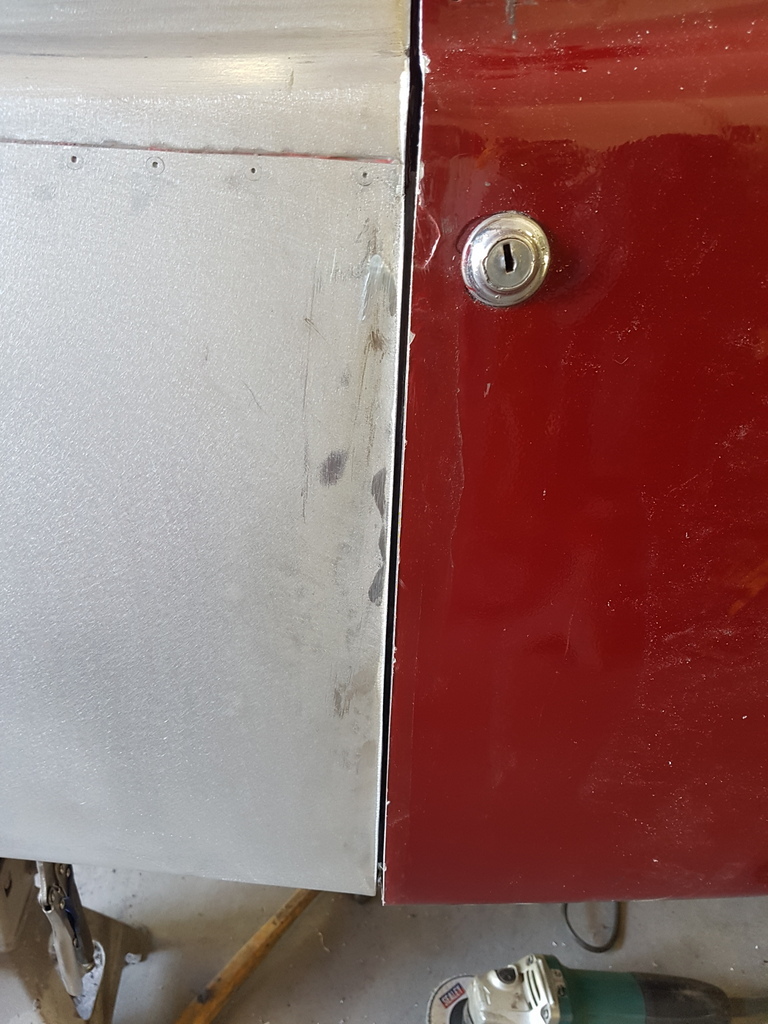 Once I could get the door to close I could fully check the aperture gap at the front of the door 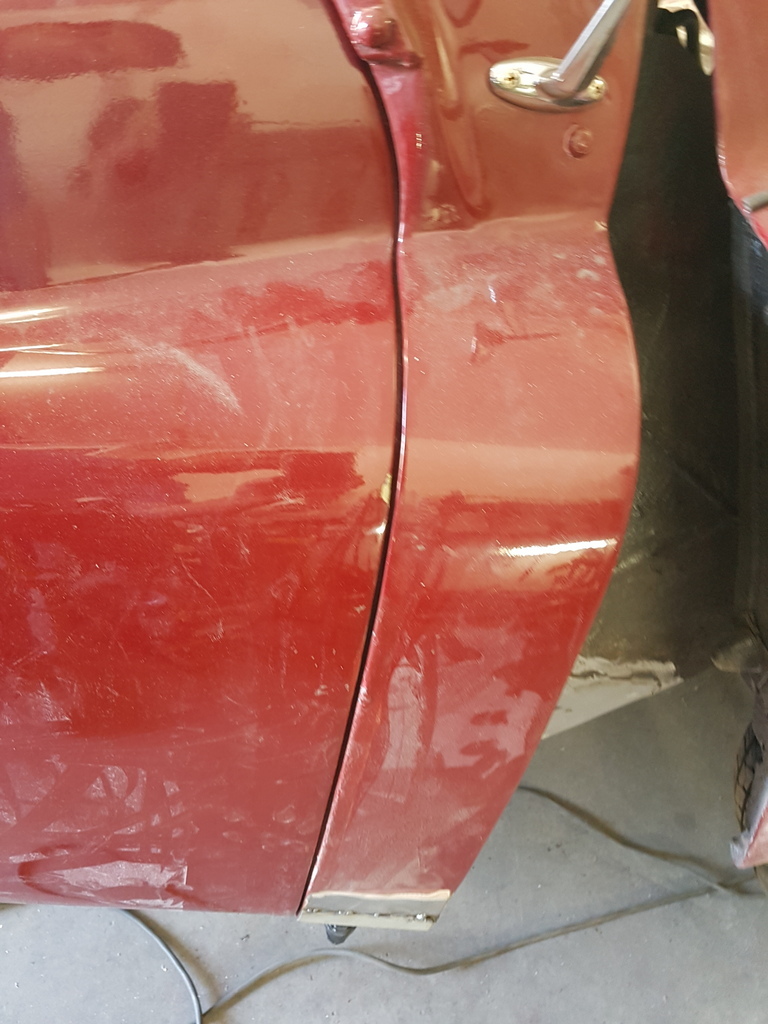 And look here - nice gap between the quarter glass frame and the windscreen pillar 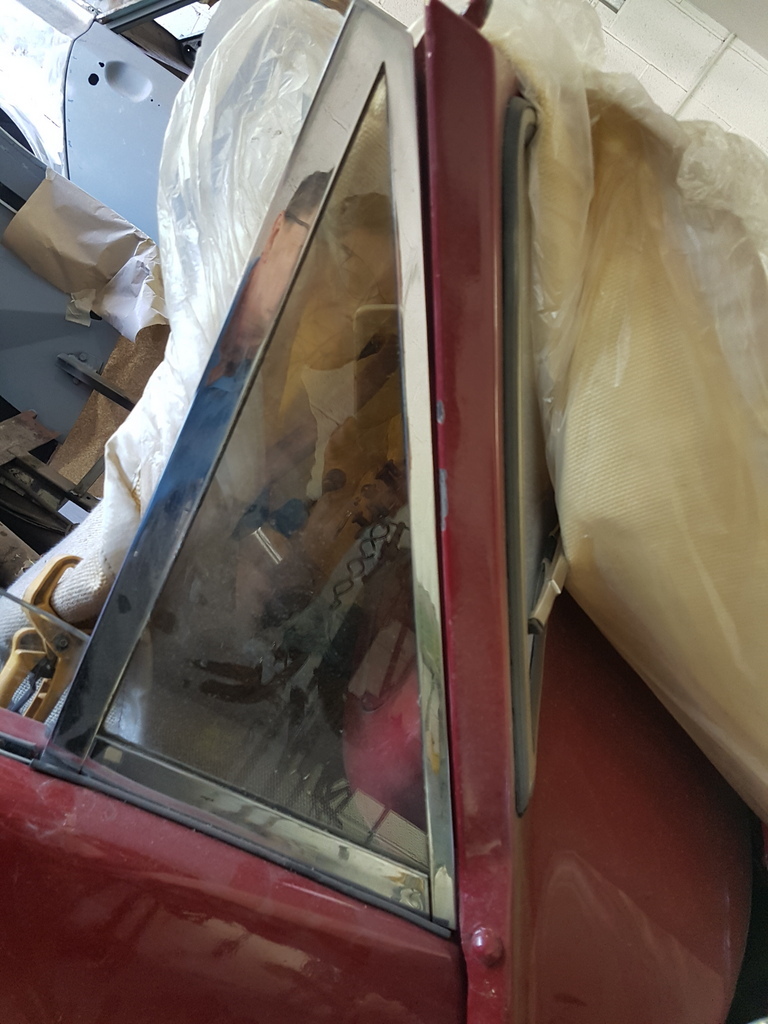 So why the problem in the first place then ? - well Jupiter door apertures were never refined and were always too tight on the cars when new - secondly I have packed the upper door hinge to obtain the front aperture whilst also sorting the play in the bottom hinge - in turn this moved the door back to the point that it no longer fits the aperture it should 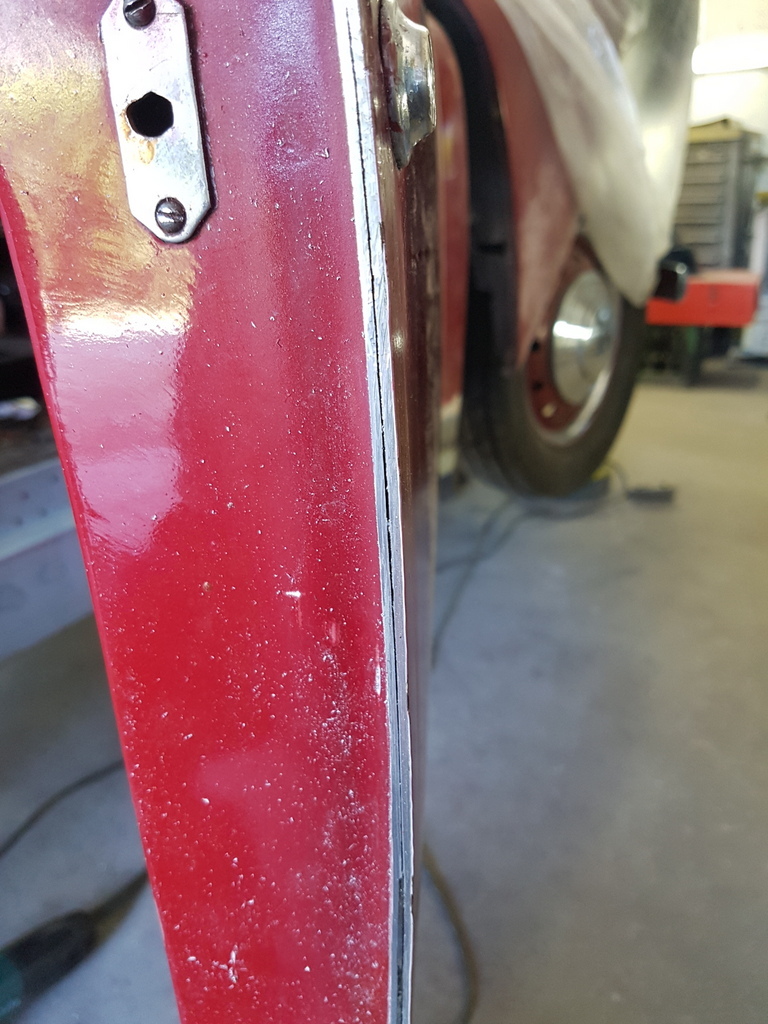 Remember what I said about resolving one issue on the door quite often creates another 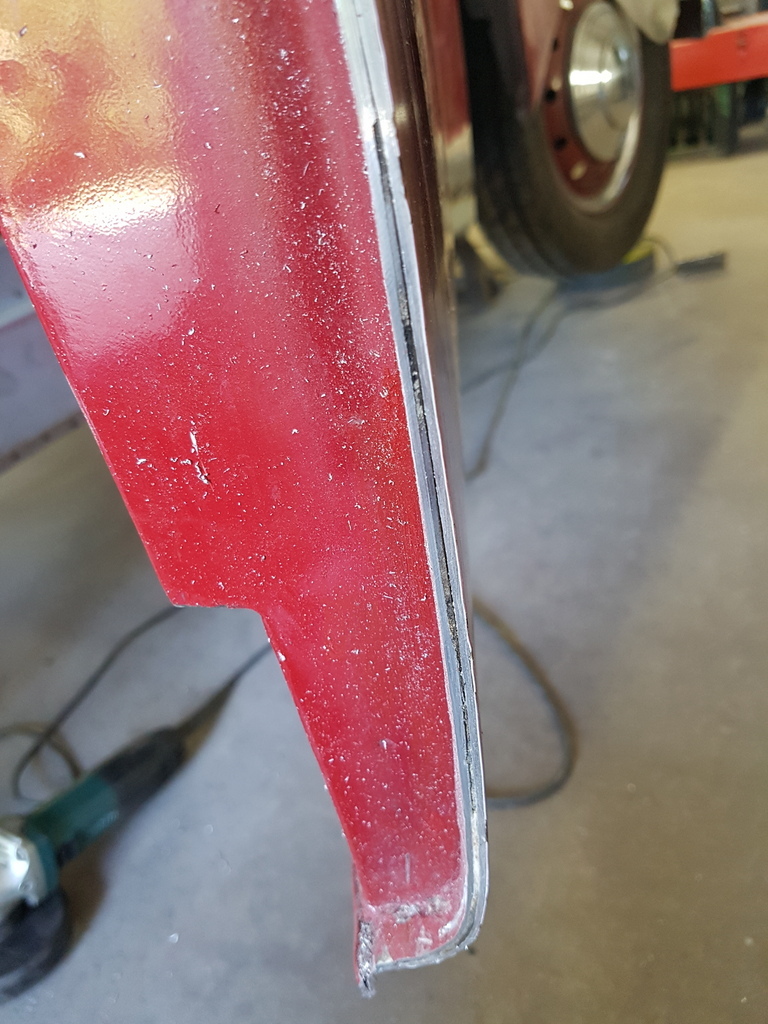 So now the retaining flange on the door is no longer retaining the door skin Cleaned the edge down with the DA and then opened the flange edge up slightly - cleaned it of debris with the blow gun and soaked it with panel wipe 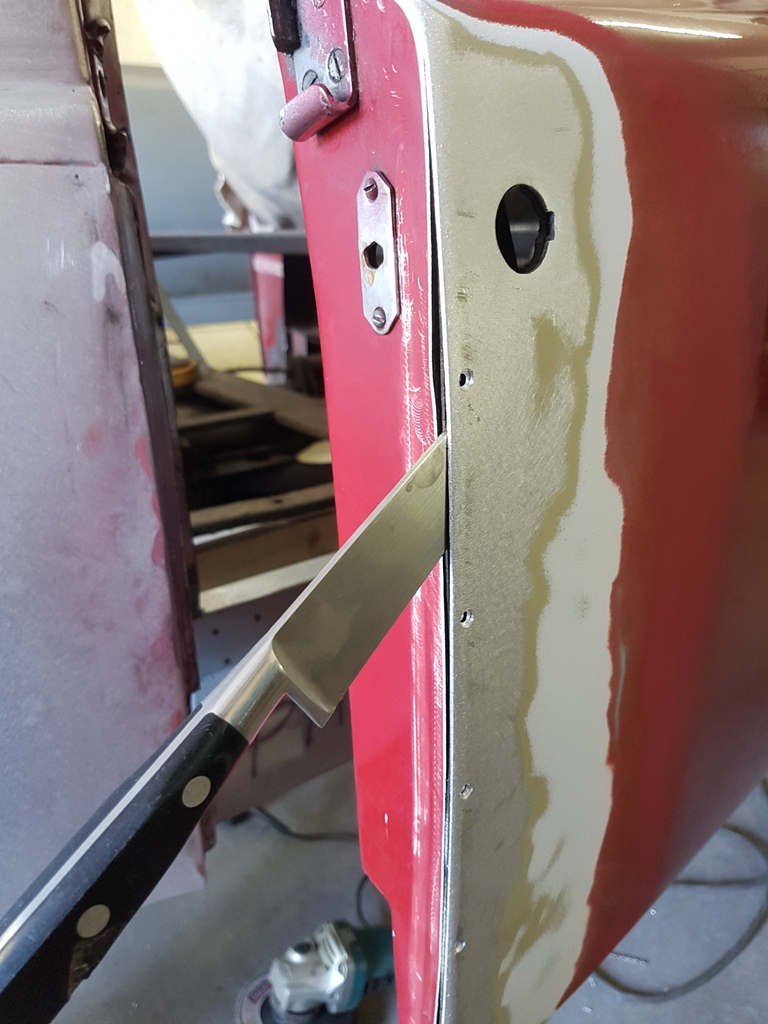 Then used the 2 pack panel bonding along with countersunk rivets to tie the 3 faces together - most new vehicle door skins are now bonded rather than welded 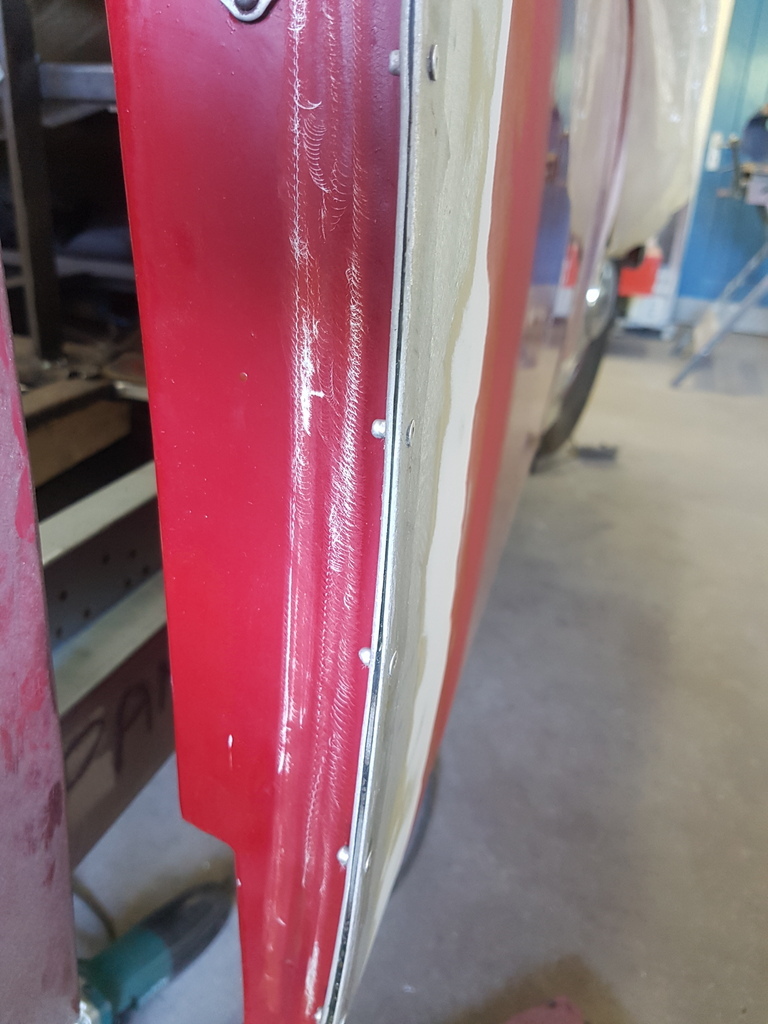 Cleaned up 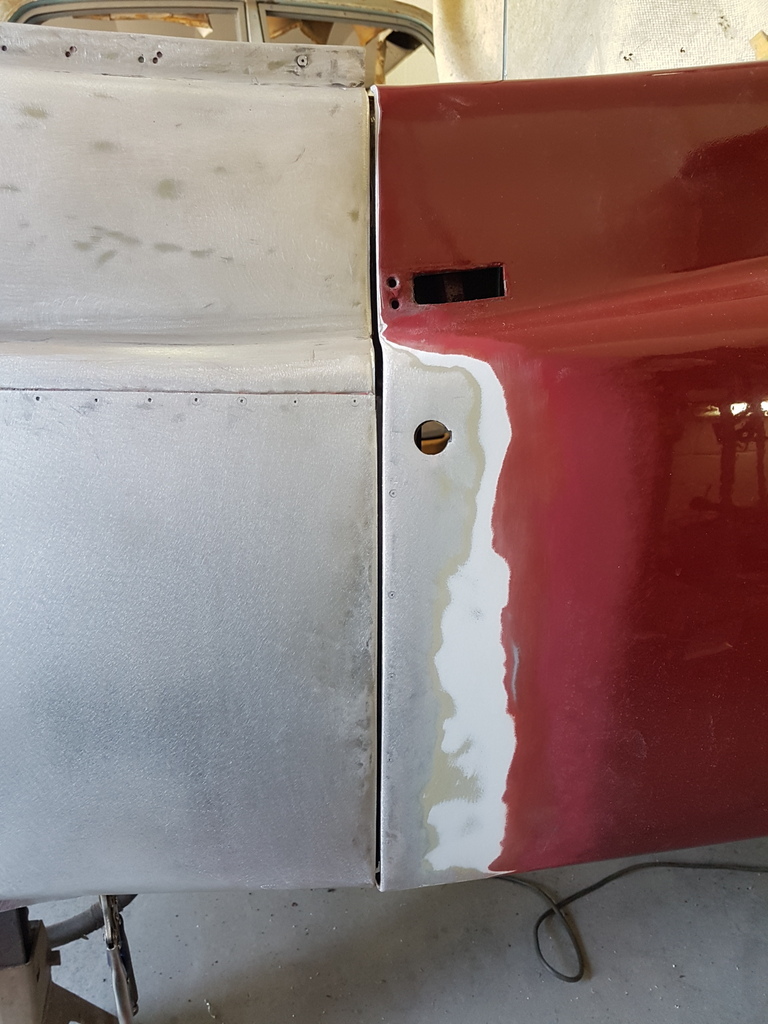 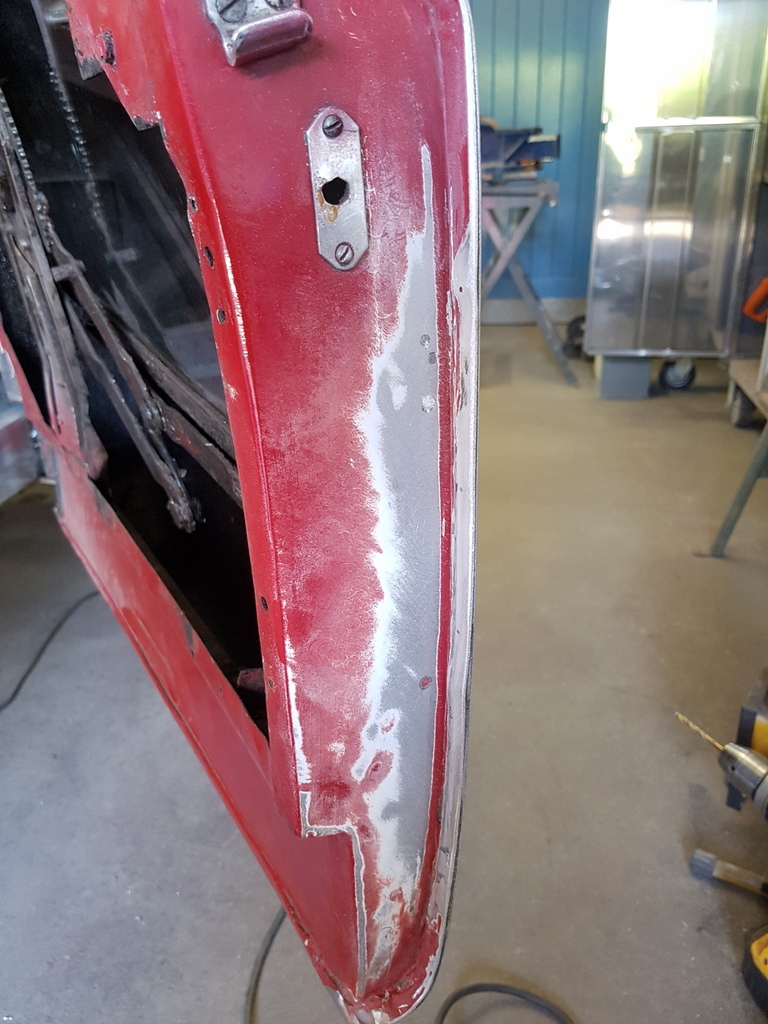 Now I could close the front & rear aperture faces to the sill and clean them up 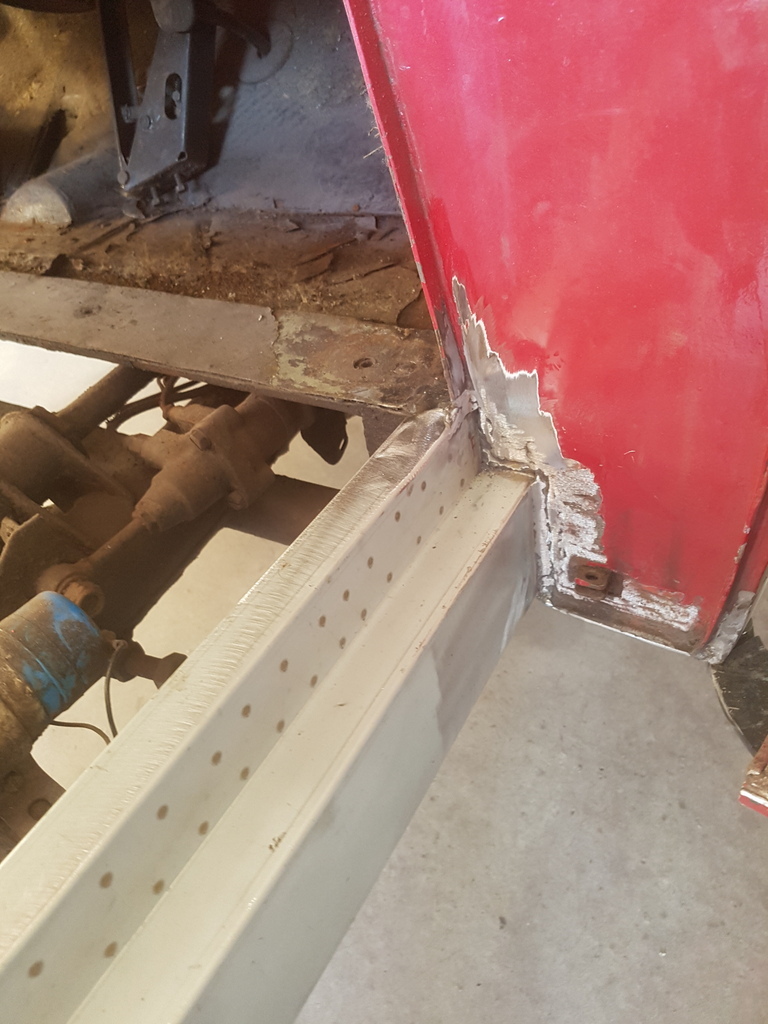 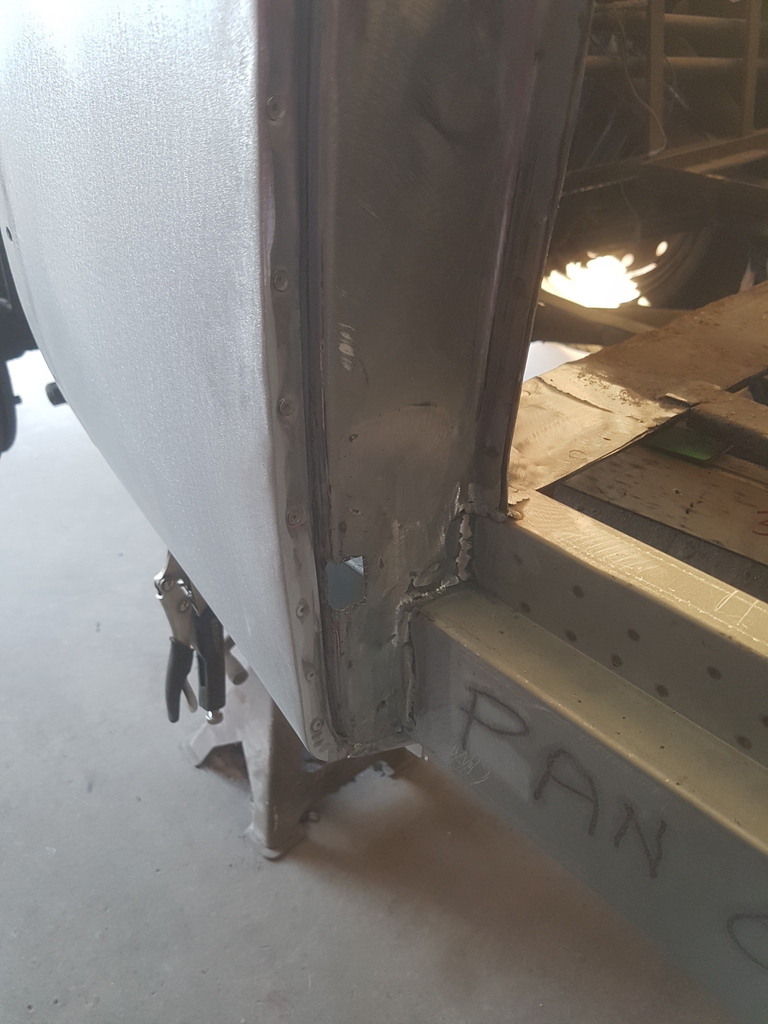 Wonder if they will know that I have been here once it's painted up ? 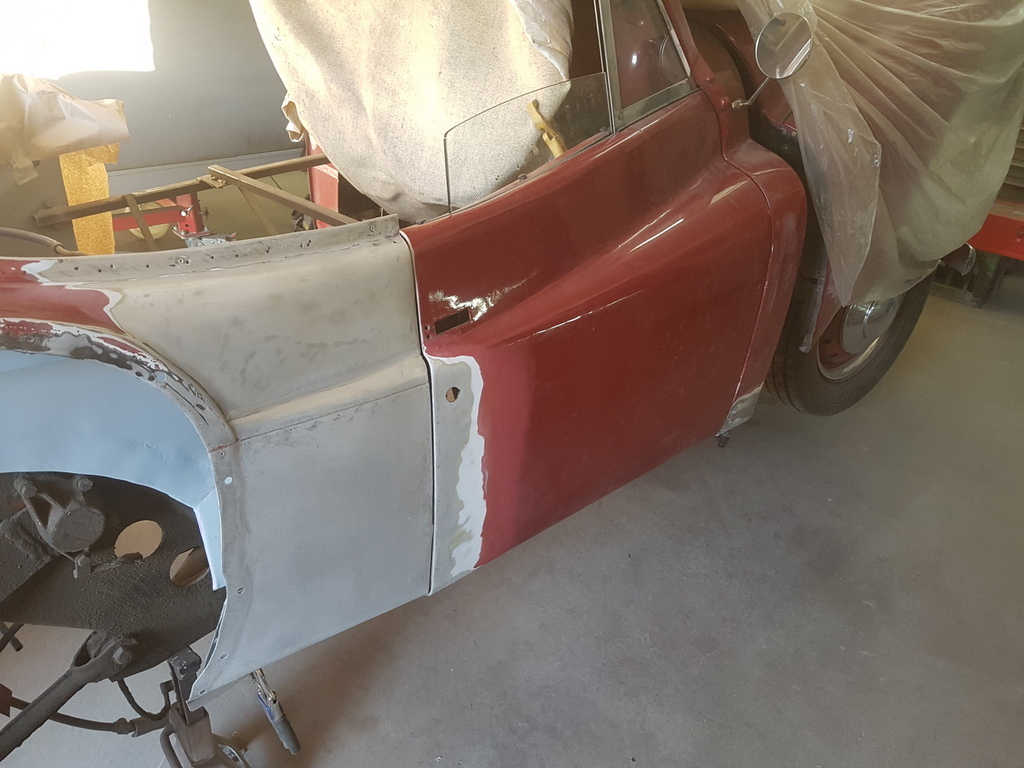 Finished the welding on the A post repair and cleaned that up 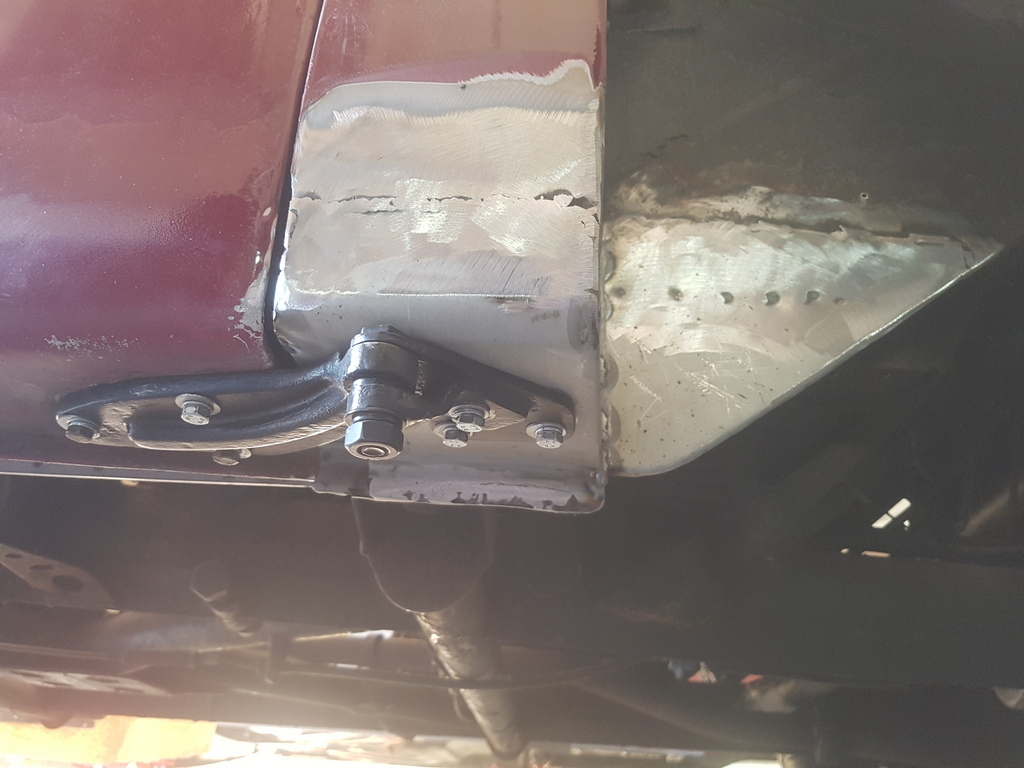 Fabricated and welded in a new access aperture to the front of the A post - ideally you need to be able to access this area should you ever need to remove the door hinge - the nuts tend to seize no matter how much you protect them - I shall make up a closing cover for it at a latter stage 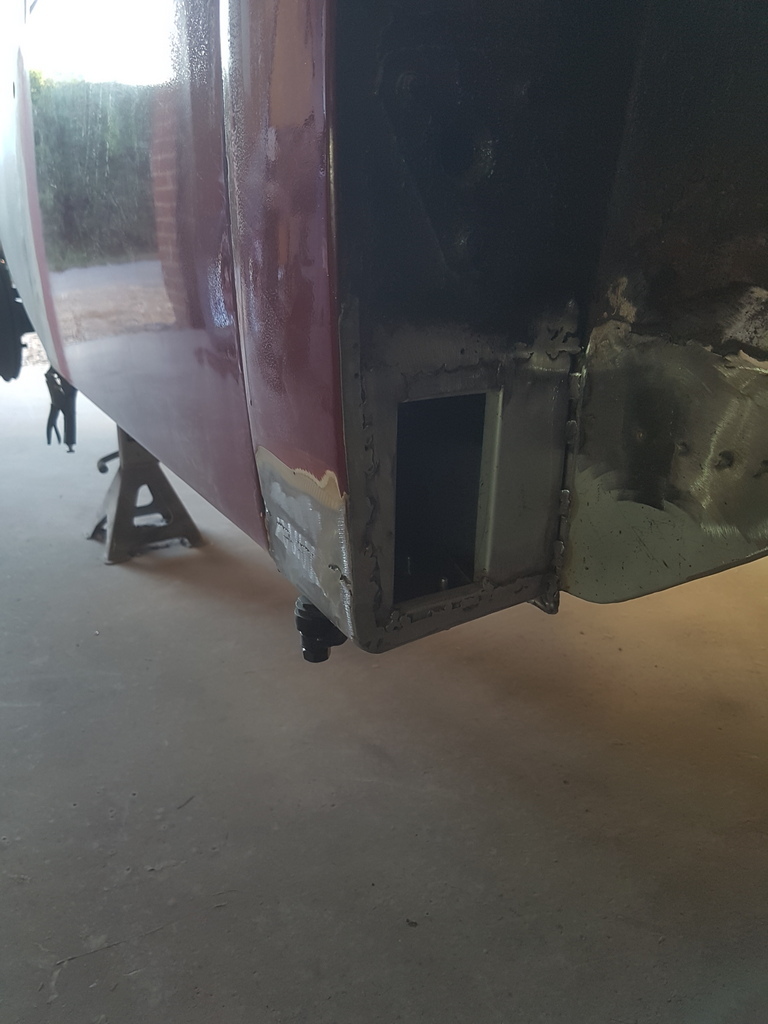 Just have to make up a couple of closing sections up between the inner wing and rear quarter for this side now 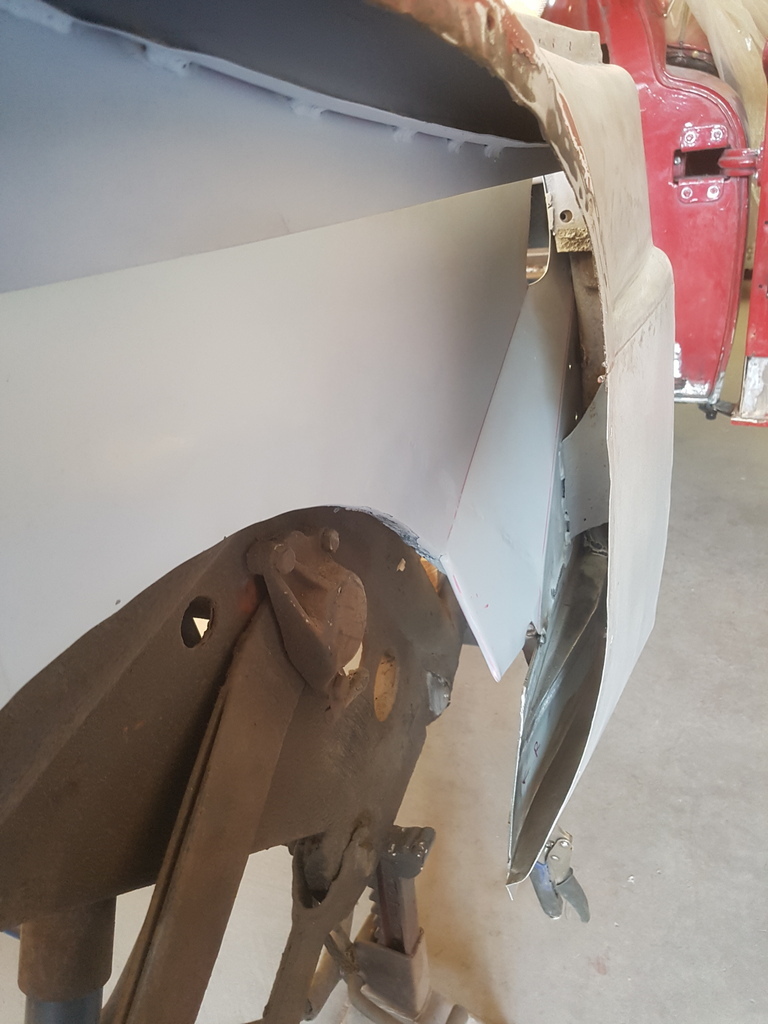 |
| |
Last Edit: Jul 10, 2018 21:07:24 GMT by Deleted
|
|
|
|
|
Jul 10, 2018 21:06:00 GMT
|
|
looking good
|
| |
|
|
|
|
|
Jul 10, 2018 21:14:09 GMT
|
With all the bad mouthing the original restorer has taken...., only to learn he was actually thinking ahead when he provided the wood you'd need for this part of the operation.... |
| |
|
|
|
|
|
Jul 10, 2018 21:14:14 GMT
|
|
Nice work.
|
| |
|
|
|
|


