|
|
|
Sept 15, 2018 19:55:55 GMT
|
Er - The above question appears to be answered without me even moving my lips - just like magic  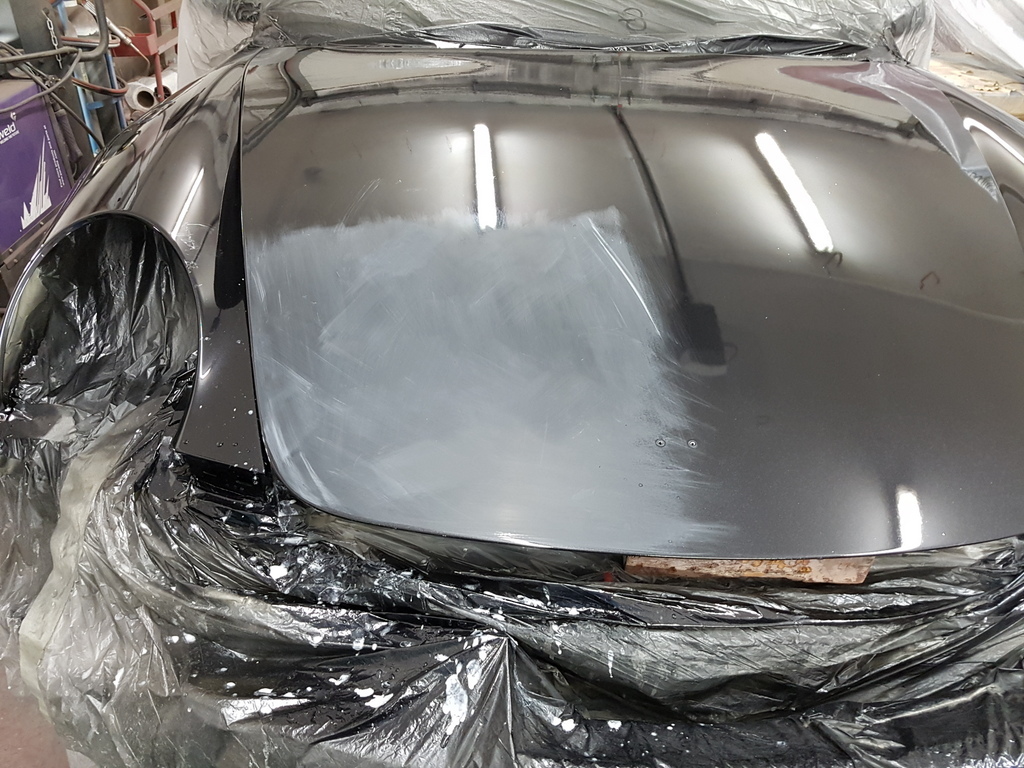 Started to flat back the lacquer - wet 1500's 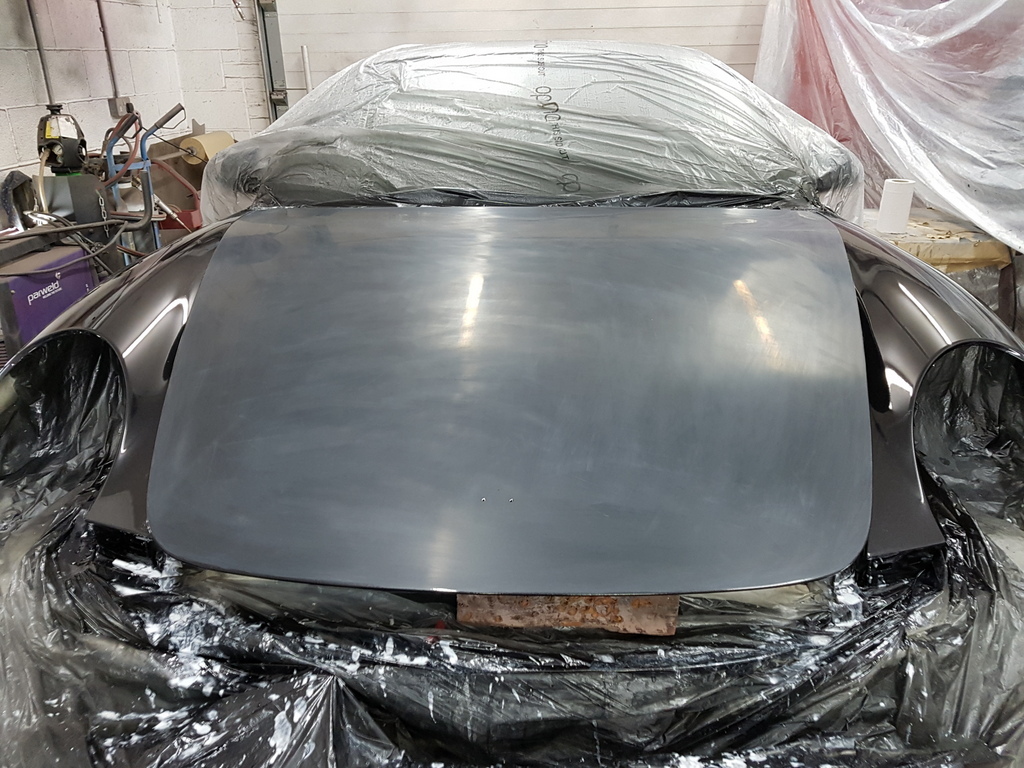 Followed by 2000's again wet - I would not recommend tackling the entire panel in one go - just a section at a time say 400mm x 400mm - be careful when flatting for polishing that you don't rub through especially on raised swages / panel edges etc 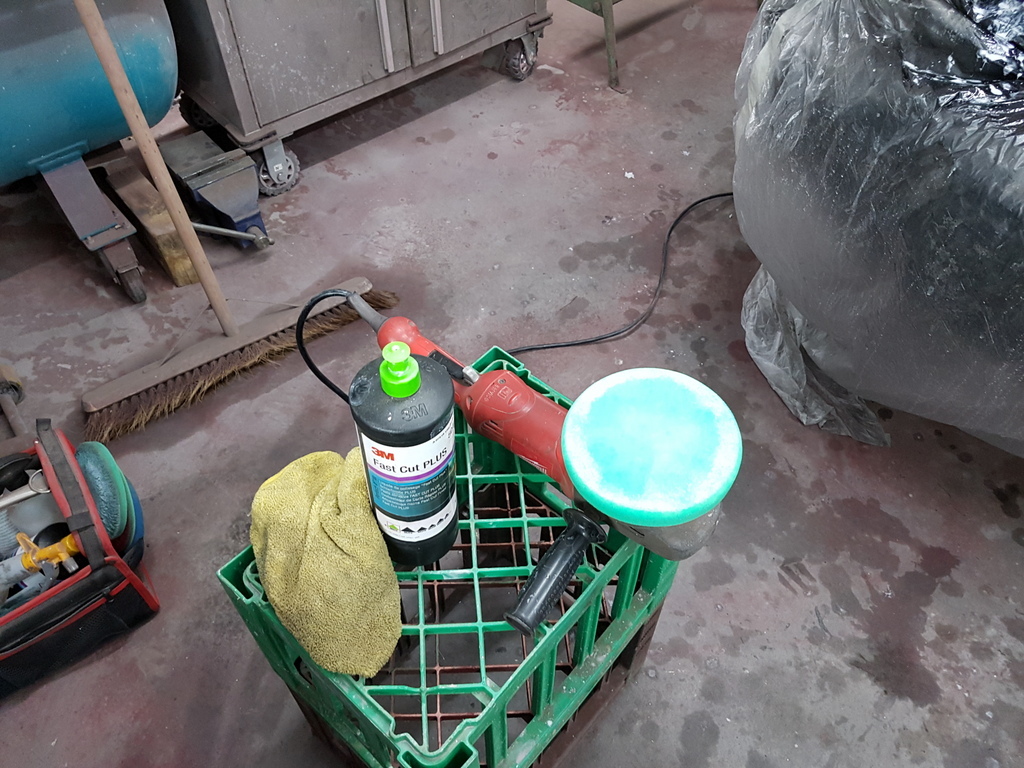 So here comes the first stage polish - a medium compound 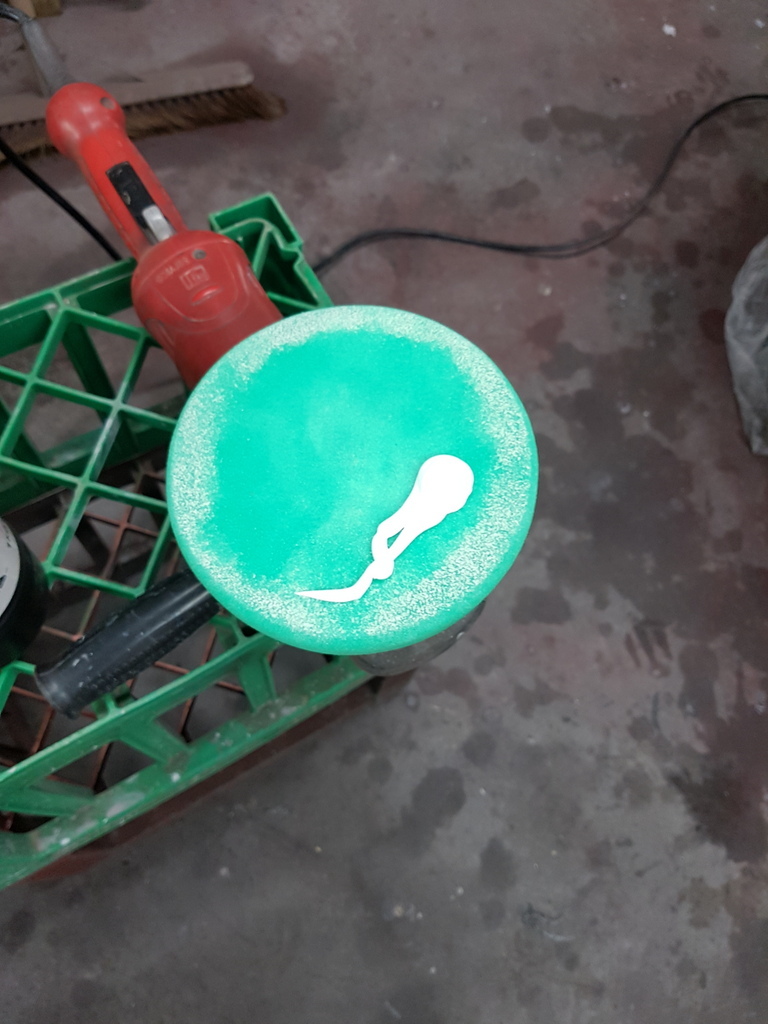 Always use the mop to spread the compound / polish to the panel - start the machine without doing this and the compound will spatter everywhere 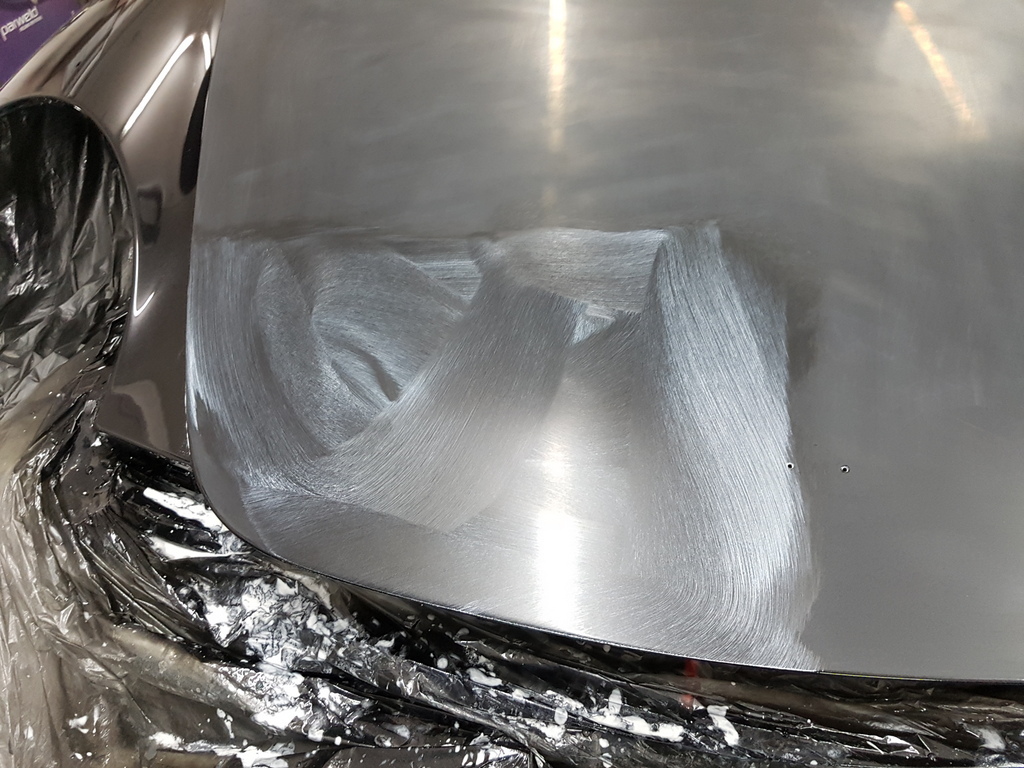 Again work small sections of larger panels on a methodical basis 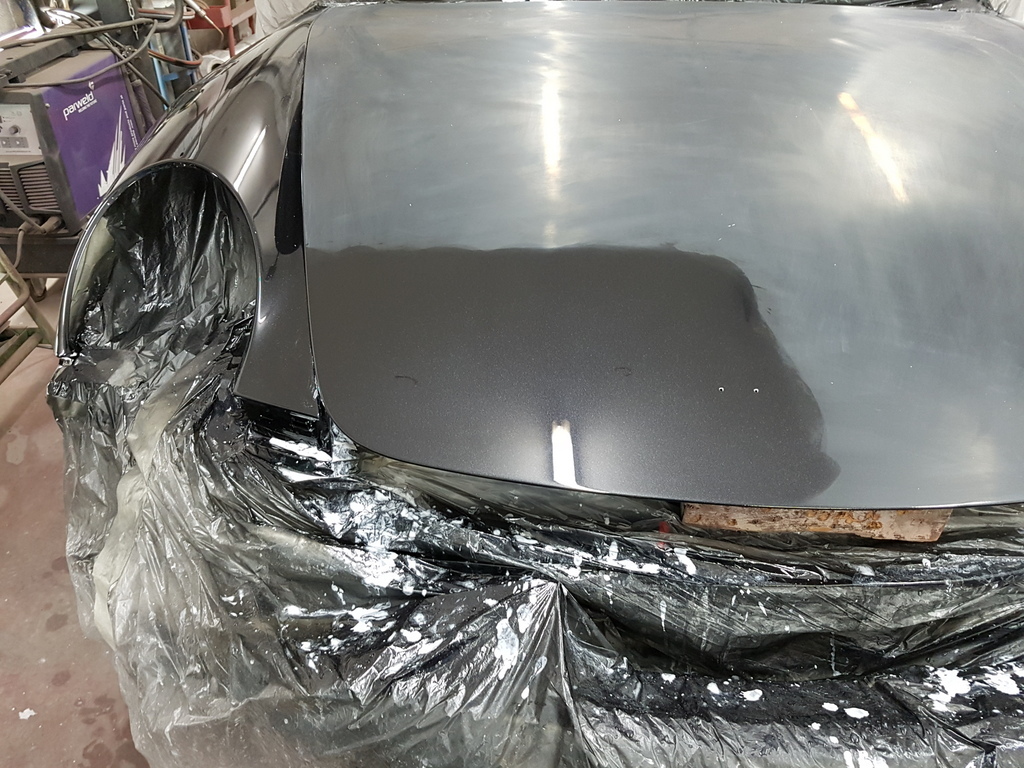 It will not take long to gain the required results 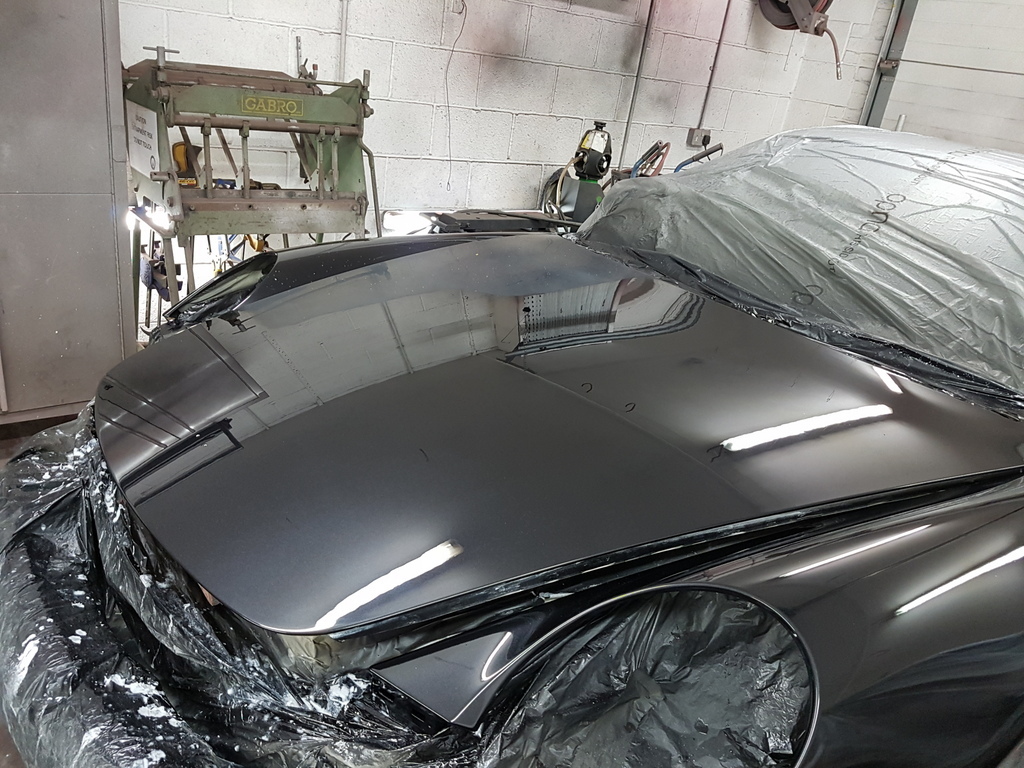 One hour later 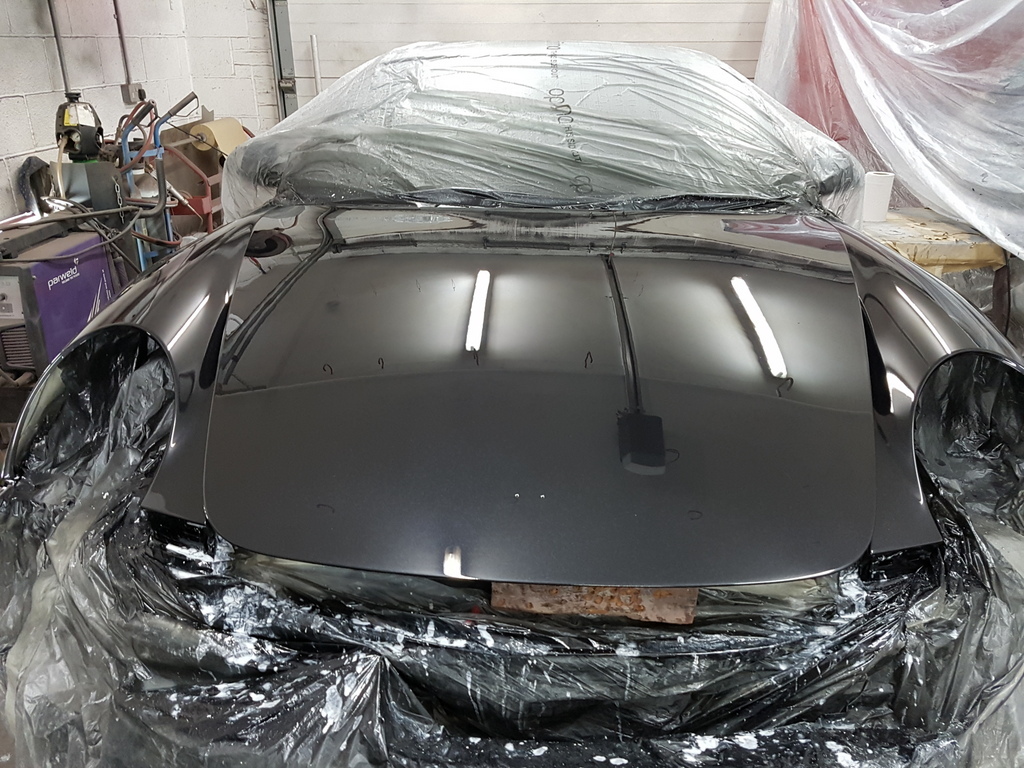 Compounds contain polymer fillers - I always wash these out of the panel with a little soapy water if I am following with further polishing stages 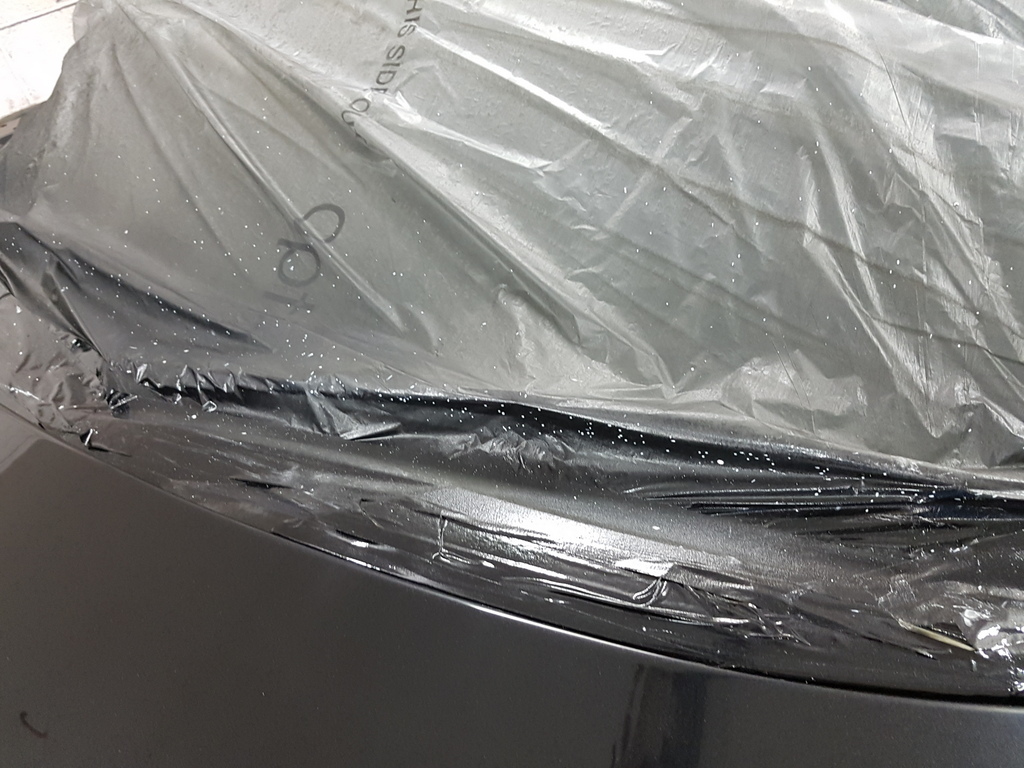 The polishing process can be messy and I would recommend leaving the car masked up to prevent the polish contaminating the rest of the vehicle has it is very difficult to remove once dried and can leave a vehicle looking dreadful 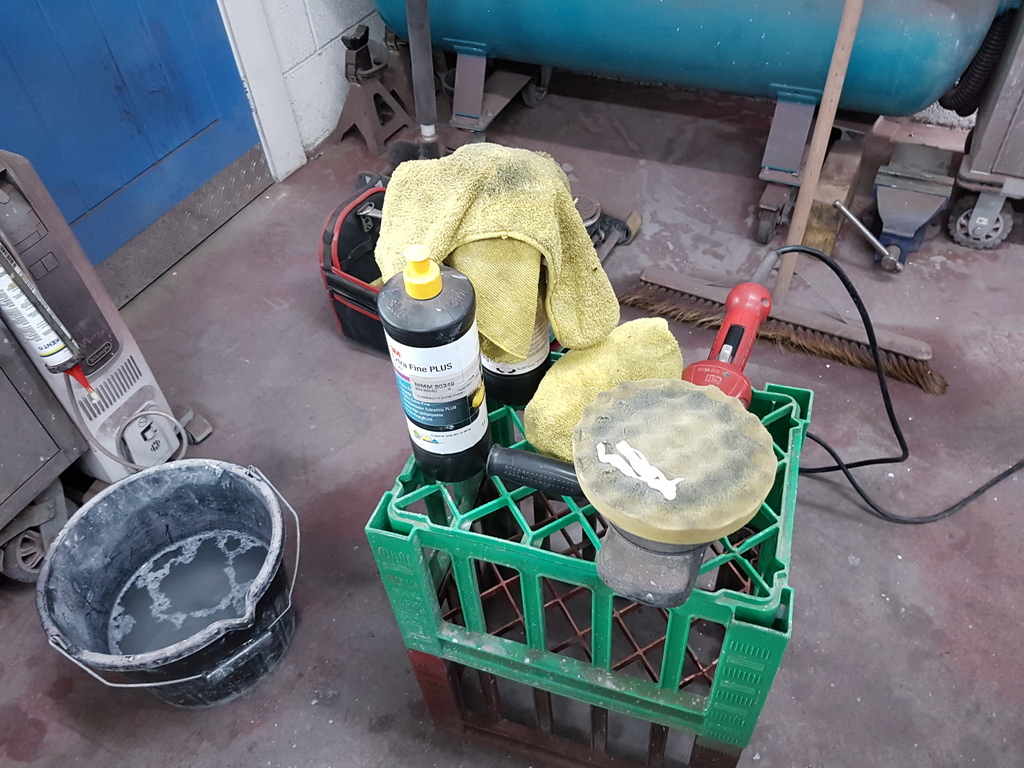 Stage 2 which is a fine compound 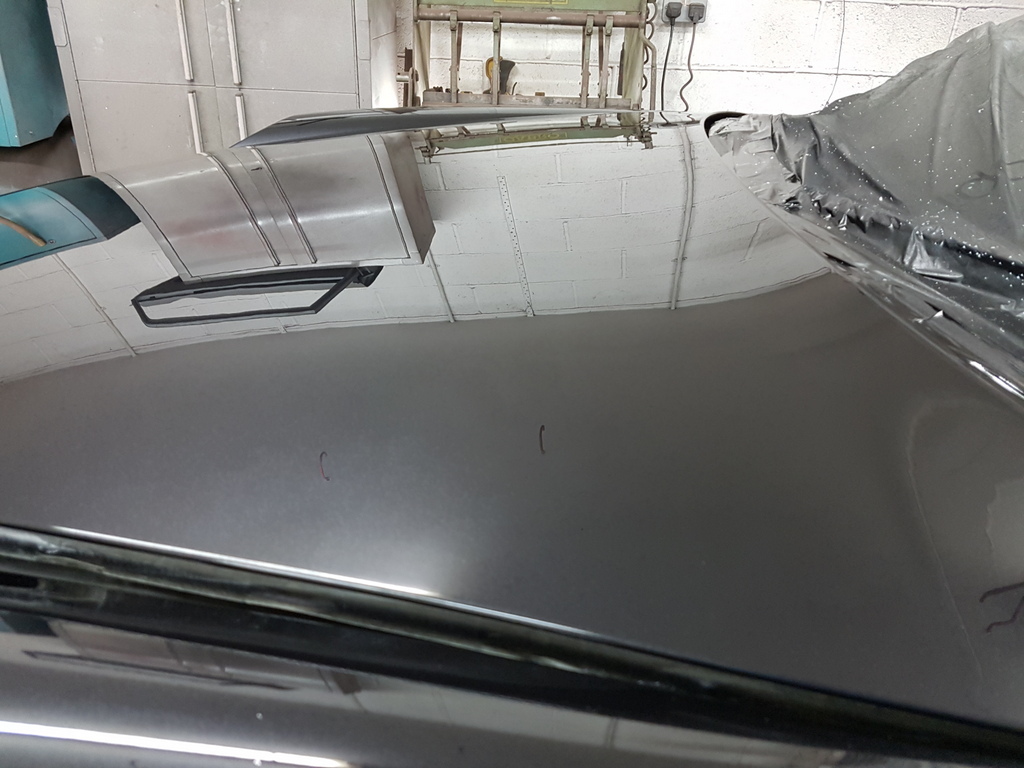 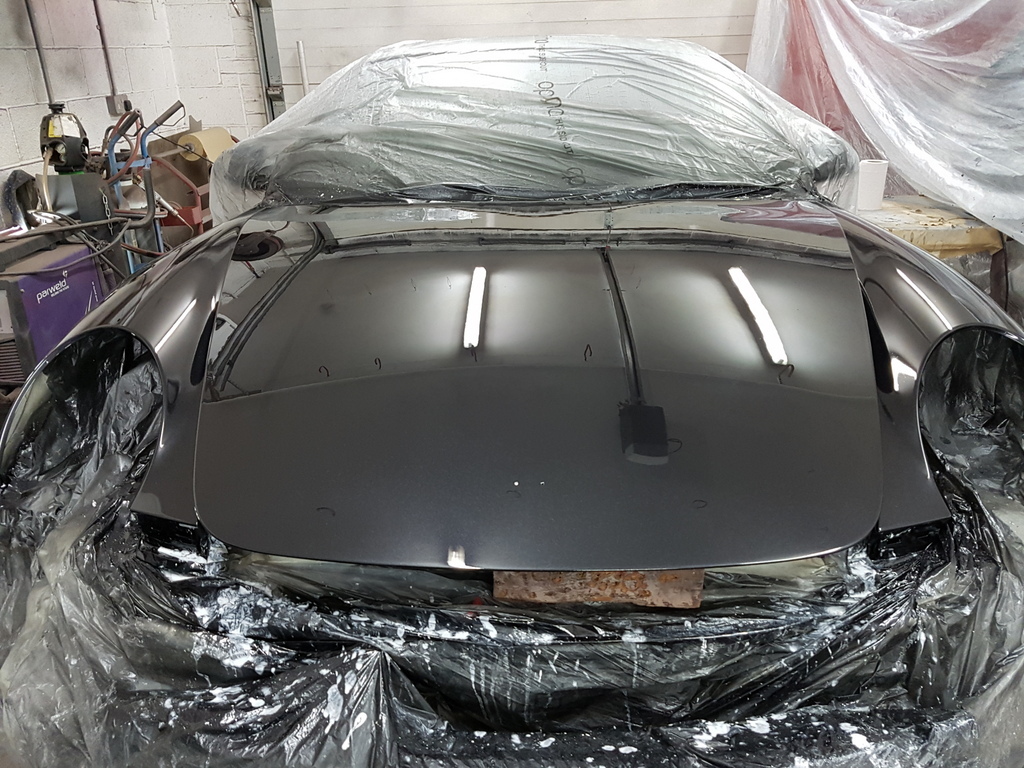 Again washed with a little soapy water to remove the compound fillers 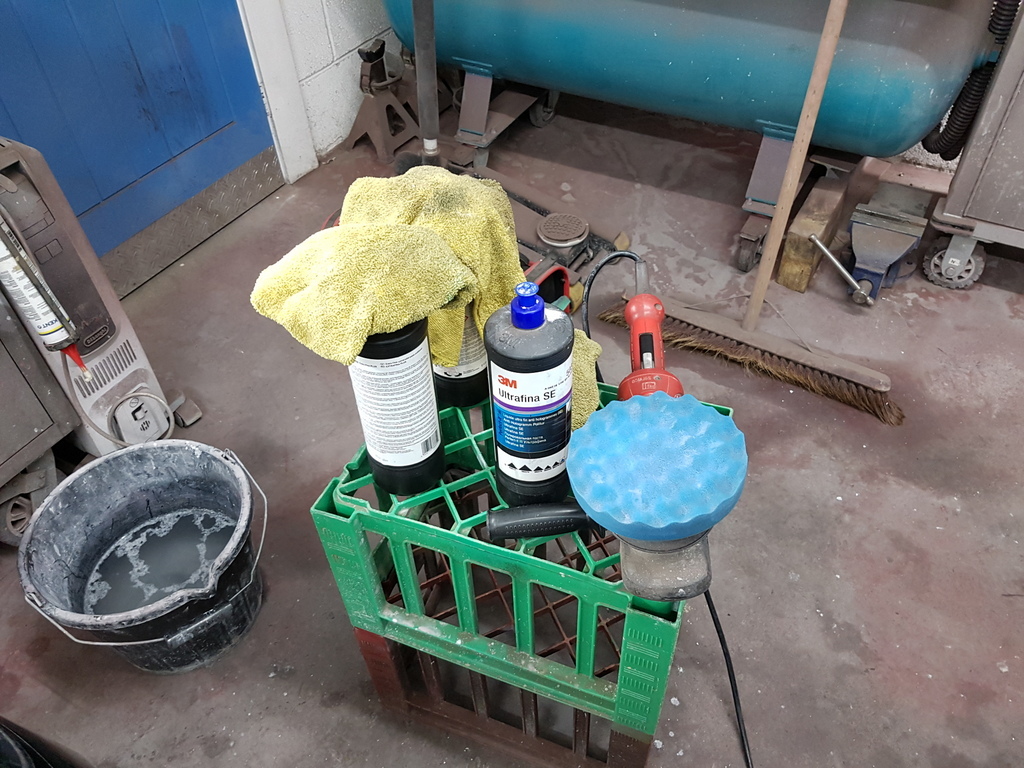 Stage 3 which is a polymer polish 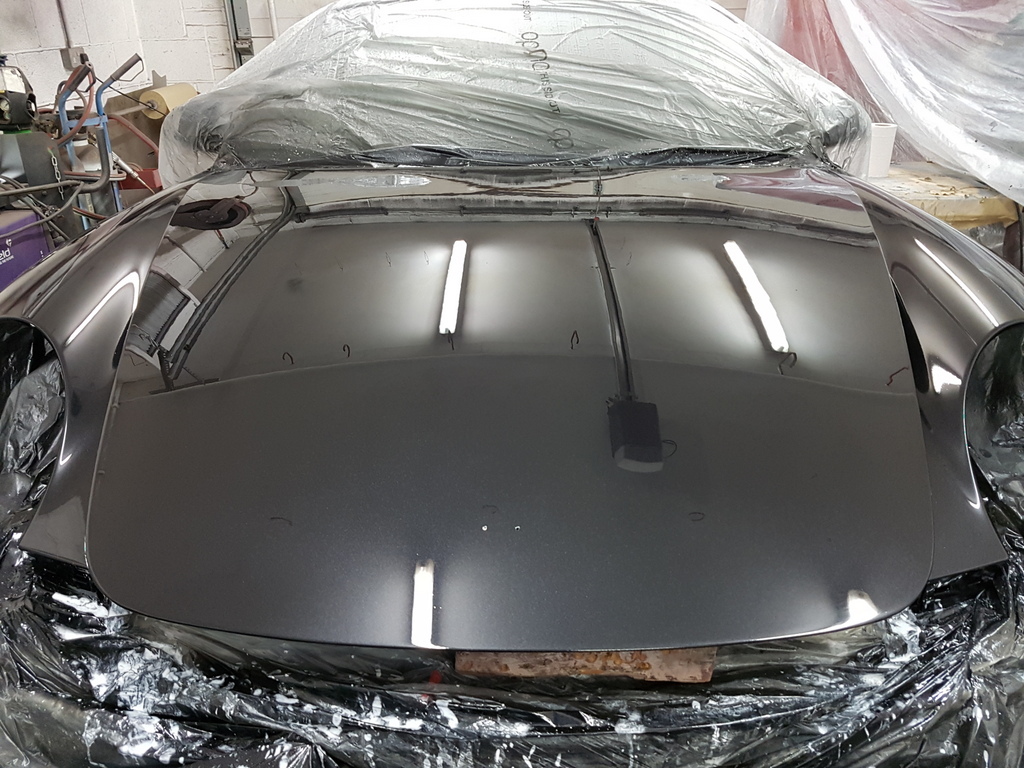 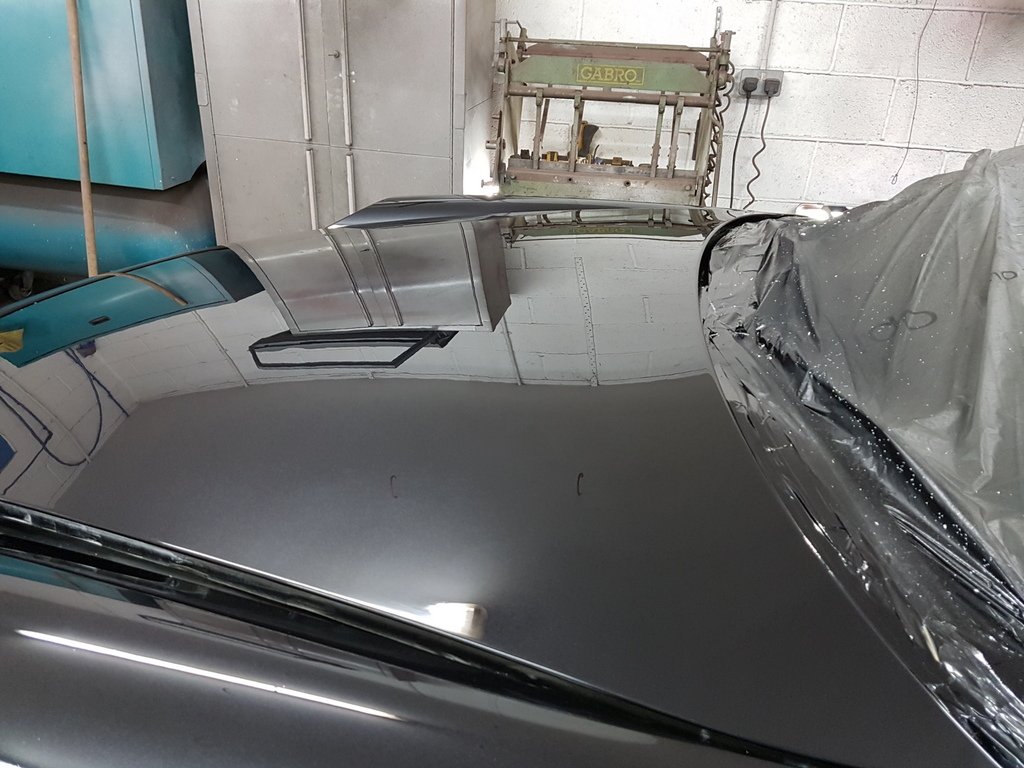 Nearly there - a few very minor areas that I will go back over now - once I have the car completed it will have a polymer protection coating applied to it Flatting & polishing should remove all minor dust nibs and give a high quality finish to the panel - of course this can only be achieved if the preparation & paint application is undertaken correctly in the first place |
| |
Last Edit: Sept 15, 2018 19:56:44 GMT by Deleted
|
|
|
|
|
|
|
Sept 15, 2018 20:24:05 GMT
|
|
Wet flatting, I read a tip about putting a tiny drop of fairy liquid in the water to act as lubricant/ anti surfactant. Is this a grave Error?
|
| |
|
|
|
|
|
Sept 15, 2018 20:56:28 GMT
|
Wet flatting, I read a tip about putting a tiny drop of fairy liquid in the water to act as lubricant/ anti surfactant. Is this a grave Error? Darren - Not at all - very useful tip - I use a bar of hand soap - has you state it acts has a lubricant - this in turn prevents the wet & dry dragging, clogging or digging in and creating more work |
| |
|
|
|
|
|
Sept 15, 2018 21:25:10 GMT
|
Wet flatting, I read a tip about putting a tiny drop of fairy liquid in the water to act as lubricant/ anti surfactant. Is this a grave Error? Darren - Not at all - very useful tip - I use a bar of hand soap - has you state it acts has a lubricant - this in turn prevents the wet & dry dragging, clogging or digging in and creating more work Imperial leather, right? |
| |
|
|
|
|
|
Sept 15, 2018 23:20:23 GMT
|
|
Hands that do dishes Darren.
|
| |
|
|
|
|
|
Sept 16, 2018 20:03:18 GMT
|
Flatted and polished the wings 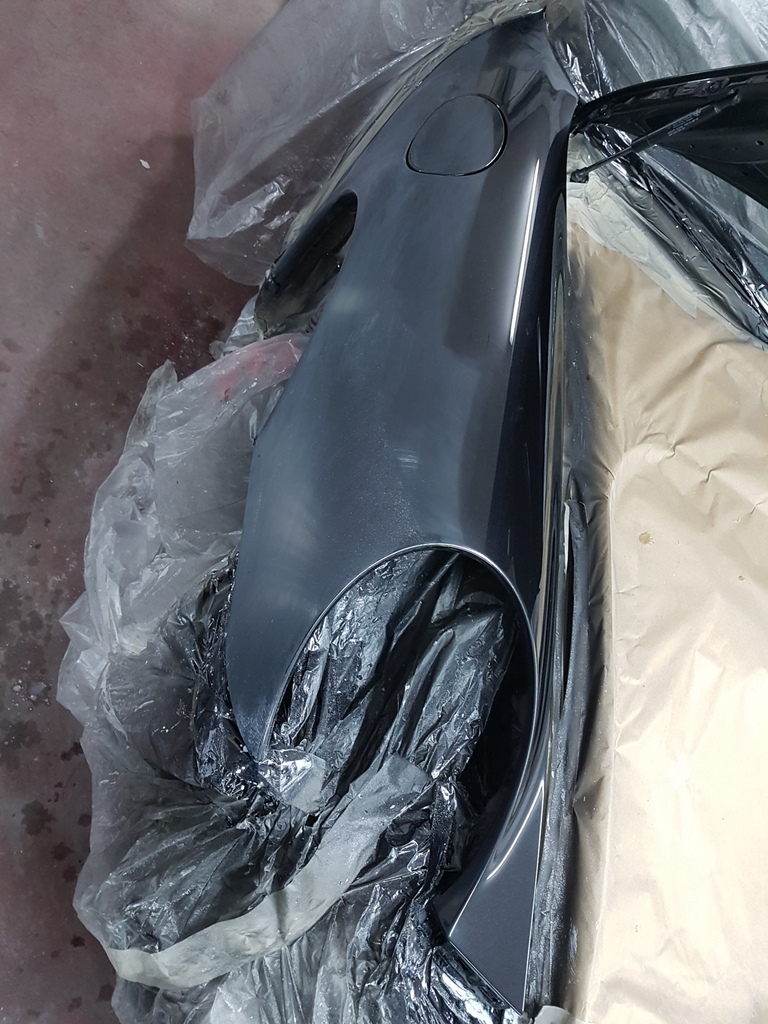 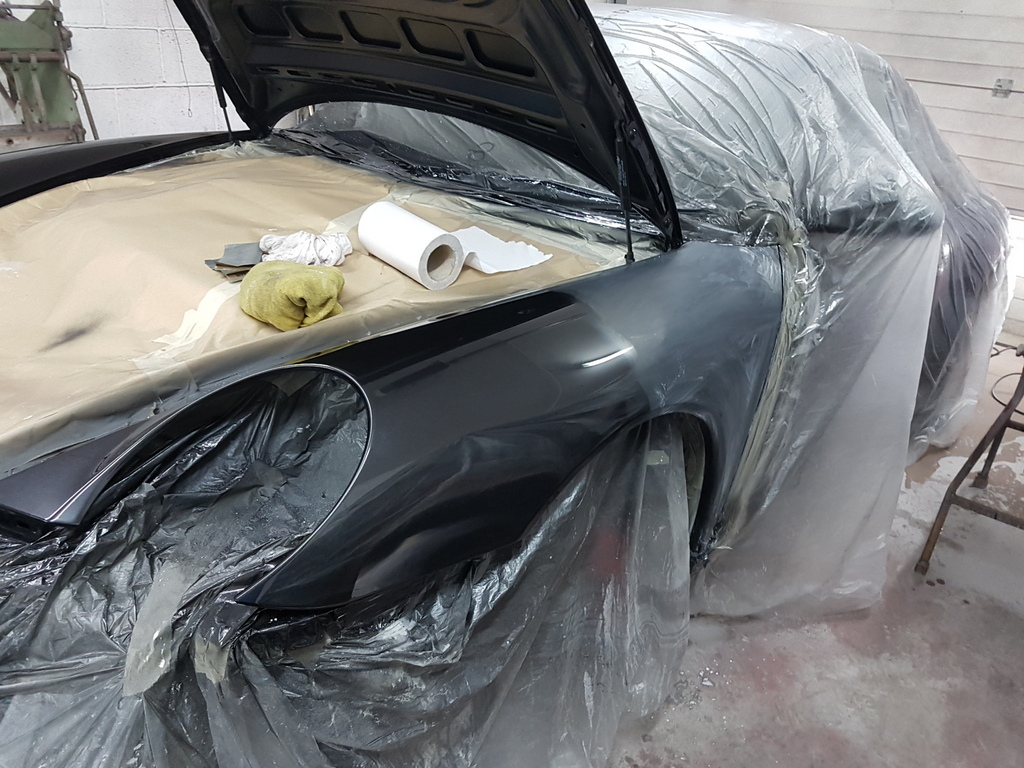 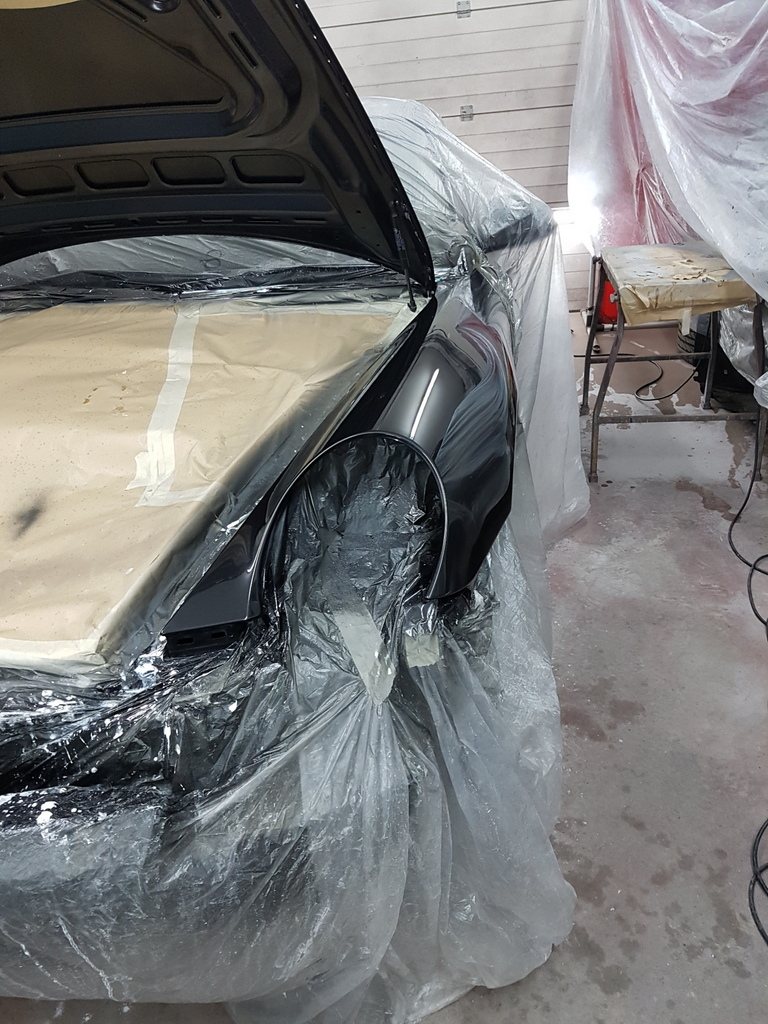 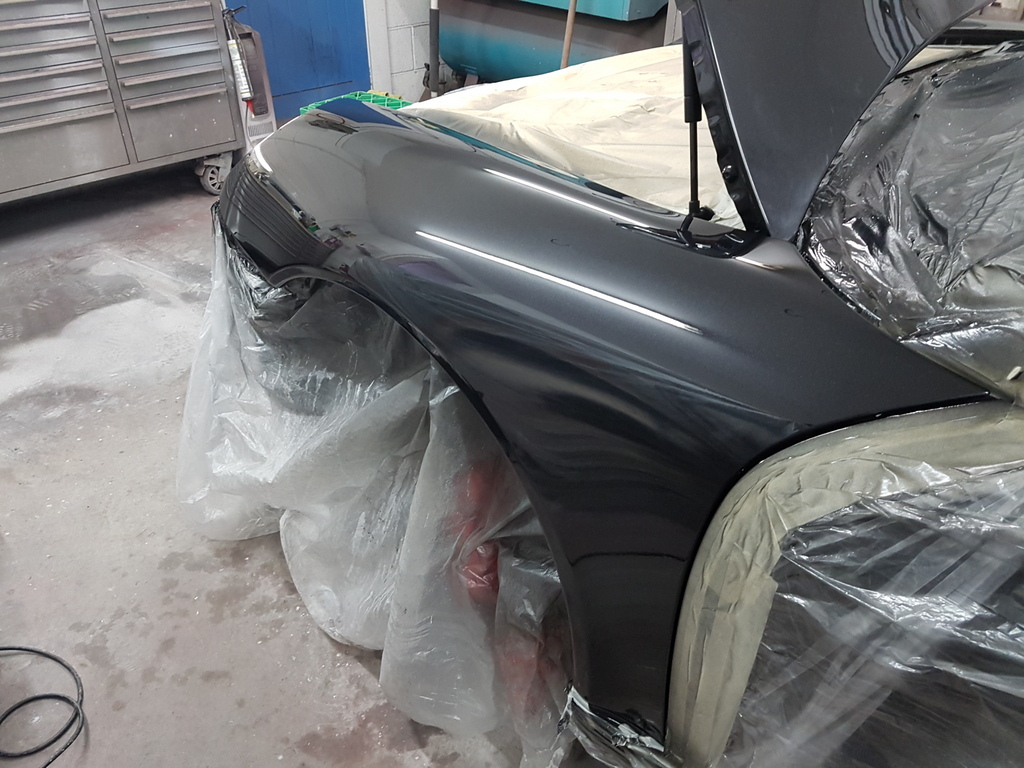 Sorted & cleaned up the bumper vents / grilles etc - gave the mesh a good clean and repainted in satin black - the silver gill vents were also repainted 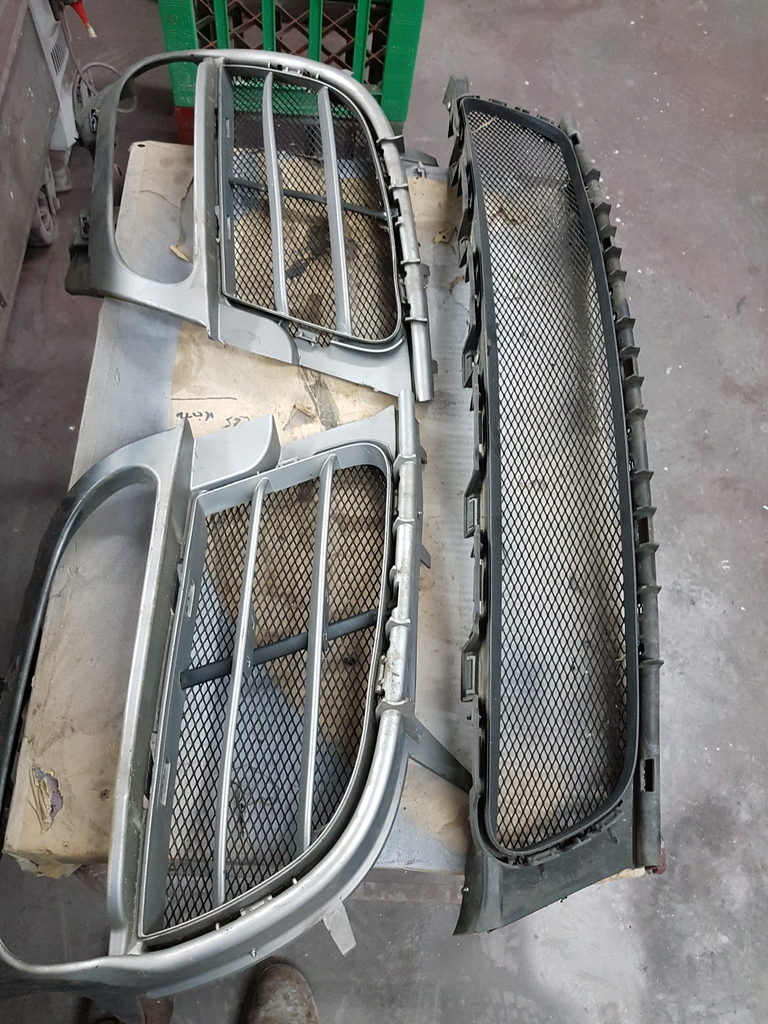 Fitted the bumper back up once the vents / grilles were dry - most trims & lamps are fitted from the rear on the vast majority of modern plastic bumpers 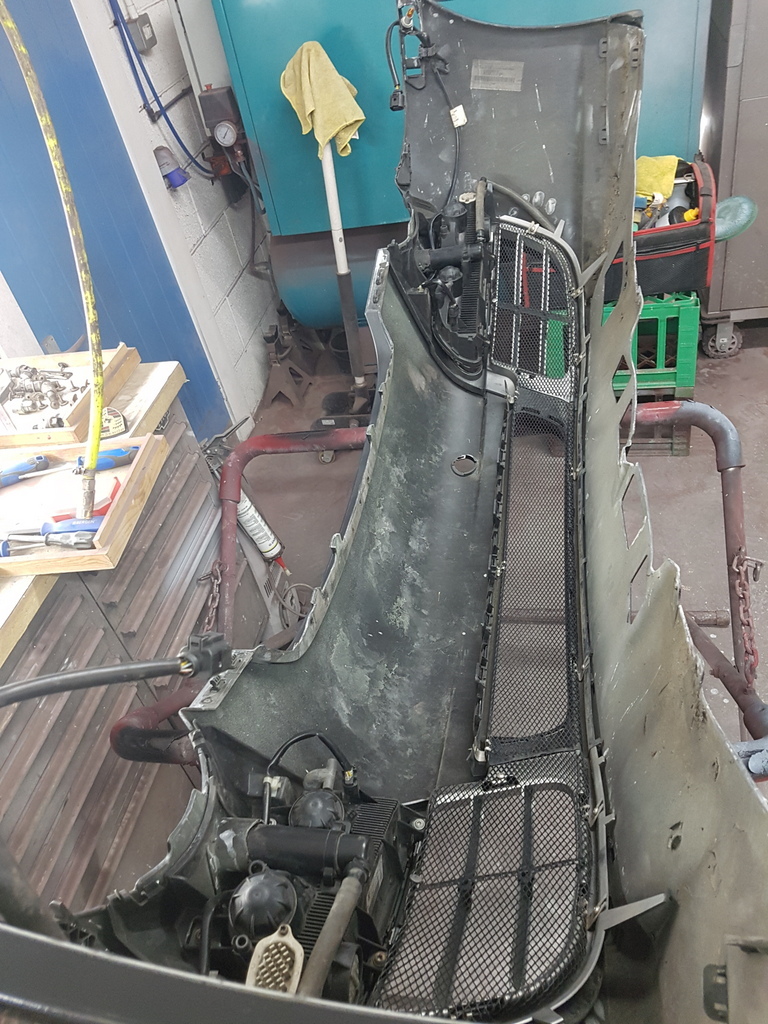 Part fitted to the car - I will complete it in the morning 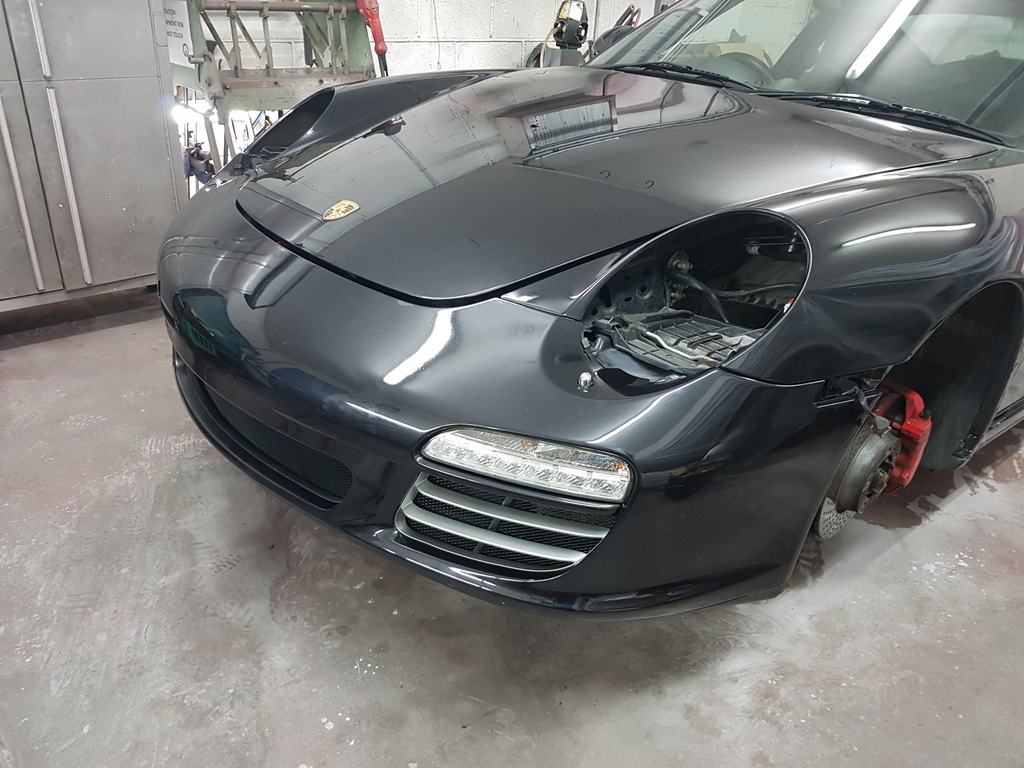 I still have to flat & polish the bumper but I prefer to do this on the car - the large nose type bumpers are very flimsy and easy to damage when off the car and only become structurally workable when fastened to the car 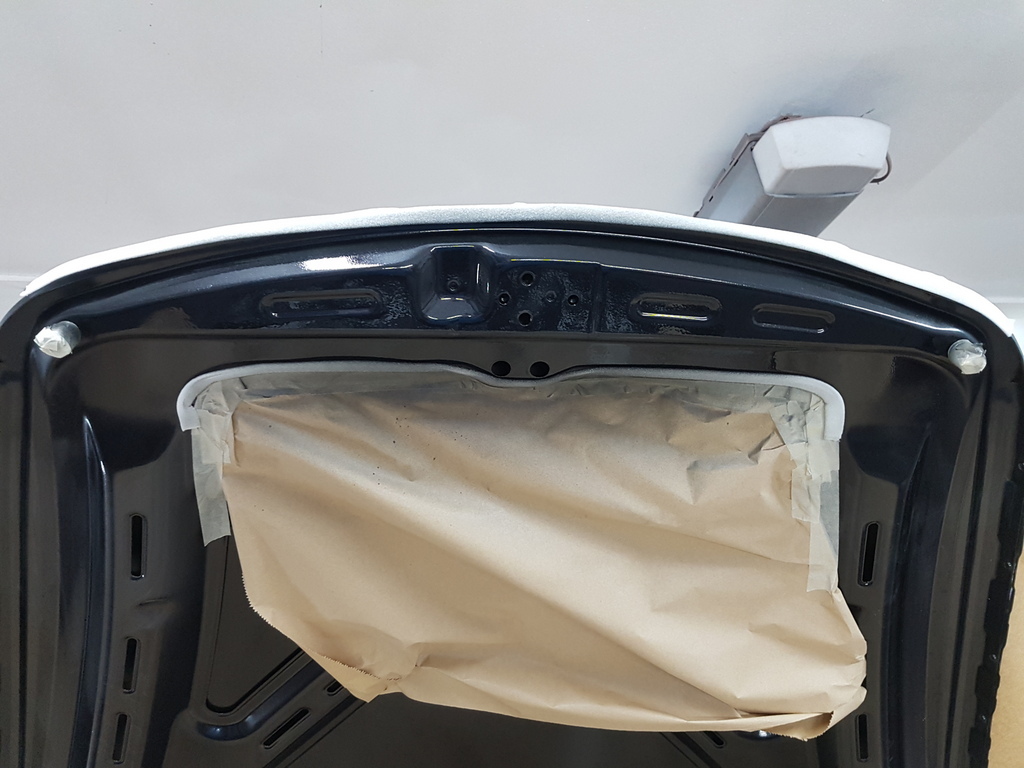 There was some light corrosion around the bonnet striker plate caused the reaction of dissimilar metals - all alloy bonnet and the steel / plated striker plate - this was attended to & repainted |
| |
Last Edit: Sept 16, 2018 20:06:44 GMT by Deleted
|
|
|
|
|
Sept 16, 2018 20:12:20 GMT
|
|
Great work as usual, The quality and finish would put most professional bodyshops to shame, or hopefully shame them in to doing better work!
|
| |
|
|
|
|
|
Sept 17, 2018 19:39:34 GMT
|
Bumper flatted prior to polish 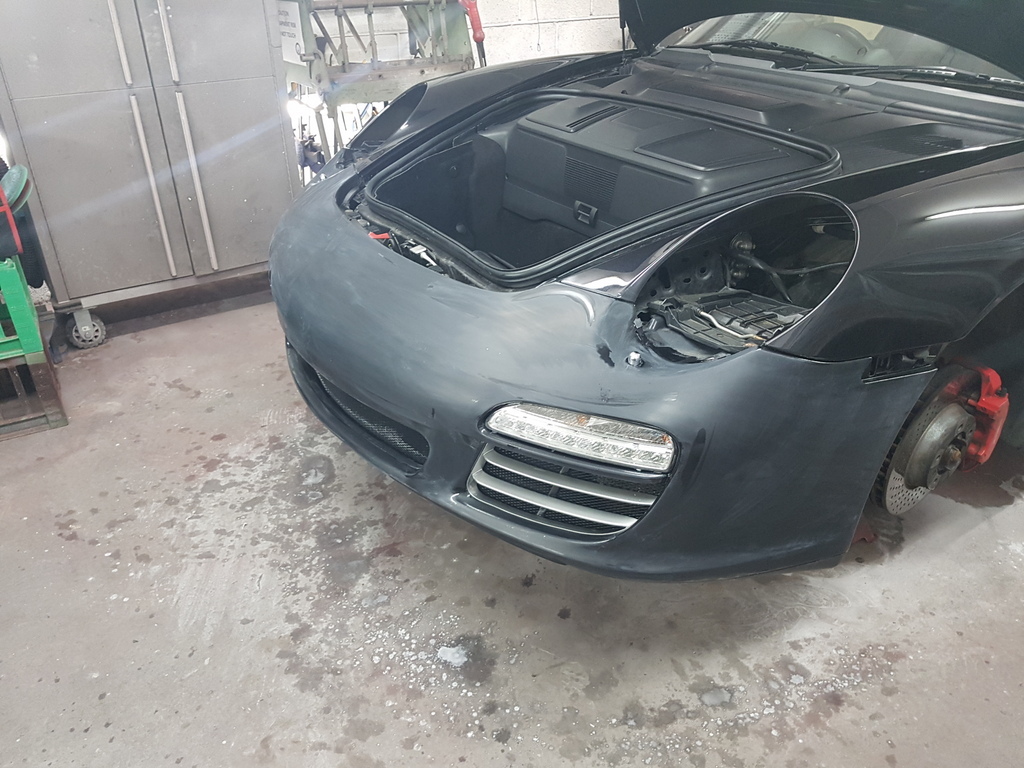 Polished, wheelarch liners refitted, bumper harness connected, headlamps refitted & lenses polished 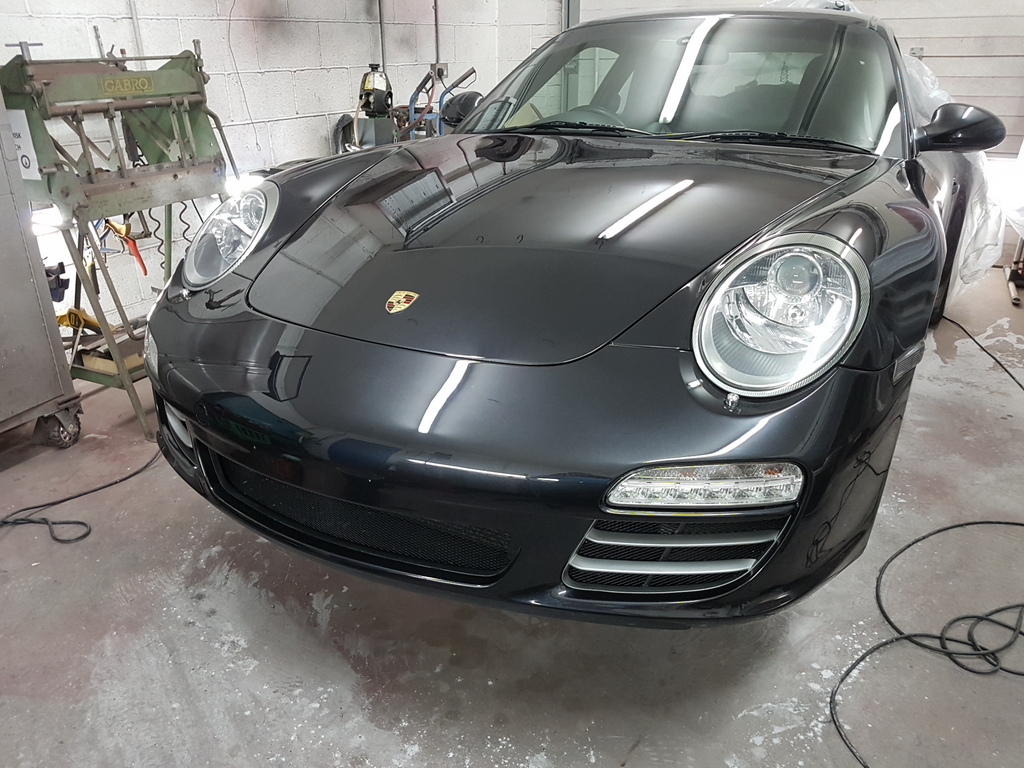 Nearly there then - final polish & valet tomorrow - refit the front wheels - check the lights and then I can deliver it back |
| |
|
|
|
|
|
Sept 18, 2018 19:11:00 GMT
|
I should have had this finished today - however I did a lights check & all was ok - then checked the headlamp washers which were both operative - however the washer bottle then continued to syphon it's self dry 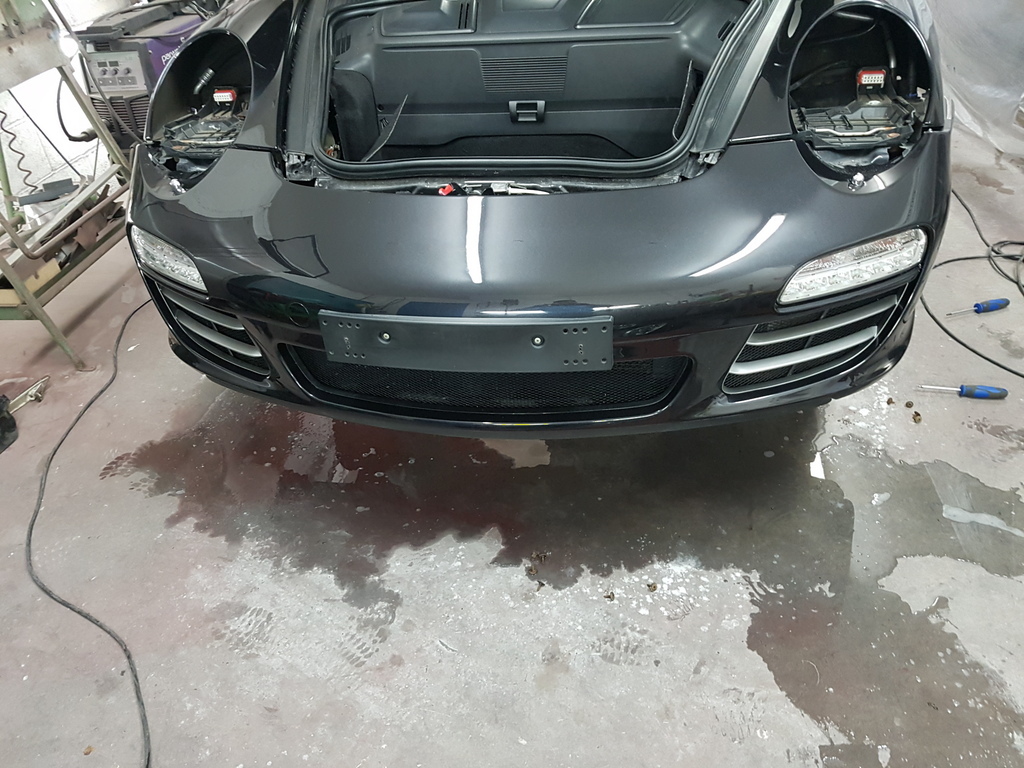 So back off with the bumper to find out what's going on - which in turn requires removal of the headlamps - the connectors to the washers are a odd clip type system and the one on the offside had managed to eat it's seal - soon sorted with a new o ring and then refitted the bumper - only then to find on the floor a puddle of coolant - the car has rads either side of the bumpers which are then plumbed to the rear of the car - there is a plethora of pipes at the front of the car and upon inspection I had slightly disturbed someone's previous bodge on a small balancing / breather pipe 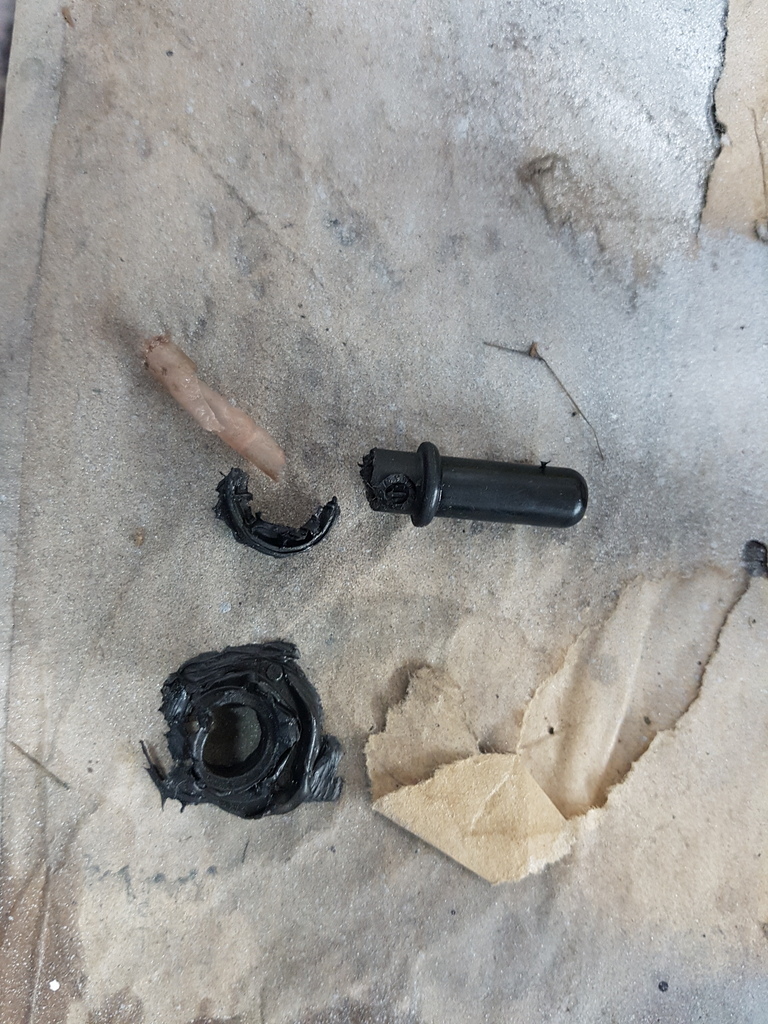 The broken end of this male fitting had been bodged with sealer to effect a repair - not quite sure what the bodger was thinking - it could have quite easily failed dumped the coolant and cooked the engine and cant imagine any change out £10k for a engine rebuild on one of these 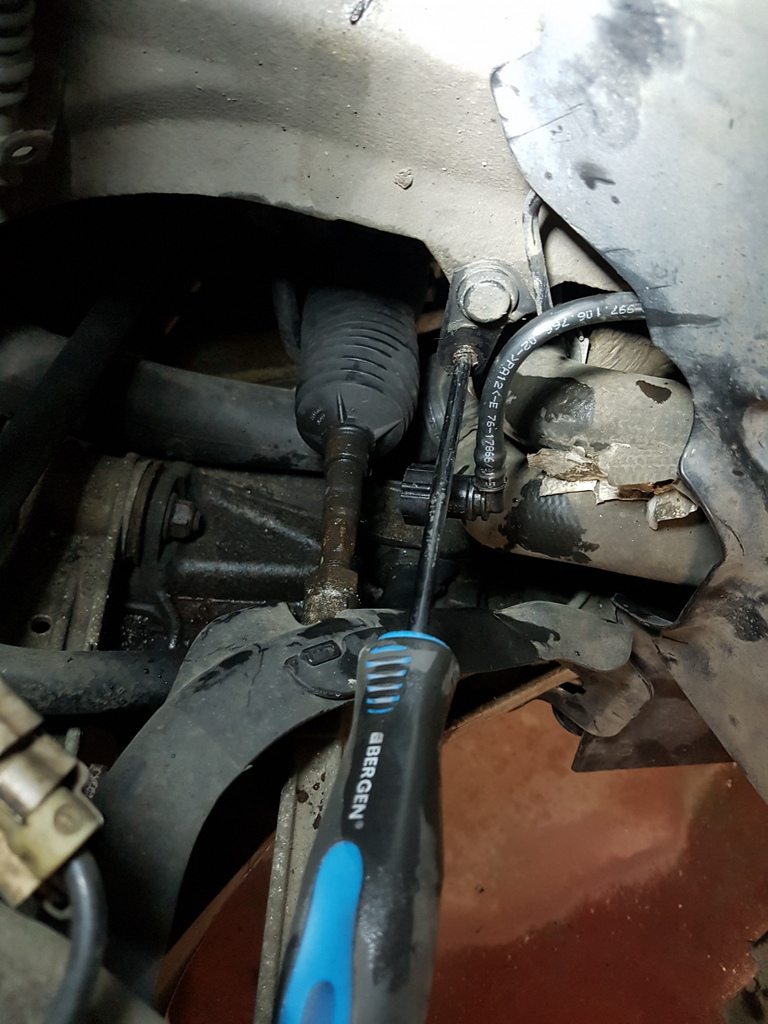 I disconnected the pipe and rang Reading Porsche fully expecting the part to be stupid money but no its a tad over £20 delivered and will be with me in the morning  So close yet so far 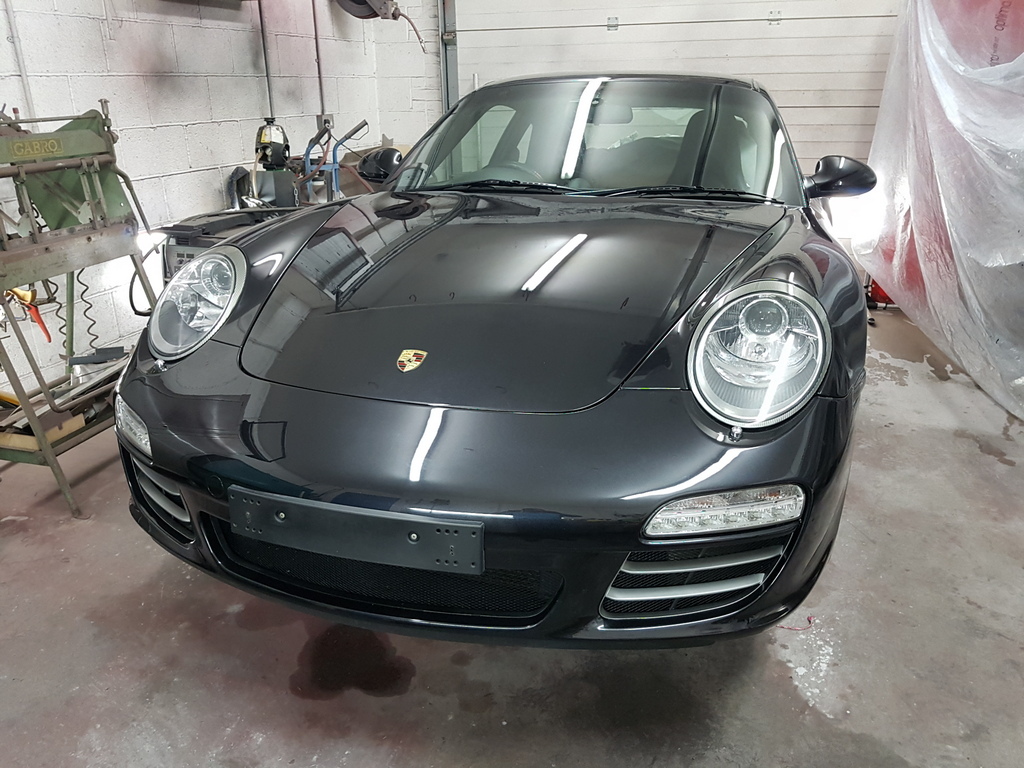 My hate of bodgers has just increased to a unheard of level !! |
| |
Last Edit: Sept 18, 2018 19:11:37 GMT by Deleted
|
|
glenanderson
Club Retro Rides Member
Posts: 4,091
Club RR Member Number: 64
|
|
Sept 18, 2018 19:53:03 GMT
|
|
Probably a blessing in disguise that leaky washer. If that fitting had let go anytime in the next six months you’d have copped the blame.
|
| |
My worst worry about dying is my wife selling my stuff for what I told her it cost...
|
|
|
|
|
|
|
Sept 18, 2018 19:59:46 GMT
|
|
At least it had not fallen off a ramp!
|
| |
|
|
|
|
|
Sept 18, 2018 20:12:31 GMT
|
Probably a blessing in disguise that leaky washer. If that fitting had let go anytime in the next six months you’d have copped the blame. Glen - very true but I also hand over a decent sum of money each year in exchange for something called a Motor Trade Policy which covers all vehicles in my care, the P38 & car trailer, public liability and importantly product liability which means I can put a guarantee on my work and cover such events should they ever occur - (comes at price though and I am still smarting from just paying the premium for the next 12 months) |
| |
|
|
|
|
|
Sept 21, 2018 19:32:45 GMT
|
|
|
| |
|
|
|
|
|
Sept 21, 2018 19:35:40 GMT
|
Scooter side panel straightened up and profiled 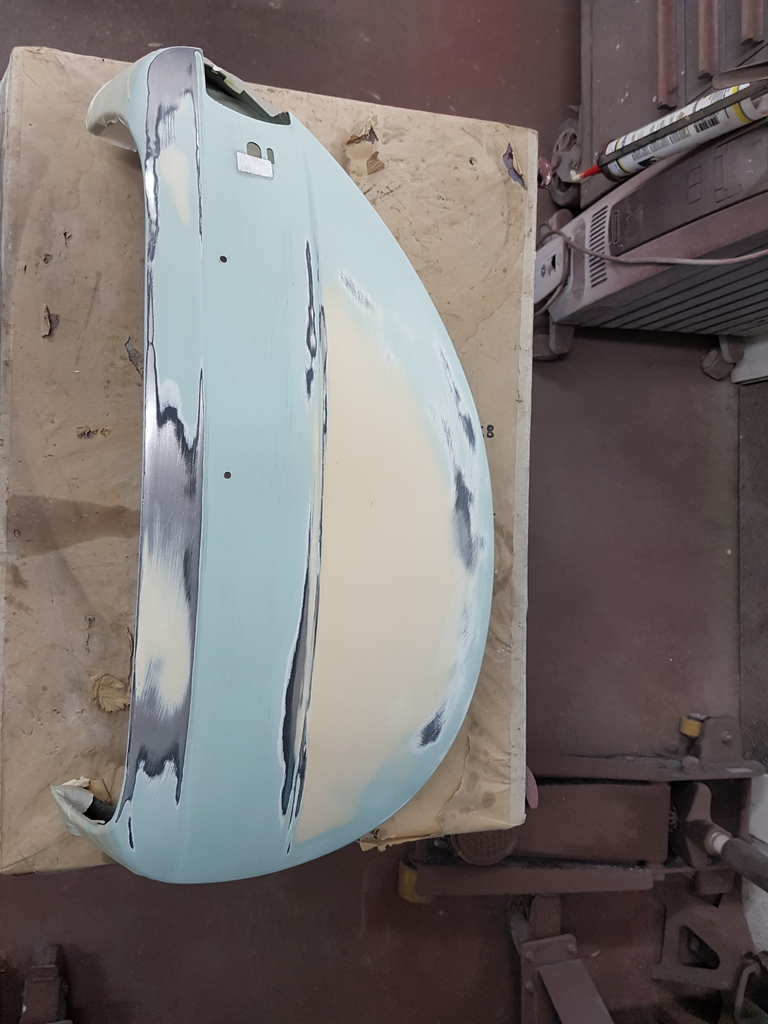 Polyester primed & guide coated 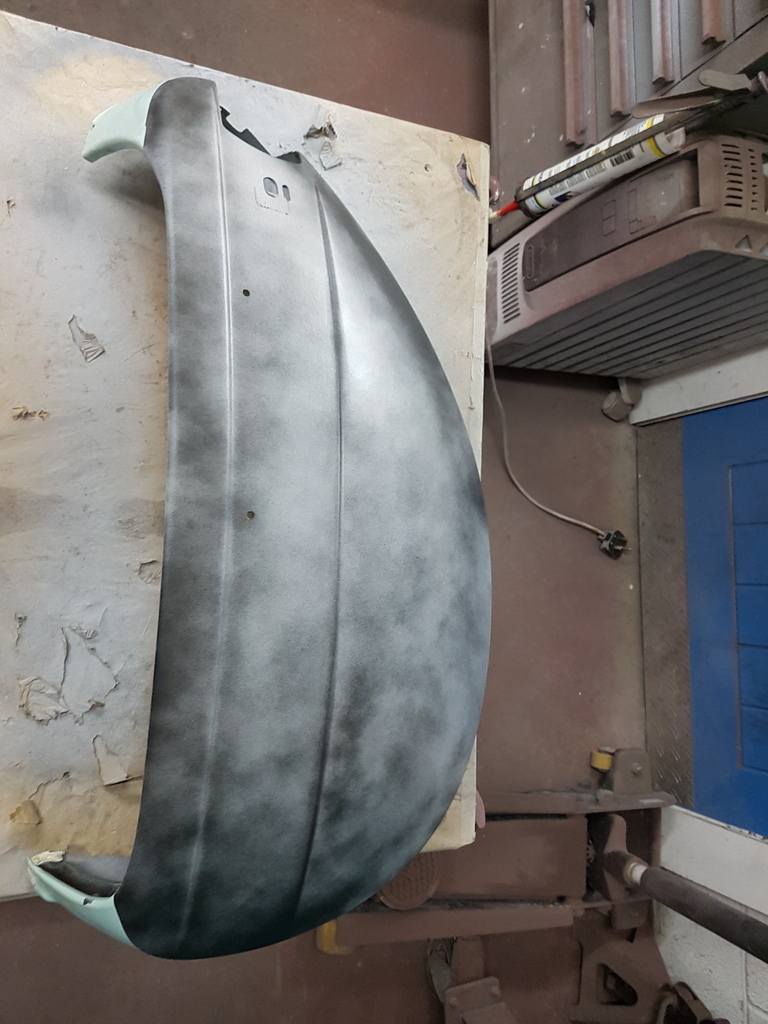 Painted & polished 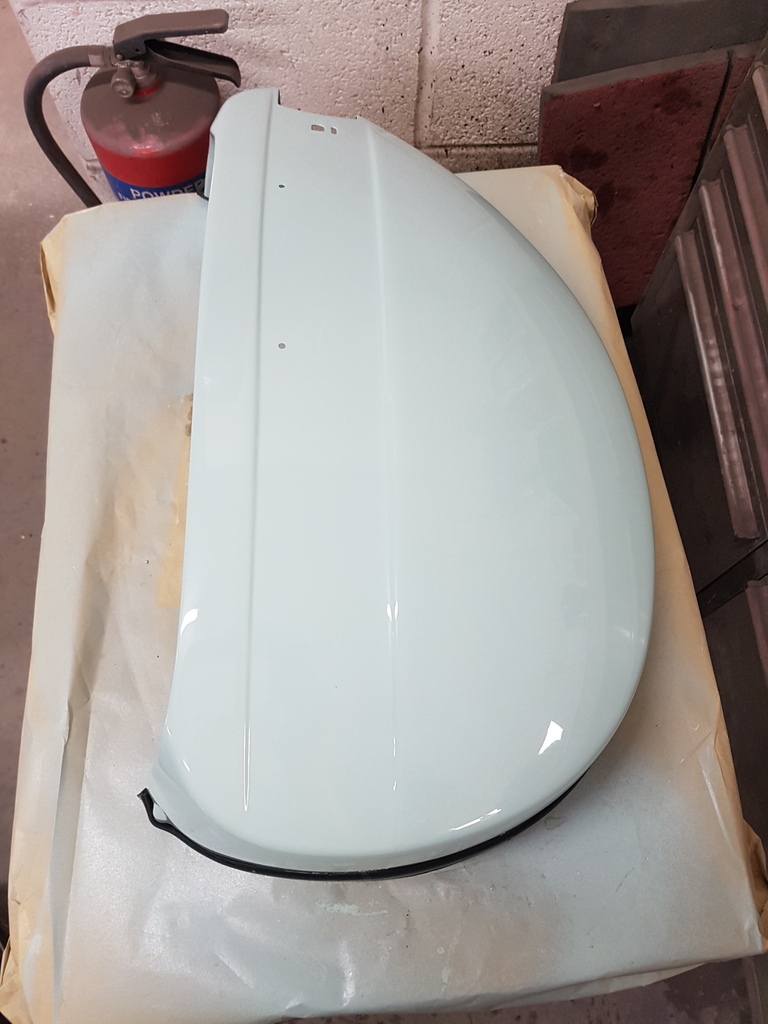 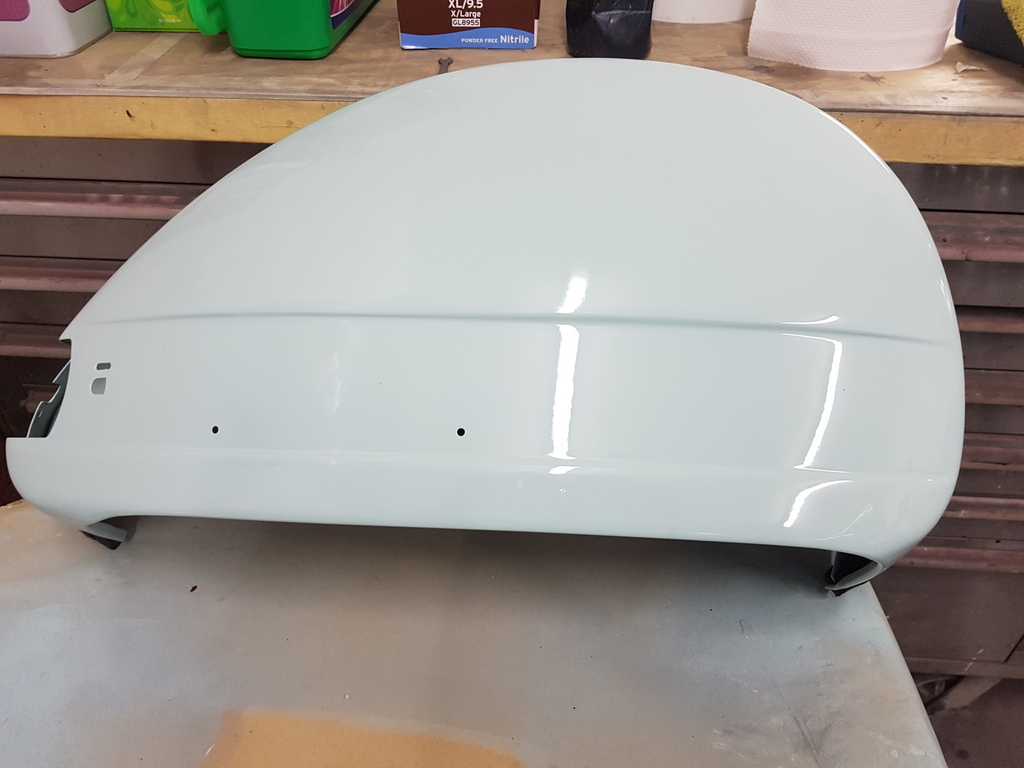 |
| |
|
|
|
|
|
Sept 22, 2018 10:05:11 GMT
|
|
Theres an Australian guy on youtube called restolad(?) who did a tutorial fillerless repair on vespa side panel with slappers, dollies and body files. It's mesmerising but had opposite effect on me.
|
| |
|
|
|
|
|
Sept 22, 2018 12:42:00 GMT
|
So the radiator pipe turned up promptly the next morning - now fitted & tested 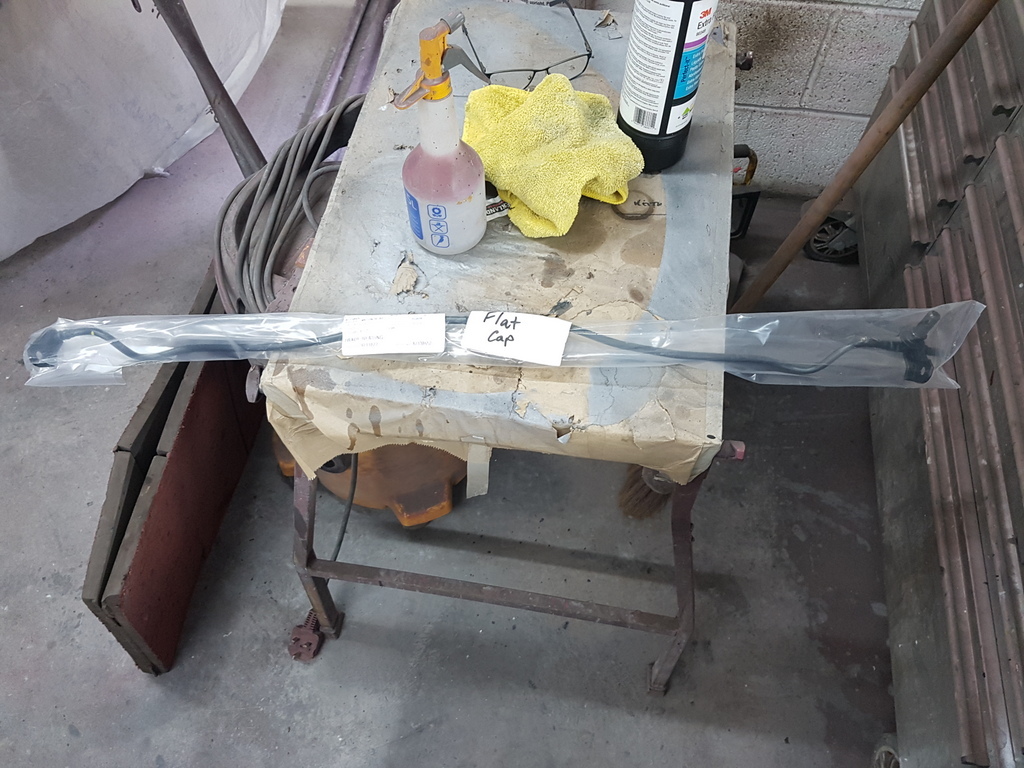 Is Flatcap your "street moniker"?? |
| |
|
|
|
|
|
Sept 22, 2018 19:29:39 GMT
|
So the radiator pipe turned up promptly the next morning - now fitted & tested Is Flatcap your "street moniker"?? Nope - everyone either knows me has Grumpy or Chris - However the trading title of my business is slightly creative - I was born in Yorkshire, hence I have a Yorkshire accent - By & large there is always a Jowett in the workshop of some type or model which were all built in Yorkshire - I like to be creative in everything I do so when thinking about a name for the business I thought about my background, where I was born & what I worked upon and what linked me to my home county - whilst looking at a period production line picture of the Jowett factory all the men were wearing flat caps - Has an aside I have worn a flat cap for the last 15 years and when I linked this - 'Flat Cap Classic Cars' was born |
| |
|
|
|
|
|
Sept 25, 2018 9:16:49 GMT
|
 1978 Saab 99 Turbo bonnet that has been hanging around the workshop for months awaiting paint  Going to have to bare metal it though - it has lots of blisters to the paint surface and has had a few coats of paint in it's life  A few coats of a strong paint stripper later  Sanded back with 80's on the DA 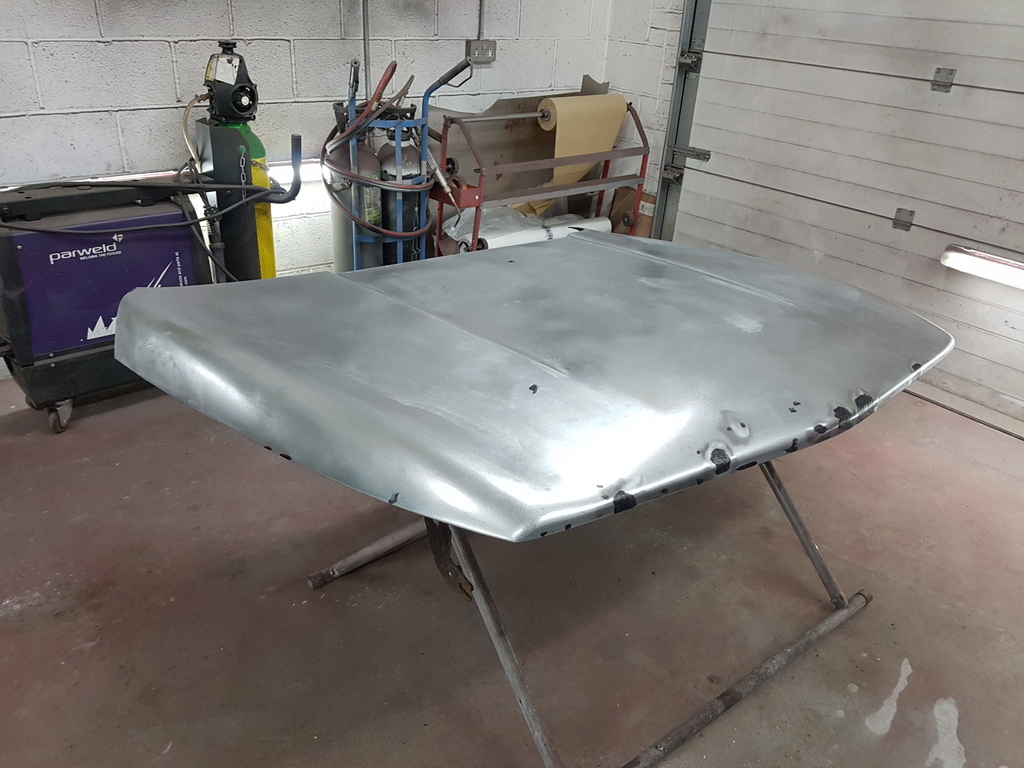 Deep rust pits to the front edge attacked with the rotary wire brush and treated with Hydrate 80 overnight 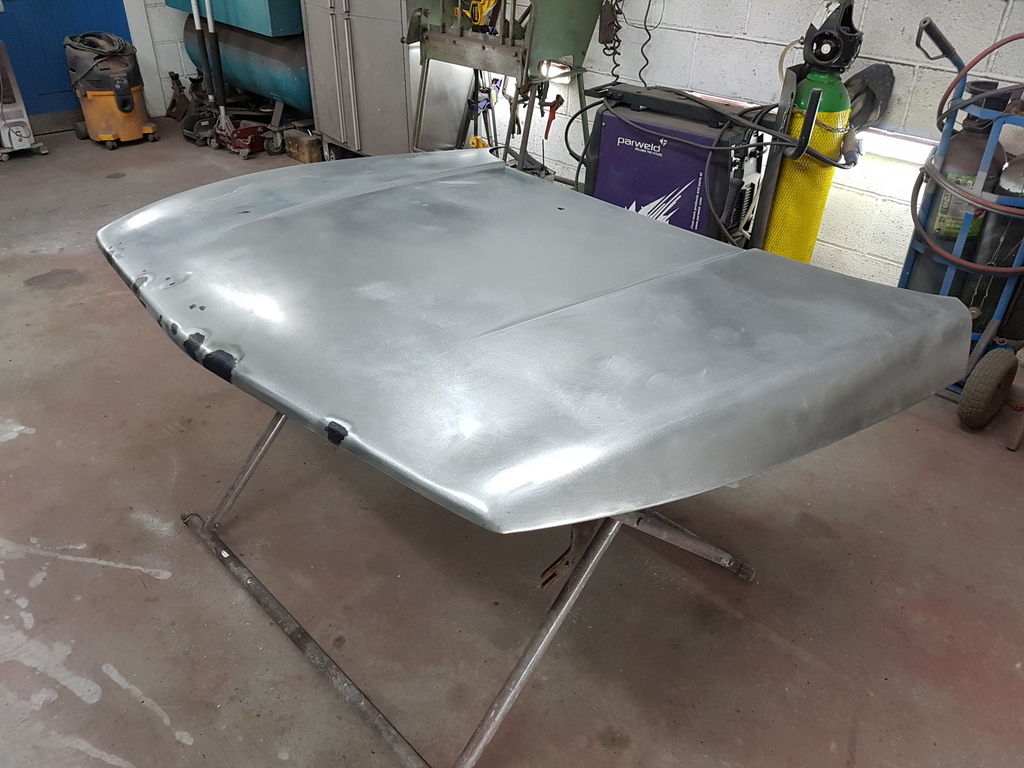 |
| |
Last Edit: Sept 25, 2018 9:19:04 GMT by Deleted
|
|
samta22
Club Retro Rides Member
Stuck in once more...
Posts: 1,272  Club RR Member Number: 32
|
|
Sept 25, 2018 10:57:31 GMT
|
|
Chris, I suspect you have mentioned elsewhere but what stripper do you use?
|
| |
'37 Austin 7 '56 Austin A35 '58 Austin A35 '65 Triumph Herald 12/50 '69 MGB GT '74 MGB GT V8'73 TA22 Toyota Celica restoration'95 Mercedes SL320 '04 MGTF 135 'Cool Blue' (Mrs' Baby) '05 Land Rover Discovery 3 V8 '67 Abarth 595 (Mrs' runabout) '18 Disco V |
|
|
|
|
Sept 25, 2018 22:12:16 GMT
|
Chris, I suspect you have mentioned elsewhere but what stripper do you use? Sam - This stuff - should be readily available but let me know if not I will locate a trade stockist for you 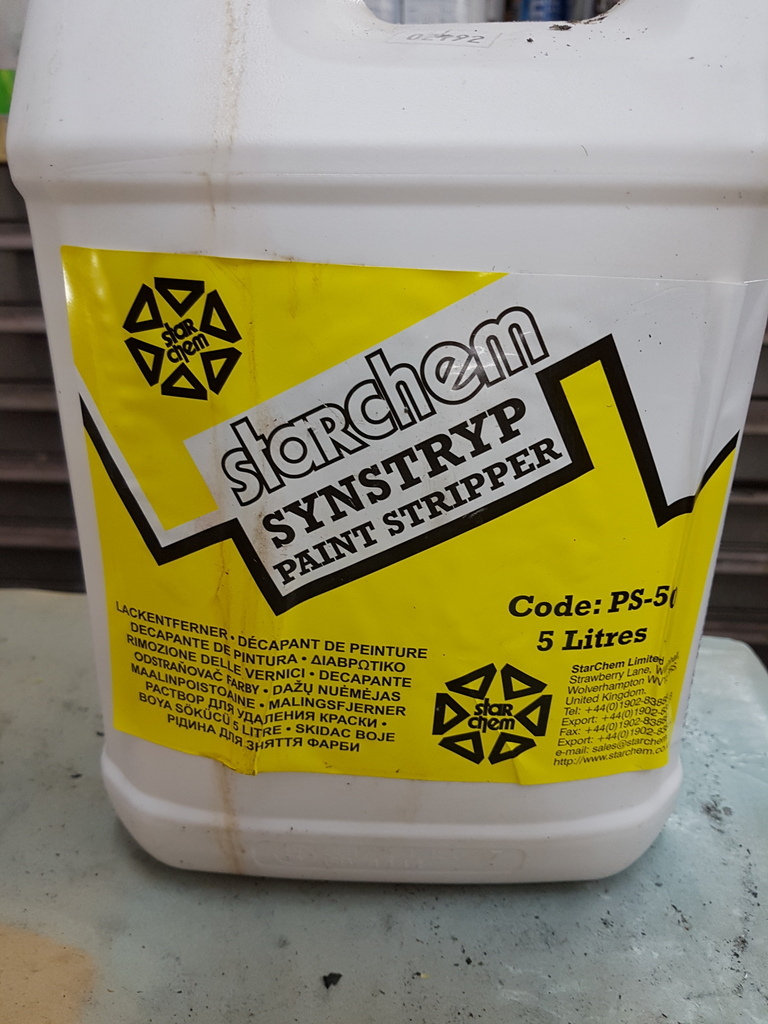 |
| |
Last Edit: Sept 25, 2018 22:13:30 GMT by Deleted
|
|
|
|