|
|
|
|
|
Just lost a long post. Will redo tomorrow! If you do a Google search for NOHOME MGB you will see some of the MGBs I have done. You will get lots of insight from those. The one that will apply most to your case is this 67 GT; in particular the passenger (your driver) side. www.cardomain.com/ride/3882315/1967-mg-mgb/photo-gallery/I will re-do the long post with the pictures tomorrow that will walk you through the whole thing. I assume you can weld, have an angle grinder, a drill and a sawzall? Here is a sketch that I did years ago that shows the assembly of the various components that make up the sill system. We want to skip drilling out all those spotwelds cause that is like work. And yes, I do realize that I have the middle of the castle going the wrong way, was drawing from memory at the time!  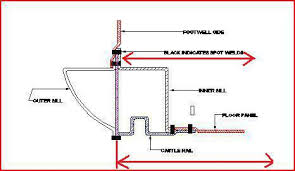 |
| |
Last Edit: Oct 24, 2015 5:42:00 GMT by bjornagn
|
|
|
|
Al3x
Part of things

Posts: 105 
|
|
Oct 24, 2015 12:12:12 GMT
|
Just lost a long post. Will redo tomorrow! If you do a Google search for NOHOME MGB you will see some of the MGBs I have done. You will get lots of insight from those. The one that will apply most to your case is this 67 GT; in particular the passenger (your driver) side. www.cardomain.com/ride/3882315/1967-mg-mgb/photo-gallery/I will re-do the long post with the pictures tomorrow that will walk you through the whole thing. I assume you can weld, have an angle grinder, a drill and a sawzall? Here is a sketch that I did years ago that shows the assembly of the various components that make up the sill system. We want to skip drilling out all those spotwelds cause that is like work. And yes, I do realize that I have the middle of the castle going the wrong way, was drawing from memory at the time! Thanks Very much mate they are very helpful especially the drawings that show how they are assembled and also your photo gallery is brilliant thank you. I am learning to weld however i have an experienced welder on hold if i get stuck as he will.be helping me. I currently don't have a sawzall i think i think i might buy one as they look class i have Air sheers though. Thanks very much for the Help:) Cheers Alex:D:thumbup: |
| |
|
|
|
|
|
Oct 24, 2015 13:10:53 GMT
|
I will do this in a few post. Some pre-amble: You want to do this on as flat a surface as possible. The stands do not have to be level front to back as long as they are in the same plane. When lifted, you want the car to think it is still on the tires. This means you should put your stands under the rear axle and the front crossmember. DO NOT REMOVE THE DOORS. Do one side at a time. I like to use this jig that is welded to the floor and sill so as to help locate the new inner sill. Not really needed since the outer footwell and rear frame pretty much dictate where the new one lines up, but I still use it.   So, lets start at the front of the car. Look behind the tire at where the castle rail wraps up around the footwell. Normally you would drill out a bunch of spotwelds here being careful not to drill through the second layer of tin. Forget that. Use the angle grinder with a 1/16" cutt-off wheel to just cut around the edges. You just freed up the front of the sill assembly.  When you go to put the new sill in, its easy enought to butt-weld in a piece of tin to replace the piece of footwell that you cut out. Chances are this area might need some repair anyways. Once you get that little square cut out, move over to the side of the car. Use a wire wheel on the grinder to clean up the side of the footwell so you can find all the spotwelds. Mark the centers carefully with a center punch, drill a 1/8" hole as a pilot and follow with a 5/16" drill bit. Just drill all the way through, no need for spotweld cutters cause the new tin will be the bottom layer. I have removed the front top section of the outer sill, but you don't have to. What you do have to do is cut the sill around the bottom of the A-post. Just use the sawzall to this. don't worry about the bit of tin left on the bottom of the outer sill, its easier to grind this off from the bottom once the sill is off. DO NOT CUT OFF THE TAB AT THE BOTTOM OF THE A-POST EITHER THE ONE SHOWN HERE OR THE ONE AT THE BACK THAT YOU SEE WHEN YOU OPEN THE DOOR.  |
| |
Last Edit: Oct 24, 2015 15:37:20 GMT by bjornagn
|
|
niwid
Posted a lot
Posts: 1,743
|
|
Oct 24, 2015 13:23:43 GMT
|
|
Wow, this walk through is going to be bloody useful! Thanks for putting the effort in
|
| |
|
|
Al3x
Part of things
Posts: 105
|
|
Oct 24, 2015 14:42:10 GMT
|
Thanks so much dude this is really really helpfull  |
| |
|
|
|
|
|
Oct 24, 2015 15:42:59 GMT
|
Lost another long post. Arrrgggg!!! Anyways, go back to the front of the sill where you cut out the square bit. You are going to use a sawzall, cutting wheel or plasma cutter and follow the inner cut of the square all the way to the rear of the floorpan where it meets the rear bulkhead extension (triangular bit of floor). Since your crossmember looks like it needs the ends repaired anyways, just cut right through it. 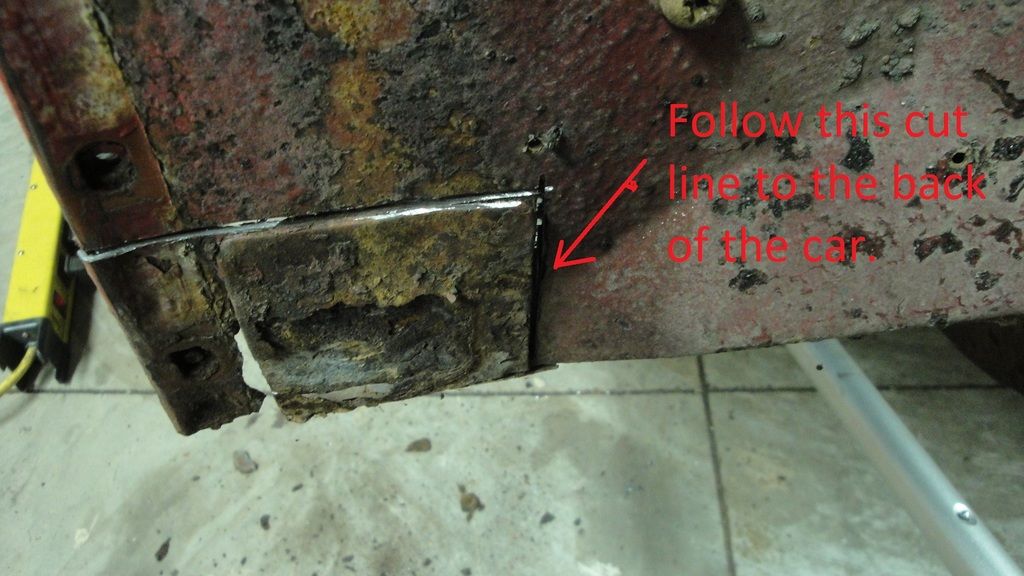 You can see in this previous picture where the cut follows the inside of the castle rail freeing up the inner sill and castle from the floor. Much easier than drilling the double row of spots and the floor is most likely rotted along here anyways. Now you need to move to the inside of the A post. This bit sucks if you are not a bit flexible. You need to find a few spotwelds and grind a bit of weld off the inside of the A post. Kinda hard to see, but the shiny bit is light through the assembly as the front of the sill is now free all the way to the back where it joins the dogleg at the rear of the door. Once you have it to this point, use the sawzall to cut perpendicular to the sill at the back of the door and the sill should drop out. 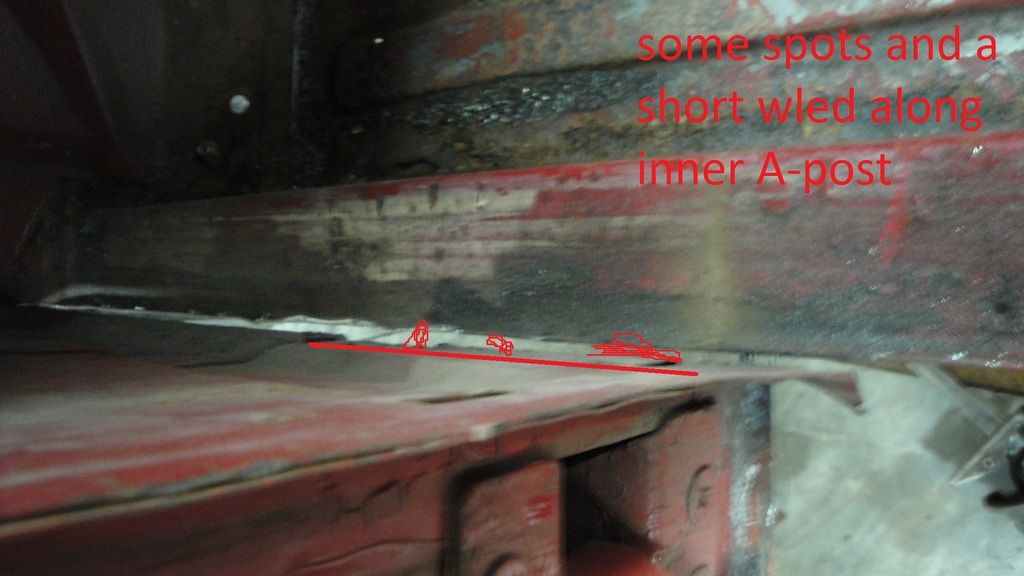 I will be back later to show you how to get the rear bits out. Going to go work on my project for a bit. I do realize that while this is all obvious to me, it might not be to everyone, so feel free to ask for clarification on any of this stuff. If you can rehearse this in your mind until you know exactly how it will go, it takes a day per side to do the sills. Maybe two for the first side for a first go! |
| |
Last Edit: Oct 24, 2015 15:52:49 GMT by bjornagn
|
|
|
|
|
Oct 24, 2015 17:33:20 GMT
|
So by this point, you should have the entire sill off back to the rear of the door. Time to drill a few holes. Note that it is also time to open up the dogleg section of the rear quarter panel. Use the grinder with the 1/16" cutt-off wheel. If possible, I prefer to leave some metal around the door opening so that I don't have to mess with the doorgaps when done. Just trim the repair panel to suit. You need to cut high enough that you can see the top of the inner sill. Maybe a bit higher than this shows. (Not my picture) 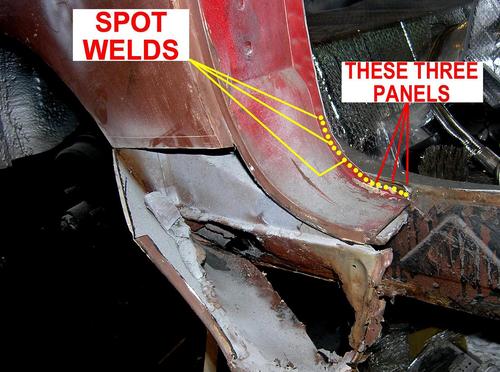 Once the dogleg is cut out, you will see the row of spotwelds that hold the top of the sill in place against the B post and the rear wheelwell.  |
| |
Last Edit: Oct 24, 2015 20:13:42 GMT by bjornagn
|
|
|
|
|
Oct 24, 2015 22:51:18 GMT
|
Here is a picture showing the spotwleds that you need to get at once the dogleg is cut open. The green and yellow ones might are easiest to get at from the wheelwell side.  So after you get this bit out, it leaves us with the rearmost bit of the inner sill. Lets go see if I can find some pictures that show how to get that out. Its pretty easy actually. Since you have already cut out the upper row of spotwelds, you just need to cut out this lot. Once again 1\8" pilot and 5/16" to drill it out. (Not my picture) 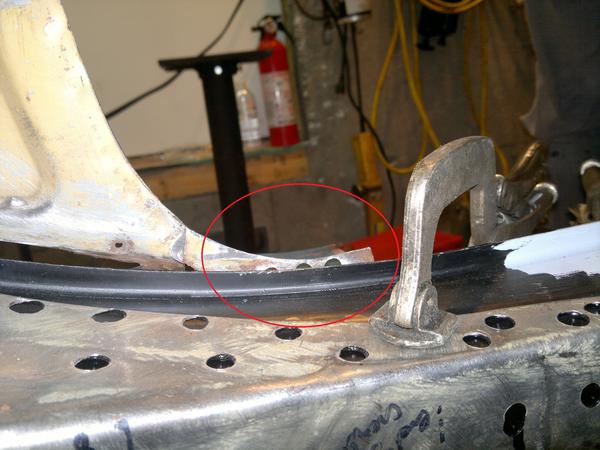 The last spotwelds holding the inner sill in will be on the wheelarch. Just drill these out from the wheel side and you should be able to pull the inner sill out. Ready to clean up the edges with a hammer where needed and start fitting the new bit. Keep posting and let me know when you get confused. When you get to the point of going back together, I will do another walk-through. |
| |
Last Edit: Oct 24, 2015 23:08:11 GMT by bjornagn
|
|
Al3x
Part of things
Posts: 105
|
|
Oct 24, 2015 23:12:52 GMT
|
Thankyou so much for the Write ups so far mate they are amazingly helpfull  |
| |
|
|
|
|
|
|
|
|
I will wait for you to catch up. Looking forward to seeing progress.
|
| |
|
|
|
|
Al3x
Part of things
Posts: 105
|
|
Oct 25, 2015 21:23:31 GMT
|
I will wait for you to catch up. Looking forward to seeing progress. i will be a while i need to order the sills and get the car in my garage i appreciate the excellent info and the time you have put into it thankyou Cheers Alex |
| |
|
|
Al3x
Part of things
Posts: 105
|
|
Oct 26, 2015 23:21:08 GMT
|
Well some progress I went out to work on Vanessa with the goal of removing the bumpers i didn't accomplish this haha basically it got dark and i wanted a pizza so anyway here's how far i got First Bolt i tried to remove with my impact gun wouldnt budge so i tried by hand and oh oh SNAP!! straight in half Didnt even realize my own strength   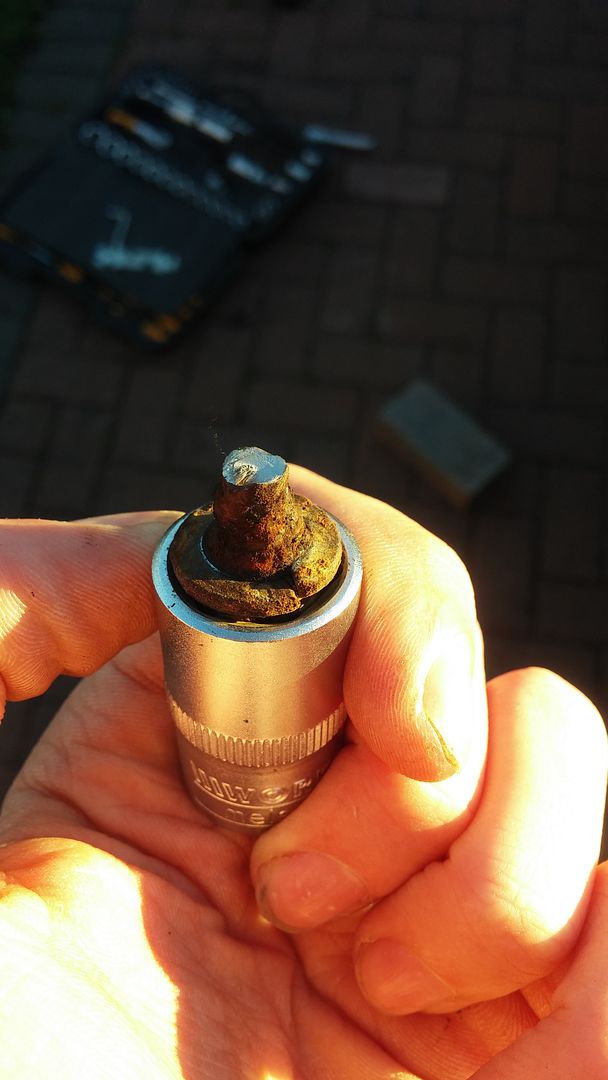 (Note the quality Aldi socket set ) Then it got dark 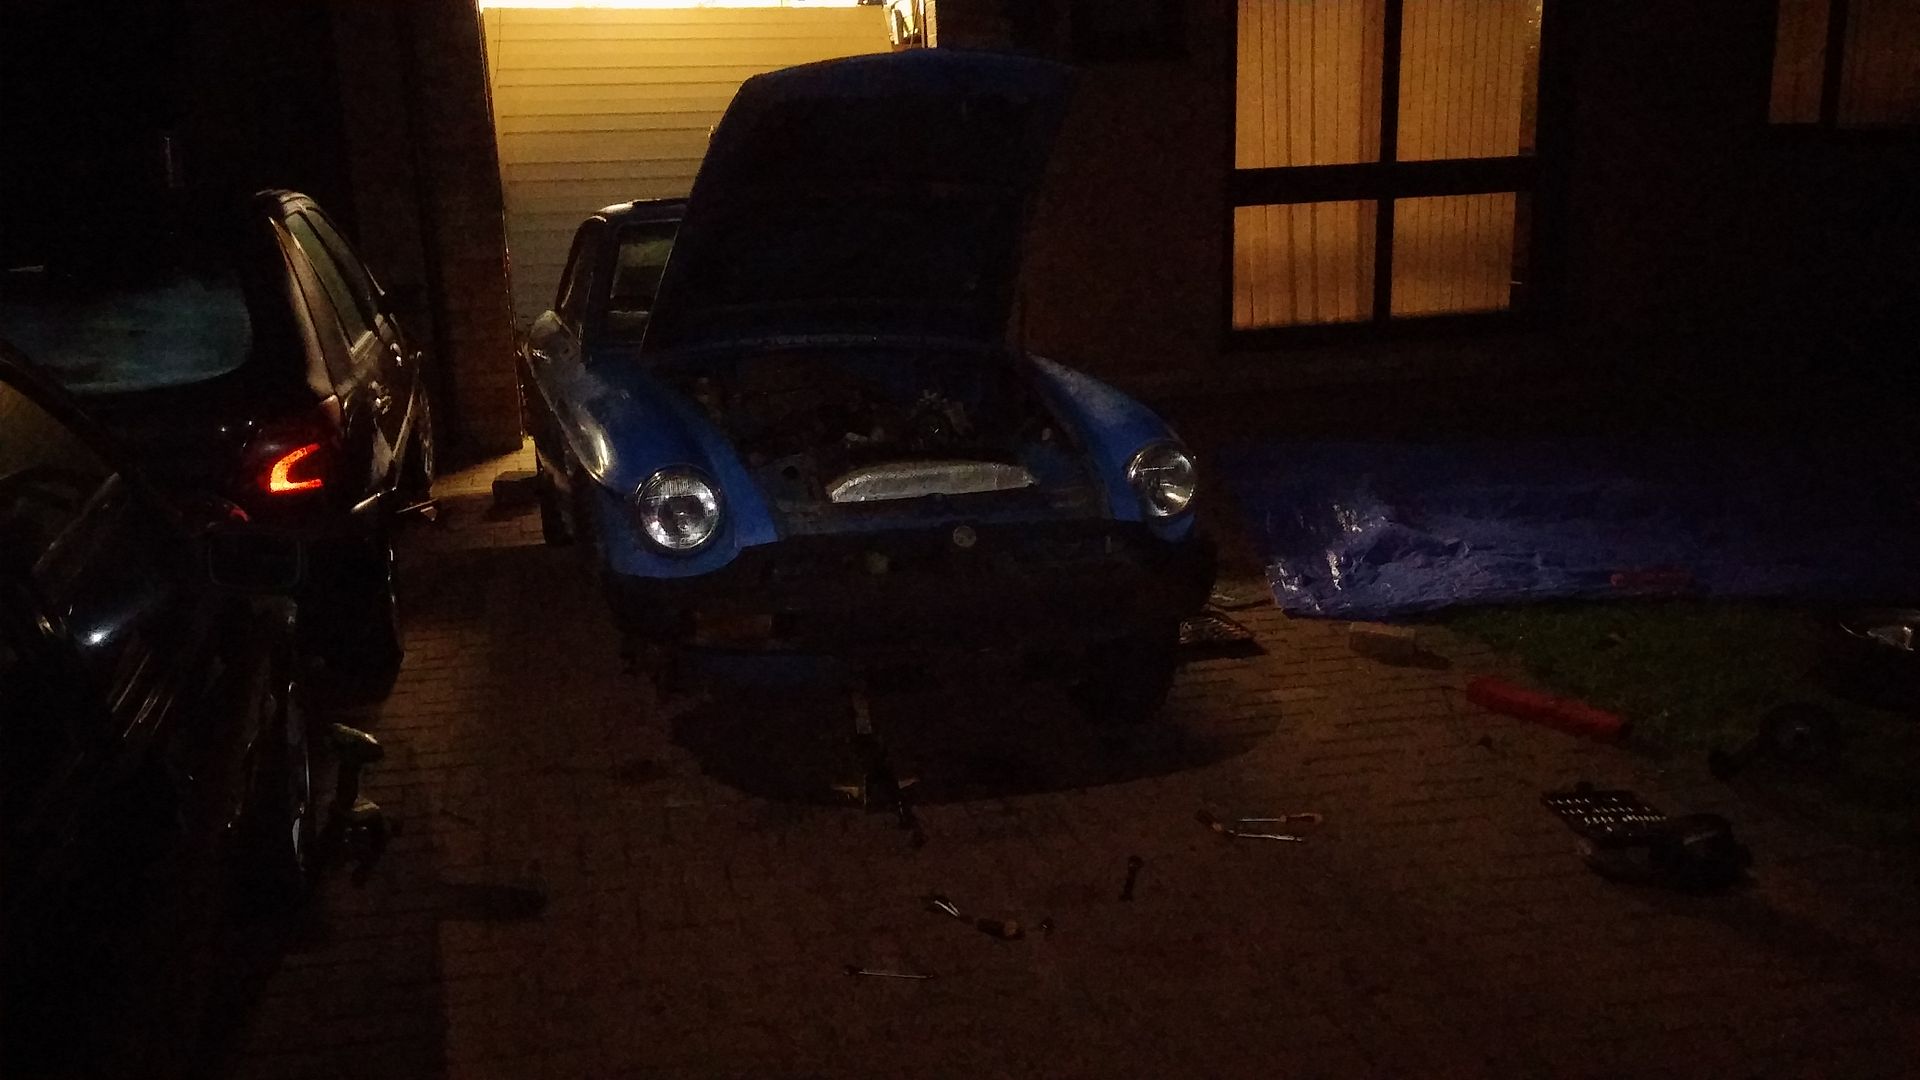 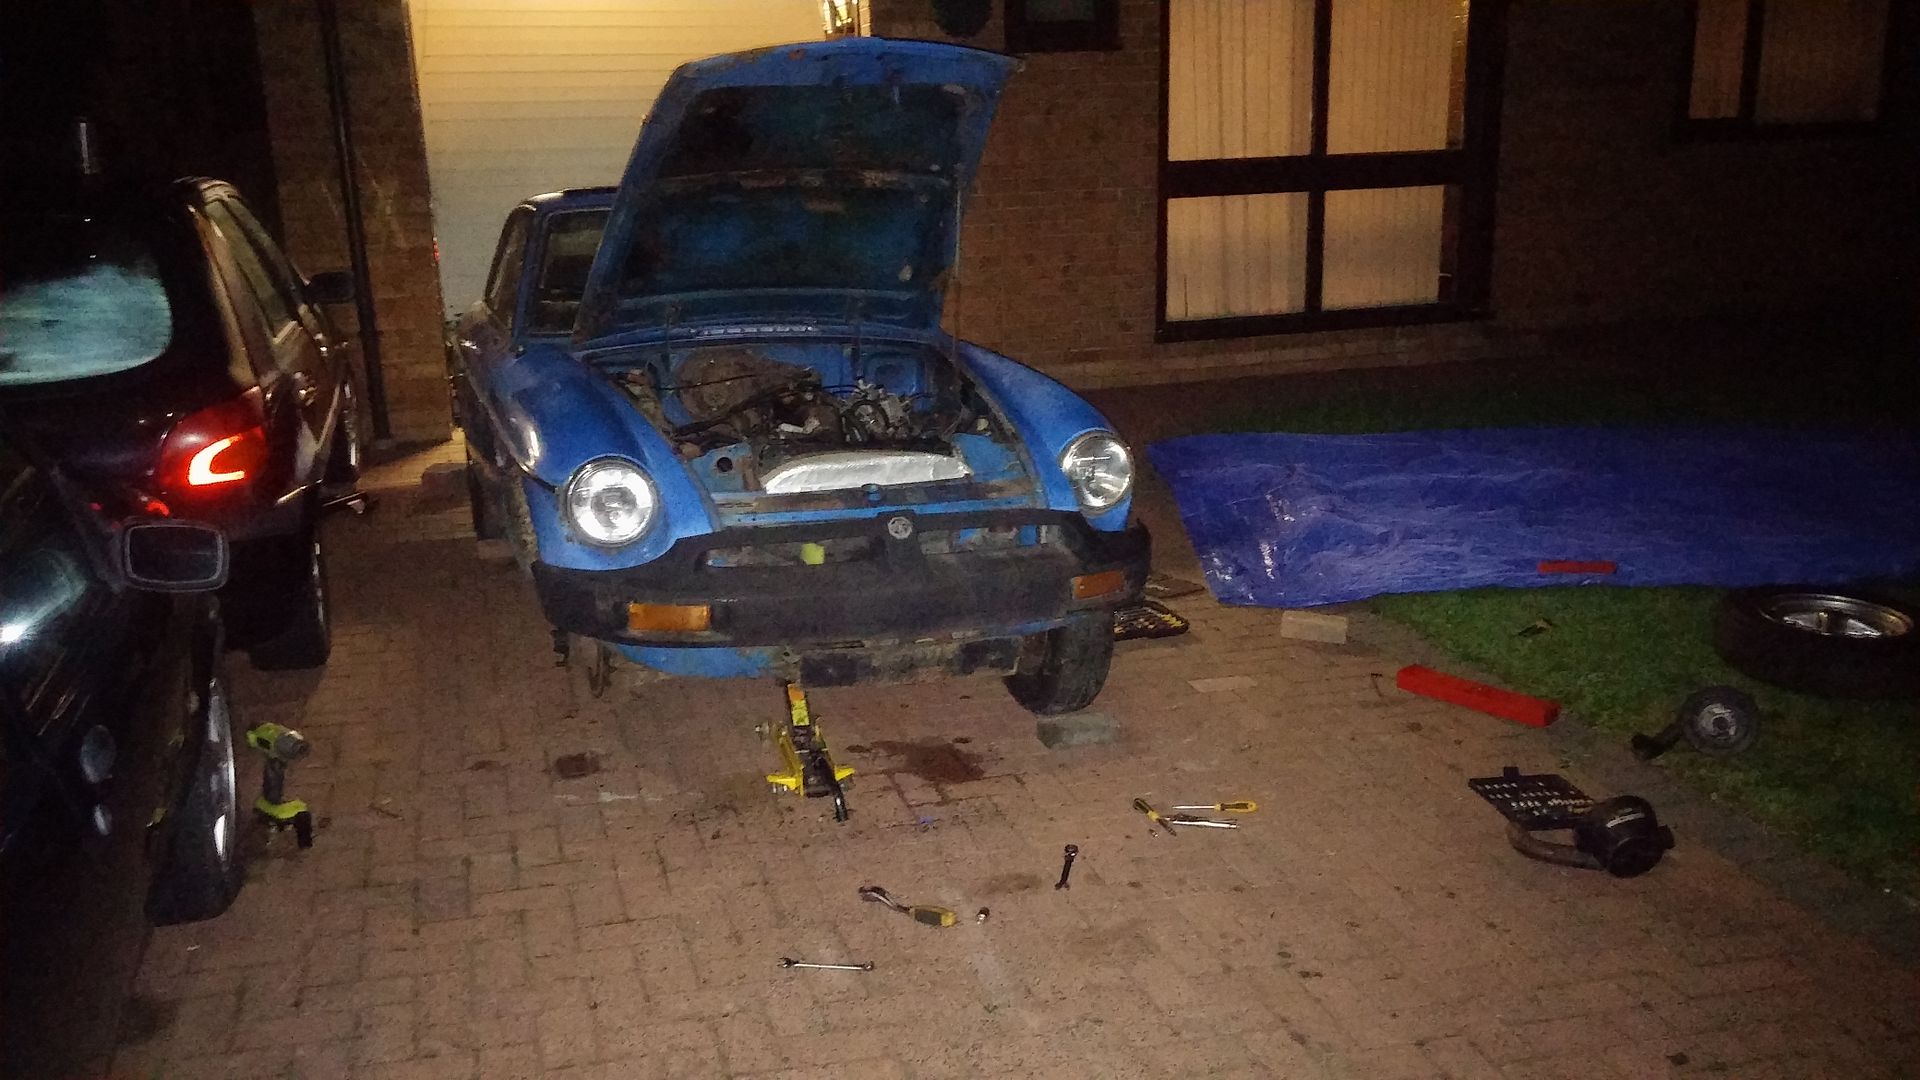 Then when i had the wheel off i decide to look at the drivers side sill and i don't think your supposed to be able to see inside the sill from the wheel arch 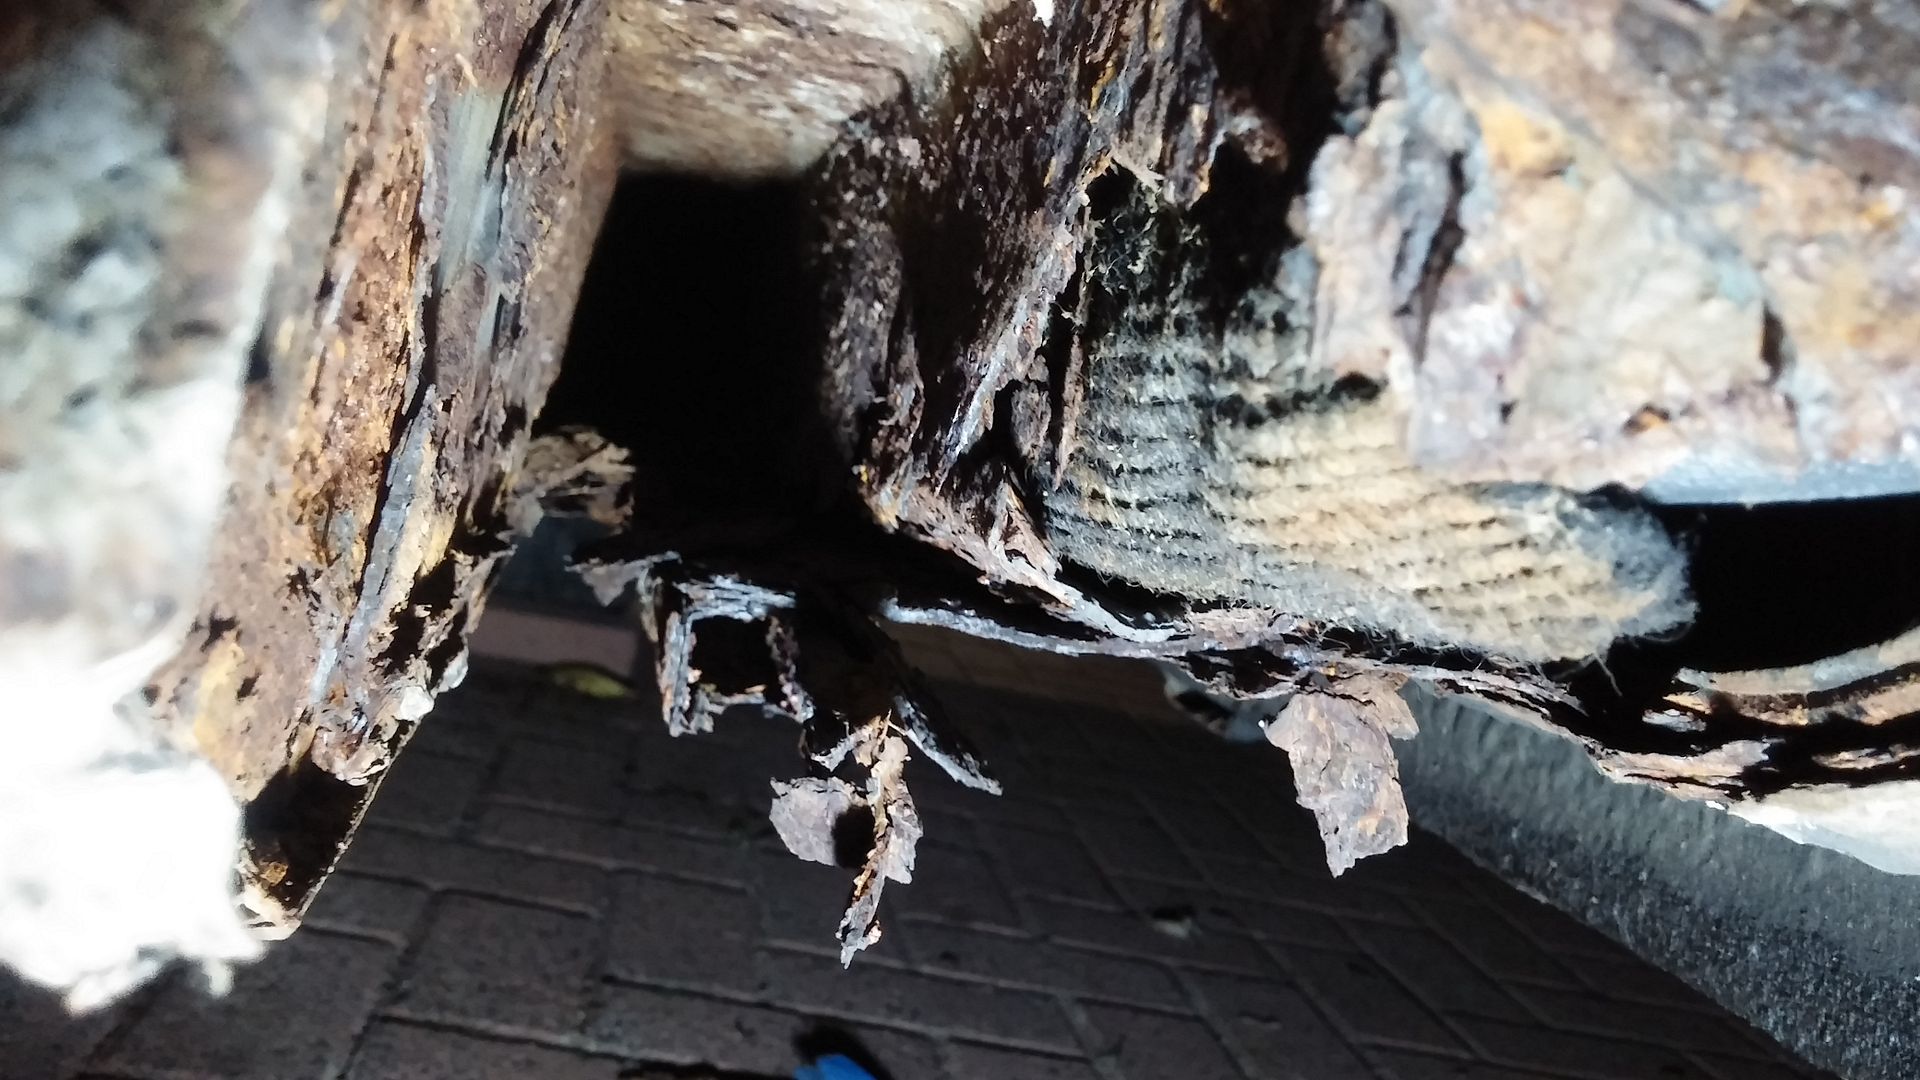  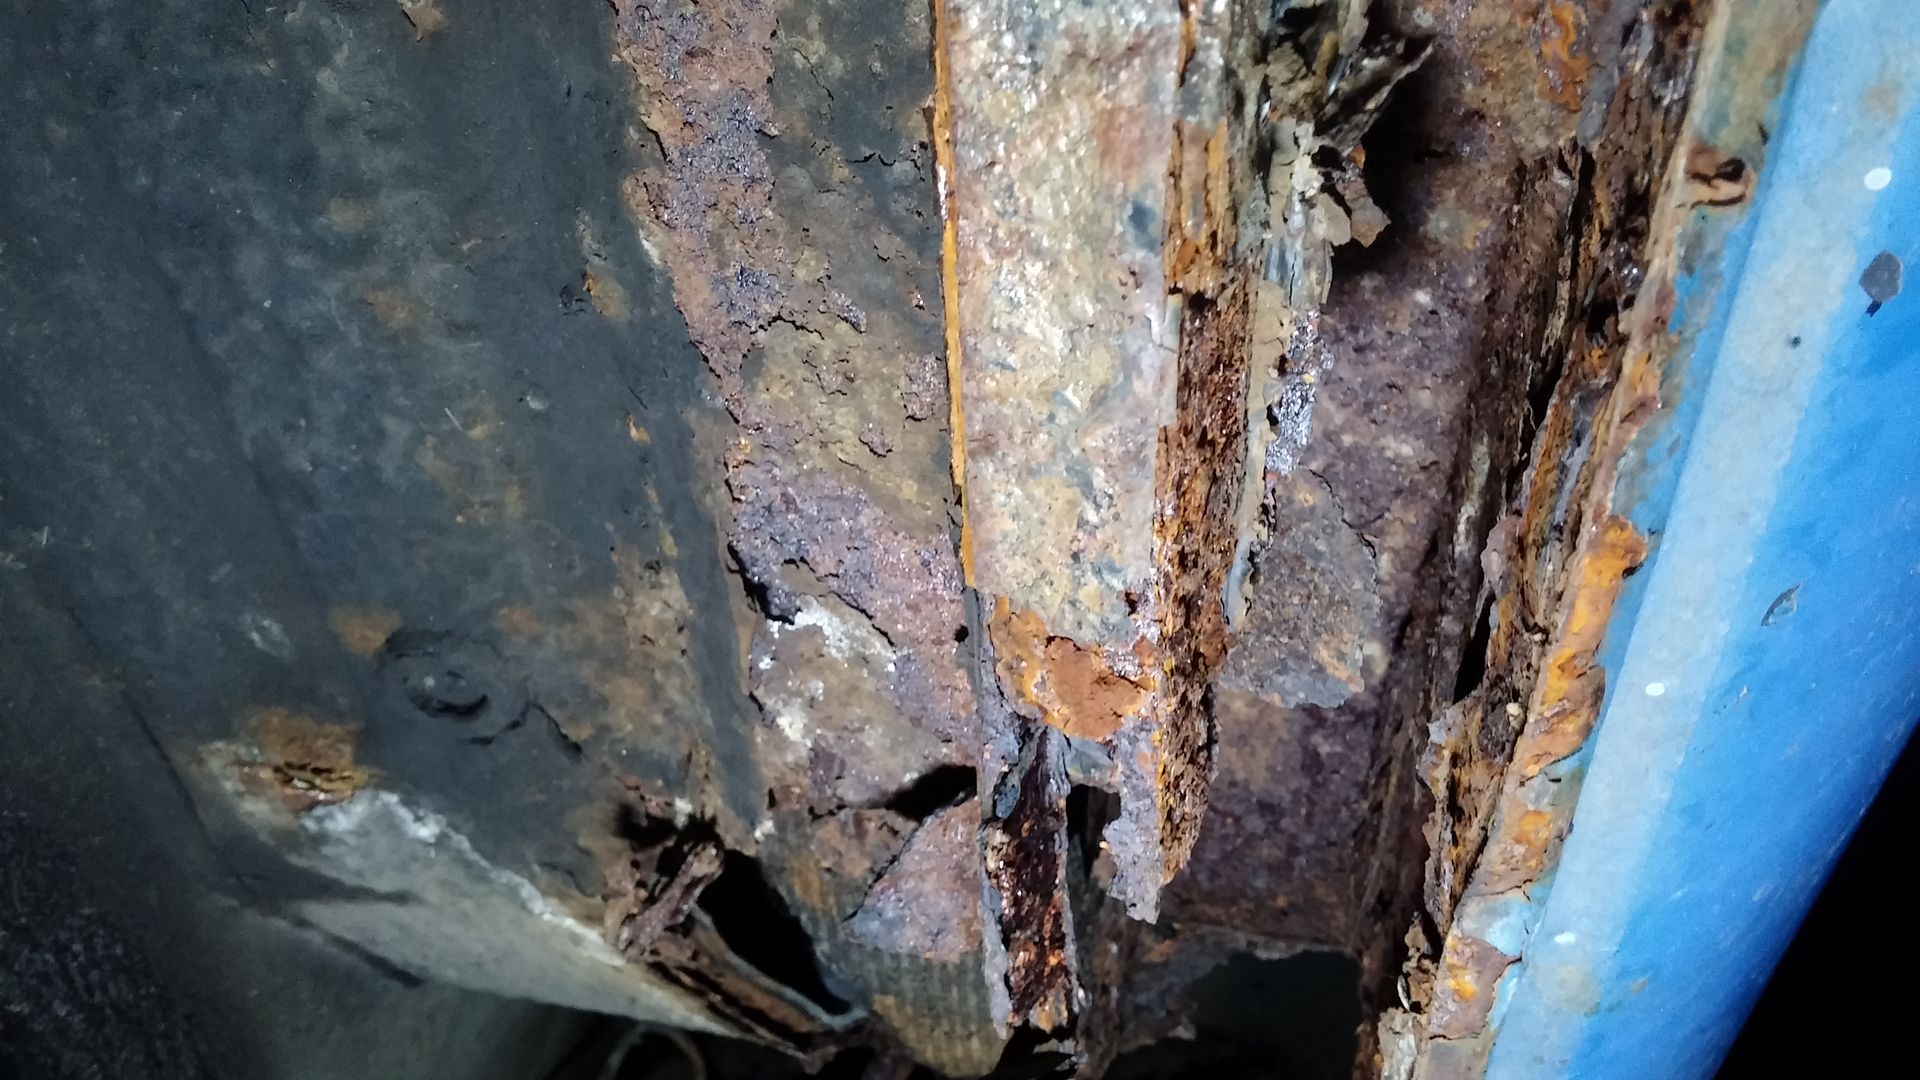 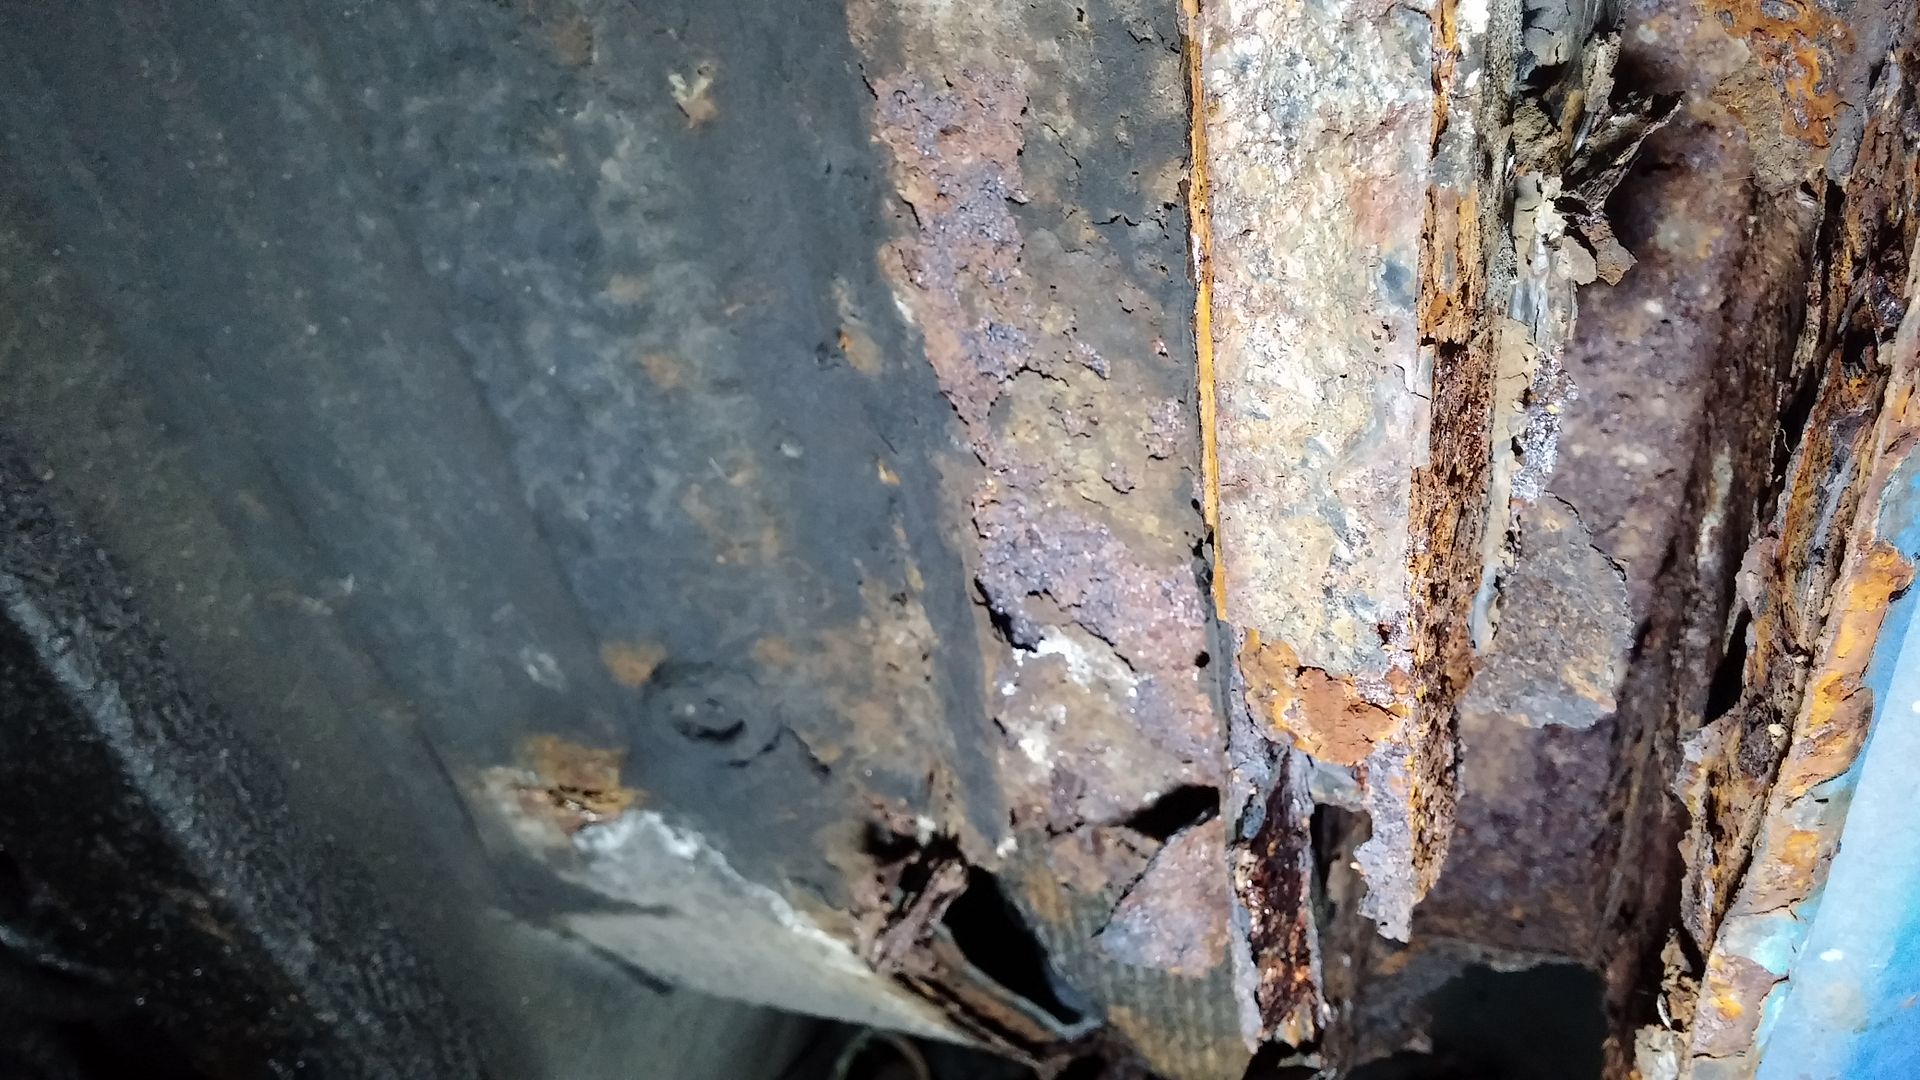 Mmmmm How lovely if you look on the first images you can see the drivers carpet yey  so not a great deal done unfortunately hopefully i can get the bumpers off tomorrow and get it sorted also does anyone know the thread bolt needed for an Su Carb airfilter bolt as i need some shorter ones for my trumpets. Cheers Alex |
| |
|
|
|
|
|
Oct 26, 2015 23:51:41 GMT
|
right then. The good news is that repairing a little bit of rust or a whole load of rust in an MGB is pretty much the same deal. Remember step #1 where you cut the square out of the front of the castle rail? Well mother nature has done that for you already. Not a big deal to make a patch panel to fill in whatever you need in the front of the foorwell. What does the rear wheel-tub looking in to the sills look like? And while you are there, take a picture of the rear spring mounts both front and at the shackles. Also, how are the main frame rails that run from under the car into the engine compartment? Another tip: If you ever get to needing to remove the rear rebound limiter straps, don't even dream of trying to undo the nut. You are going to snap the mounts off. Get a nut spliter and break the nut. The thing is a pain to fix after you snap it off. 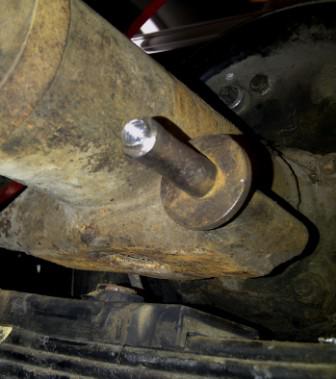  ![]() |
| |
Last Edit: Oct 26, 2015 23:58:46 GMT by bjornagn
|
|
Al3x
Part of things
Posts: 105
|
|
|
|
right then. The good news is that repairing a little bit of rust or a whole load of rust in an MGB is pretty much the same deal. Remember step #1 where you cut the square out of the front of the castle rail? Well mother nature has done that for you already. Not a big deal to make a patch panel to fill in whatever you need in the front of the foorwell. What does the rear wheel-tub looking in to the sills look like? And while you are there, take a picture of the rear spring mounts both front and at the shackles. Also, how are the main frame rails that run from under the car into the engine compartment? Another tip: If you ever get to needing to remove the rear rebound limiter straps, don't even dream of trying to undo the nut. You are going to snap the mounts off. Get a nut spliter and break the nut. The thing is a pain to fix after you snap it off. Thanks matey The frame rails look okay ill get some pics of them and also of the Rear wheel tub and the condition of the spring hangers and there mounts i really appreciate your help and the time you put into the posts its amazing mate thankyou Cheers Alex |
| |
Last Edit: Oct 27, 2015 1:00:31 GMT by Al3x
|
|
|
|
|
|
|
Guess I have a soft spot for MGB GTs. I restored this one way back in 1978 when I was about your age. The only panel in this picture that was not replaced is the roof panel. Still have the car.   |
| |
|
|
Al3x
Part of things
Posts: 105
|
|
|
|
Guess I have a soft spot for MGB GTs. I restored this one way back in 1978 when I was about your age. The only panel in this picture that was not replaced is the roof panel. Still have the car. Stunning Work mate thats gorgeous |
| |
|
|
Al3x
Part of things
Posts: 105
|
|
Oct 30, 2015 20:07:28 GMT
|
Well i thought i would try my latest addition on the car today with the intention of fitting it tomorrow i think it looks absloutley amazing and will match my new St style front spoiler perfectly i apologize for the poor photos was using my old phone  . 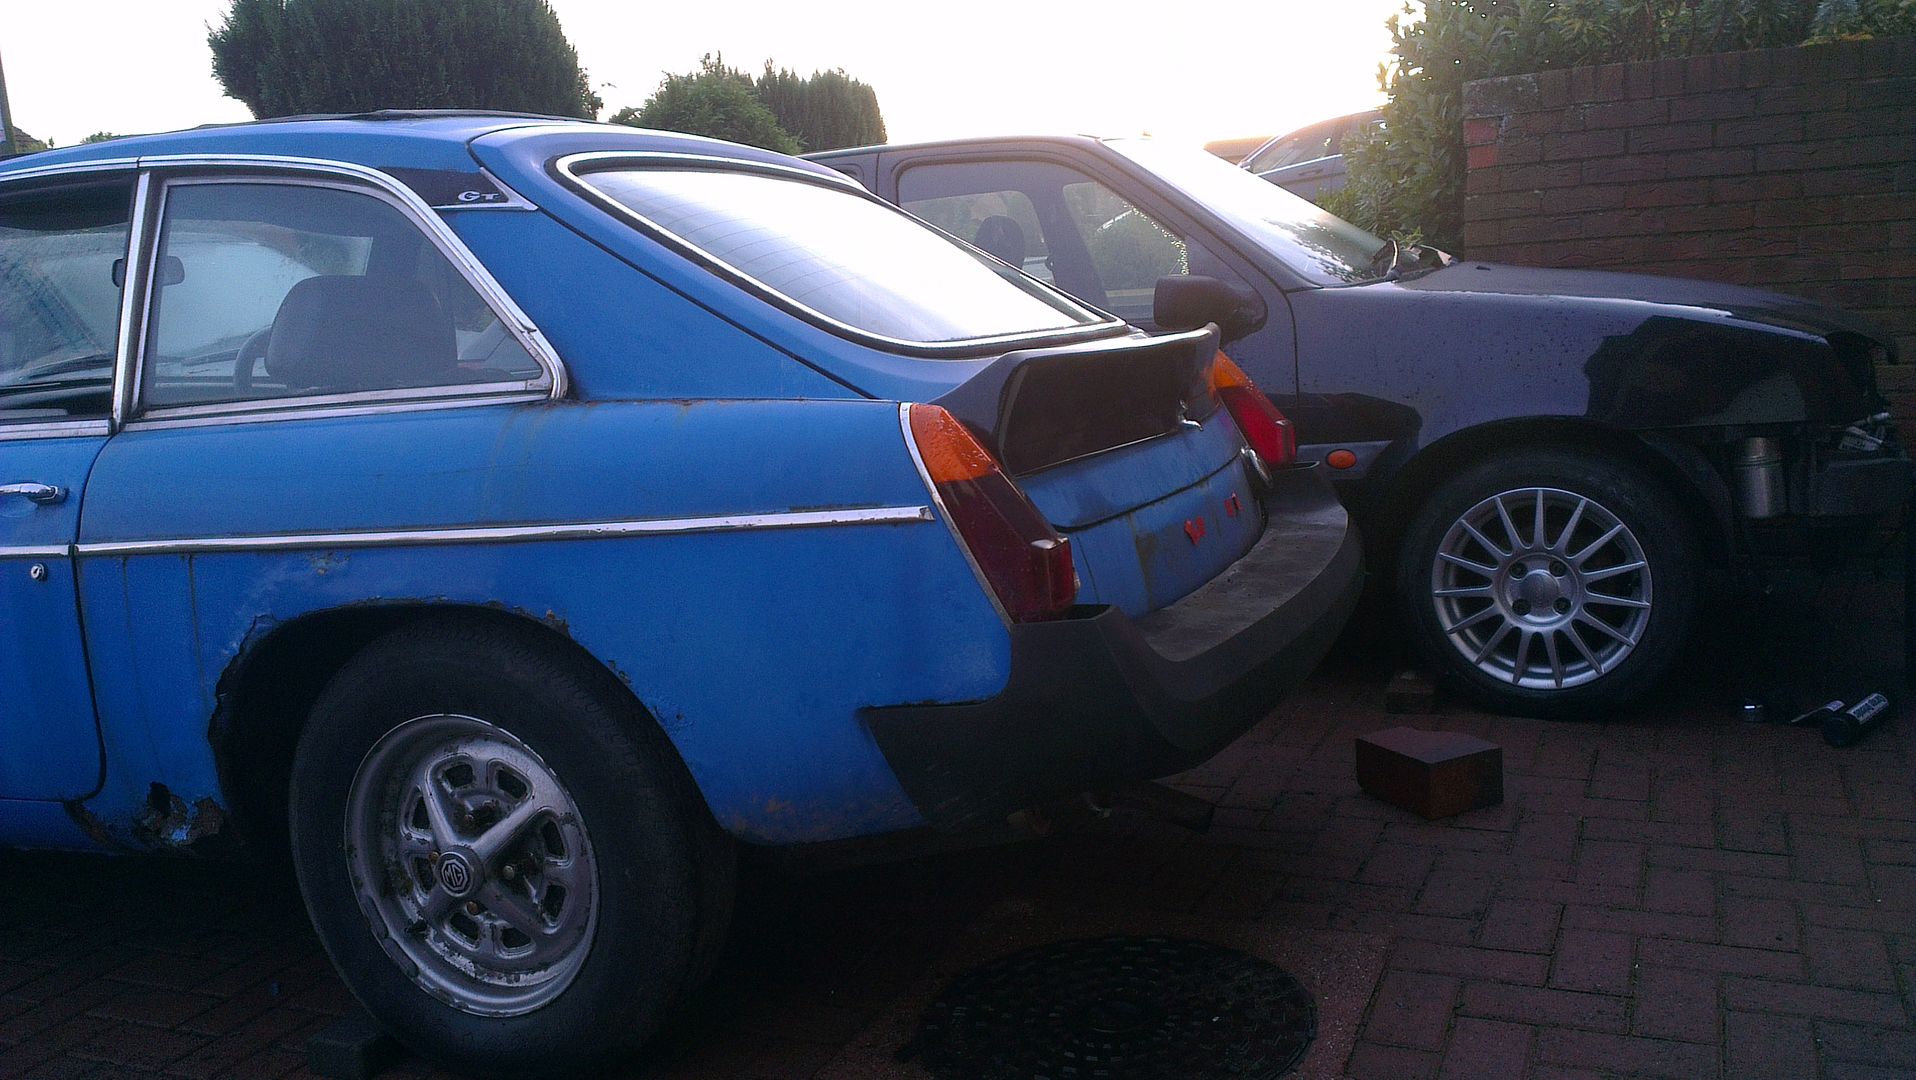 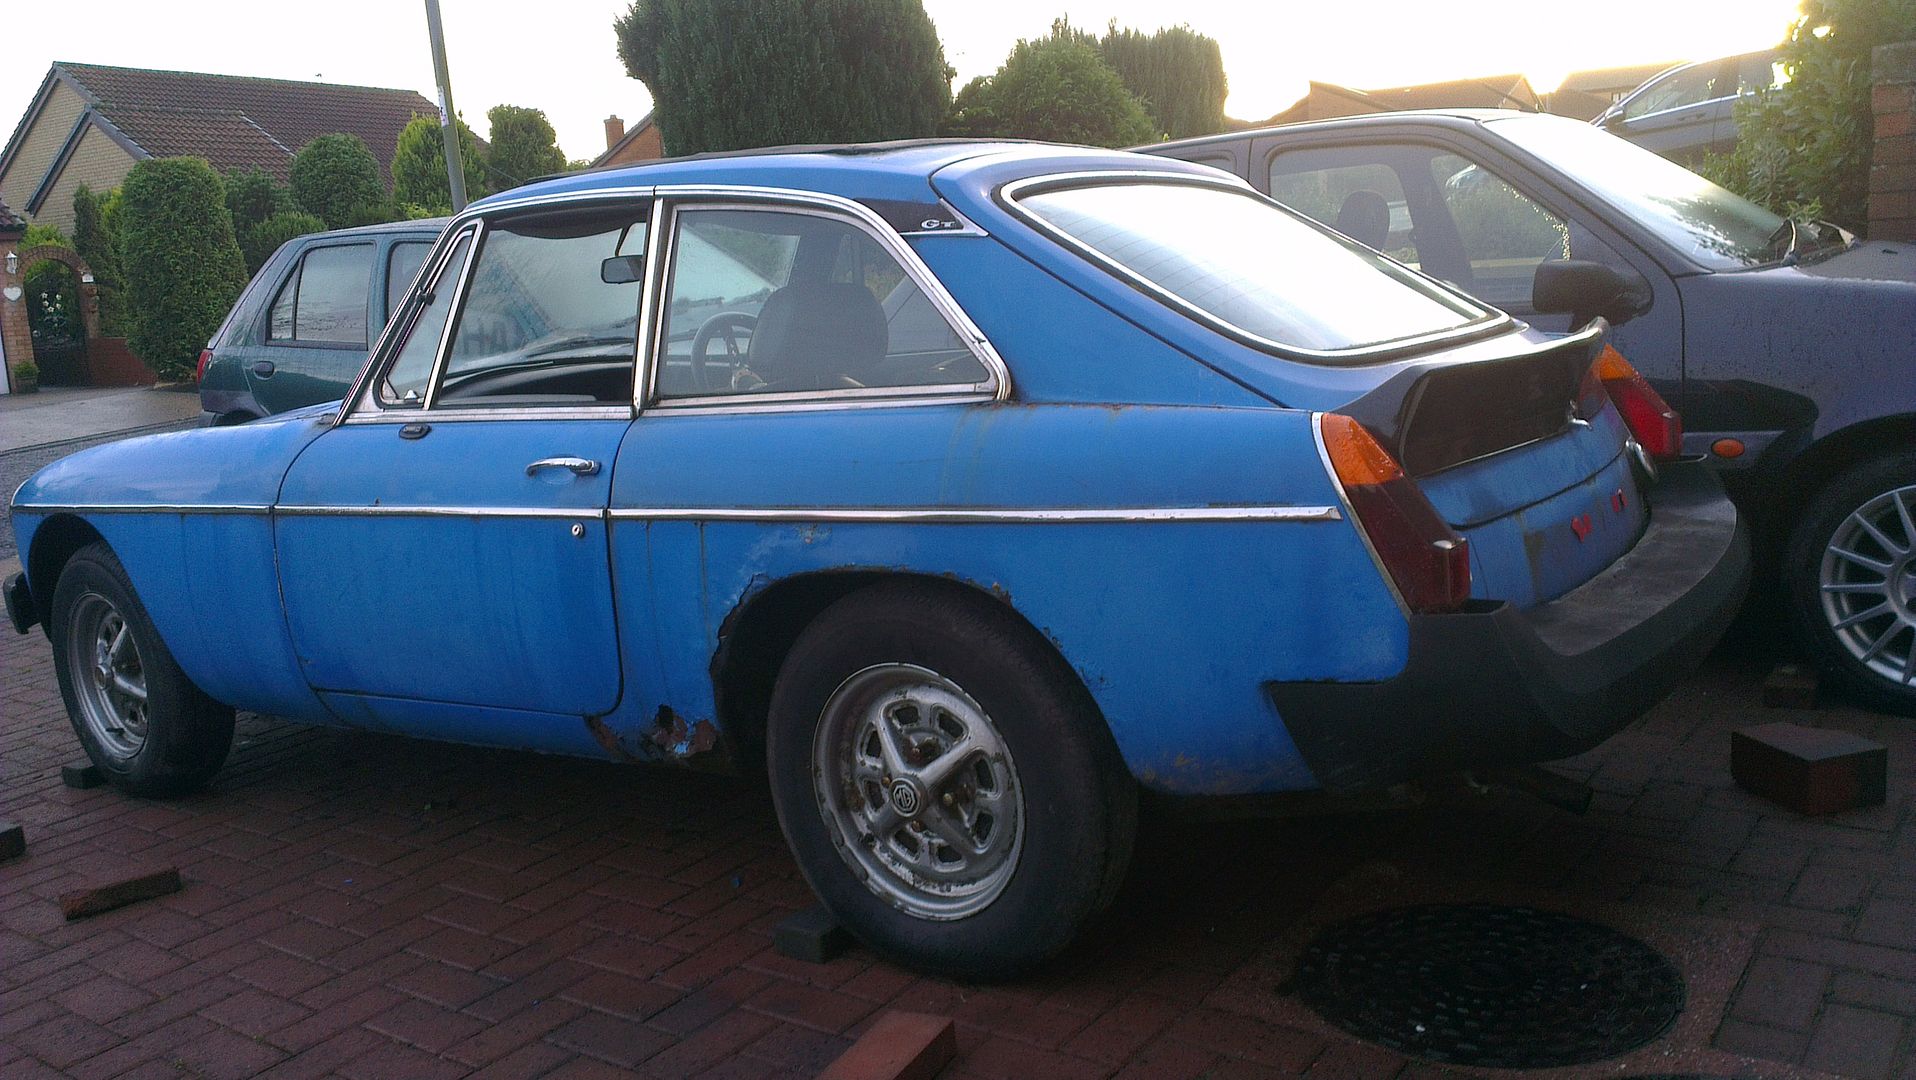 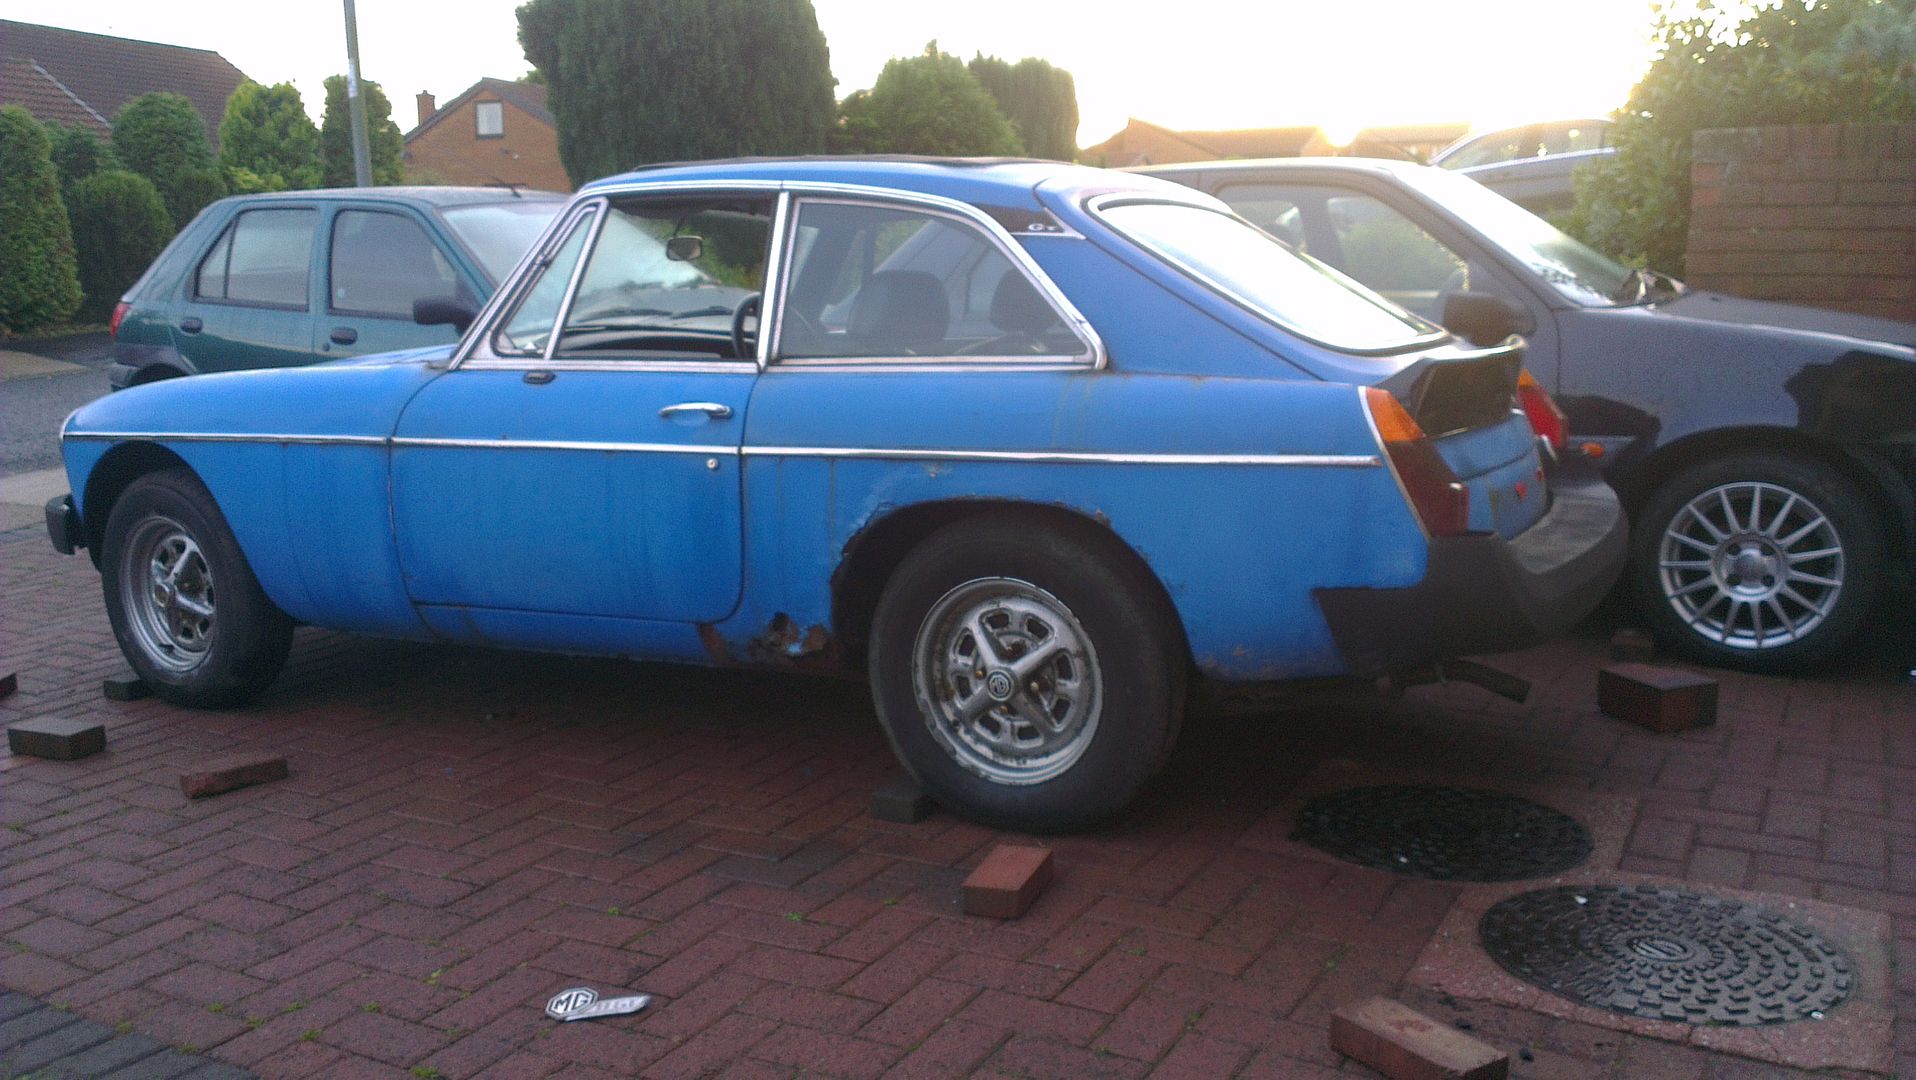 Cheers Alex |
| |
|
|
GoJo372
Part of things
www.gojoflocking.co.uk
Posts: 552
|
|
Oct 30, 2015 21:19:46 GMT
|
|
Which spoiler is that?
|
| |
|
|
Rich
Club Retro Rides Member
Posts: 6,234
Club RR Member Number: 160
|
Vanessa The 1979 MGB GT- Dat RustRich
@foxmcintyre
Club Retro Rides Member 160
|
Oct 30, 2015 21:24:32 GMT
|
Well i thought i would try my latest addition on the car today with the intention of fitting it tomorrow i think it looks absloutley amazing and will match my new St style front spoiler perfectly i apologize for the poor photos was using my old phone . Cheers Alex I look forward to seeing the ST spoiler fitted, I don't ever recall actually seeing one fitting and noticing it if that makes sense. Mine is an LE rubber bumper one. It had a horribly botched glass fibre one on when we bought it but I replaced it with a ABS plastic one which stands up to knocks and scrapes better. Mgb GT touring car (style) spoiler, I have one on mine as well. |
| |
|
|
Rich
Club Retro Rides Member
Posts: 6,234
Club RR Member Number: 160
|
Vanessa The 1979 MGB GT- Dat RustRich
@foxmcintyre
Club Retro Rides Member 160
|
Oct 30, 2015 21:25:35 GMT
|
Well i thought i would try my latest addition on the car today with the intention of fitting it tomorrow i think it looks absloutley amazing and will match my new St style front spoiler perfectly i apologize for the poor photos was using my old phone . Cheers Alex I look forward to seeing the ST spoiler fitted, I don't ever recall actually seeing one fitting and noticing it if that makes sense. Mine is an LE rubber bumper one. It had a horribly botched glass fibre one on when we bought it but I replaced it with a ABS plastic one which stands up to knocks and scrapes better. Mgb GT touring car (style) spoiler, I have one on mine as well. |
| |
|
|
|
|


 so not a great deal done unfortunately hopefully i can get the bumpers off tomorrow and get it sorted also does anyone know the thread bolt needed for an Su Carb airfilter bolt as i need some shorter ones for my trumpets.
 .
.


