Update time!
So having proved I should never have opened the puzzle box (though at least all that had happened was nothing fitted rather than I'd summoned up a load of Cenobites to drag me down to Hell with chains and hooks) I felt maybe it was time to do something easy. A small victory can perk you up a bit. With this in mind, and sulking a bit, I splurged on some uber-expensive but extremely sexy fasteners from Pro Bolt
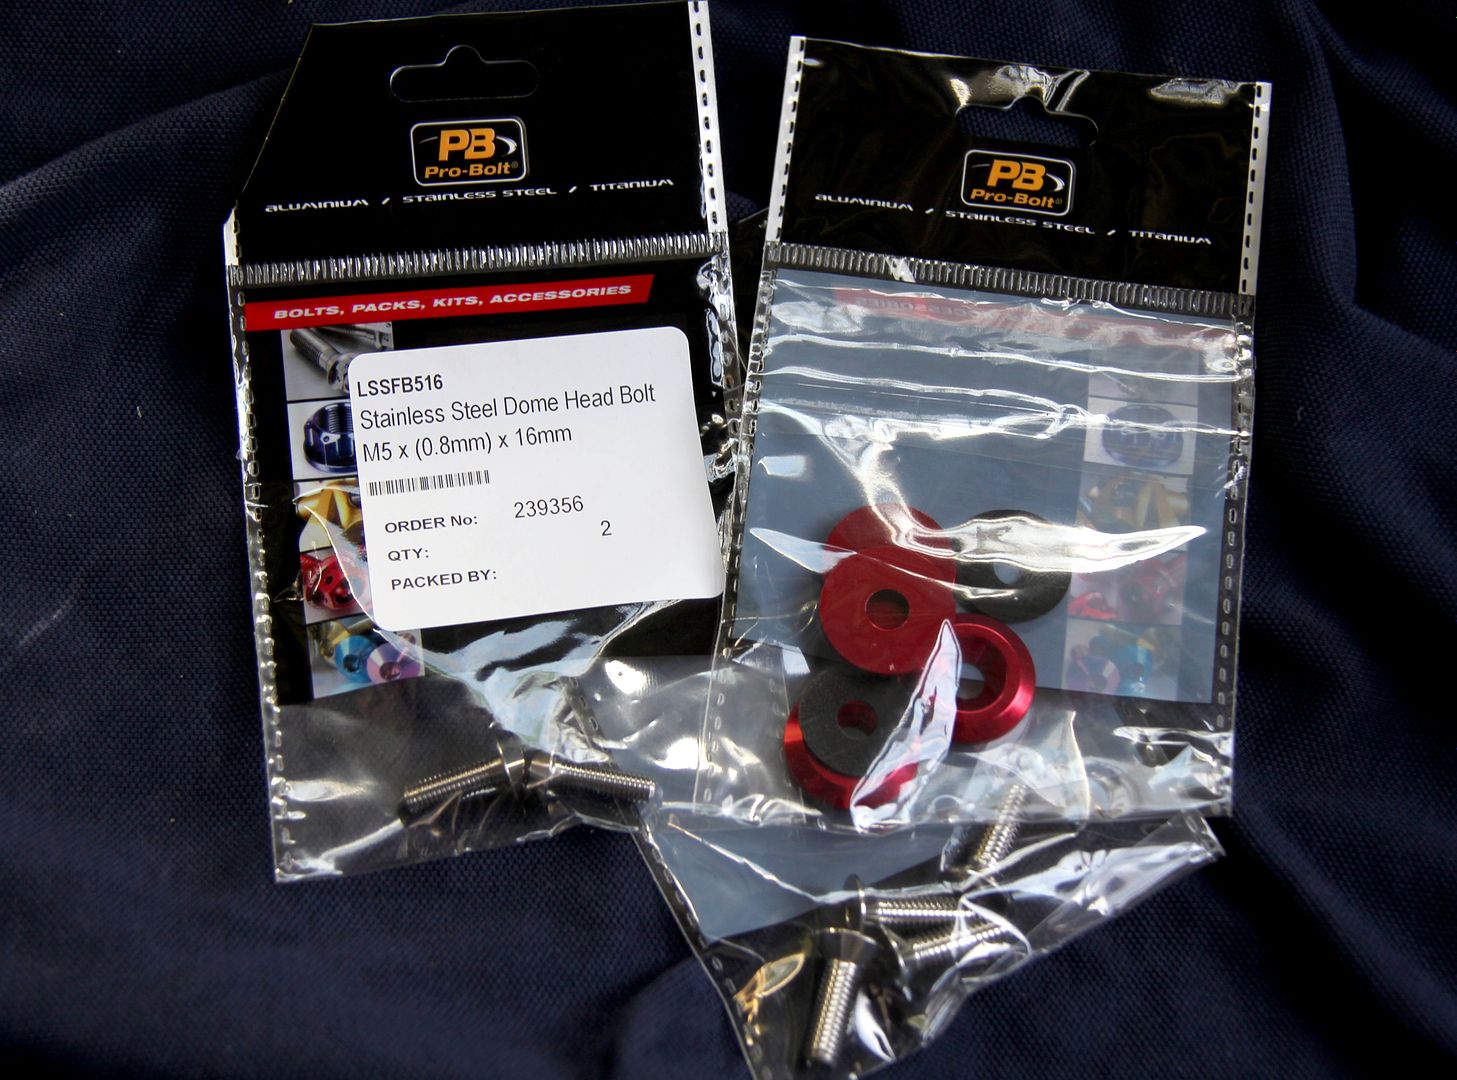
...and used some of them to re-mount the front fusebox
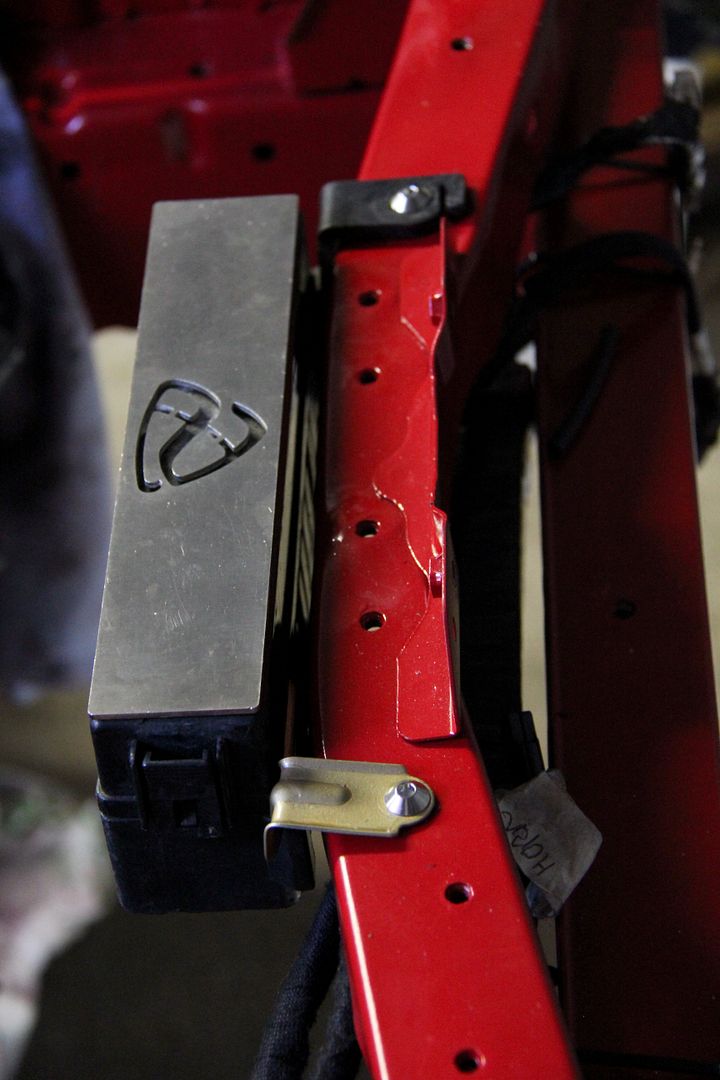
Exciting, huh? Like I said,
small victories. Next up...
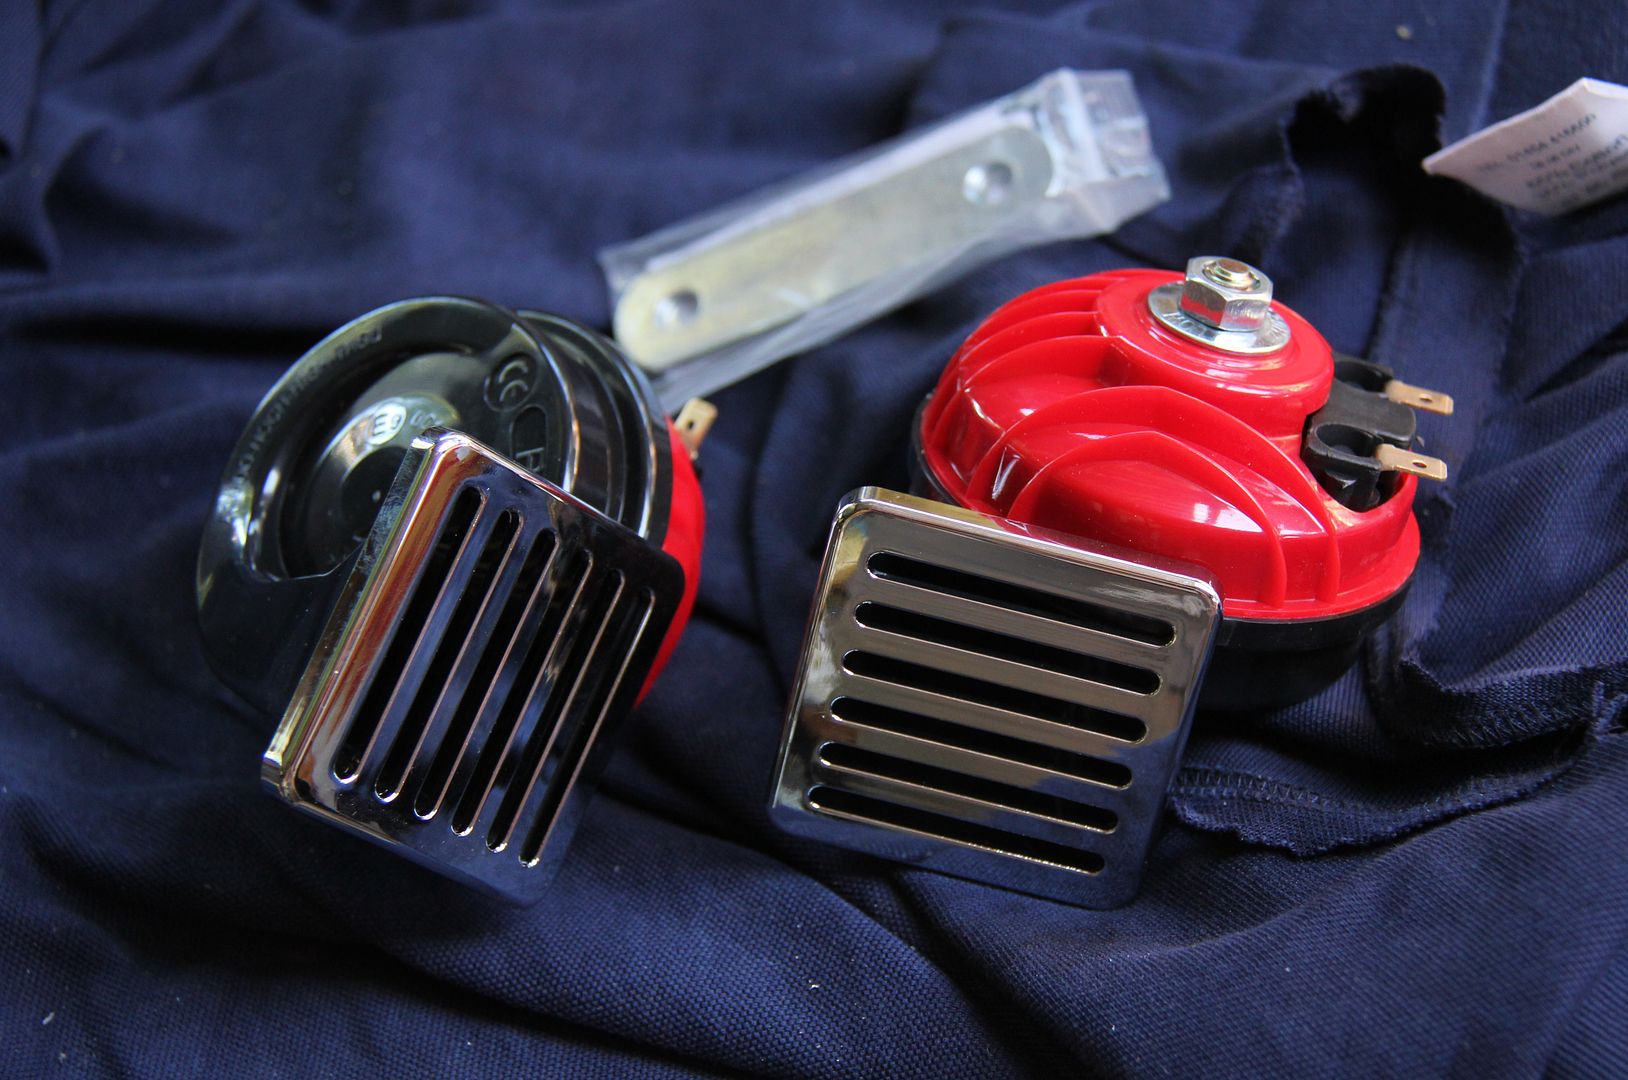
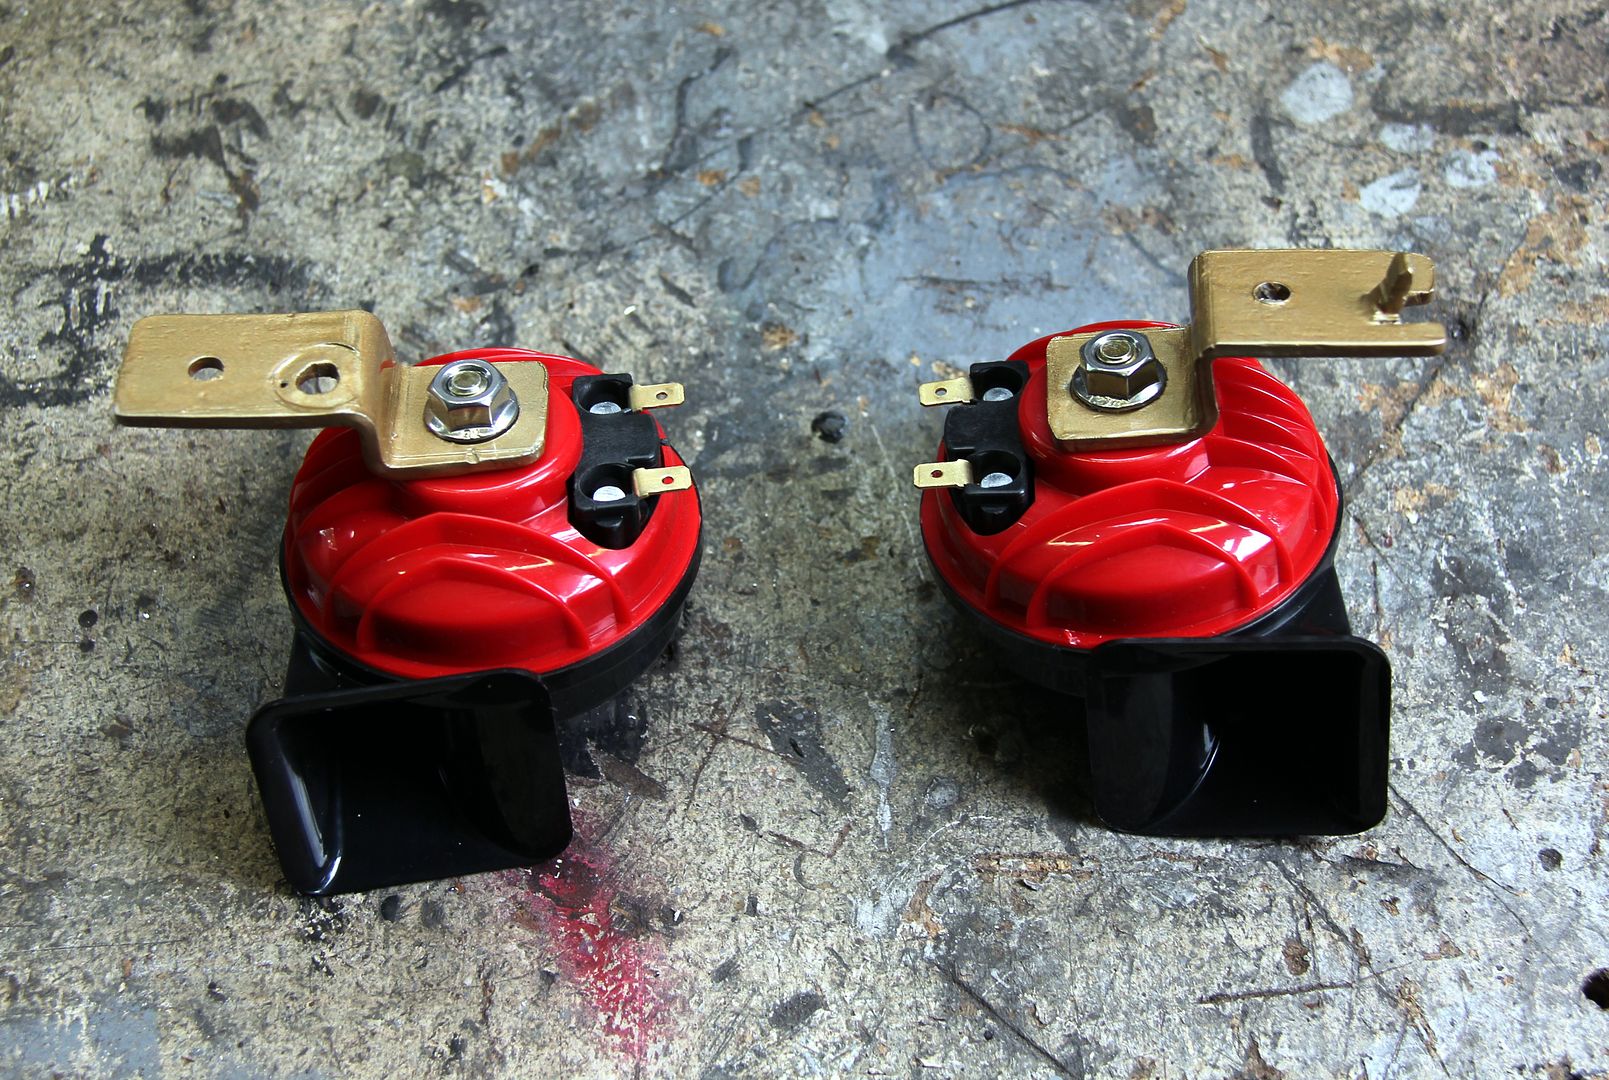
Horns! The stock FD horns are about as feeble as a mouse farting in a bean tin, even when one of them hasn't mysteriously ejected itself from the car, so these ought to pep things up a bit. I rode a bike for decades, I hate not having a loud horn and a loud exhaust. It's a survival instinct.
First thing to go was the gash chromed plastic grille things. Some simple brackets were knocked up from a thick offcut of ally. About 5mm thick, in fact. Which might be overkill, but it was a lot better than the micron-thin flexi eezee-rust tat that came with the horns and I'd like these to survive a bit longer than the original one did
and given a lick of JRG
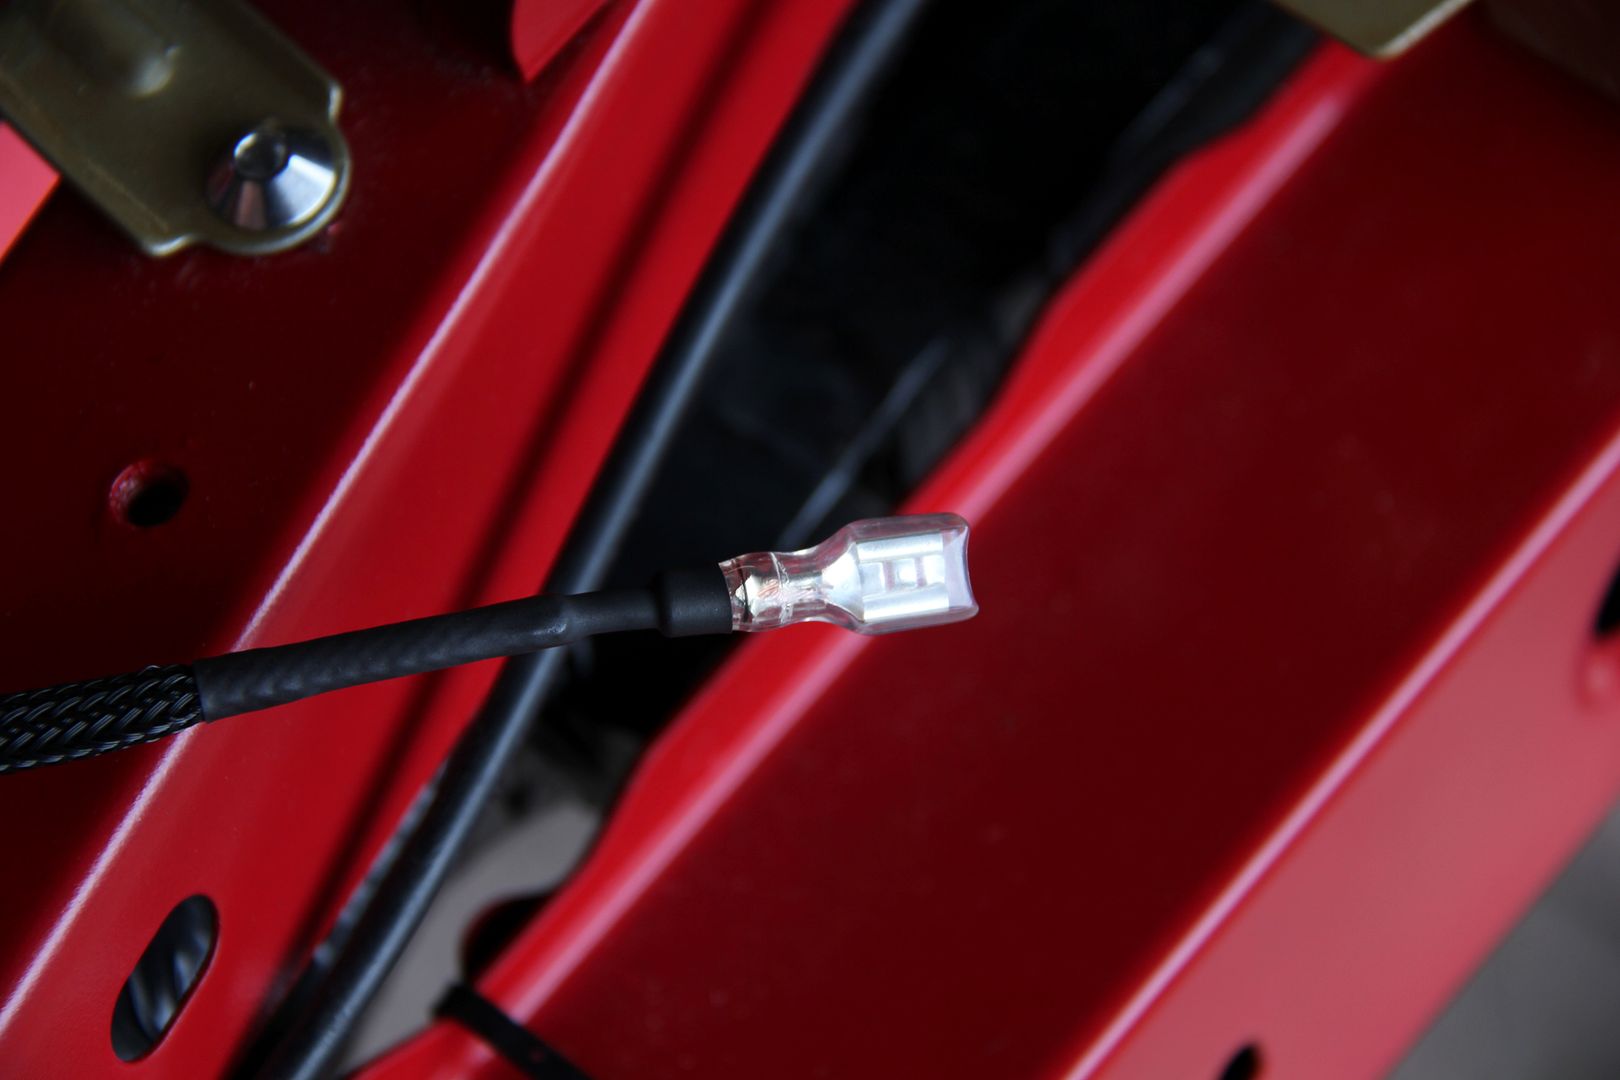
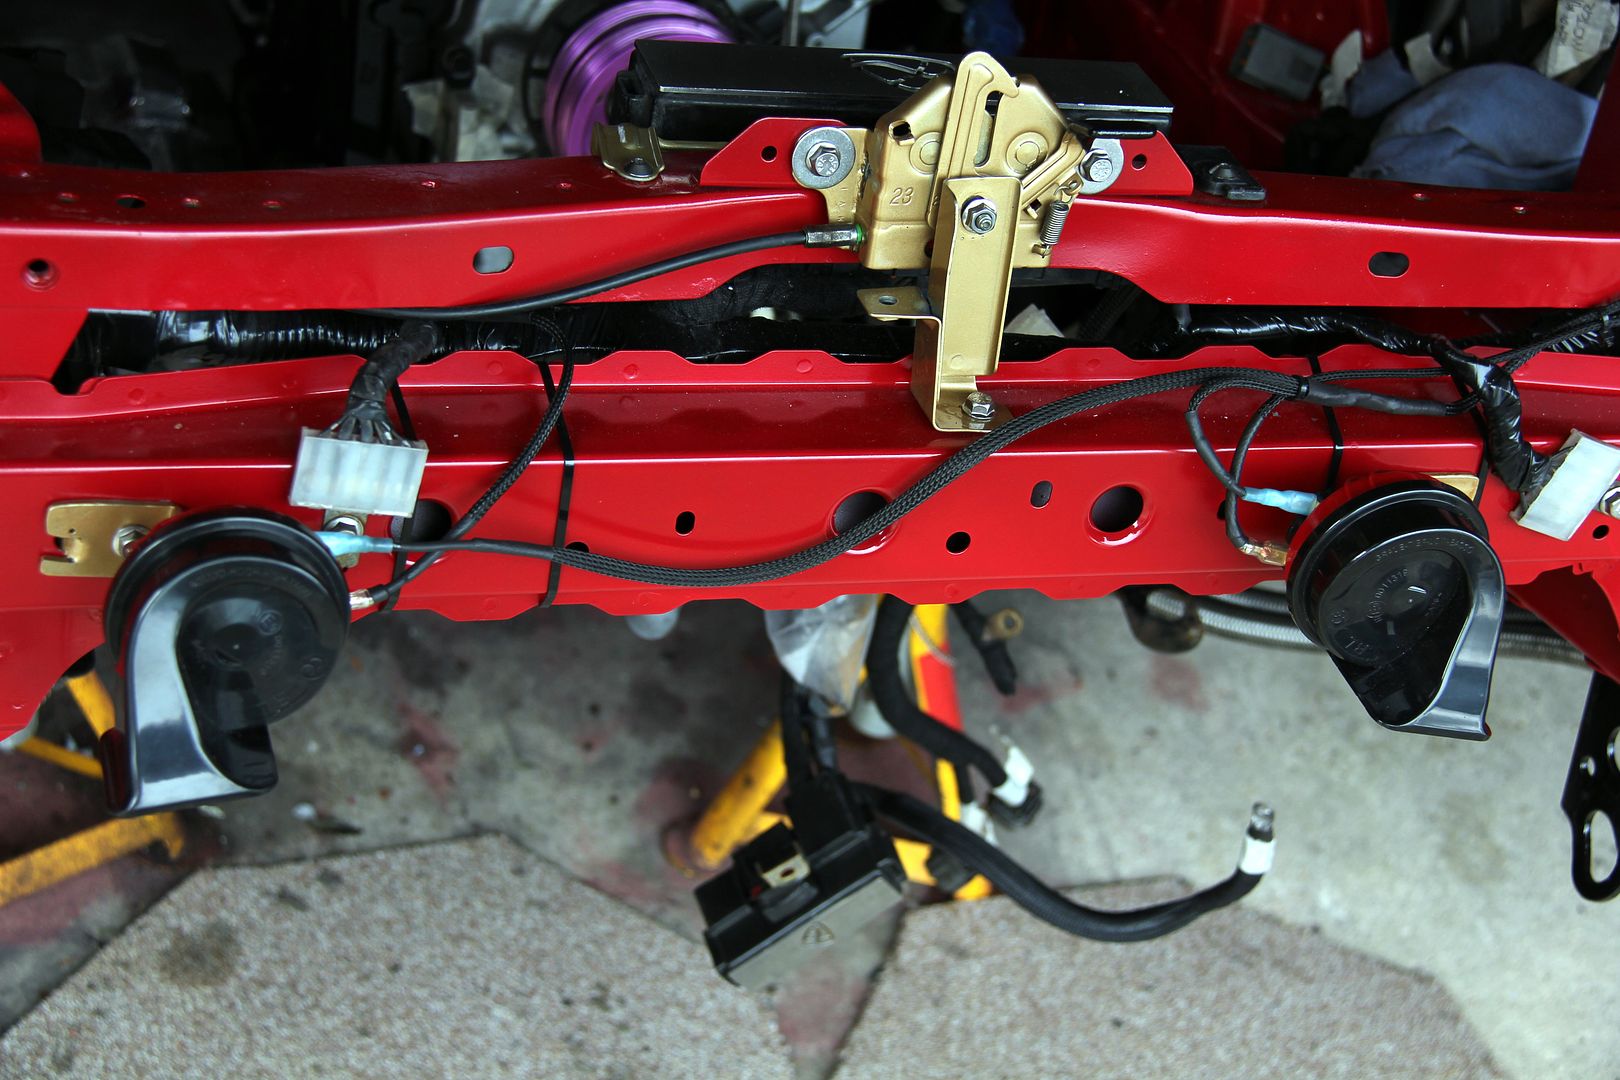
I decided to mount both of them on the front cross-member in the aperture left behind the bumper. There's no rebar on the car, so plenty of space and thus no reason to mount one down in the line of spray and crud like they are as OE. Or at least, mine
used to be before it suicided. The wiring needed extending but I was starting to get passably good at wiring shiz by now
And bosh! Horns done. And the bonnet clip re-mounted
I also took on some tedious but necessary little jobs around this time... the sort of snagging-list stuff that you don't
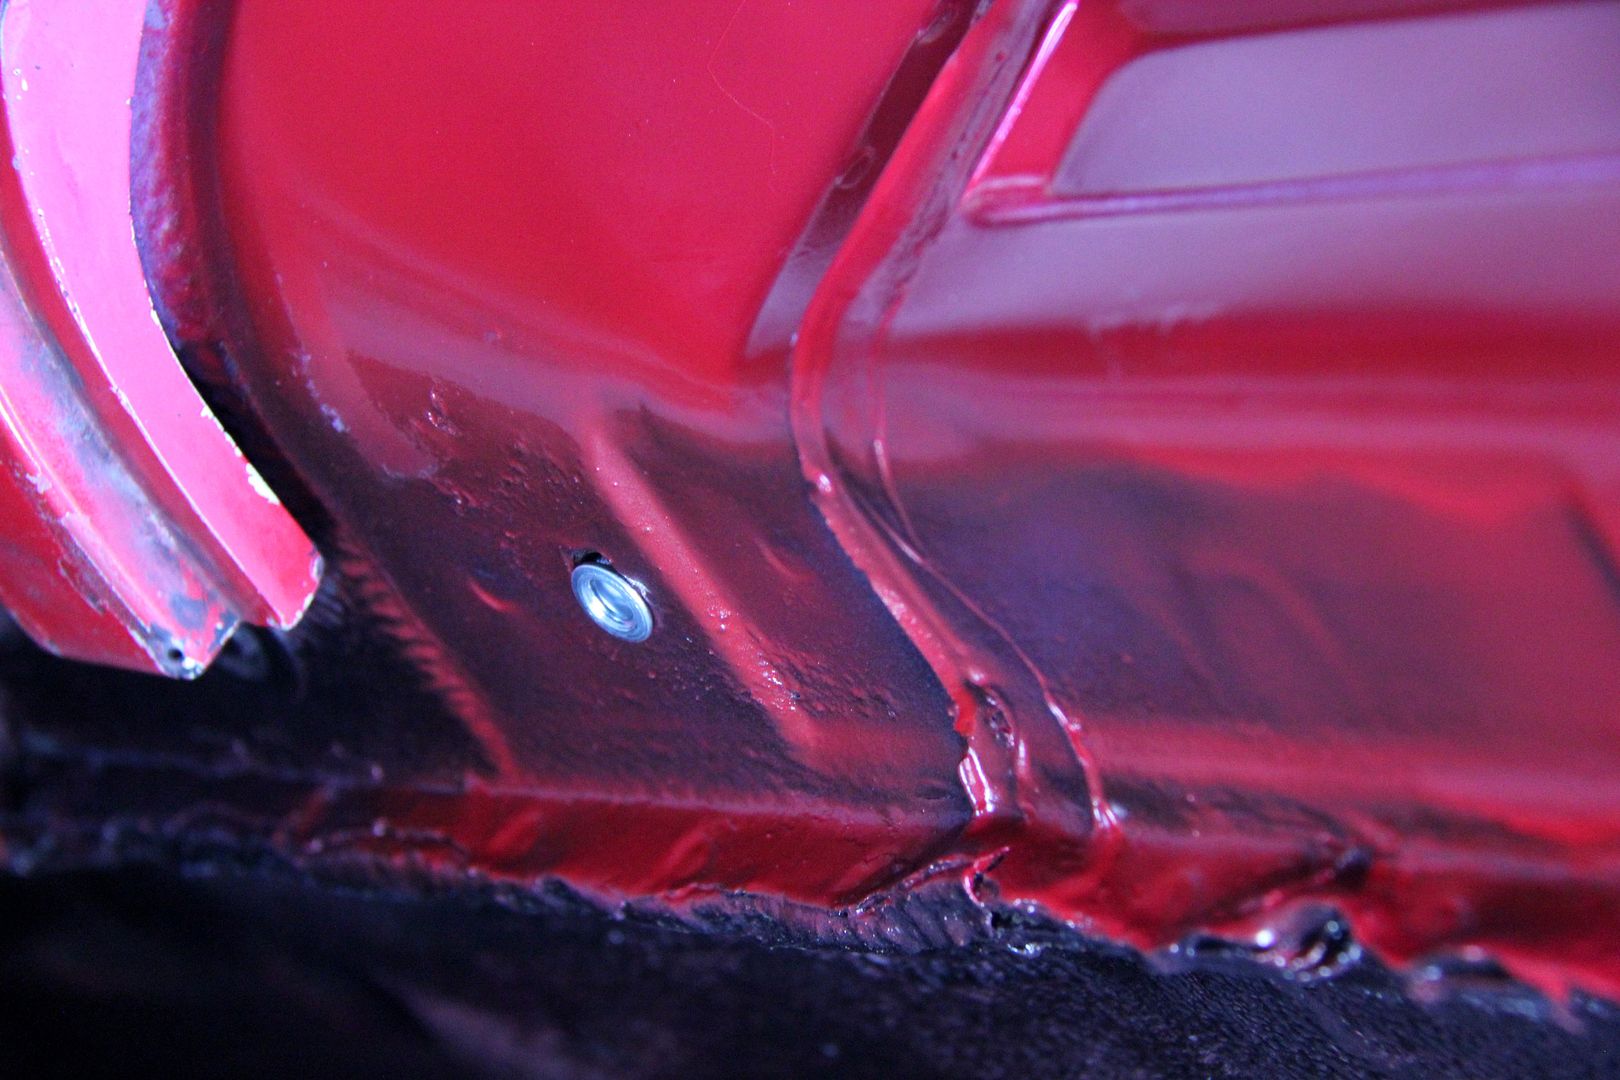
want to do because it's hardly glamorous, it's often annoying or fiddly and at the end you don't look like you've achieved much but without doing them you can't get done. Such as having to enlist the help of a big G-clamp in order to get enough mechanical advantage to pull awkwardly-placed stainless rivnuts
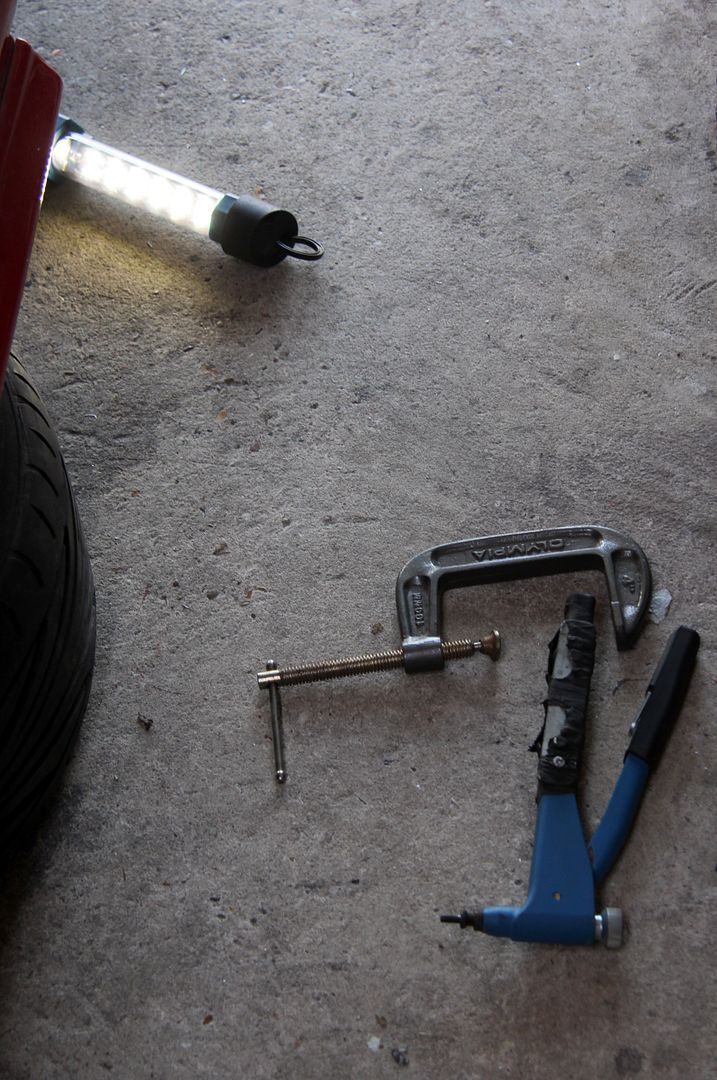
By the time the clamp's slipped off the side of the tool handle eight times and dropped into your face while you're lying upside-down on cold. damp concrete, this job has most definitely lost its charm. However, since I'm not possessed of wrists like Mighty Joe Young at the world onanism championships, there was no other means immediately obvious.
Eventually bloody-mindedness triumphed over adversity and the hole I'd had to drill (remember? The drillbit-untwisting hole where the snapped bolt for the wing had been?) now featured a thread once again
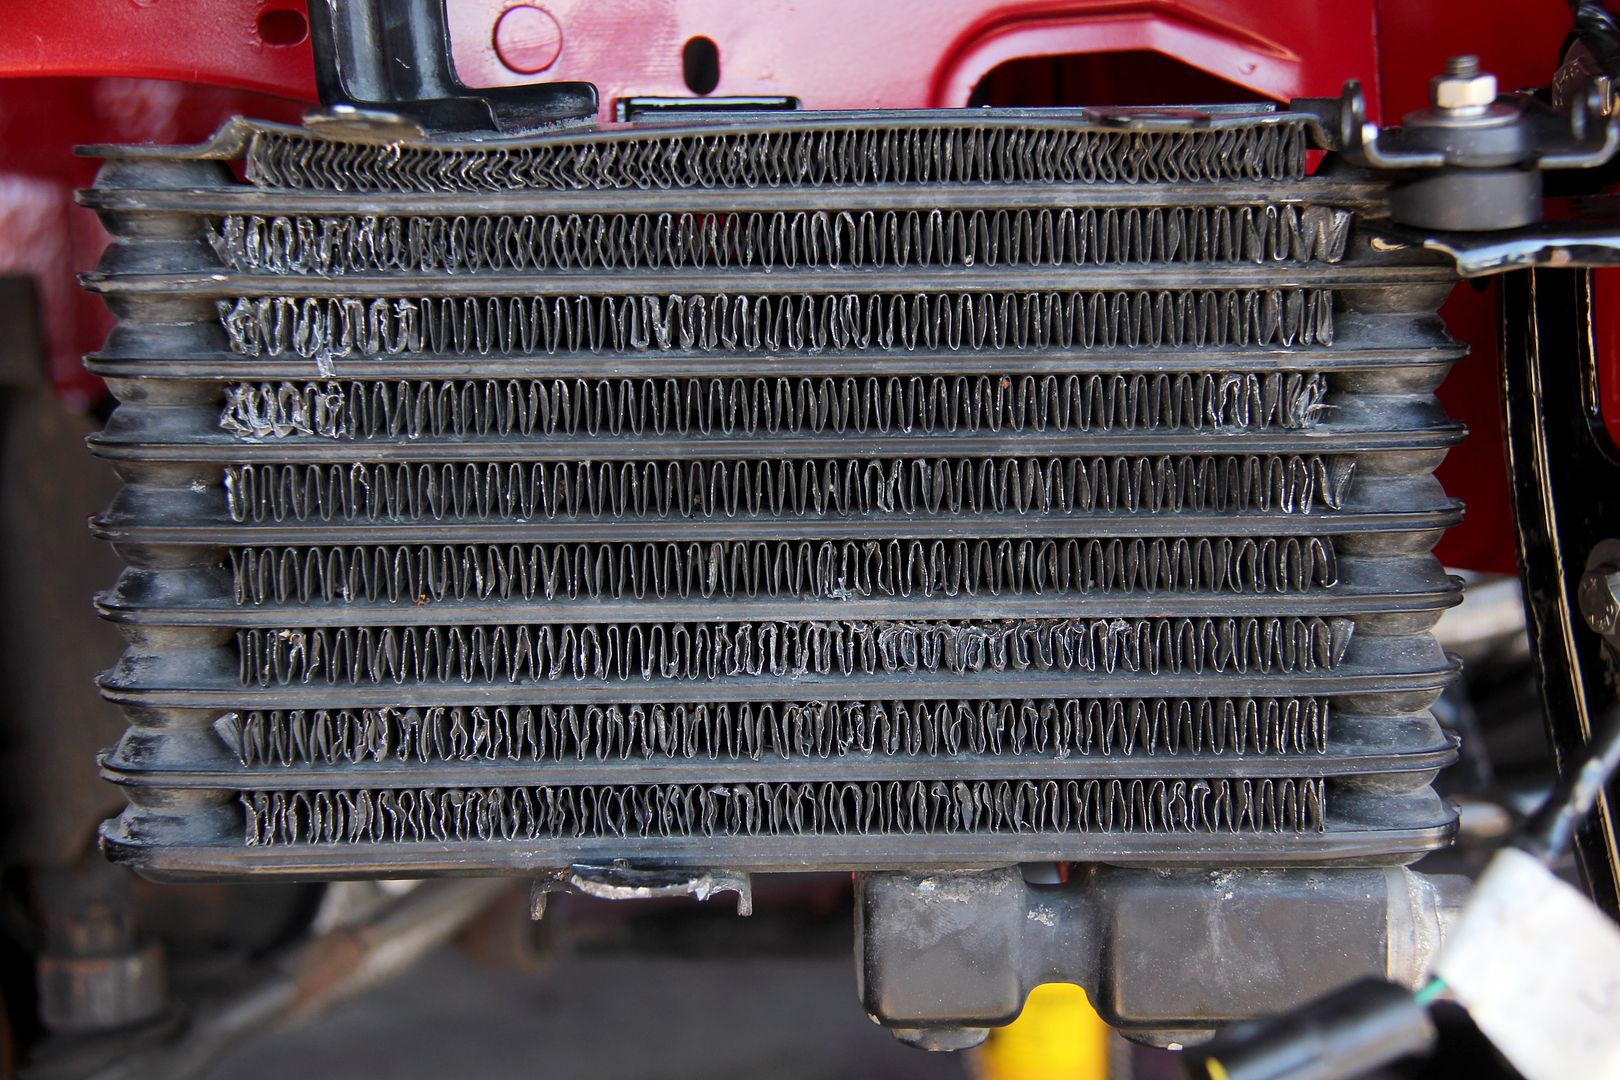
Next indescribably tedious job was the oil coolers. They looked like this
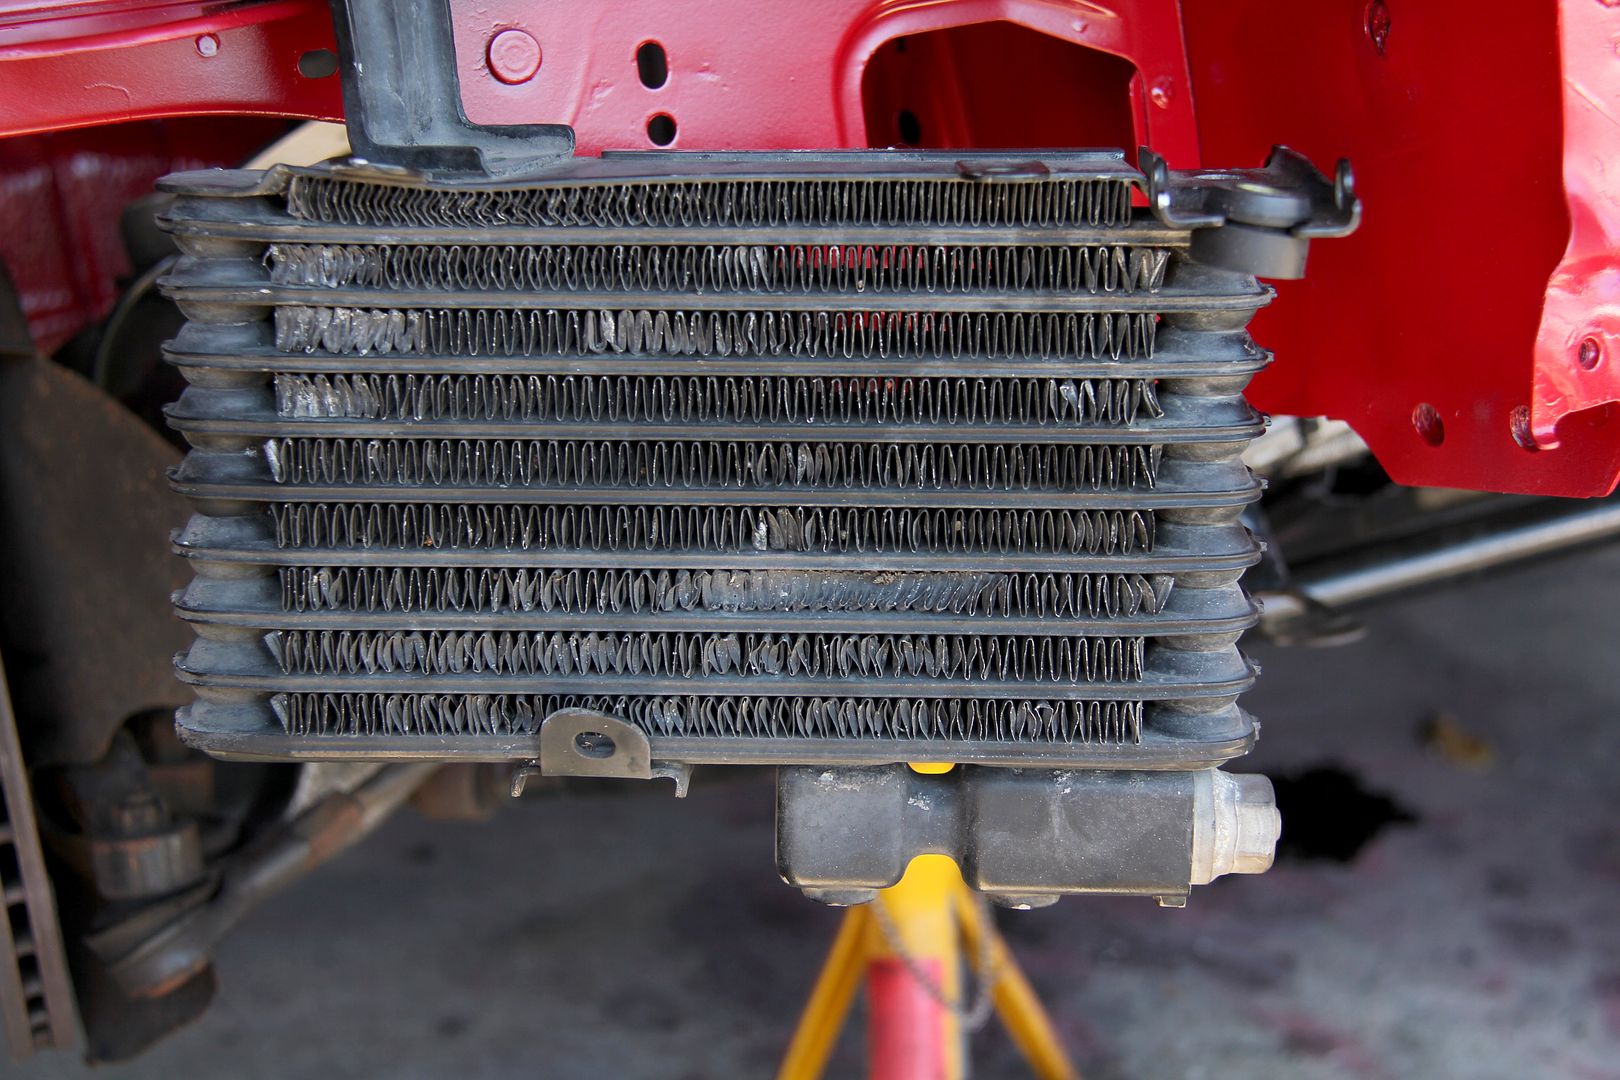
and after hours sat cross-legged on an old mattress from the cot the kids had as babies (make great kneelers/creepers for cheaps) like some far out automotive Buddha, straightening the tiny little fins with a pair of knives, they looked like this
The little bits of tin-ware I'd forgotten all about and had to paint at the eleventh hour went back in
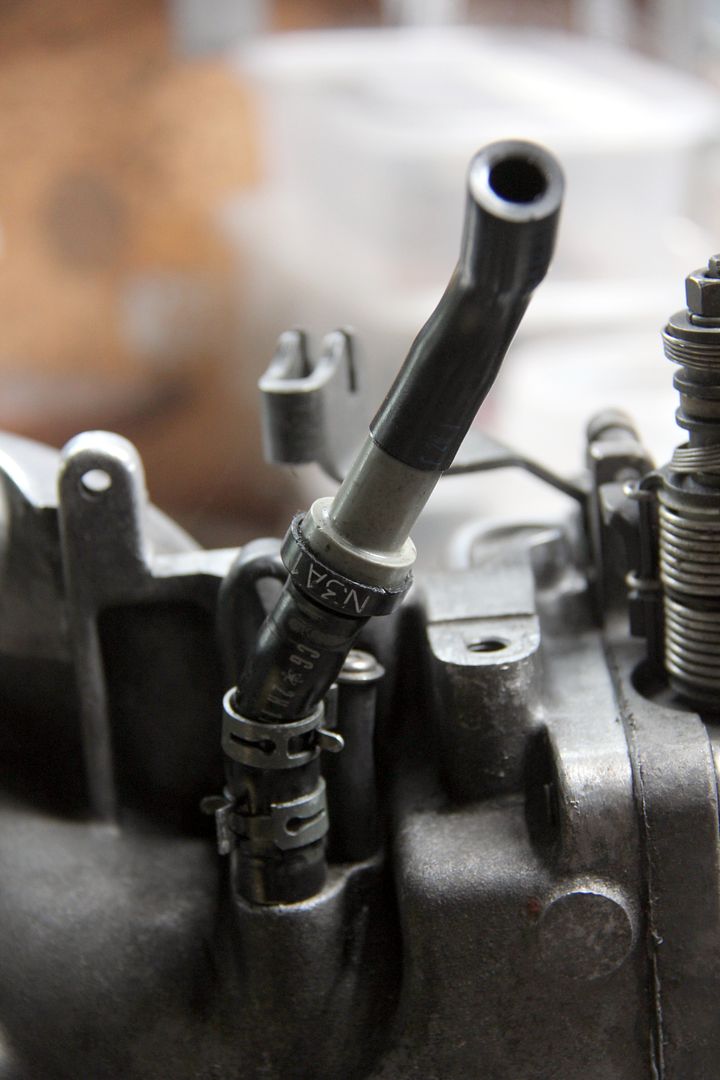
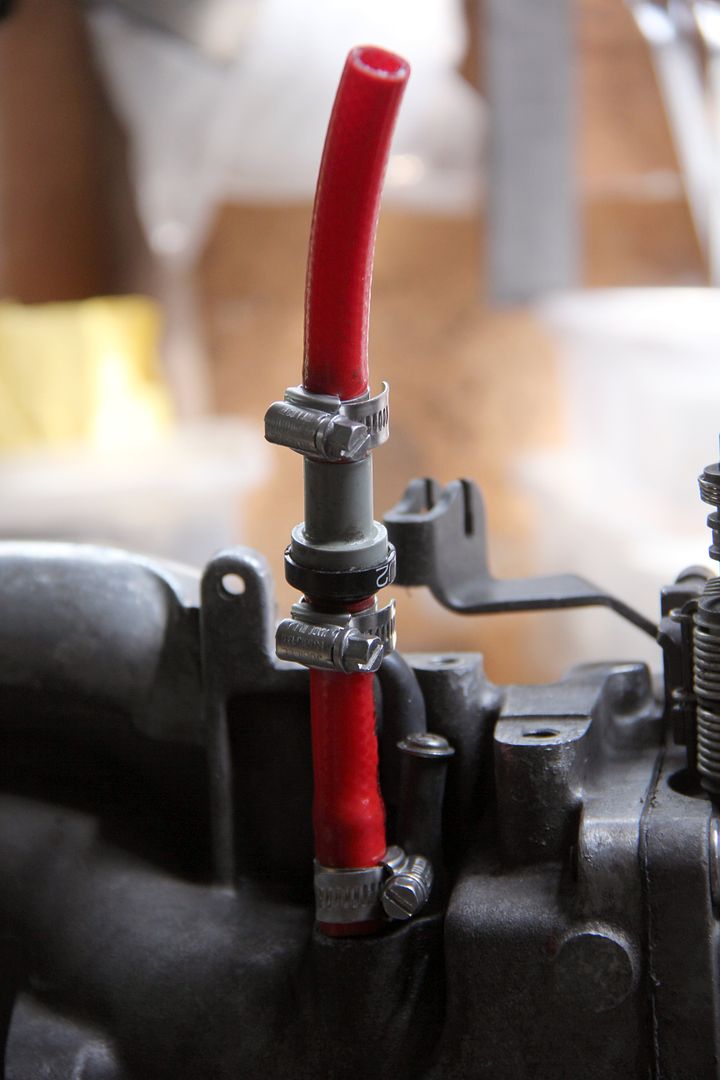
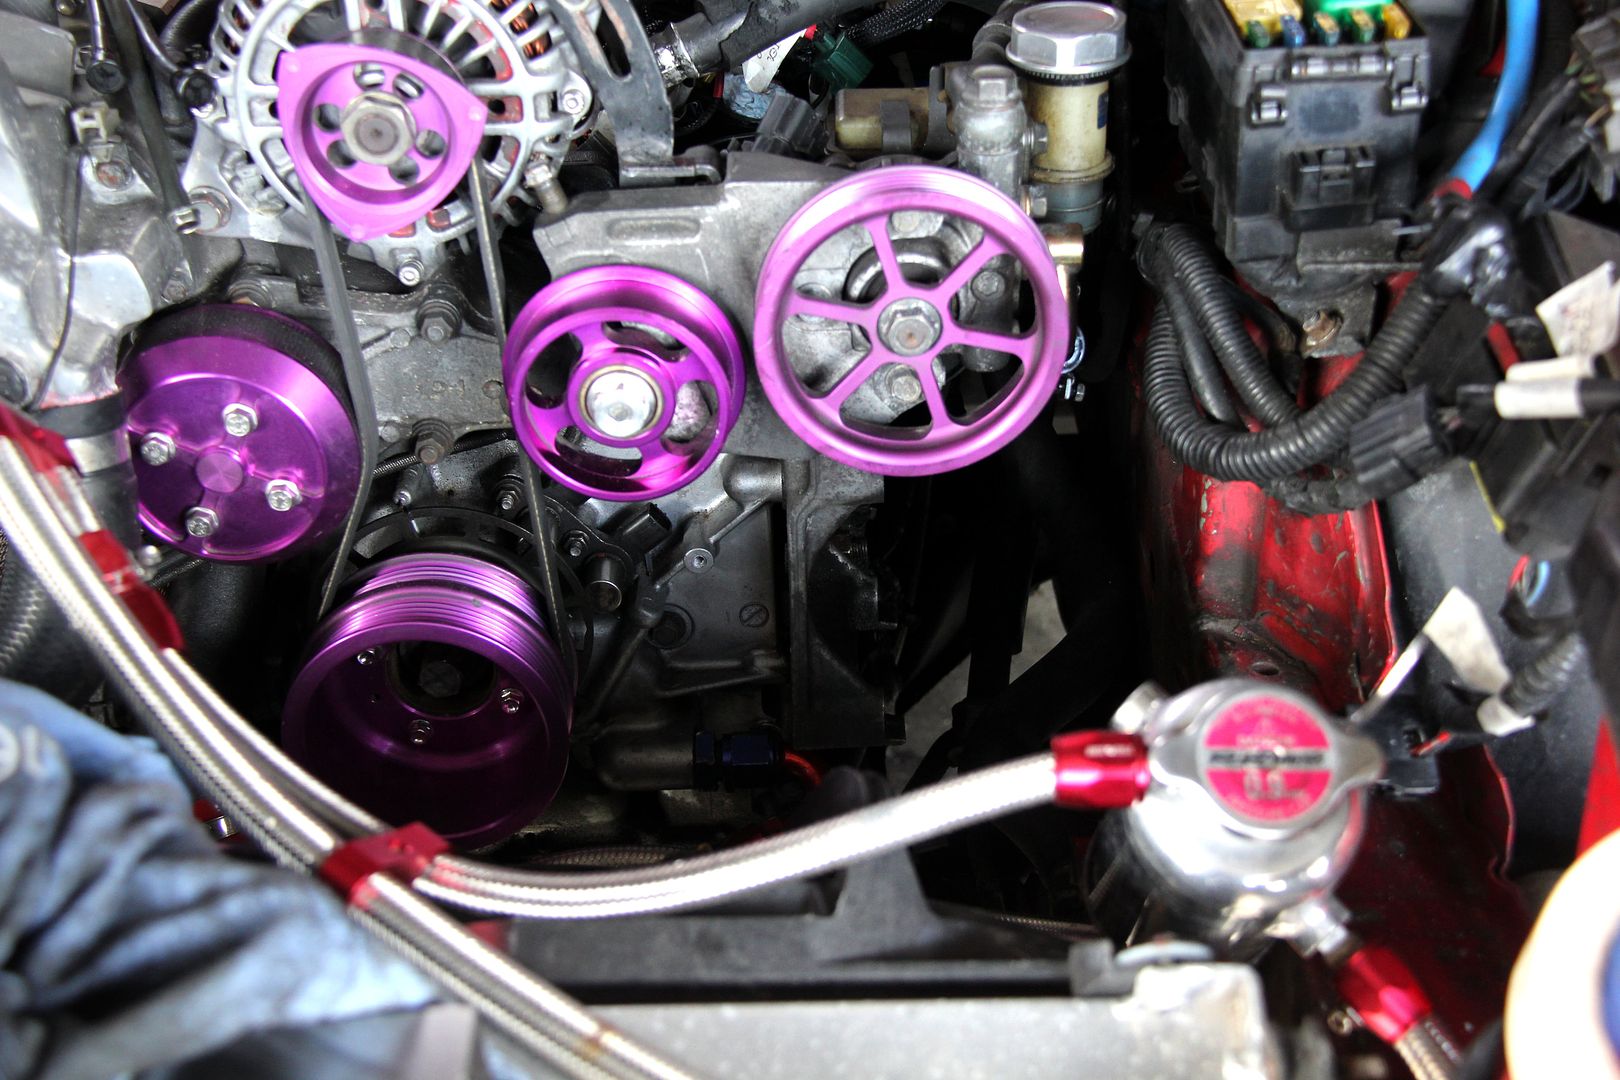
And some natty new red coolant lines replaced the old tired matte black ones. Whilst I was prettifying such things, I took the time to replace all such lines I could, such as the old oil bypass venty thing that goes from the throttle body to the oil filler neck
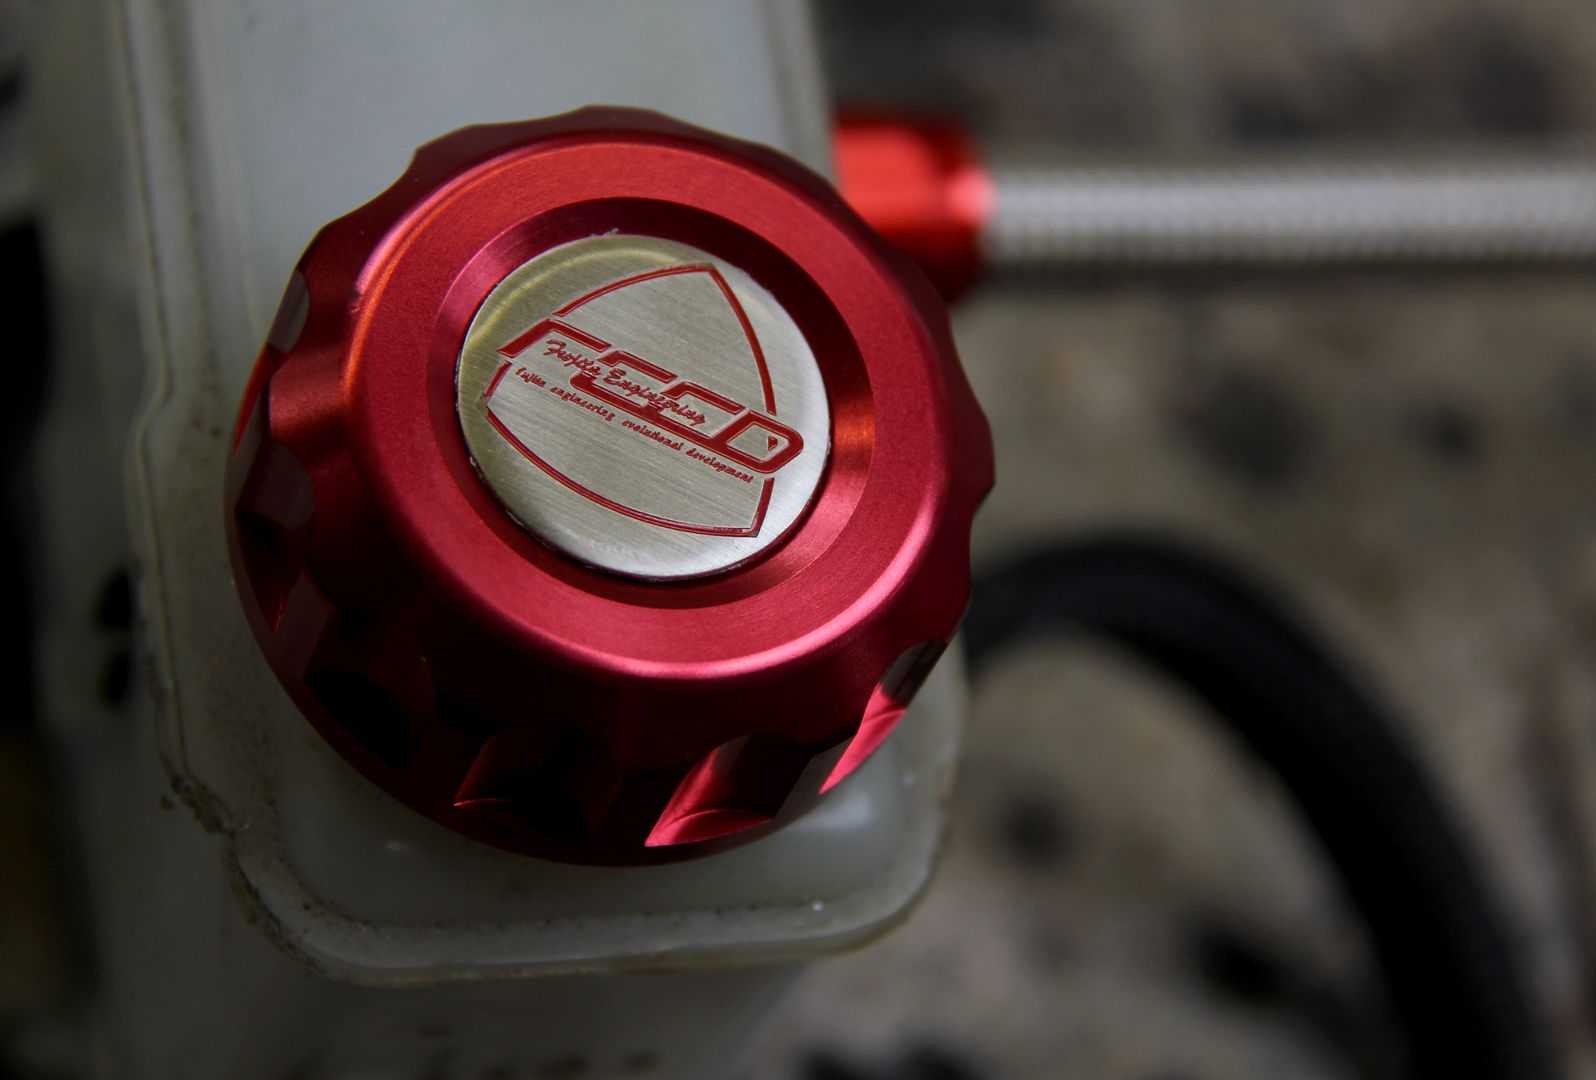
And managed to score some JDM y0 goodness to cheer myself up in the form of a FEED brake reservoir cap
But all this titting about was really ignoring the elephant in the room. Or rather the elephant
s... enough damned huge, warlike,
bad mutha f&%$@#ers of elephants to make Colonel Hathi's posse look like a chorus line.
Which were... that damned OMP. The aircon stuff still flopping about. The OMP. The re-installing all the brake and fuel lines. The OMP. The fact
everything needed bleeding. The OMP...
Yeah, might ignore the OMP for a while longer.
Maybe one more easy maintenance sort of job? Before plunging into something truly horrible? An old biker trick, in fact... when your control cables (clutch and so forth) get a bit sticky, how best to get some lube in between the sheath (ooooh, sheath) and the Bowden cable? Simples
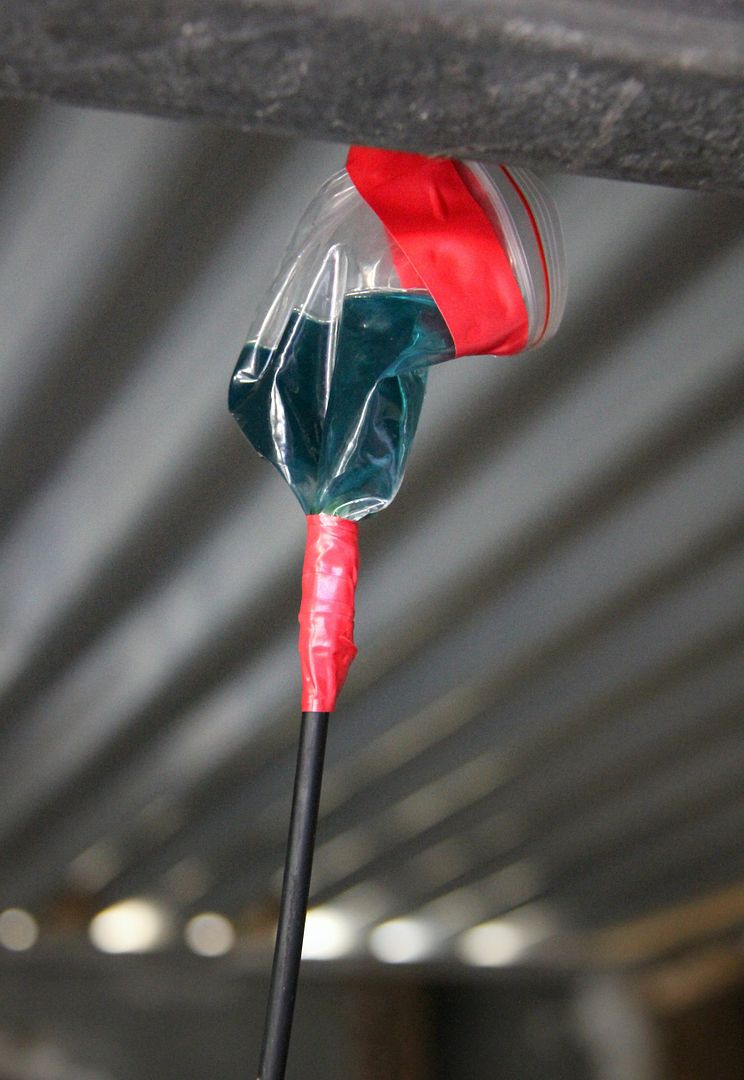
A small plastic bag taped round the sheath (urgnnh, sheath) and filled with light oil. Then hang it up high and gravity does the rest. Leave it for a day or two and your cable will be nicely lubricated. This is the bonnet release cable bathing; given what a pain it is to replace, it seemed the sort of thing that a stitch in time was worth the effort.
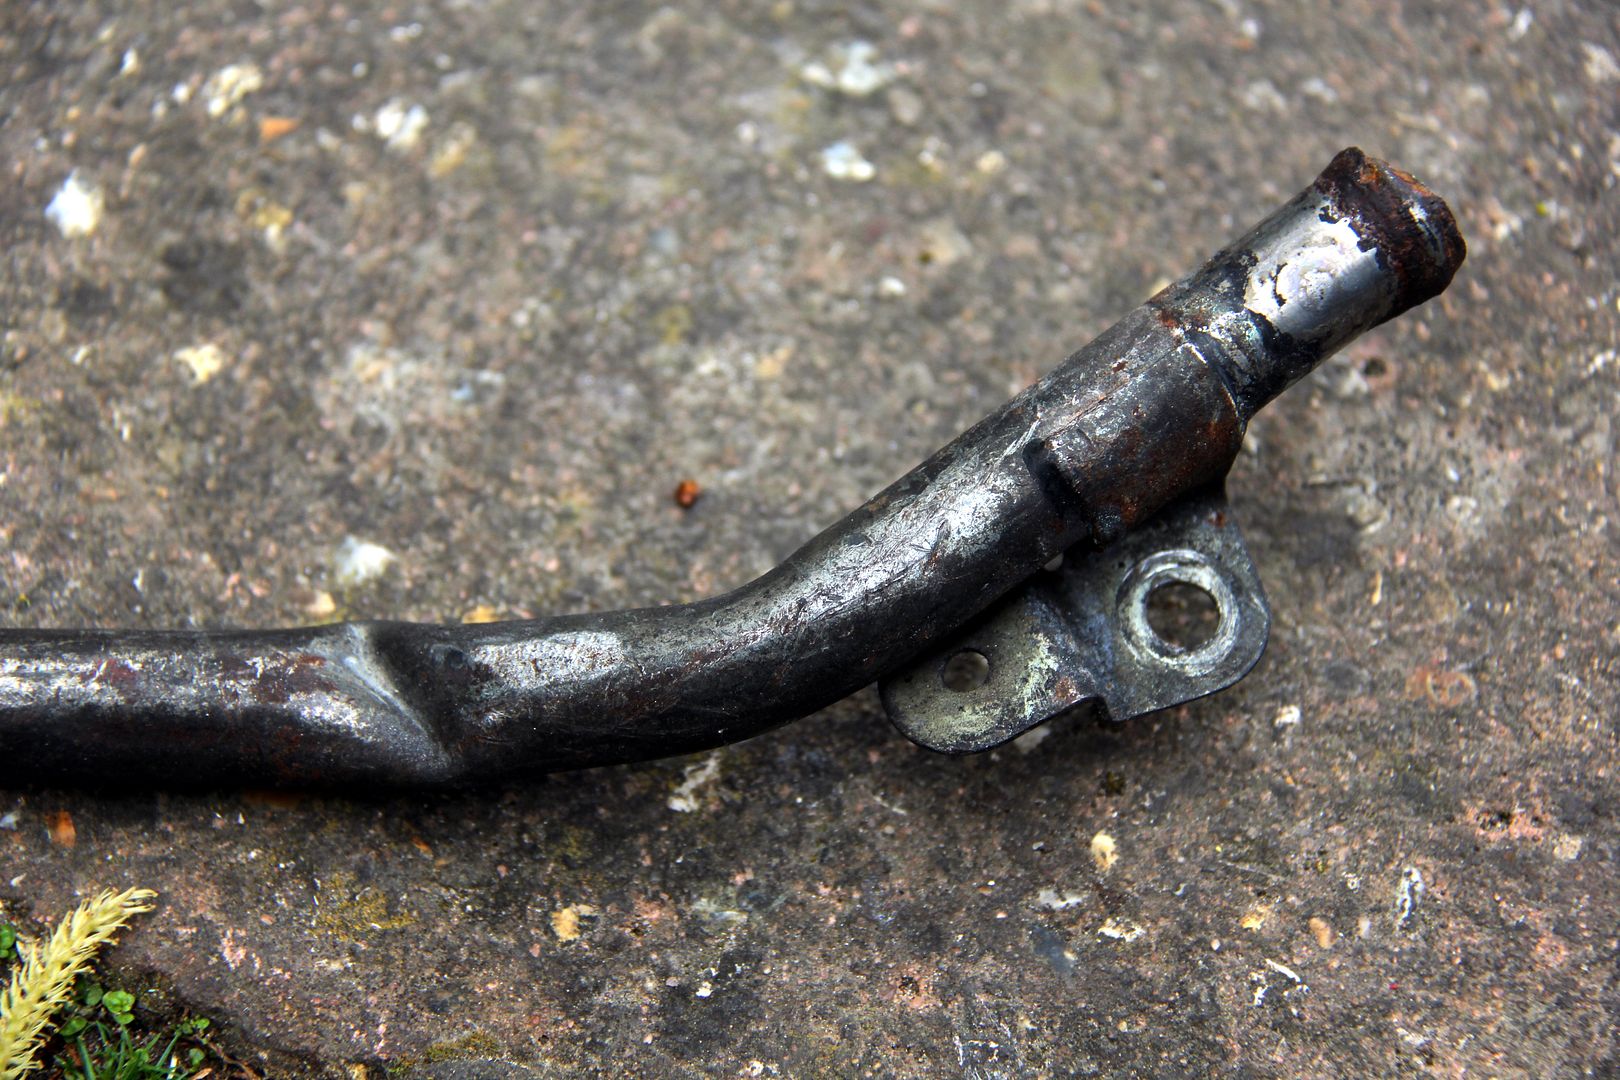
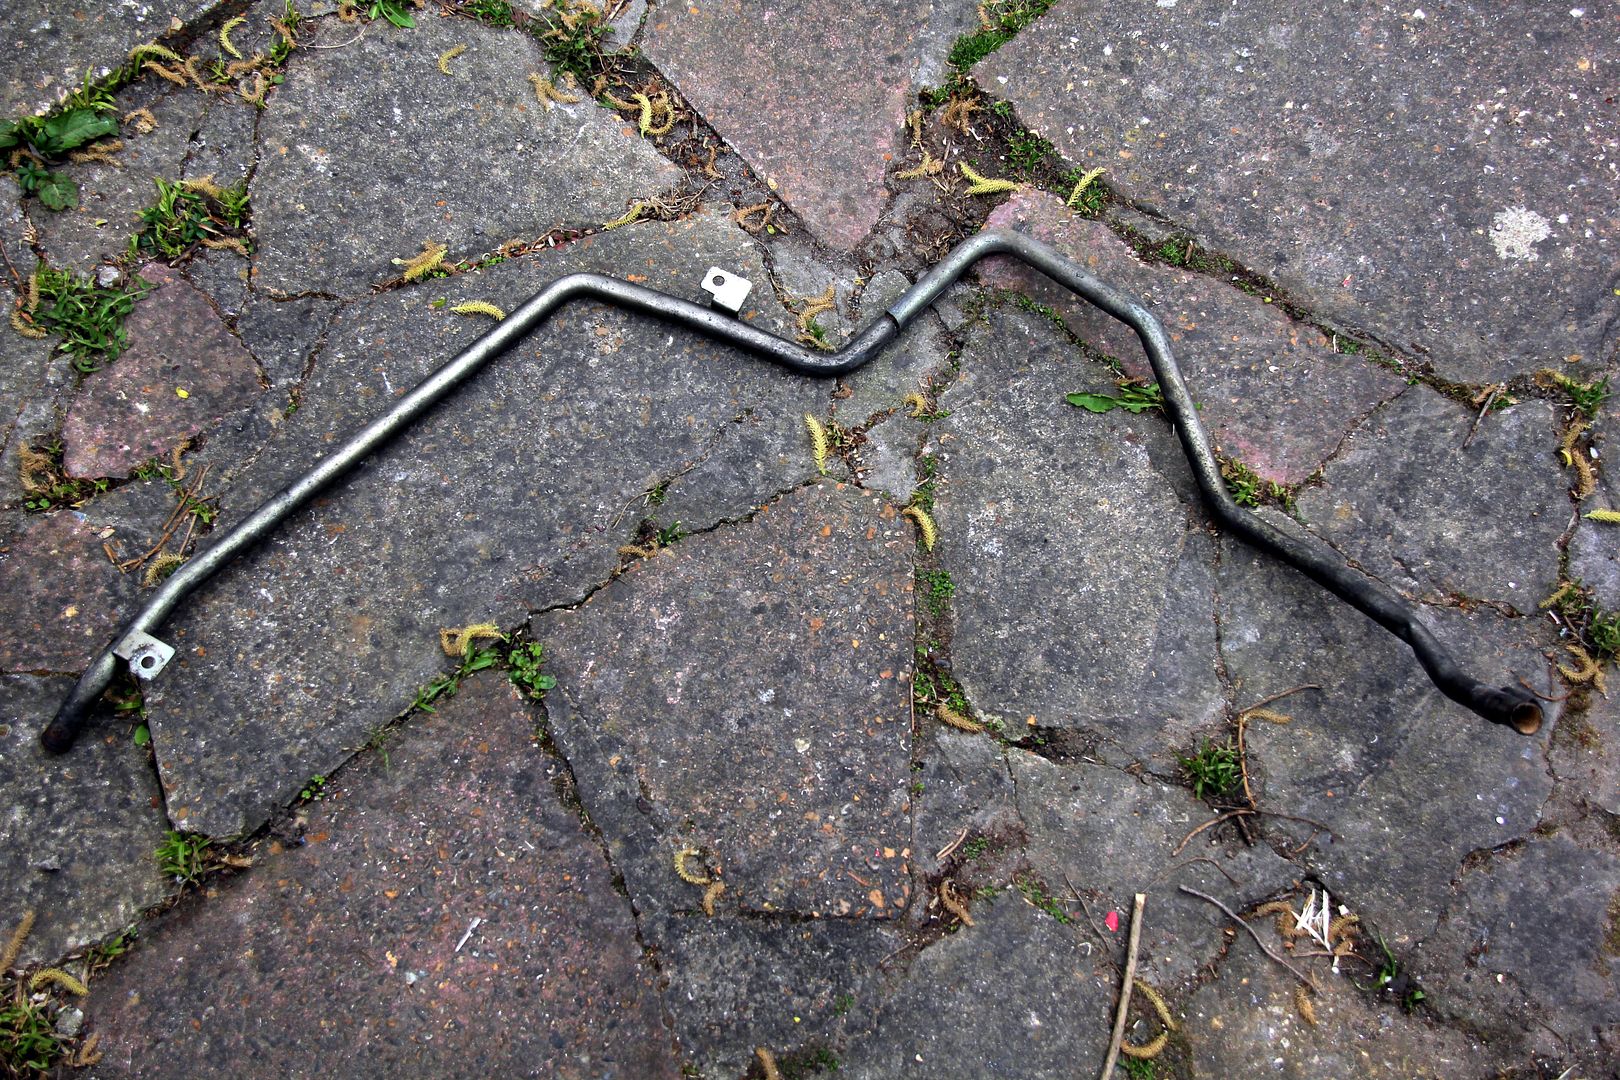
Meanwhile, I turned my attention to the various pipes and tubes going through the firewall. The heater matrix is down next door to the aircon pipes, on the passenger side. It takes its feed via a really baroque and elaborate steel pipe that trundles its way right around two and a bit sides of the engine bay, from the filler neck across to the offside bay wall, then along past the turbo(s), up around the steering column and over the firewall to the nearside where it meets the heater matrix unions via a flexi rubber pipe.
And it's horrible.
Mine was even more horrible than normal, because when my original turbo setup had been installed, someone (yep, that elusive "someone" again) had been forced to ...errmm...
adjust it to clear the turbo housing. They apparently did this by the simple and slightly barbaric method of bending the curse word out of it and hitting it with a hammer. This left a massive ding in it that coolant must have struggled to pass and, worse, created a potential failure point from the fatigue it must have suffered
I have no idea how these are installed, they must be the first thing that goes in the bay because there was literally no chance I could get mine out with the block in there and the steering linkage. I wasn't about to start removing steering components, so I went for the simple expedient of hacksawing it into bits.
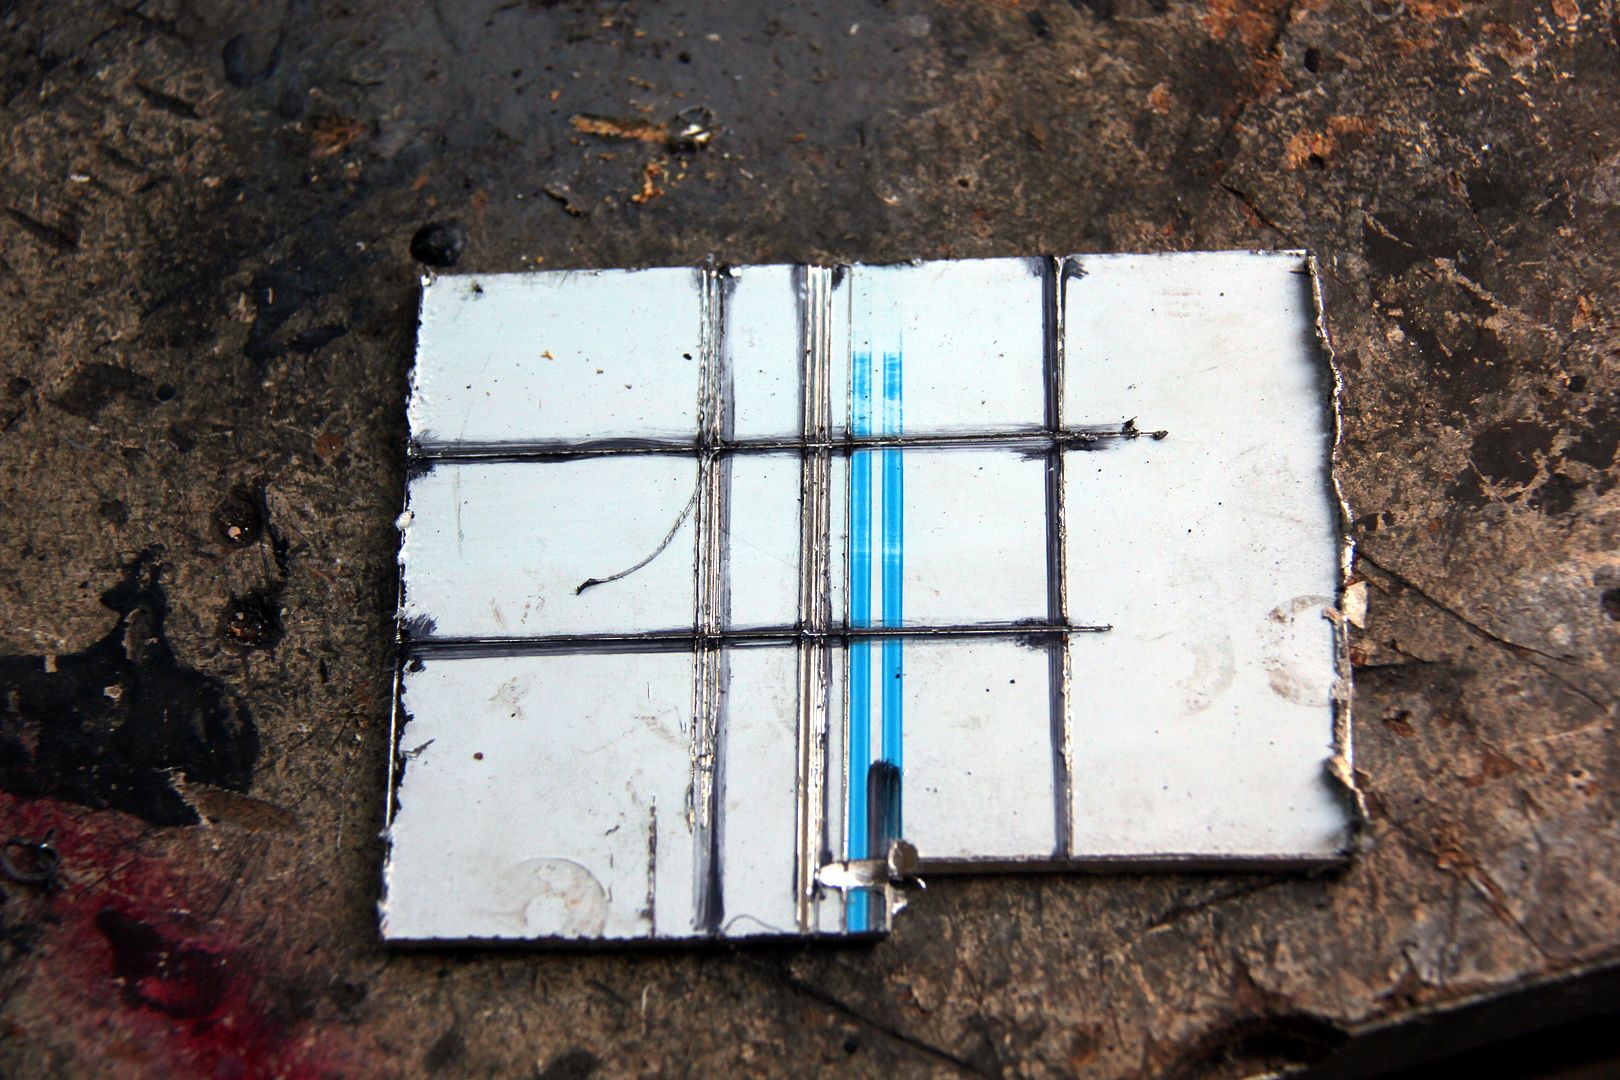
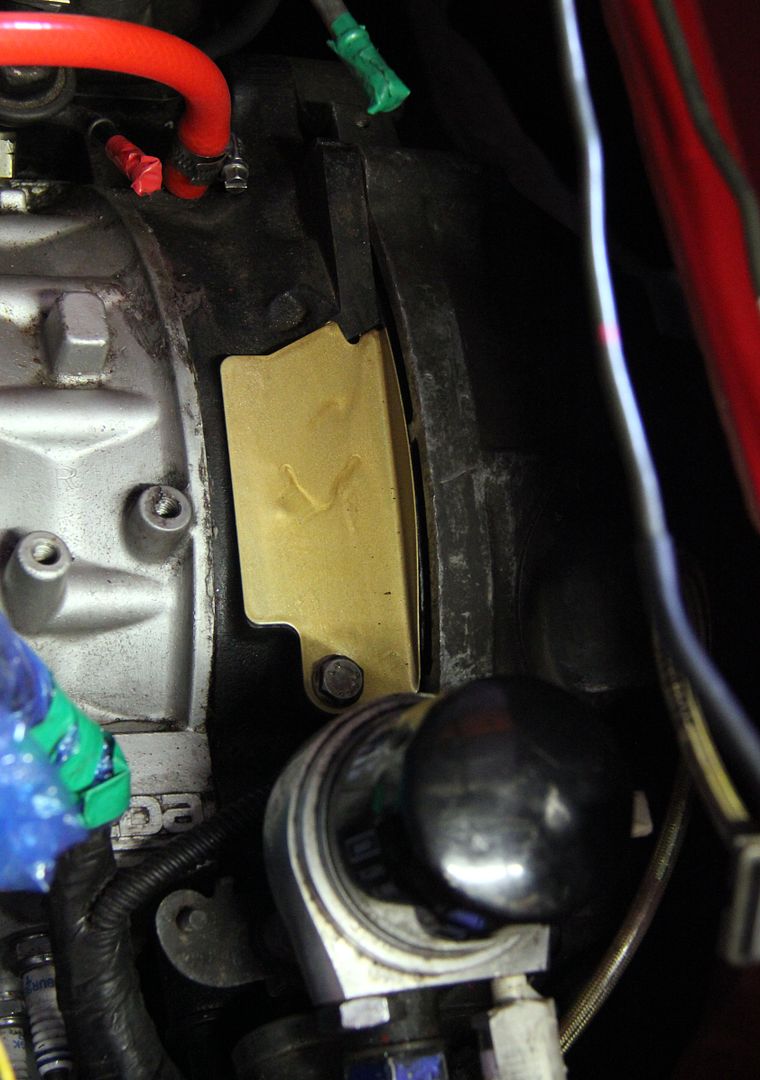
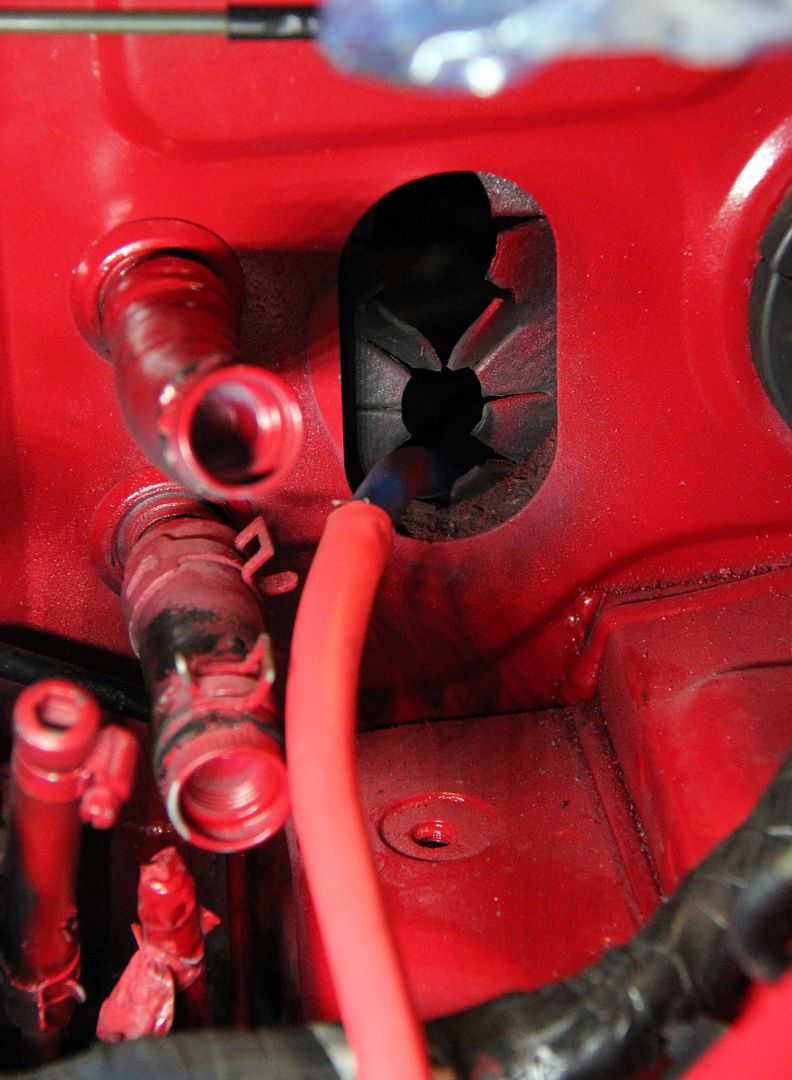
This was less of an issue than you'd think, for I had no intention of it going back in again. Instead, given that there was a lot more space now the aircon pump had vanished, I planned to route some flexible silicone line through this gap and connect to the heater matrix with that. This would be a lot more straightforward and removed a problem of space congestion in the turbo area. So, this was what we had in that general area;
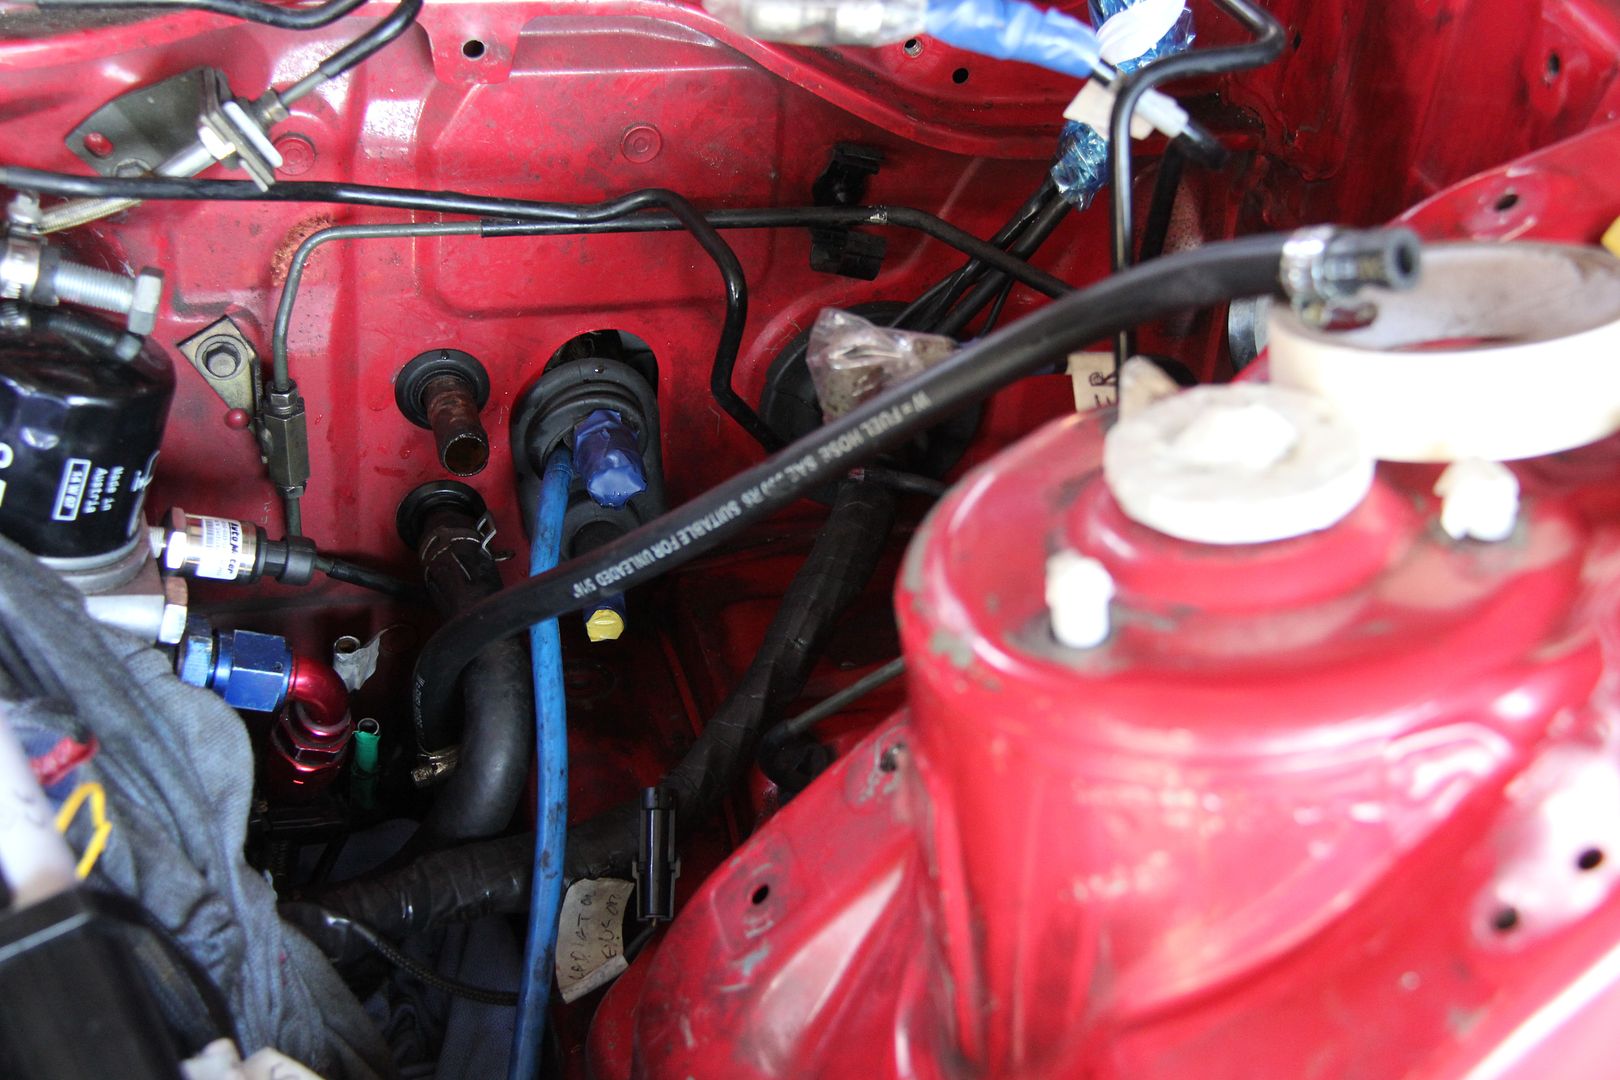
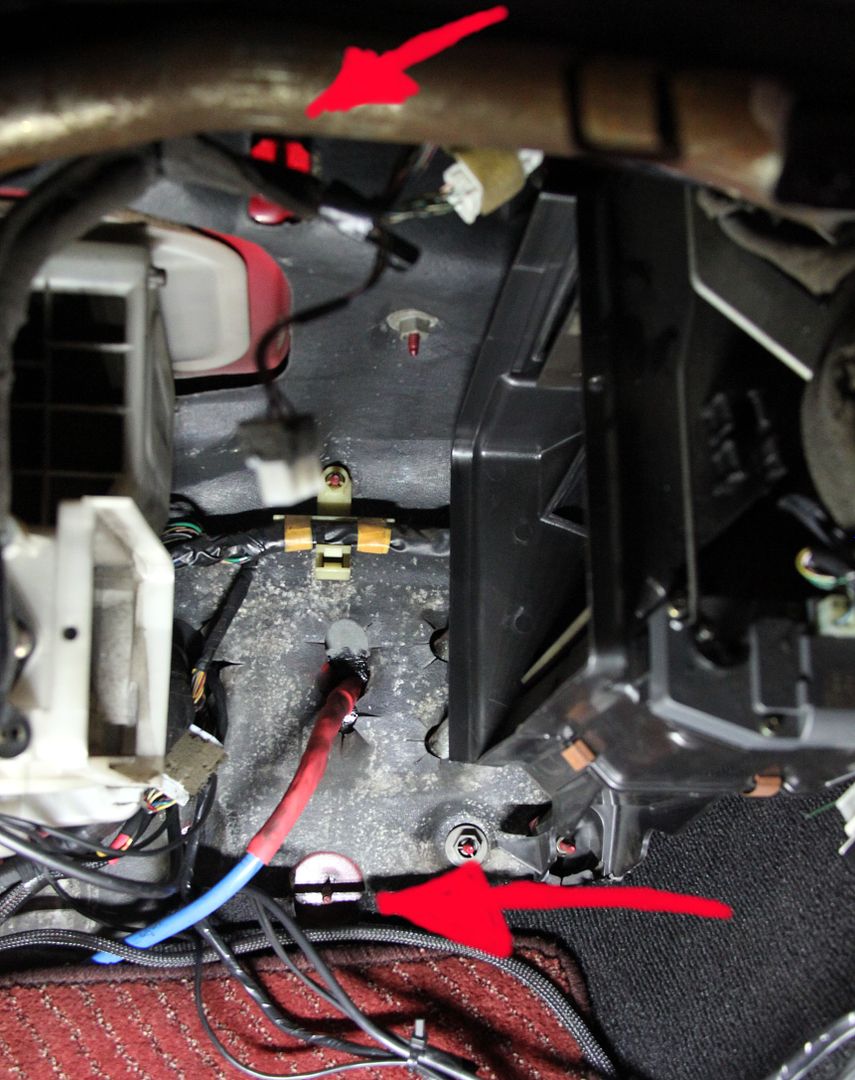
Where the blue cable comes through is the aircon matrix. The pipes wrapped in blue and yellow tape are the remnants of the aircon lines. To the left of that are the unions for the heater matrix, the lower one still with its hose attached. To get rid of the stubs of the aircon gubbins launched a bit of a mission...
...considering that the car was on stands in the garage, and when I'd parked it up I'd left it as close as possible to the nearside wall so I'd have the maximum room to work on it. This meant, however, that the passenger door onlyy opened about three inches, which certainly wasn't enough room to squeeze my antediluvian frame through. So
this meant that all the work which follows had to be performed by accessing through the drivers door and contorting myself upside-down into the passenger footwell over the transmission tunnel and working, often blind, with my arms above my head gradually filling with lactic acid and turning to feeble jelly. Fun it wasn't.
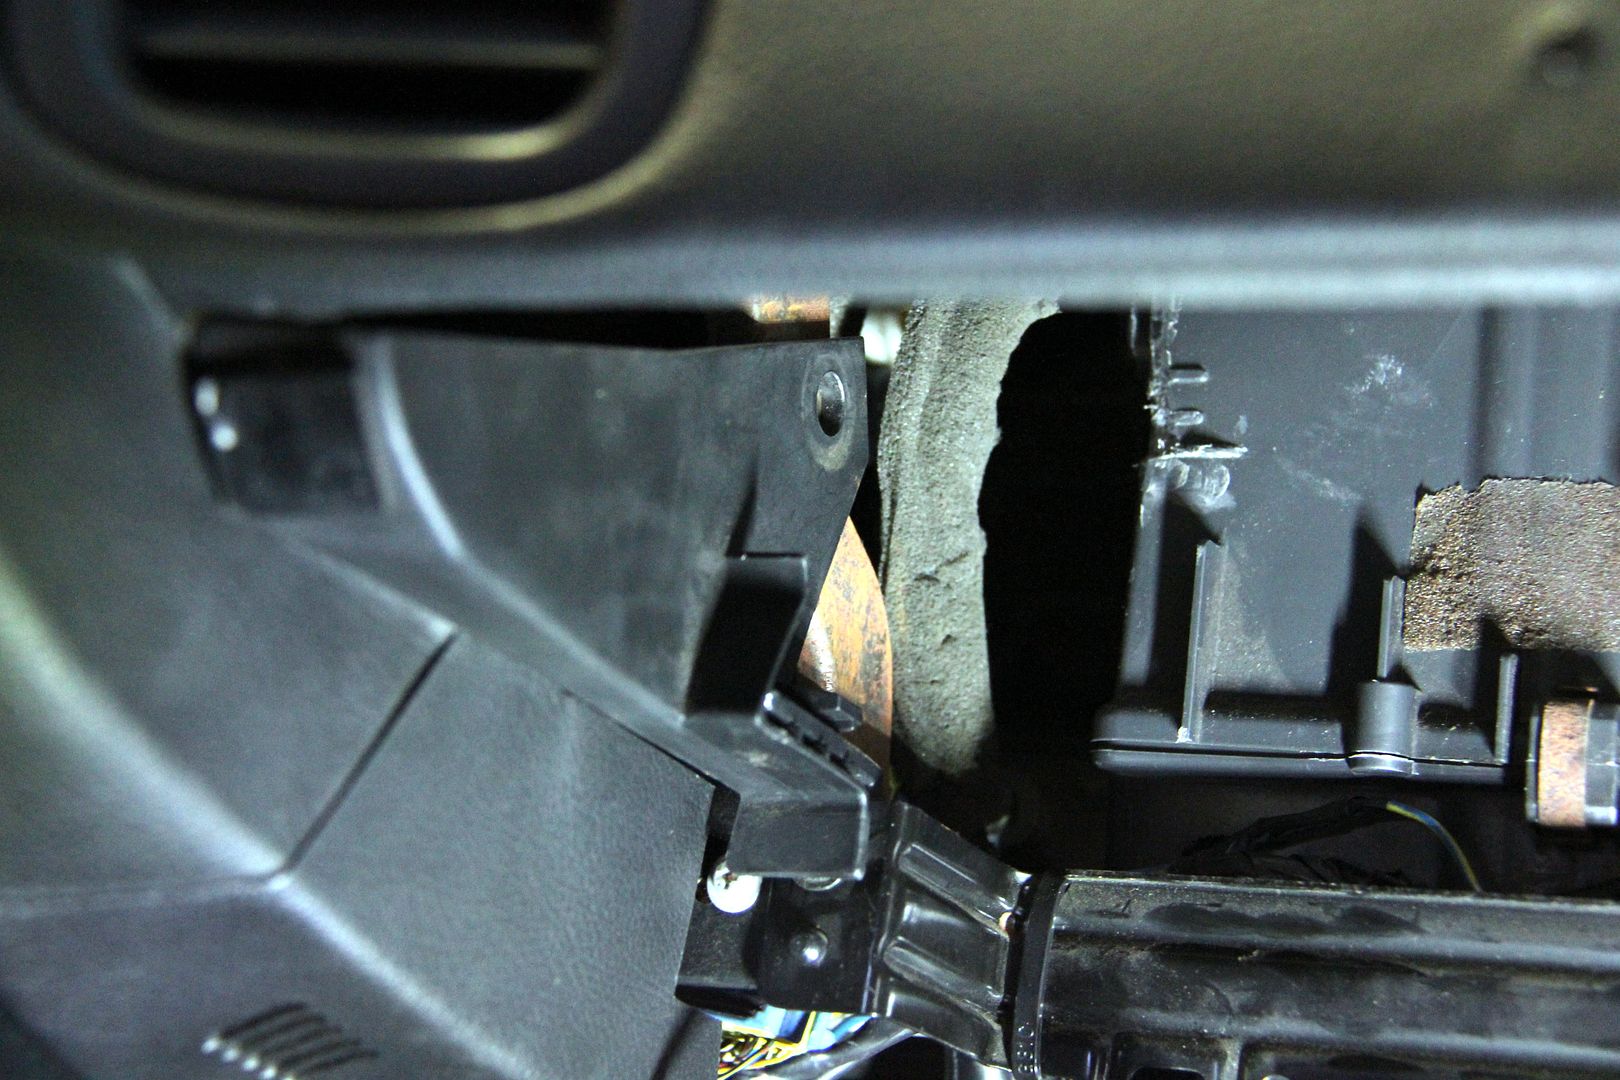
However, first thing to do was remove the glovebox lid, which considering it's quite substantial is held on two plastic hinges by self-tappers. Then the kneepad trim thing
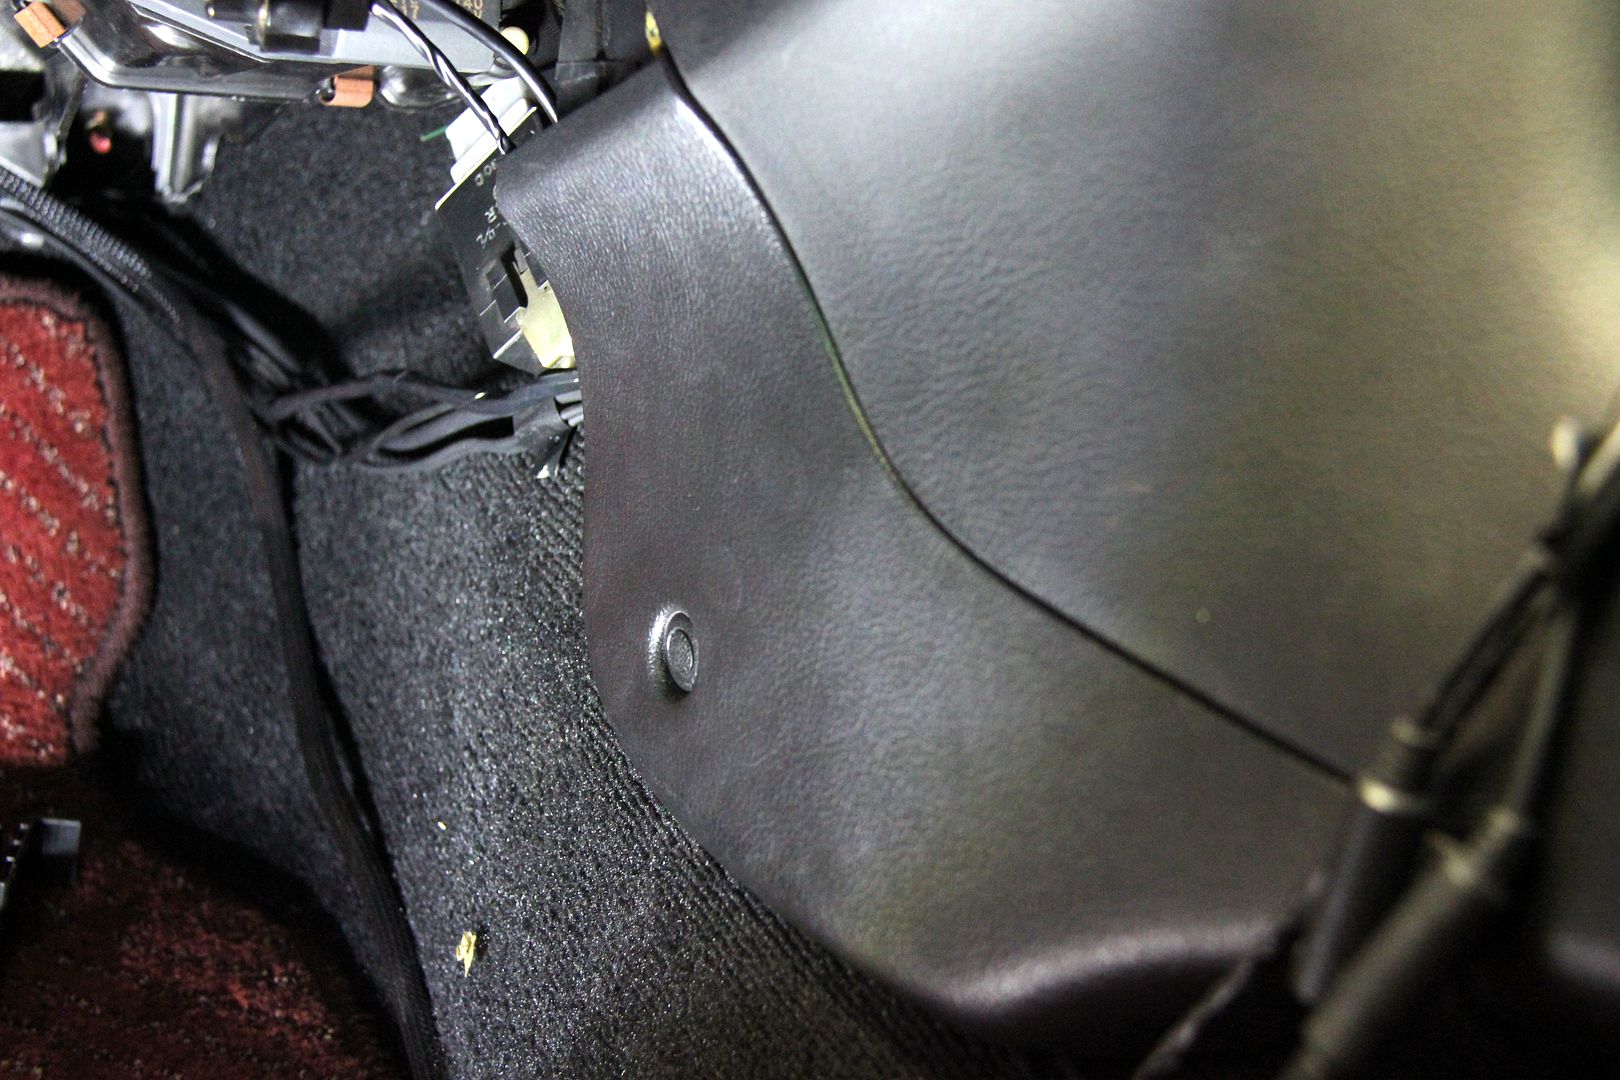
which allows you to access the offside glovebox mounts

Followed by the nearside glovebox mounts
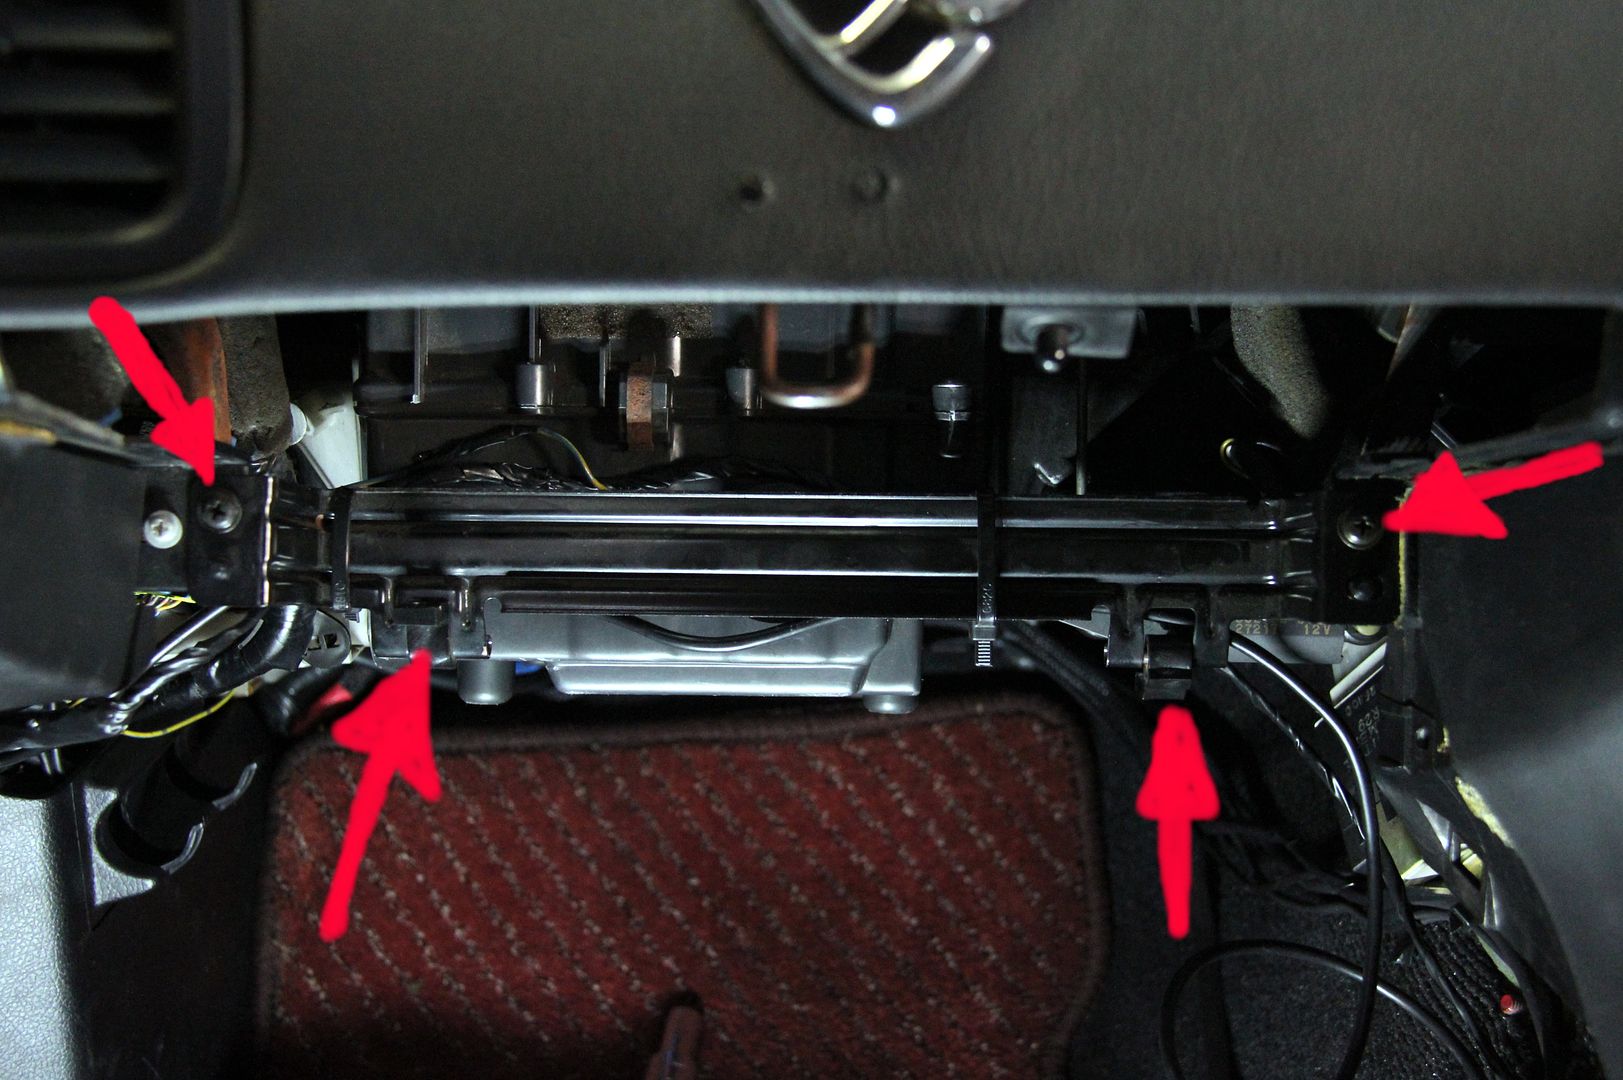
And then you can remove the steel bar which the glovebox lid actually hinges to. The top arrows are the steel fasteners.... self tappers again, natch... and the bottom arrows are the stupid little hinges for the glovebox lid.
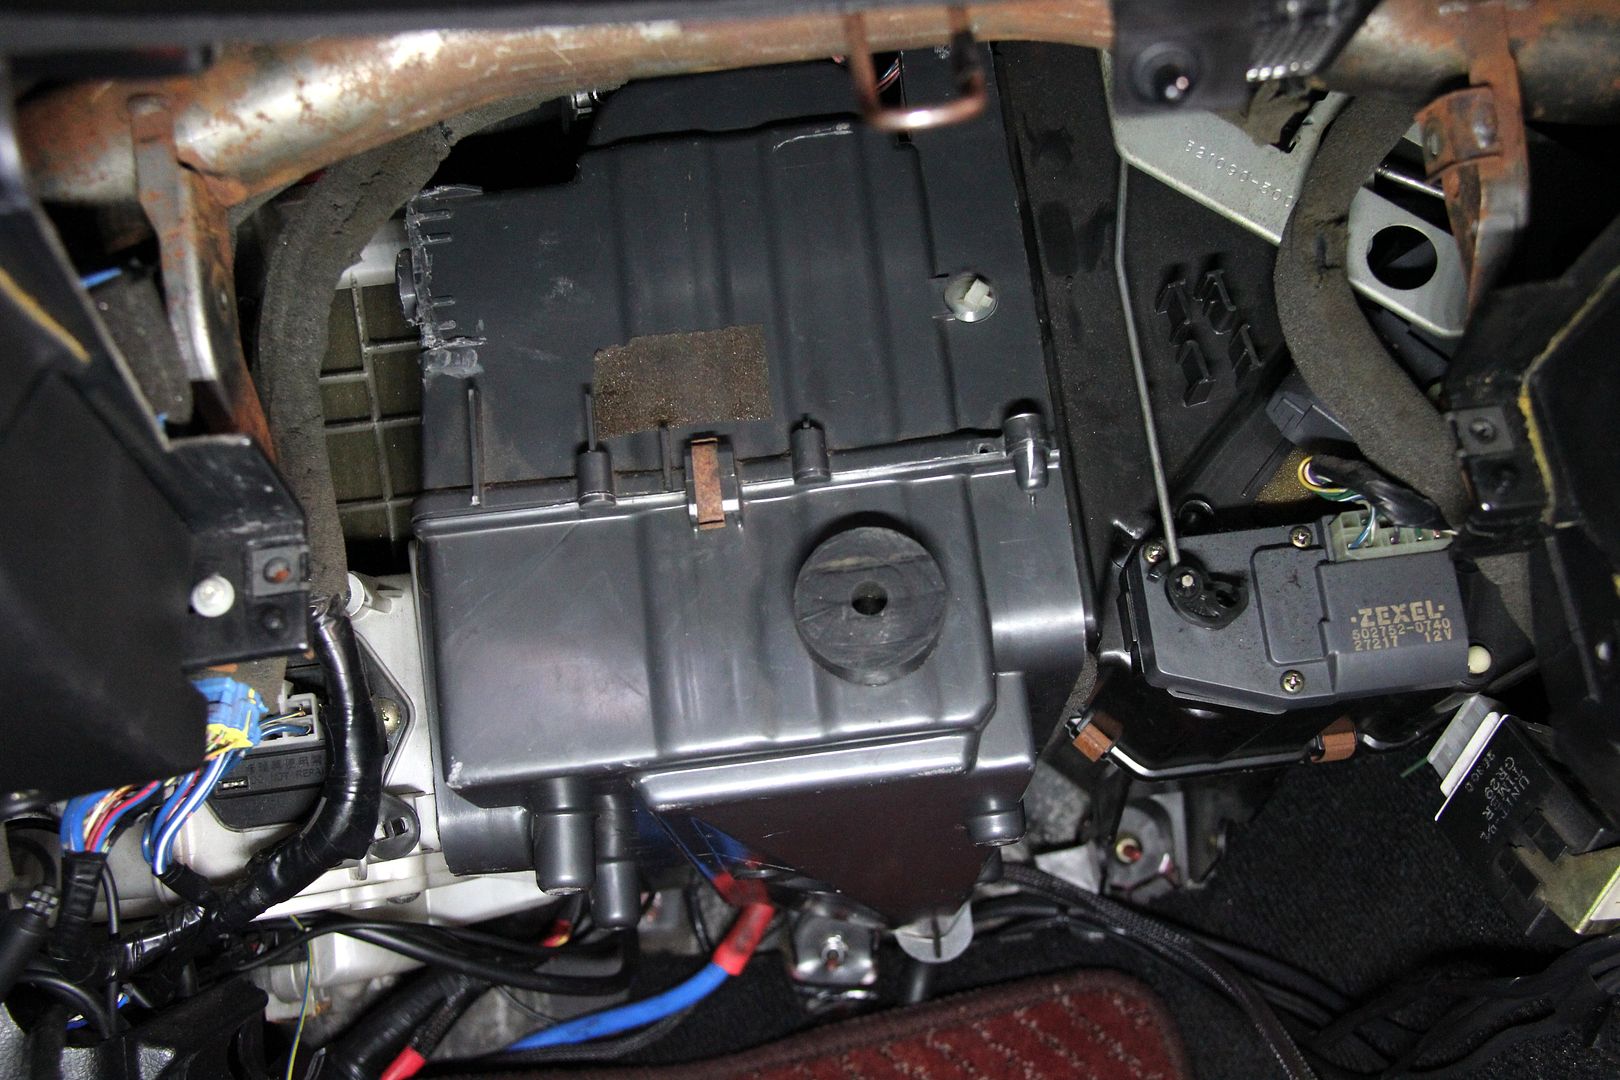
 Finally
 after a break to let your arms start working again, you can see the thing we actually wanted to get to, namely the aircon matrix box. It's wedged in interference fit between the heater blower motor on the passenger side and the actual heater matrix/ventilation flap motor box thing on the drivers' side (oooooh, flaps).
It's held on by two fasteners, M6 nuts on studs captive in the firewall, that are an absolute PITA to get off. I managed it with several long extensions with UJs and a deep-reach socket (which is essential because the studs are too long for a normal socket to reach the nuts! Thanks, Mazda. The two stud mounts are arrowed here
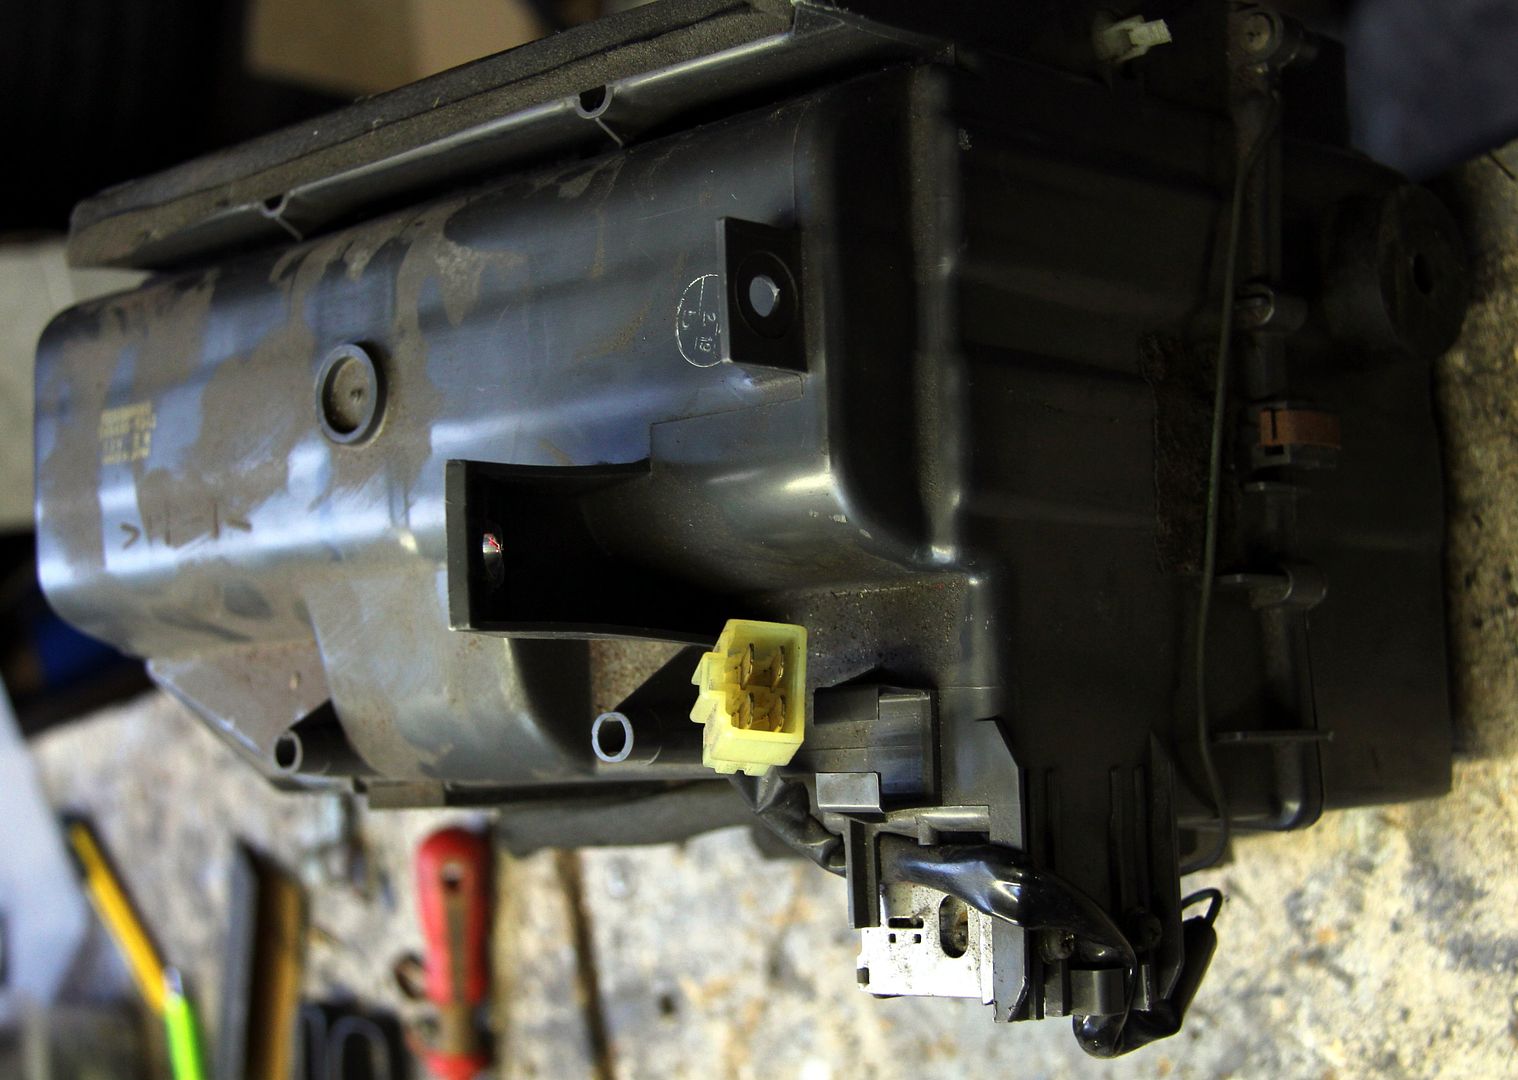
You're finally left with this gurt big ugly thing on the bench
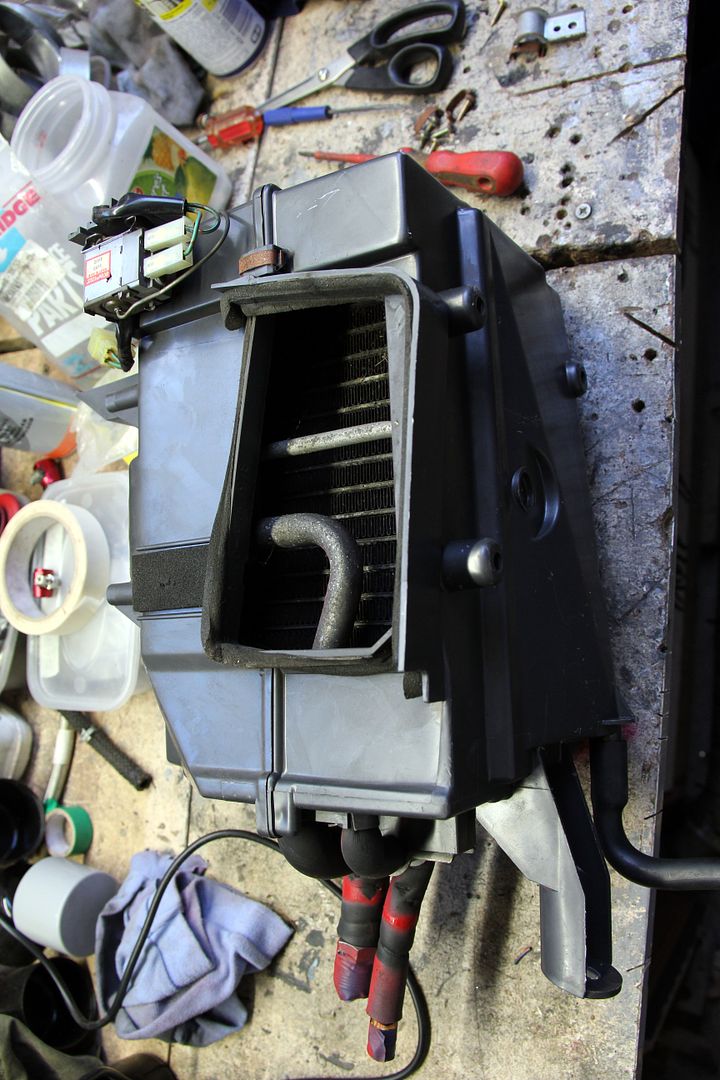
It's held together with spring clips (rusty), covered in dust and grunge and generally a nasty, grubby, unpleasant thing all round
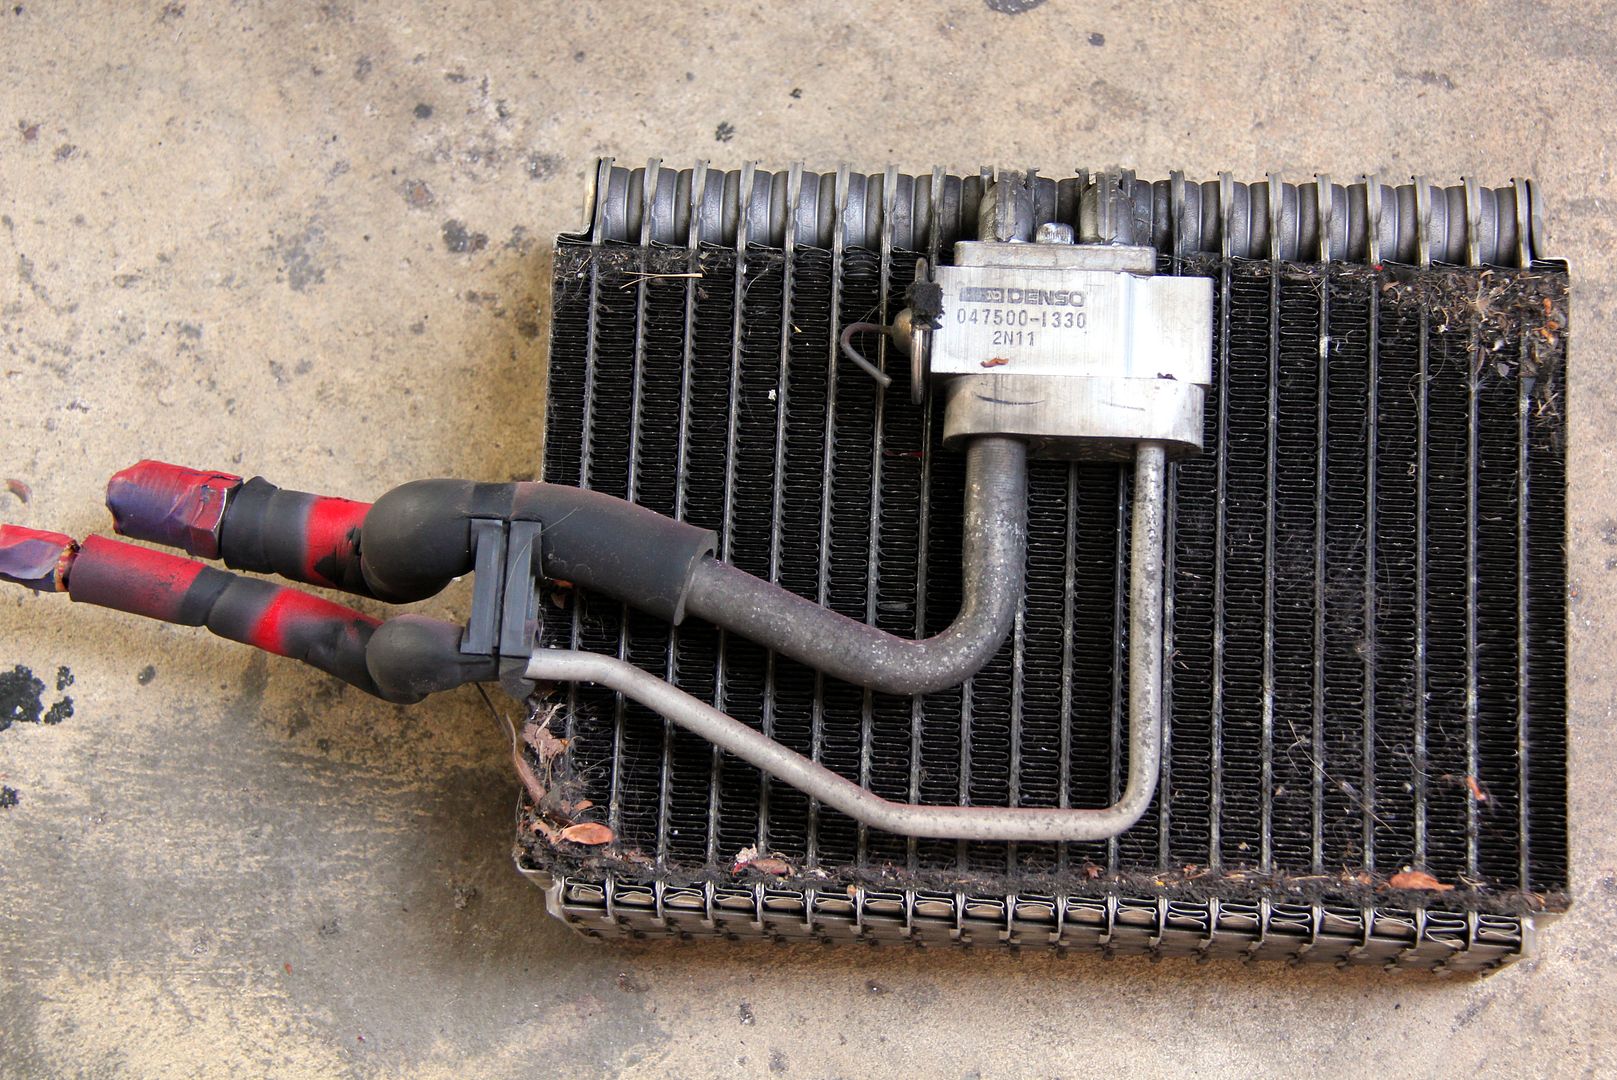
And as I found out when I split it, home to all sorts of accumulated debris and spiders nests
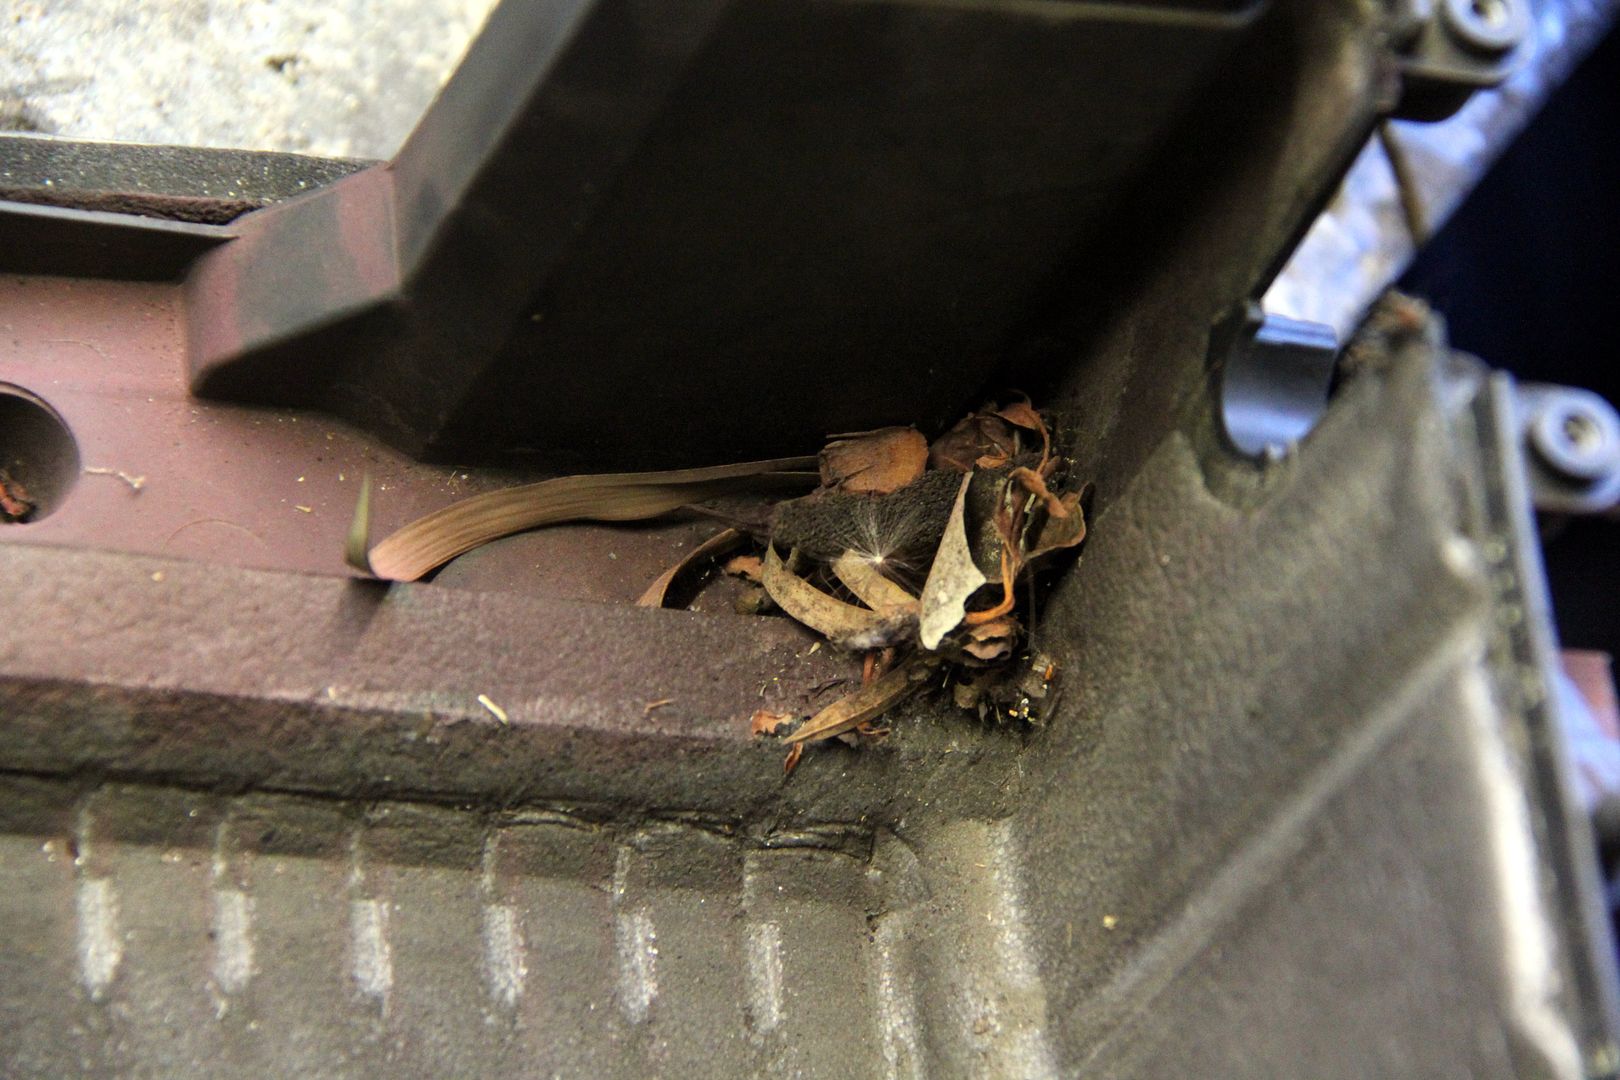
But once the tenants are evicted, you can disembowel it of the gubbins and chuck it in the bin
This leaves you with some holes in the box where the sensor wire and pipes went through, which I sealed up with metal tape
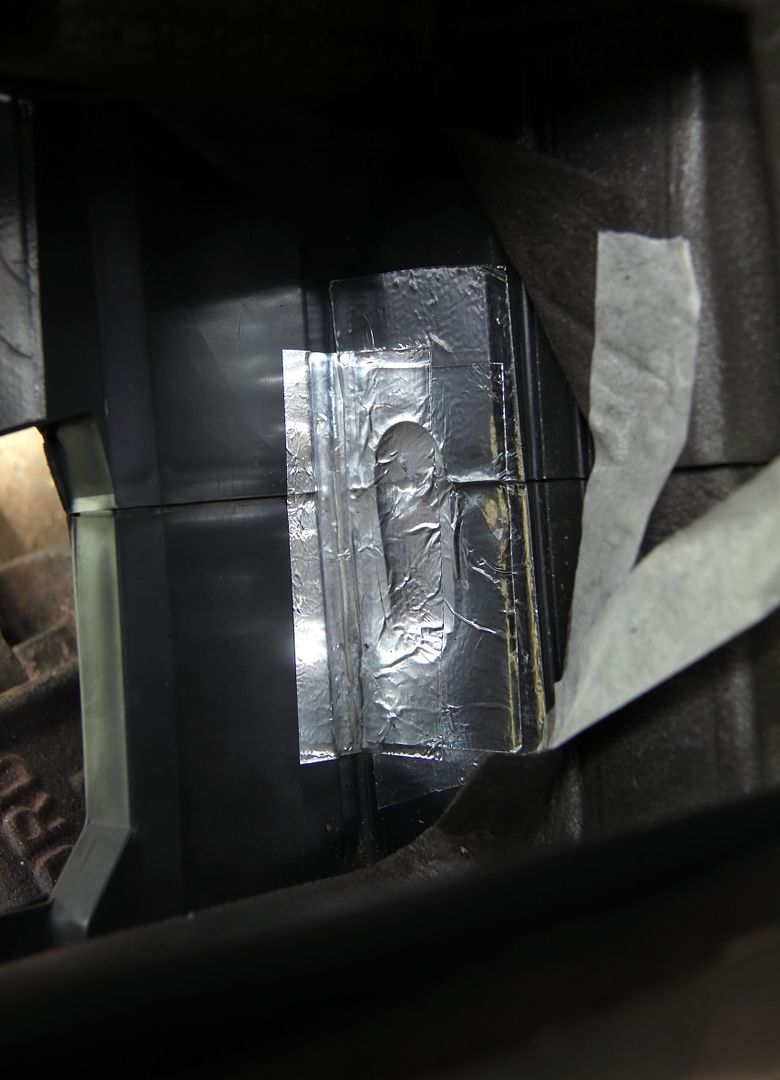
coated in sealant to make it more robust
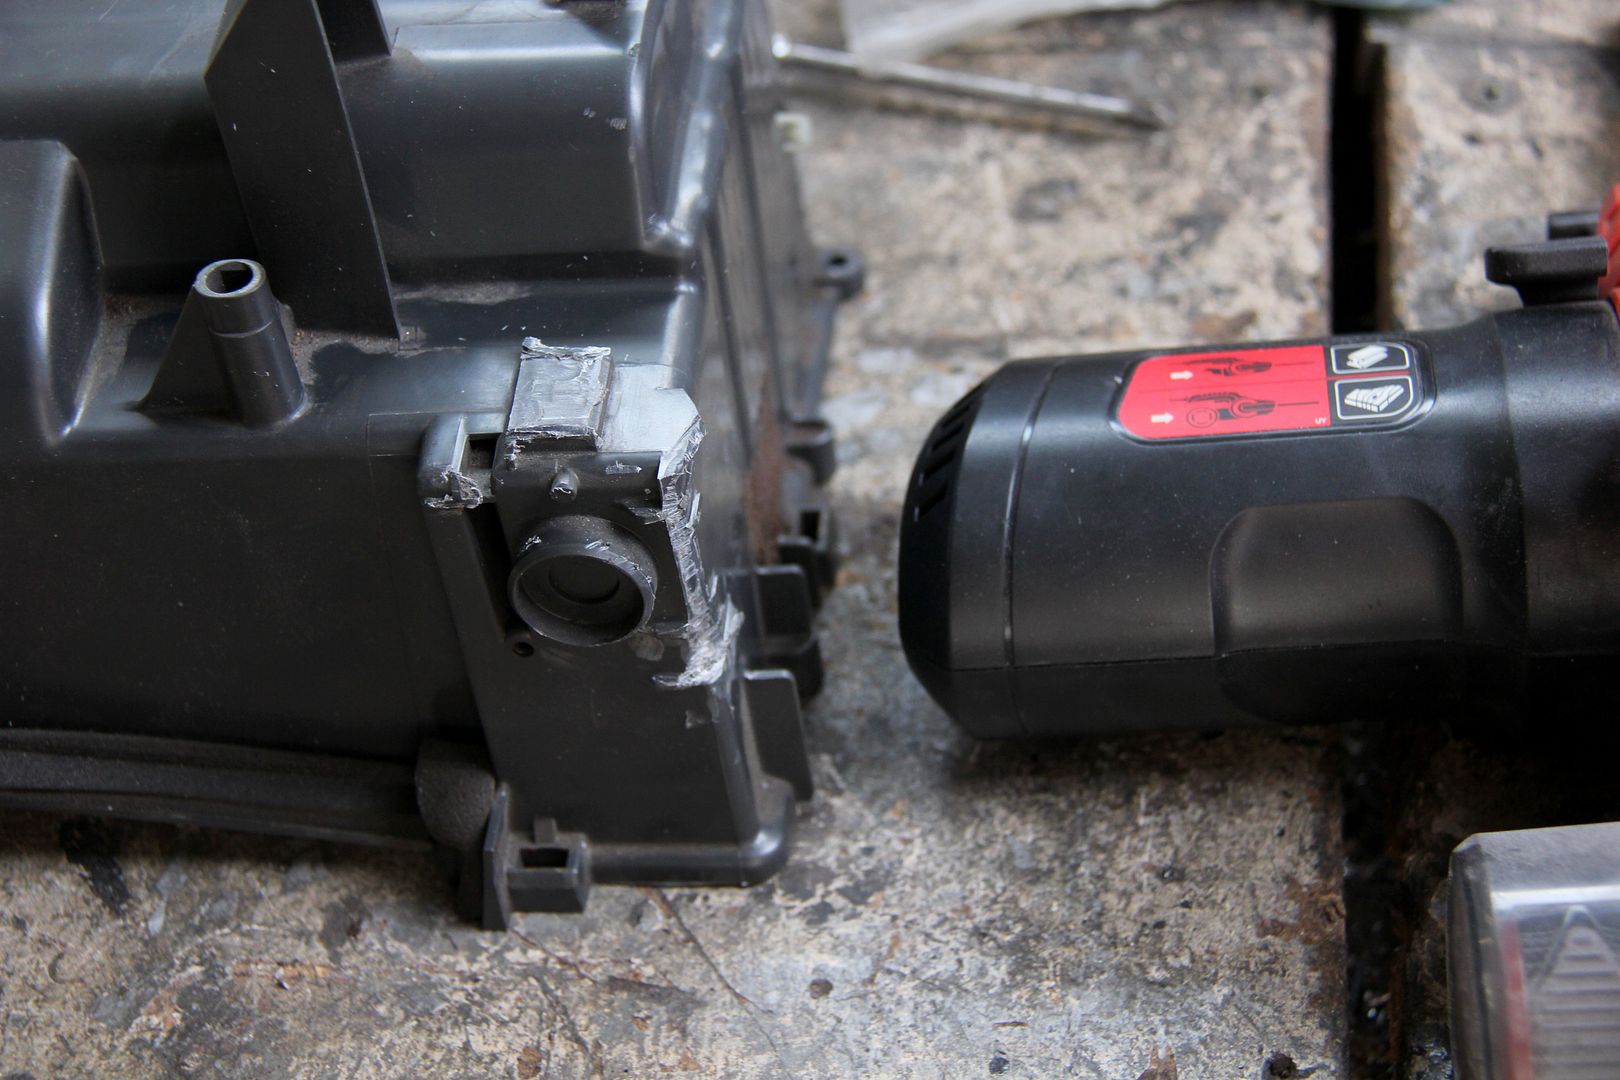
Figuring that there was no need for the sensor module and it would make the box slightly easier to wrangle, I trimmed off the tabs and mounting architecture. And then later found that unless the little control module thing is plugged in, you can no longer activate the radiator fans by pressing the aircon button on the dash (which is a useful little cooling boost if, say, stuck in traffic). So mine is now plugged in again, wrapped in foam and wedged up behind the glovebox. Doh. One day, should I ever be able to face doing it again, I might swap back to a box that some clown hasn't ground all the mounting tabs off... *whistles*
Jeez, all that just to wind up with a slightly bigger hole!
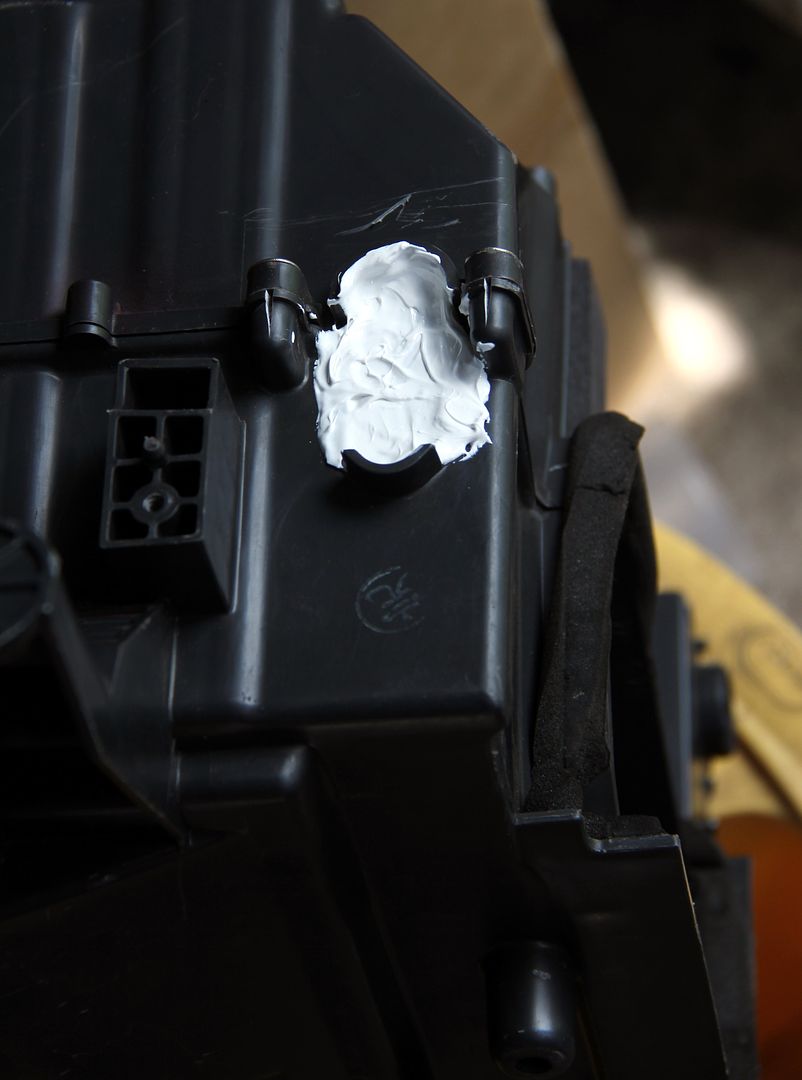
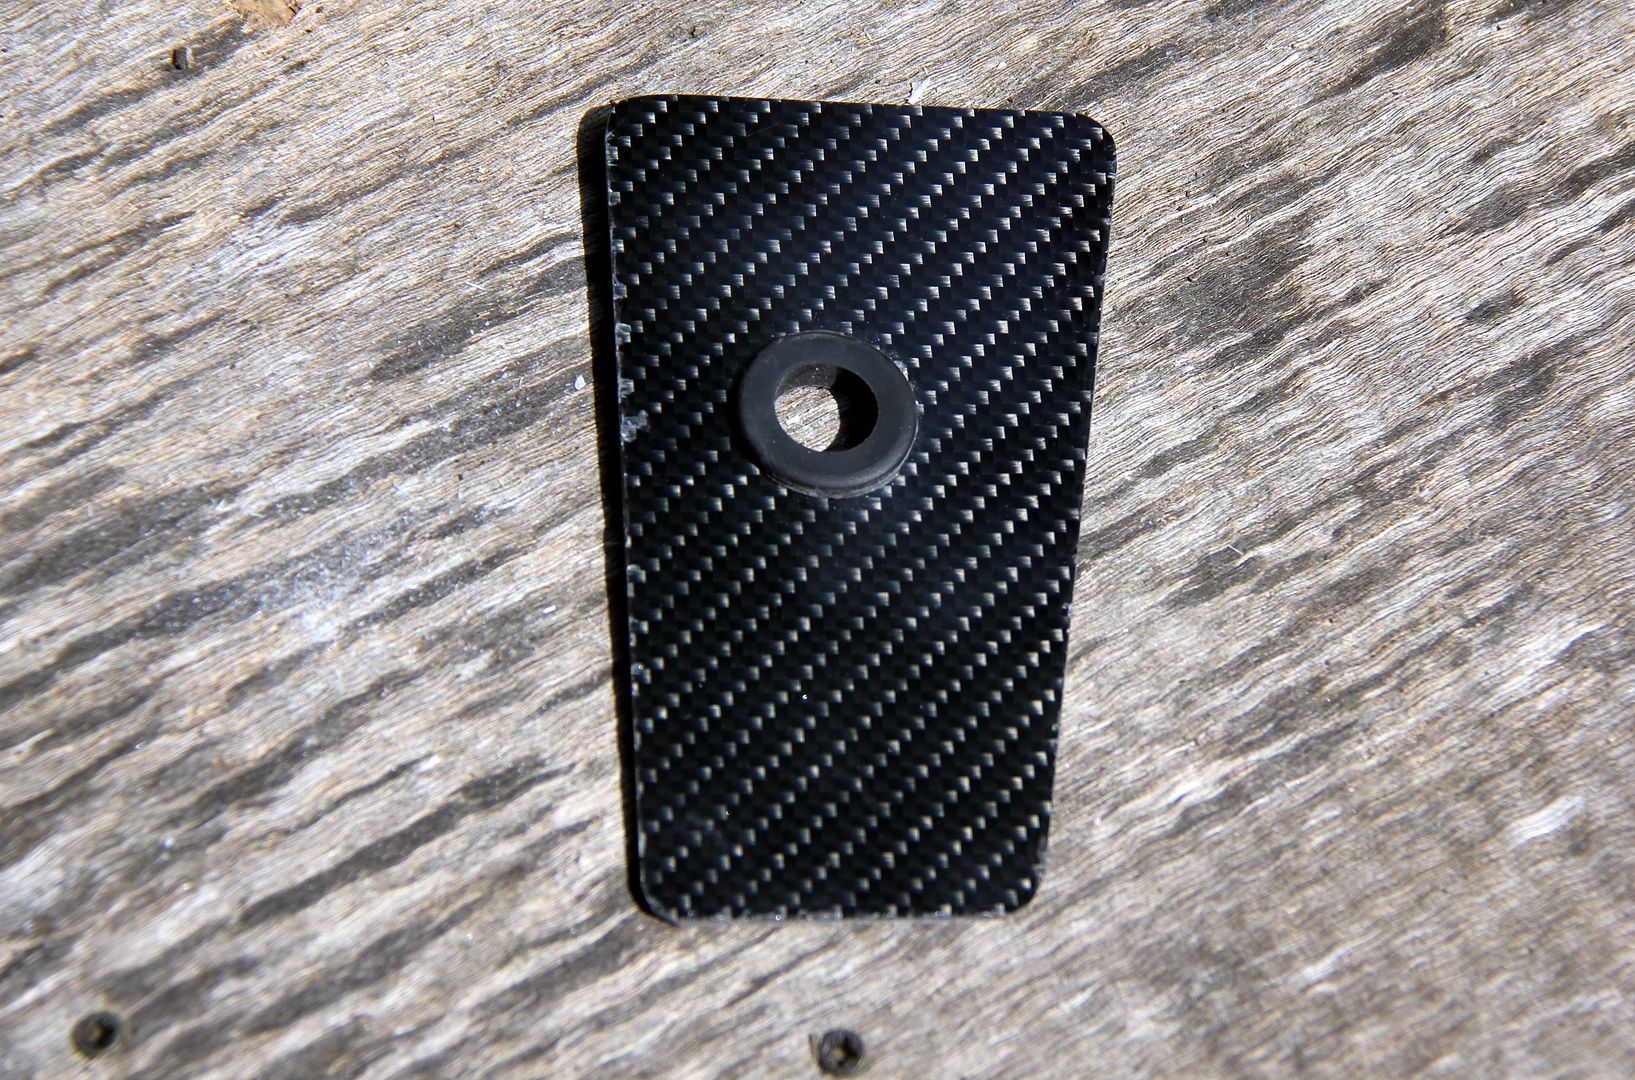
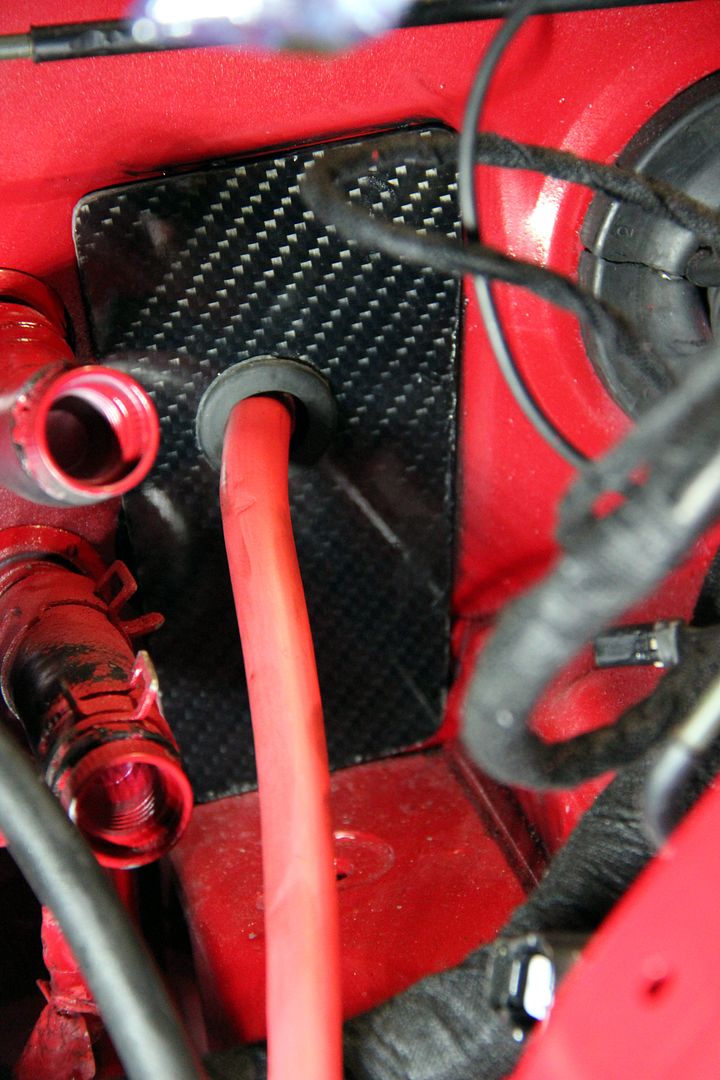
Basically, installation is the reverse of removal, as it says in all the best Haynes guides, with the exception that getting the nuts back onto the studs is an absolute nightmare because you're trying to steer and thread them on using a yard long multi-jointed extension and deep-reach socket., It's about as tricky as plaiting water and my advice would be to find a slightly more pleasant way to spend your time. Like maybe shaving your ballsac with a blunt, rusty ploughshare. Still, it was done and I celebrated by making a nice little carbon plate with a grommet for my now proudly red power cable
and bodging it into place with a gloopy mess of Sikaflex
That is most definitely one of the jobs on this rebuild that I fervently hope I
never have to do again


 mostly because it was a really awkward place to get tools into, and the reason I'd glued it in the first place was to avoid having to drill holes down there. There was also the very real risk of drilling holes into the aircon box I'd just re-installed behind the firewall, but there was no way I was taking that curse word out again! However, there was no other choice and after a lot of swearing and slipped drillbits I could put in some rivnuts. Done. Again


 Where's your sense of adventure?


